`

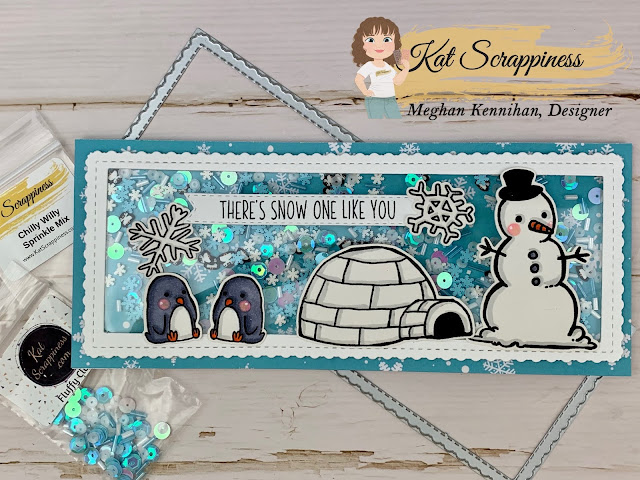
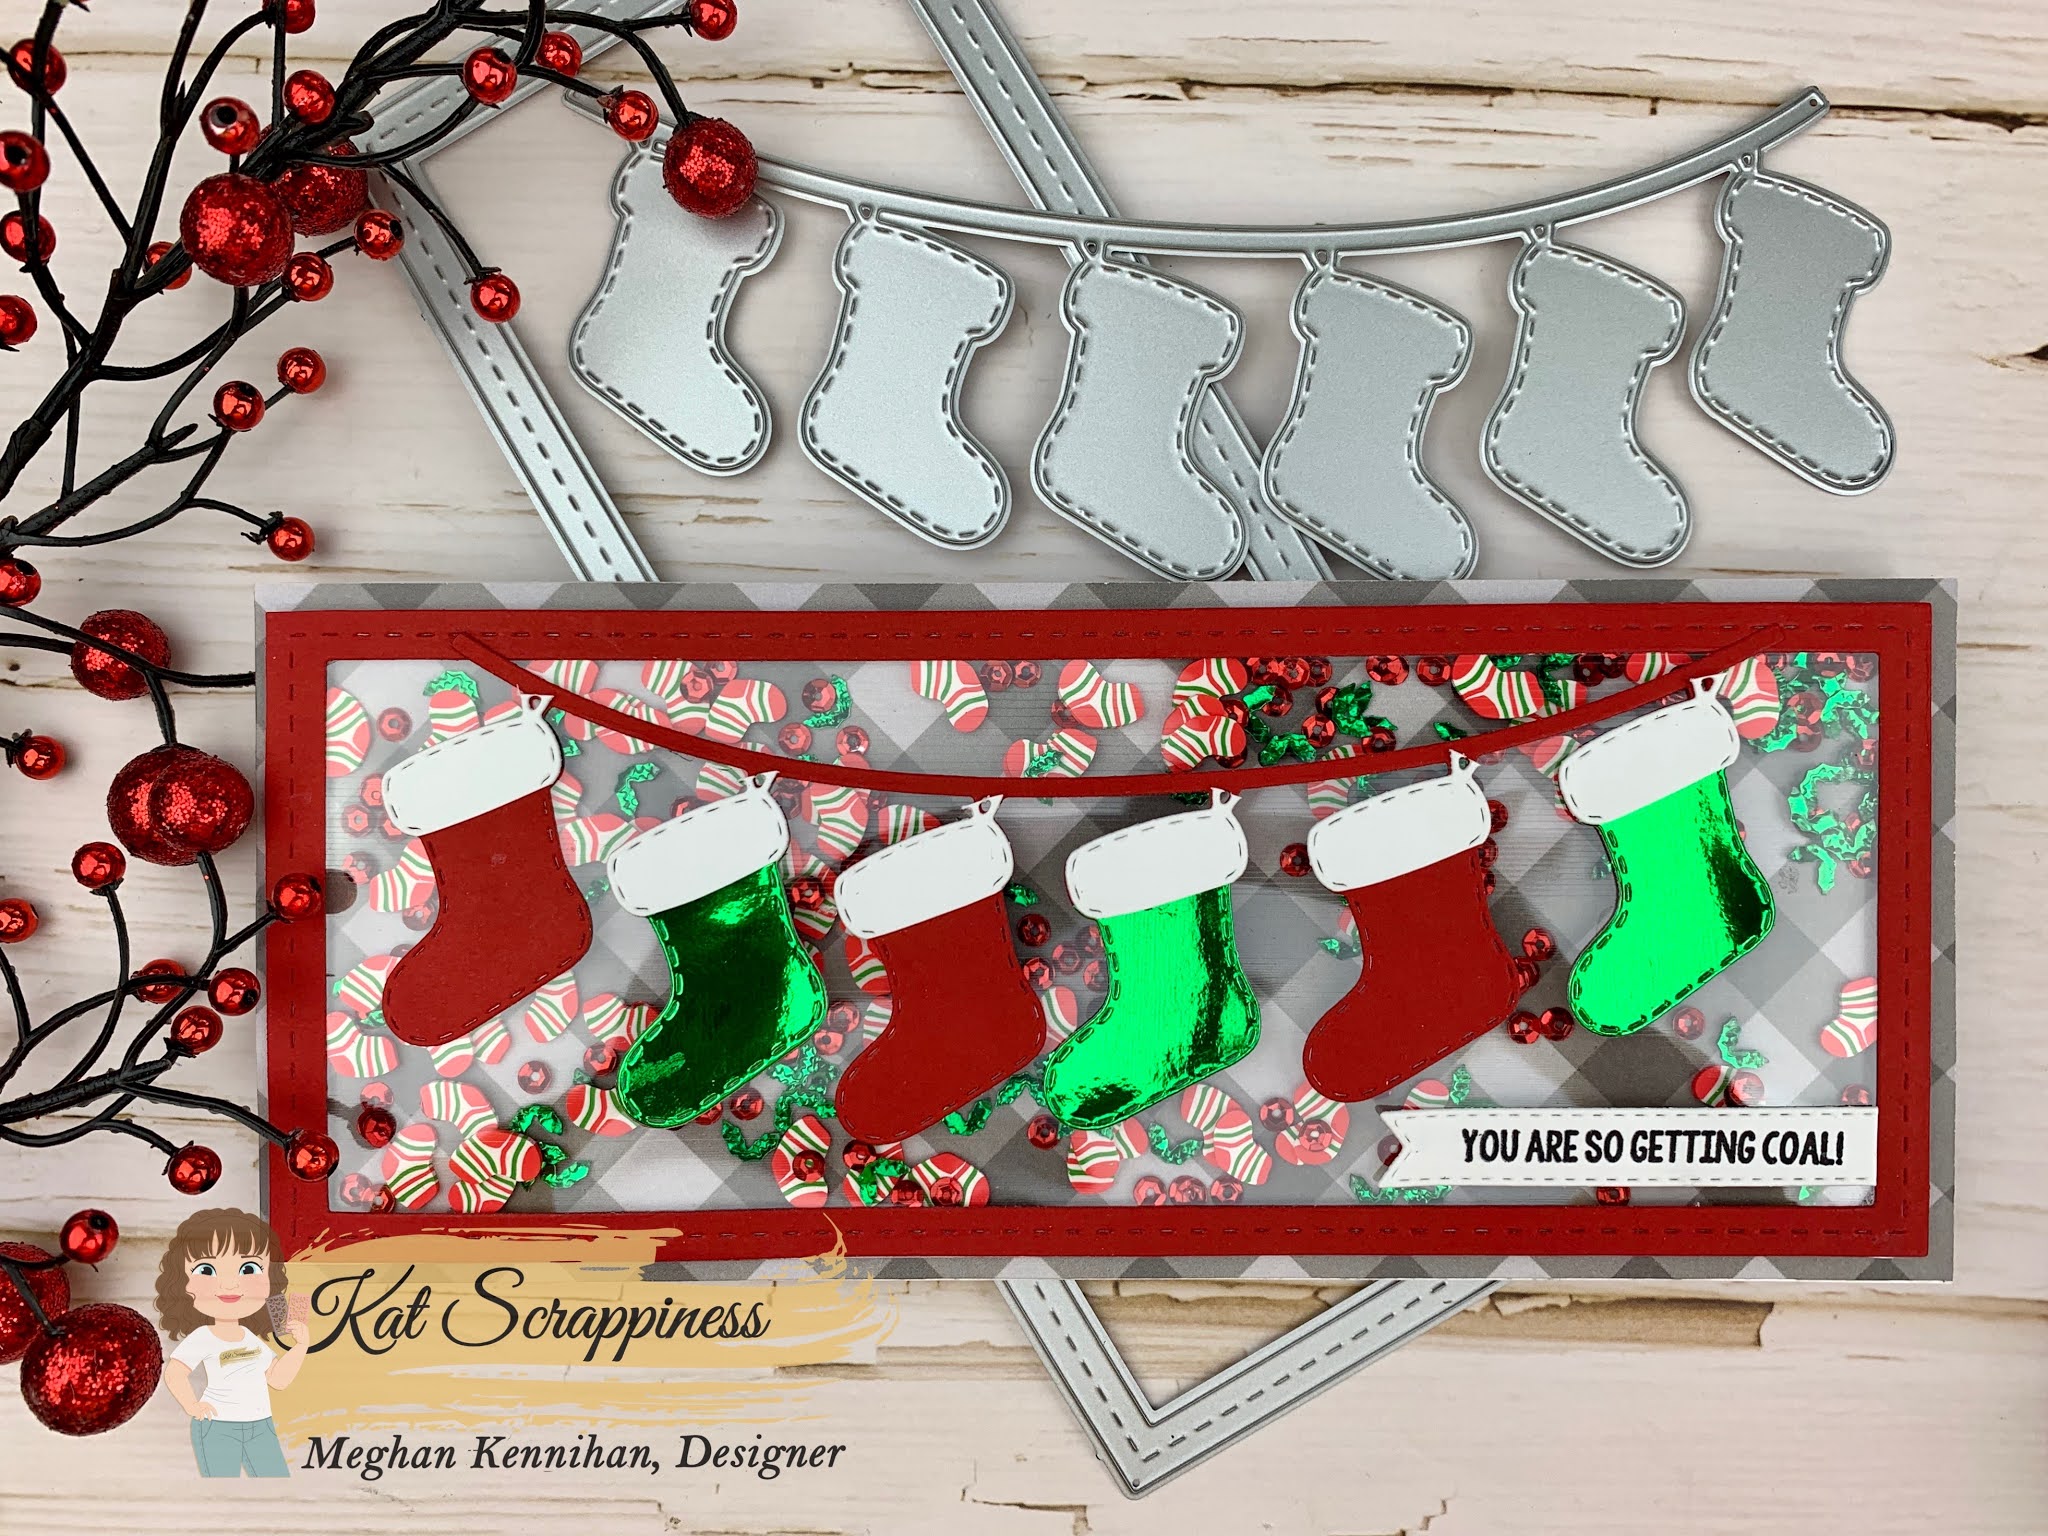
Happy Turkey Day to all of my crafty peeps! It’s Lisa here today from Oh So Cute By Lisa and I’m up on the blog with this cheeky Christmas card! The Naughty Christmas Stamp Set with matching Die has the funniest sentiments and this really great scripty “naughty” word die cut.
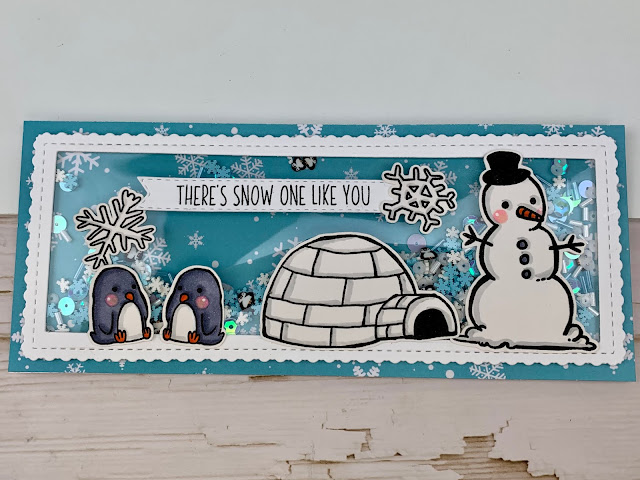
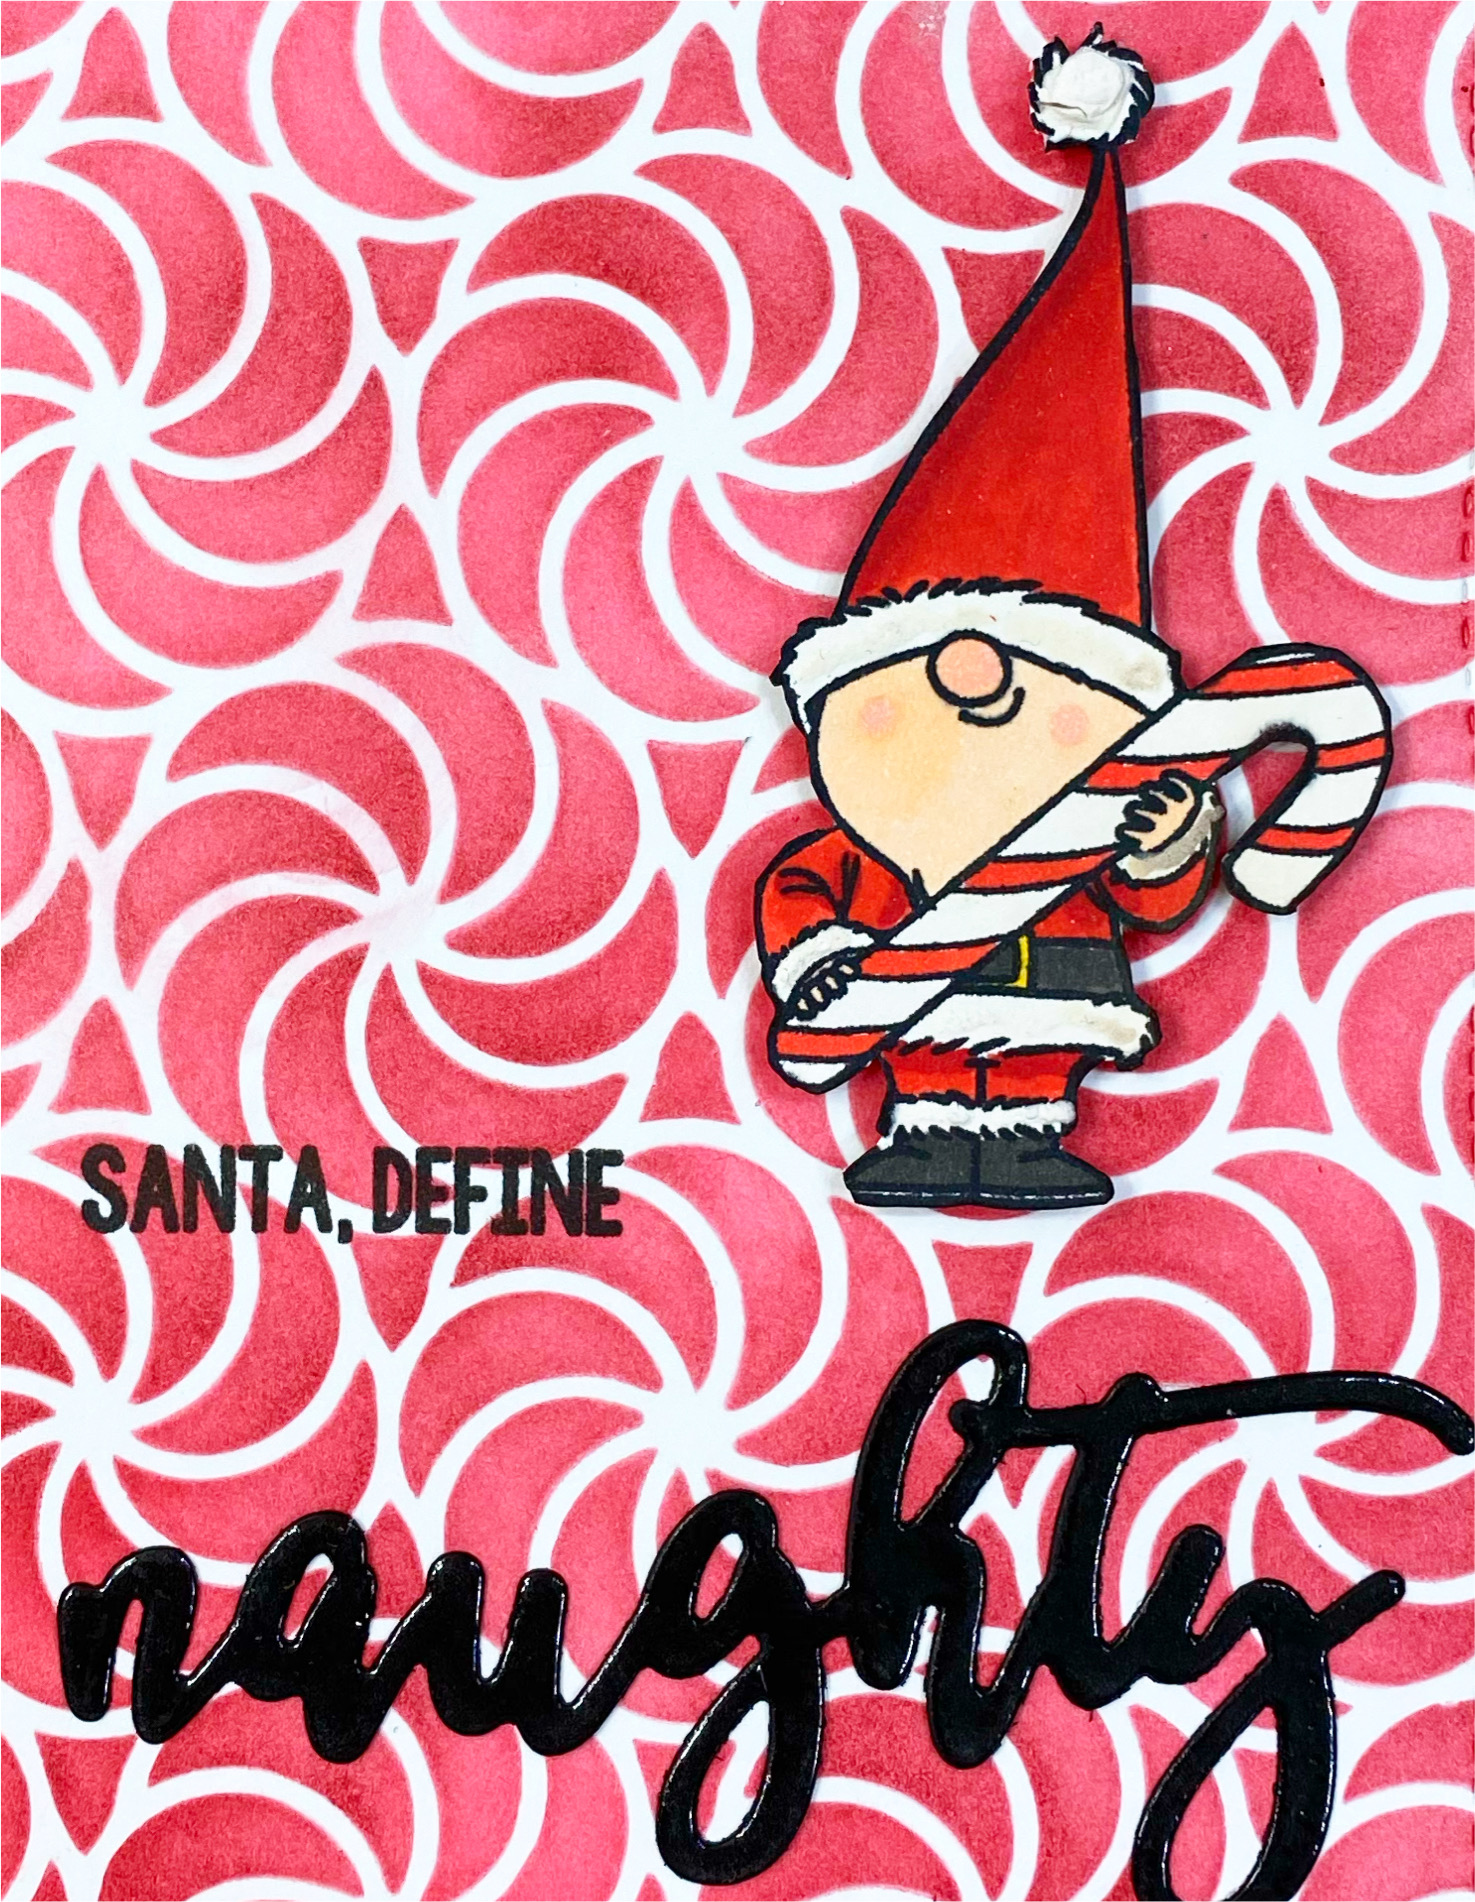
I started by stenciling a fun background that resembles the Starlight mints that are so popular this time of year. After my panel was all stenciled I cut it out with the largest die from the
For my focal point I colored one of the gnomes from the Christmas Gnomes Stamp Set with my Copic markers and then I gave him some dimension by using a snow marker on his hat and boots.
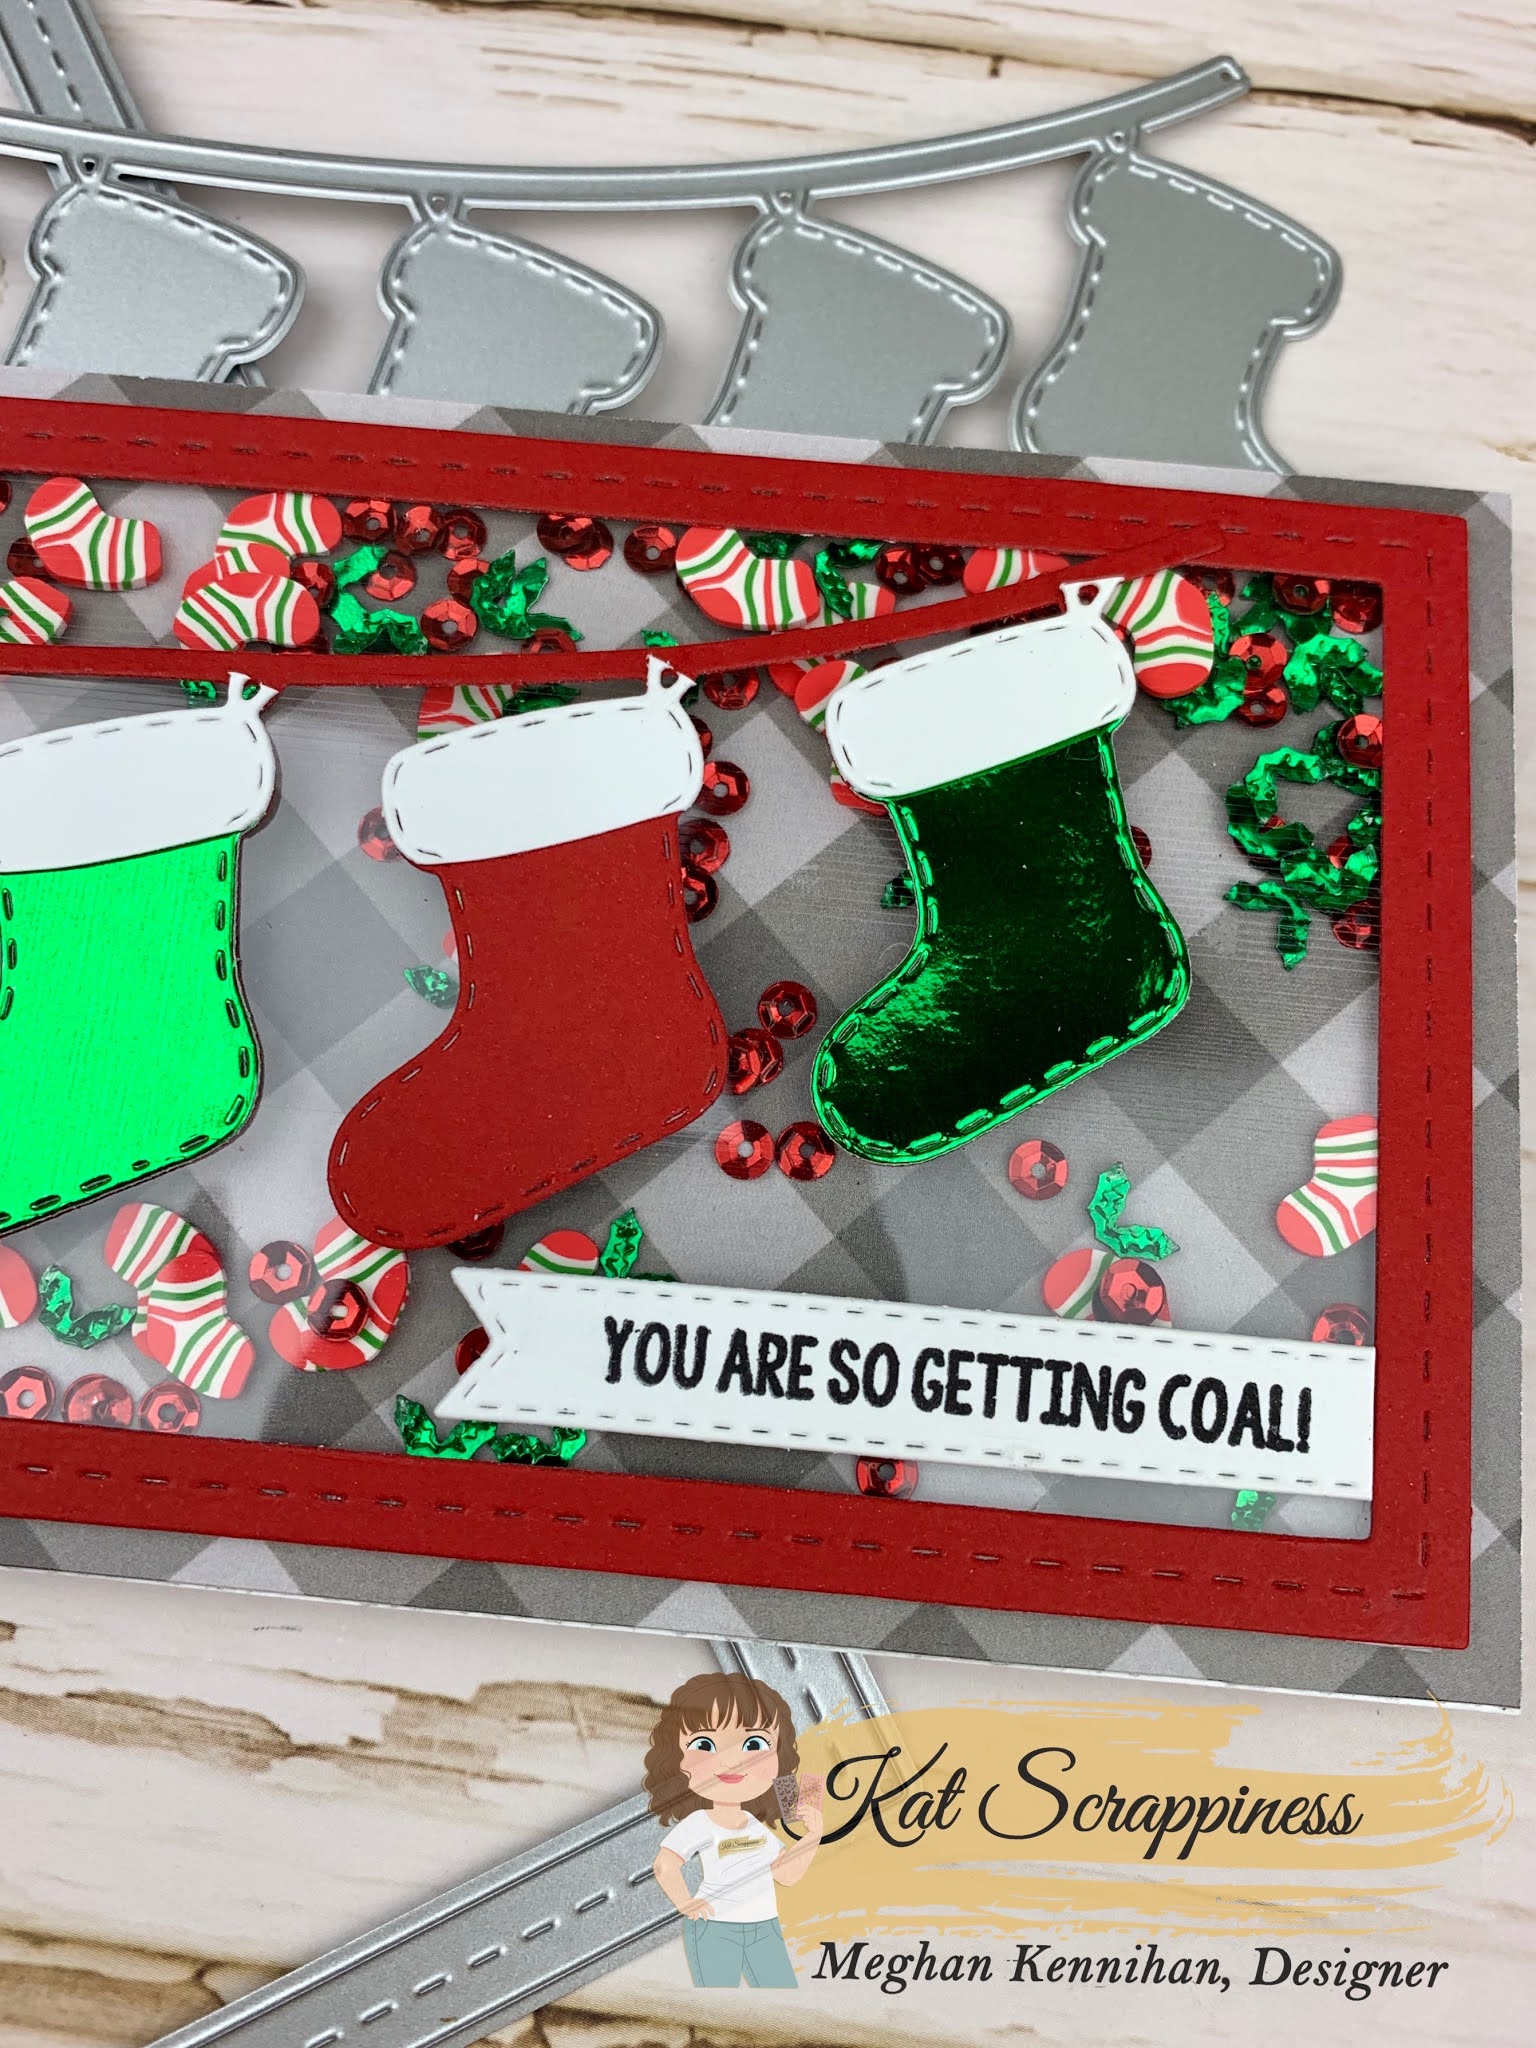
The sentiment and “naughty” die cut are from the Naughty Christmas Stamp Set with matching Die and I decided to make the die cut nice and shiny by heat embossing it with clear embossing powder!
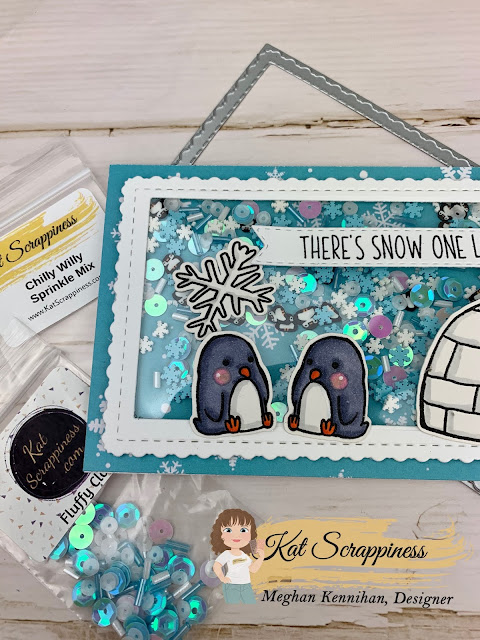
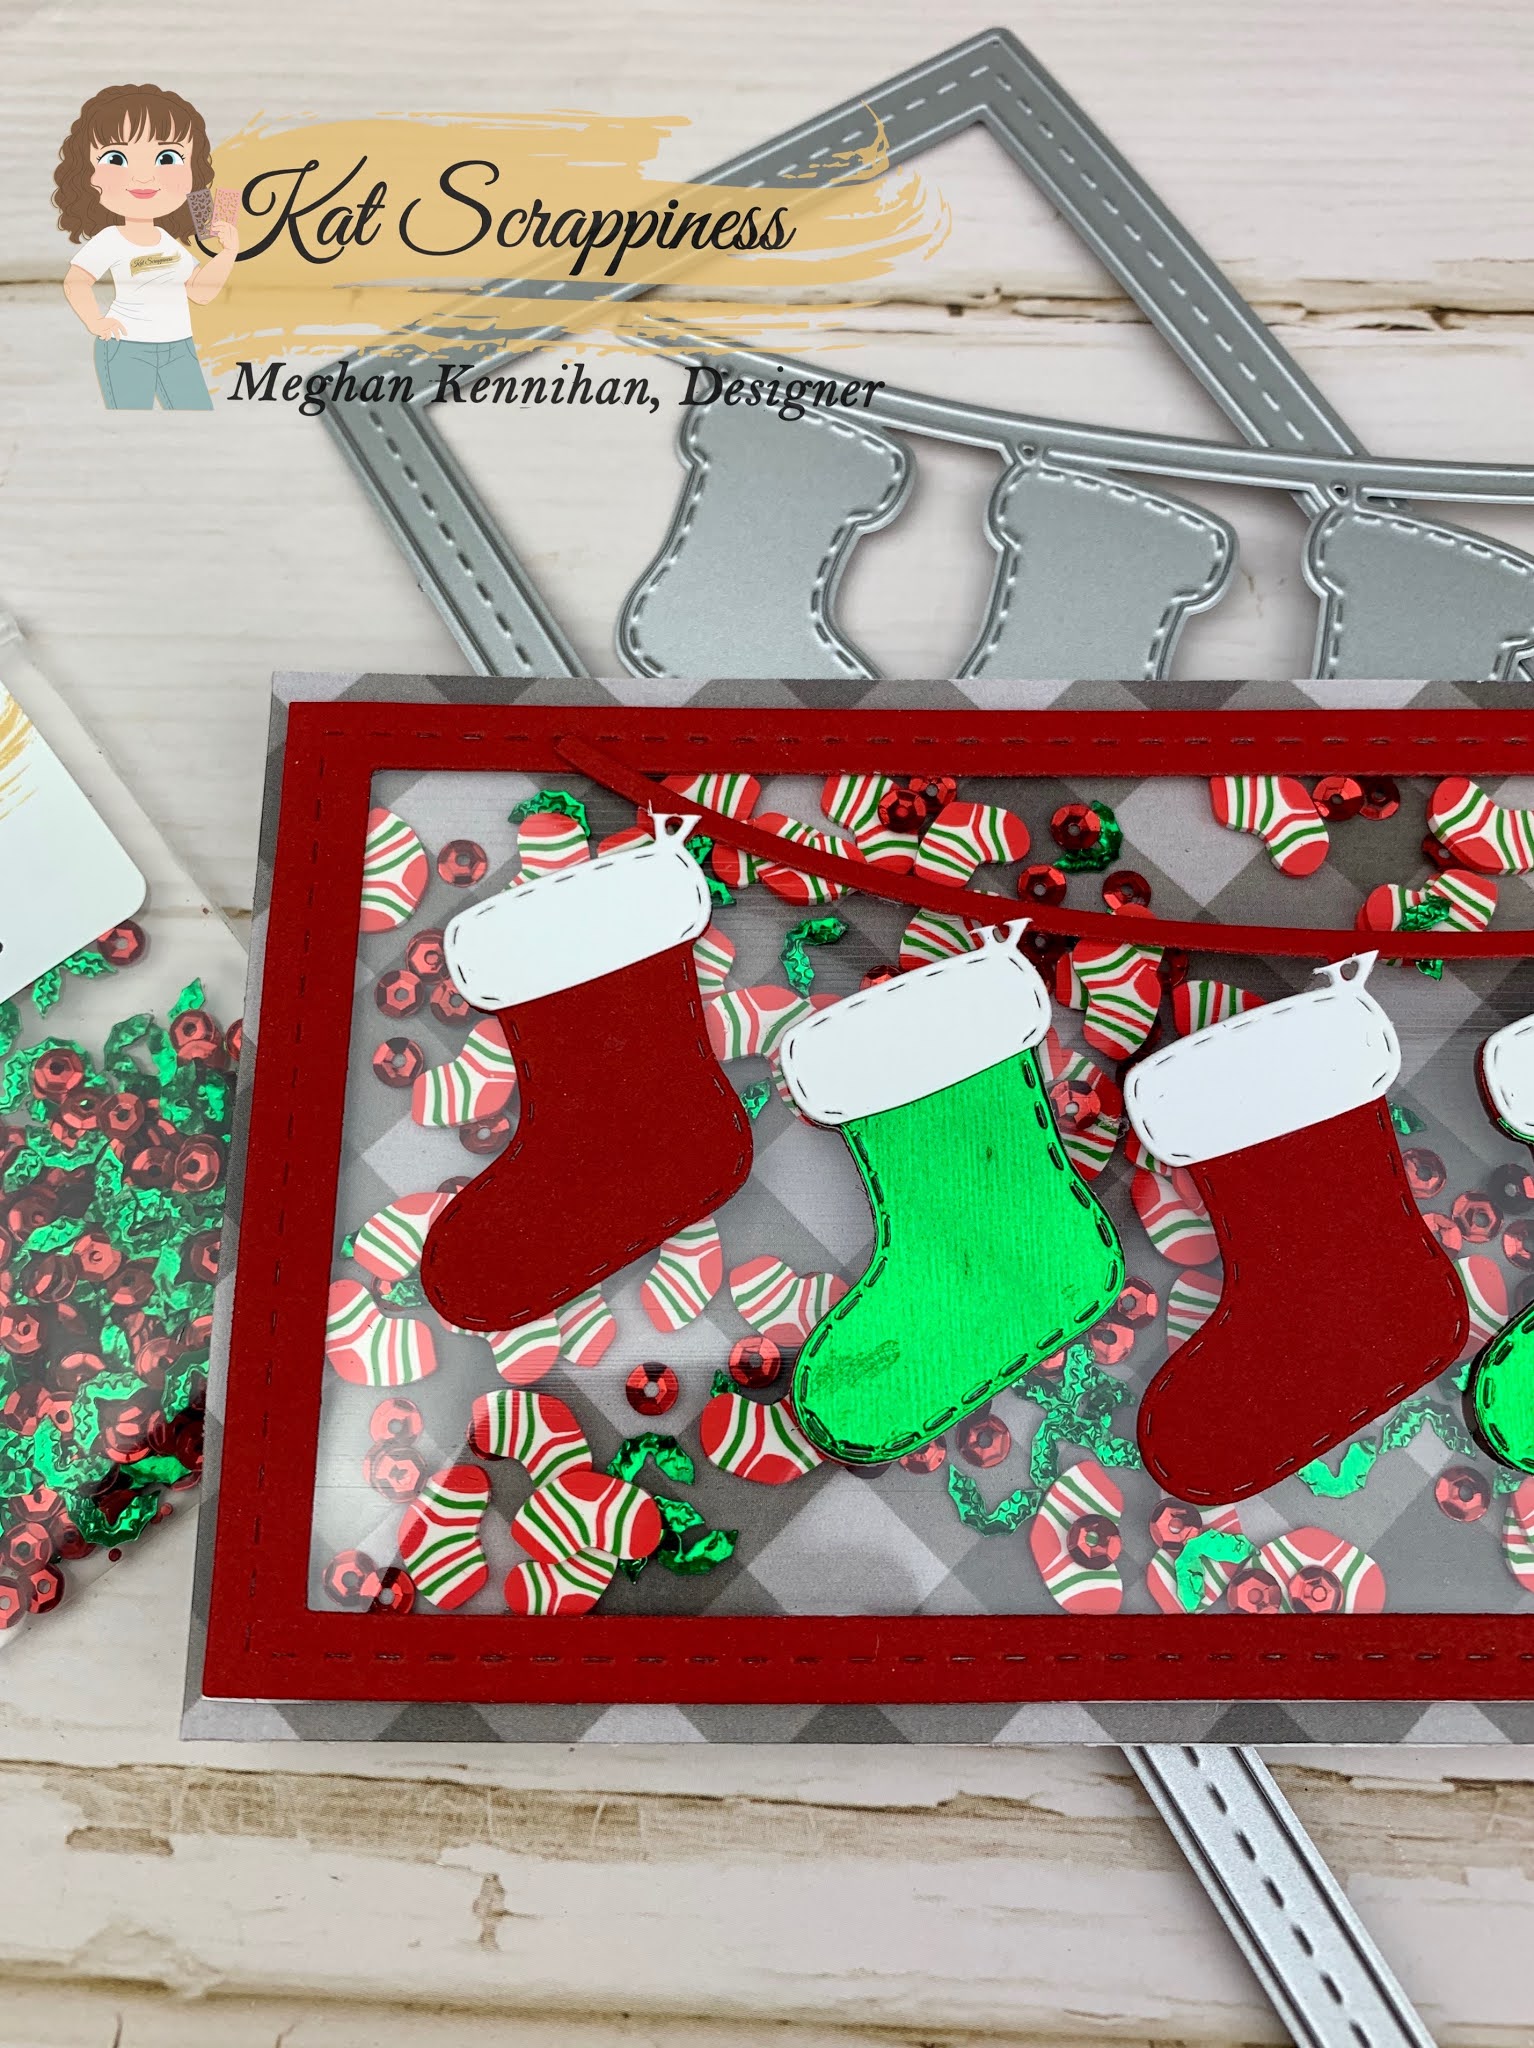
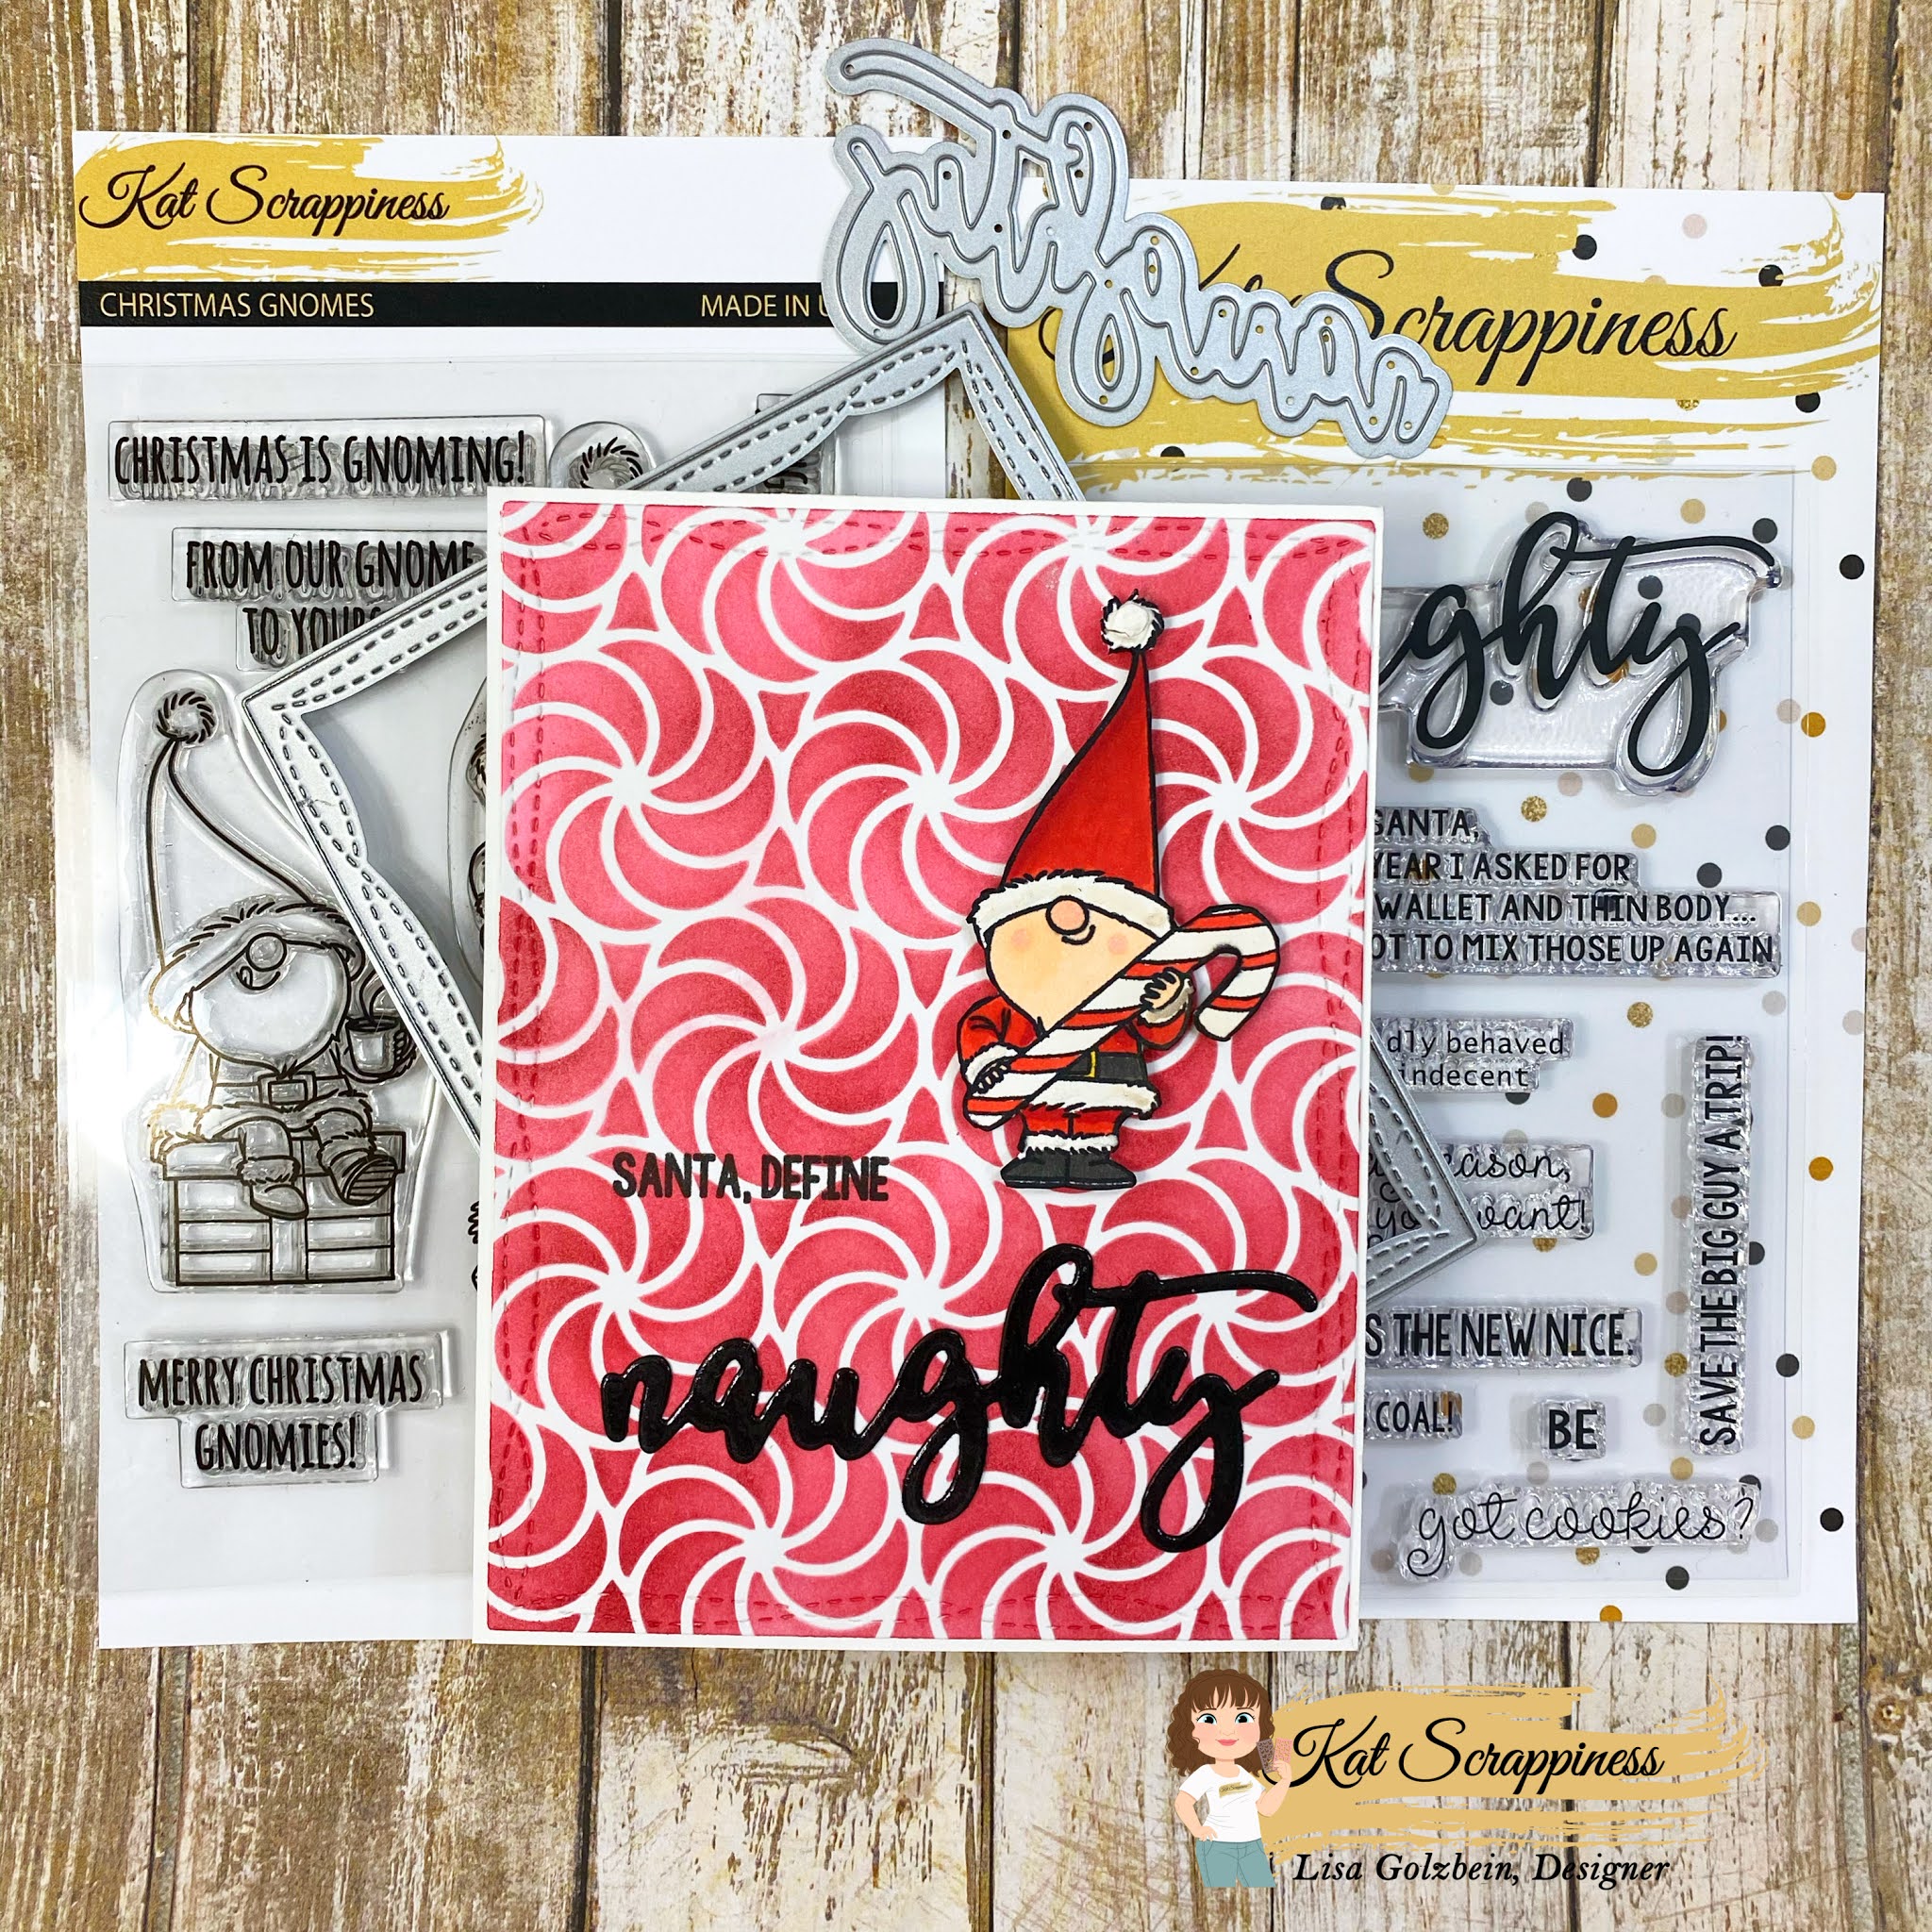
Here is one more pic with all the supplies used on today’s card.
Thank you so much for joining me today! Make sure to check out
Kat Scrappiness for all of your holiday card making needs!
Don’t forget to follow
Kat Scrappiness on all
social media platforms to be alerted to new releases, sales and giveaways!
Thanks for stopping by and enjoy your day, I already am!
🎅🏻 Lisa 🎅🏻