Hello Kat Scrappiness fans! Welcome to the KS January release! We have some great inspiration for you today. We also changed things up a bit this month by showing you the entire new collection of the mini slimline dies and our new stamp set! You are going to LOVE the samples that the entire team has created for you! Don’t forget that we also have a giveaway so PLEASE SCROLL THROUGH AT THE END OF THE POST TO FIND OUT HOW TO WIN.
We are showcasing the Valentine’s Quokkas Stamp Set along with SIX MINI SLIMLINE DIES – Distressed Edge, Wood Grain Framed Diamond Wire, Embossed Edge, Stitched Scalloped Edge, Double-Stitched and Wonky Stitched, with some new Valentine’s Sprinkles for your shaker cards!
Valentine’s Quokkas Stamp Set
DISTRESSED EDGE
EMBOSSED EDGE
DOUBLE-STITCHED
STITCHED SCALLOPED EDGE
WONKY STITCHED
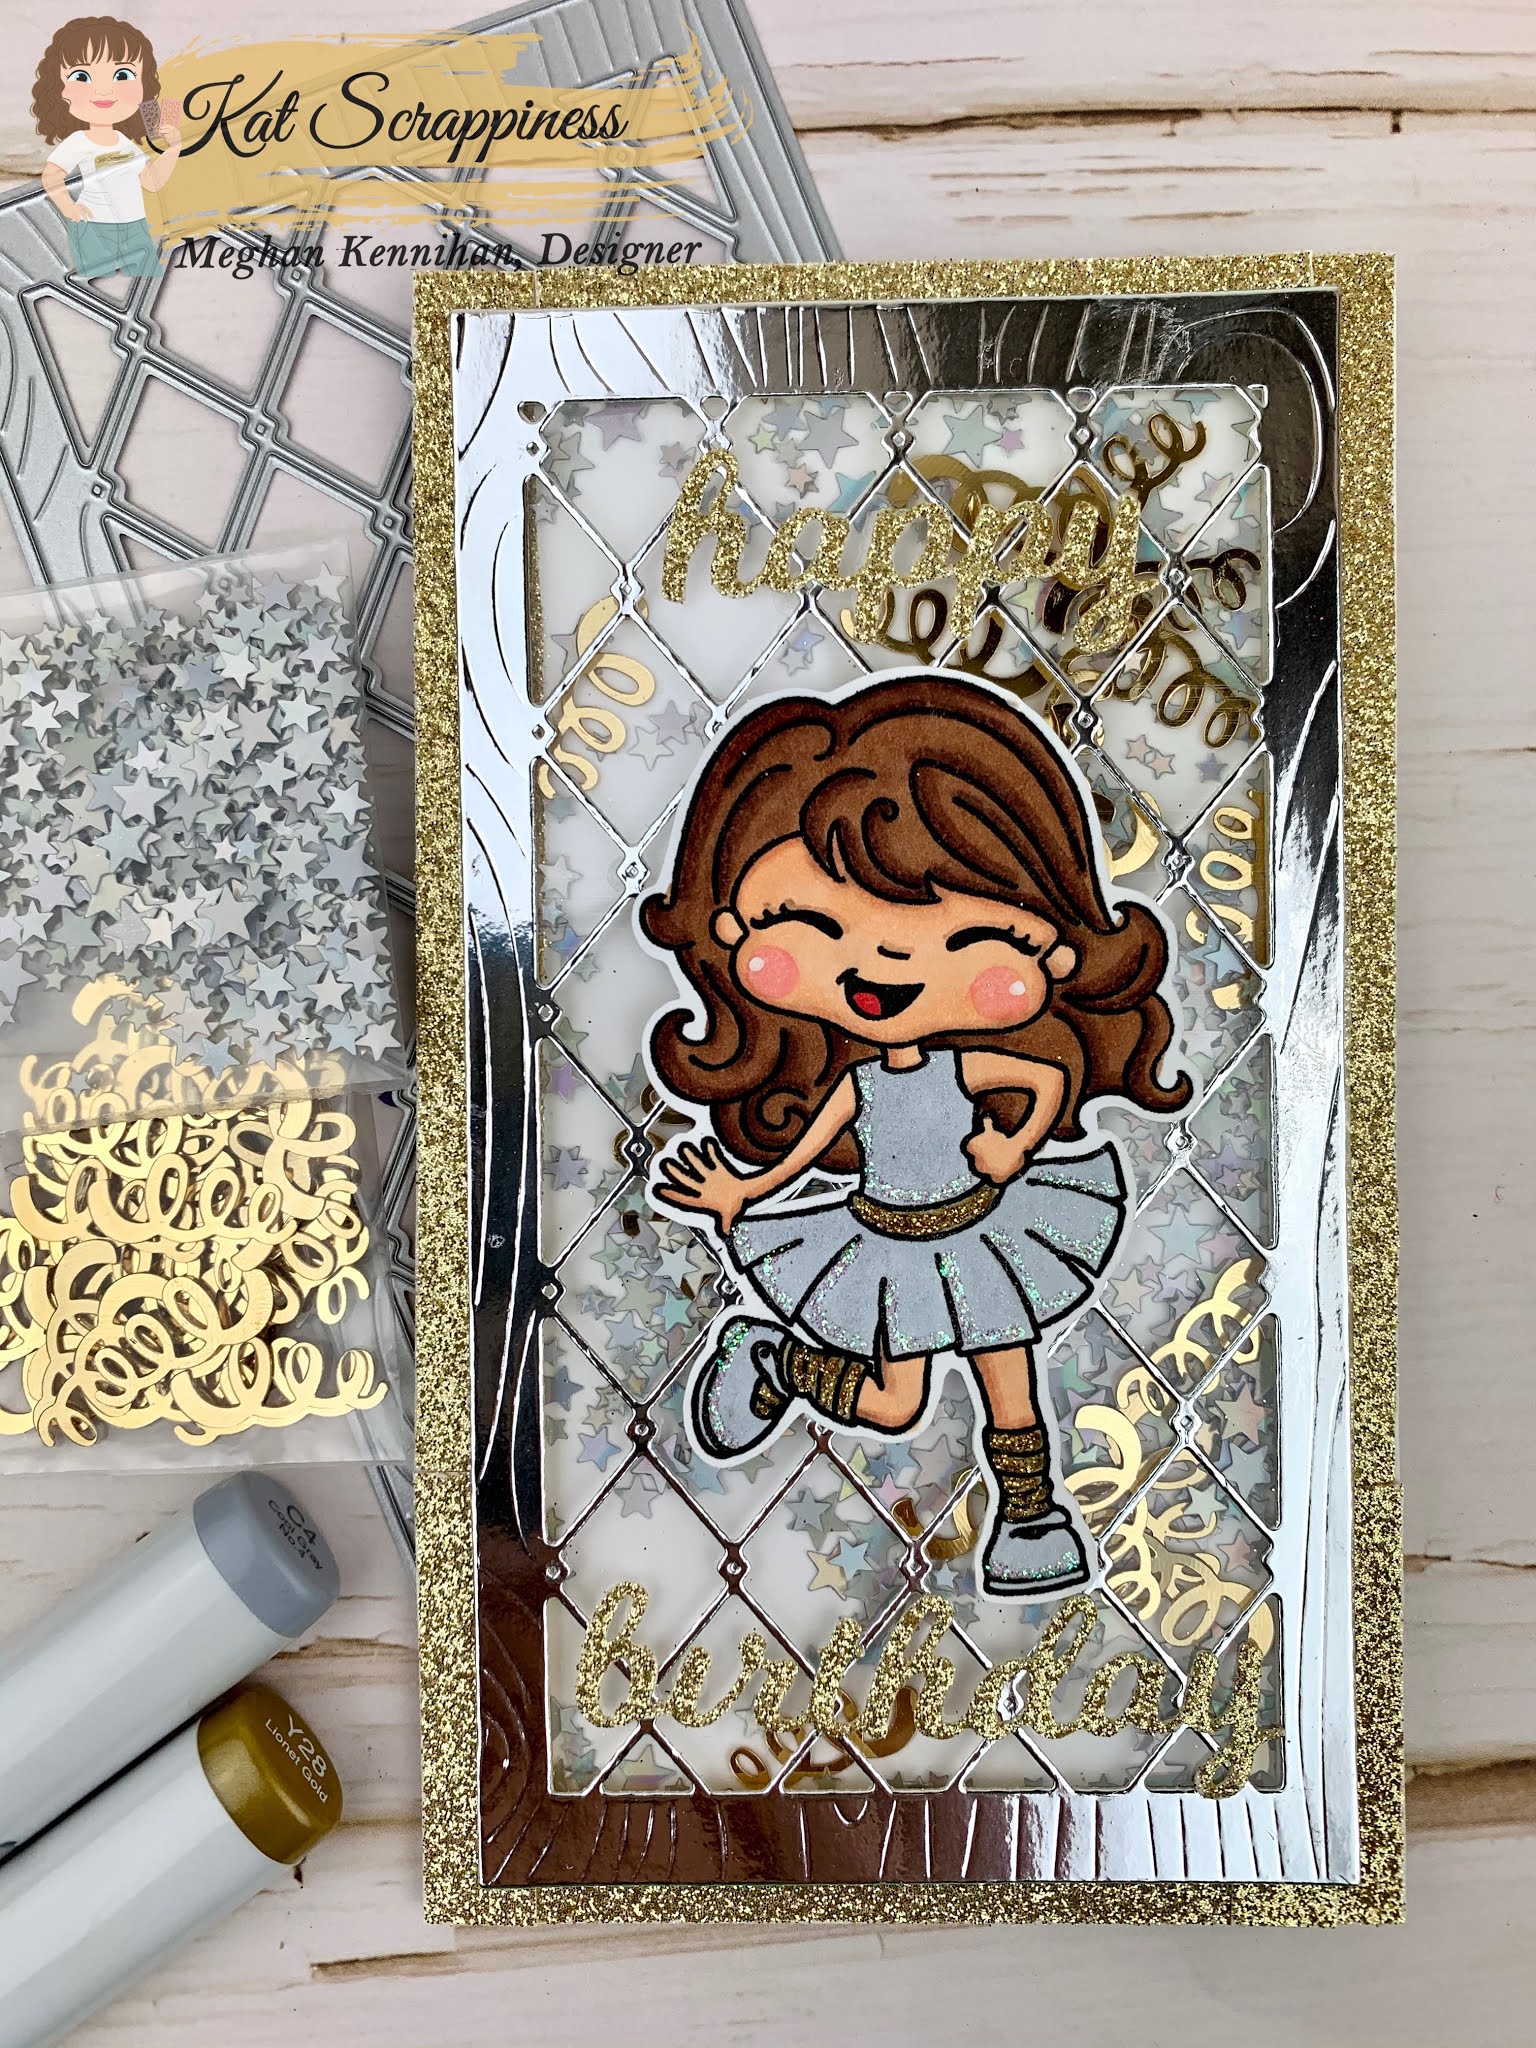
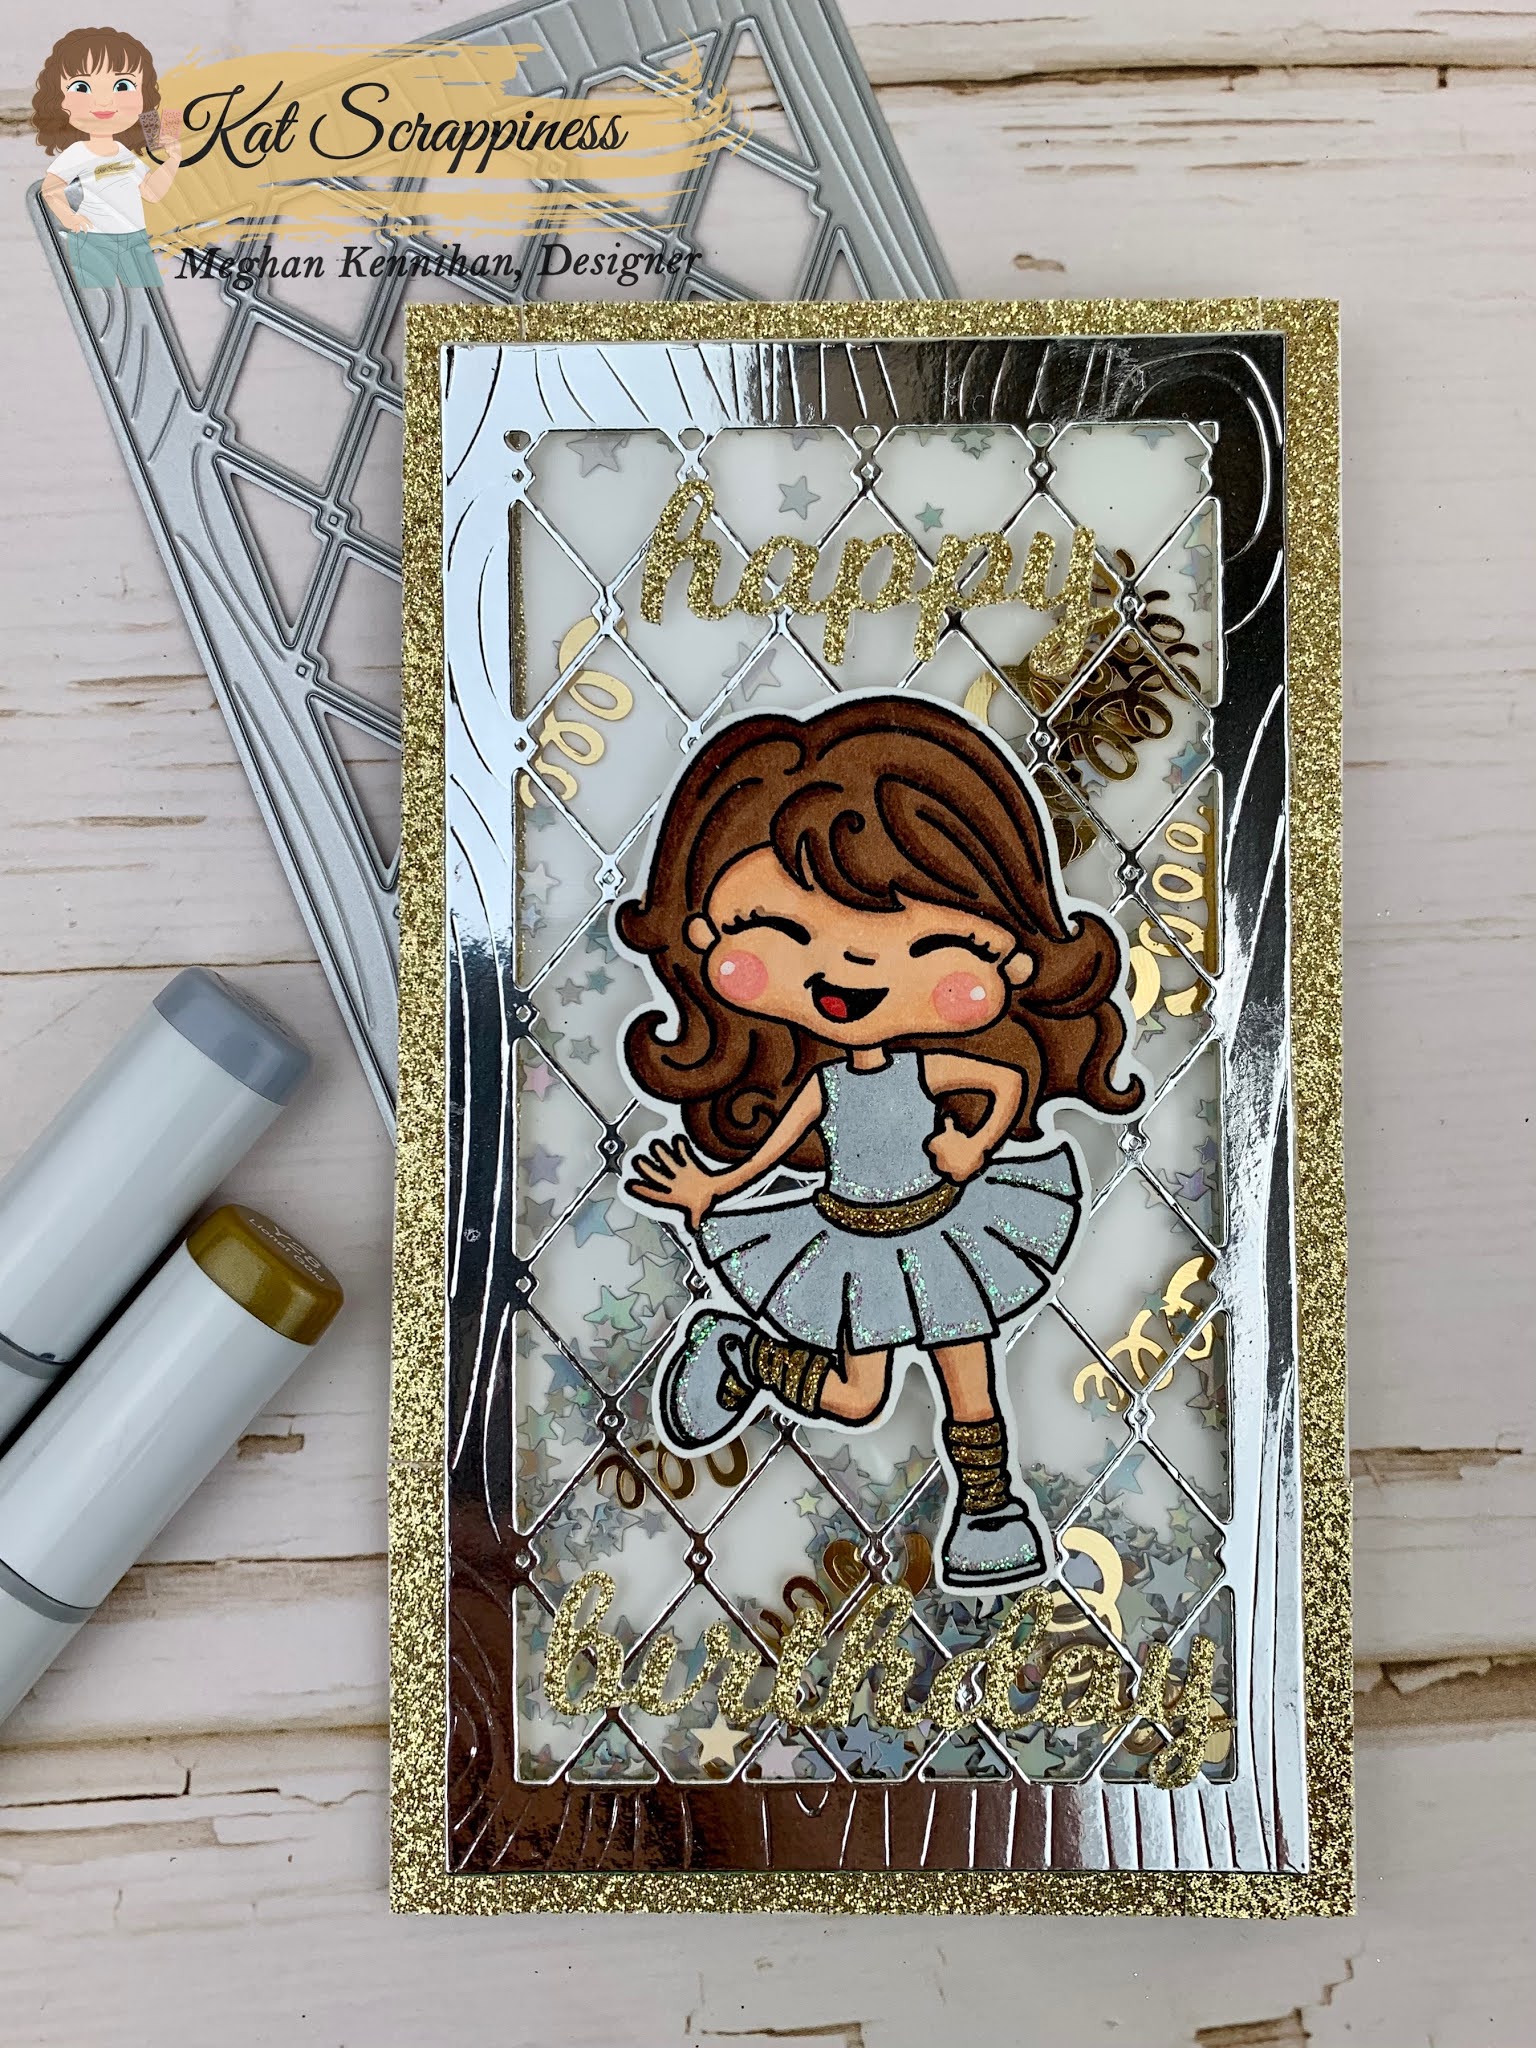
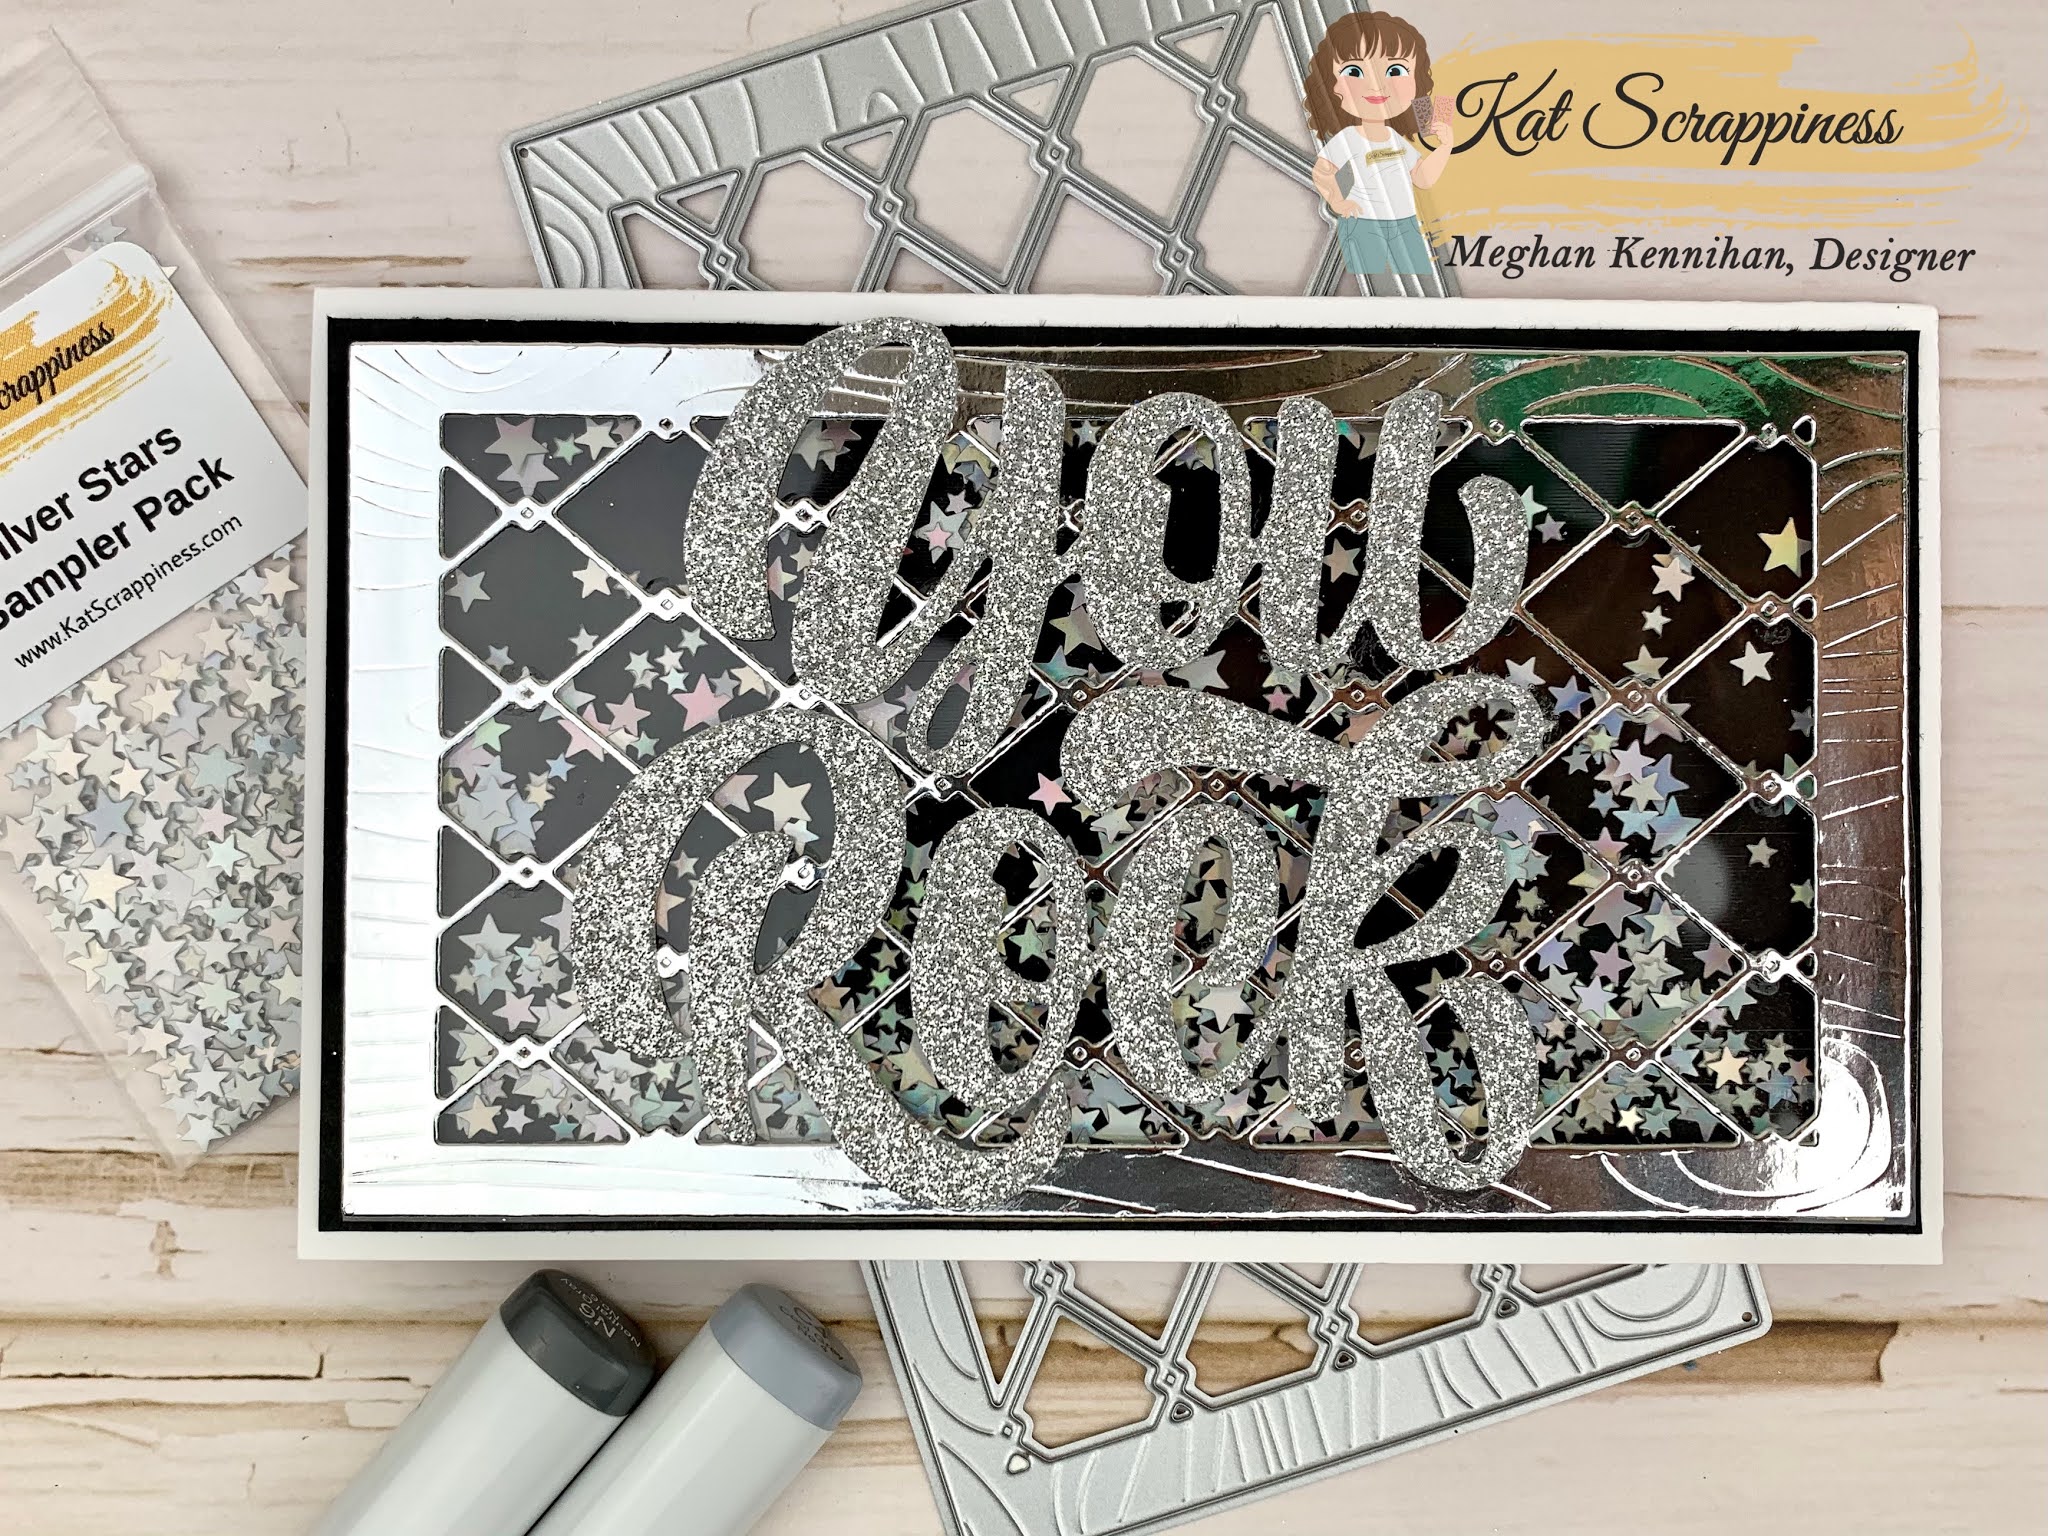
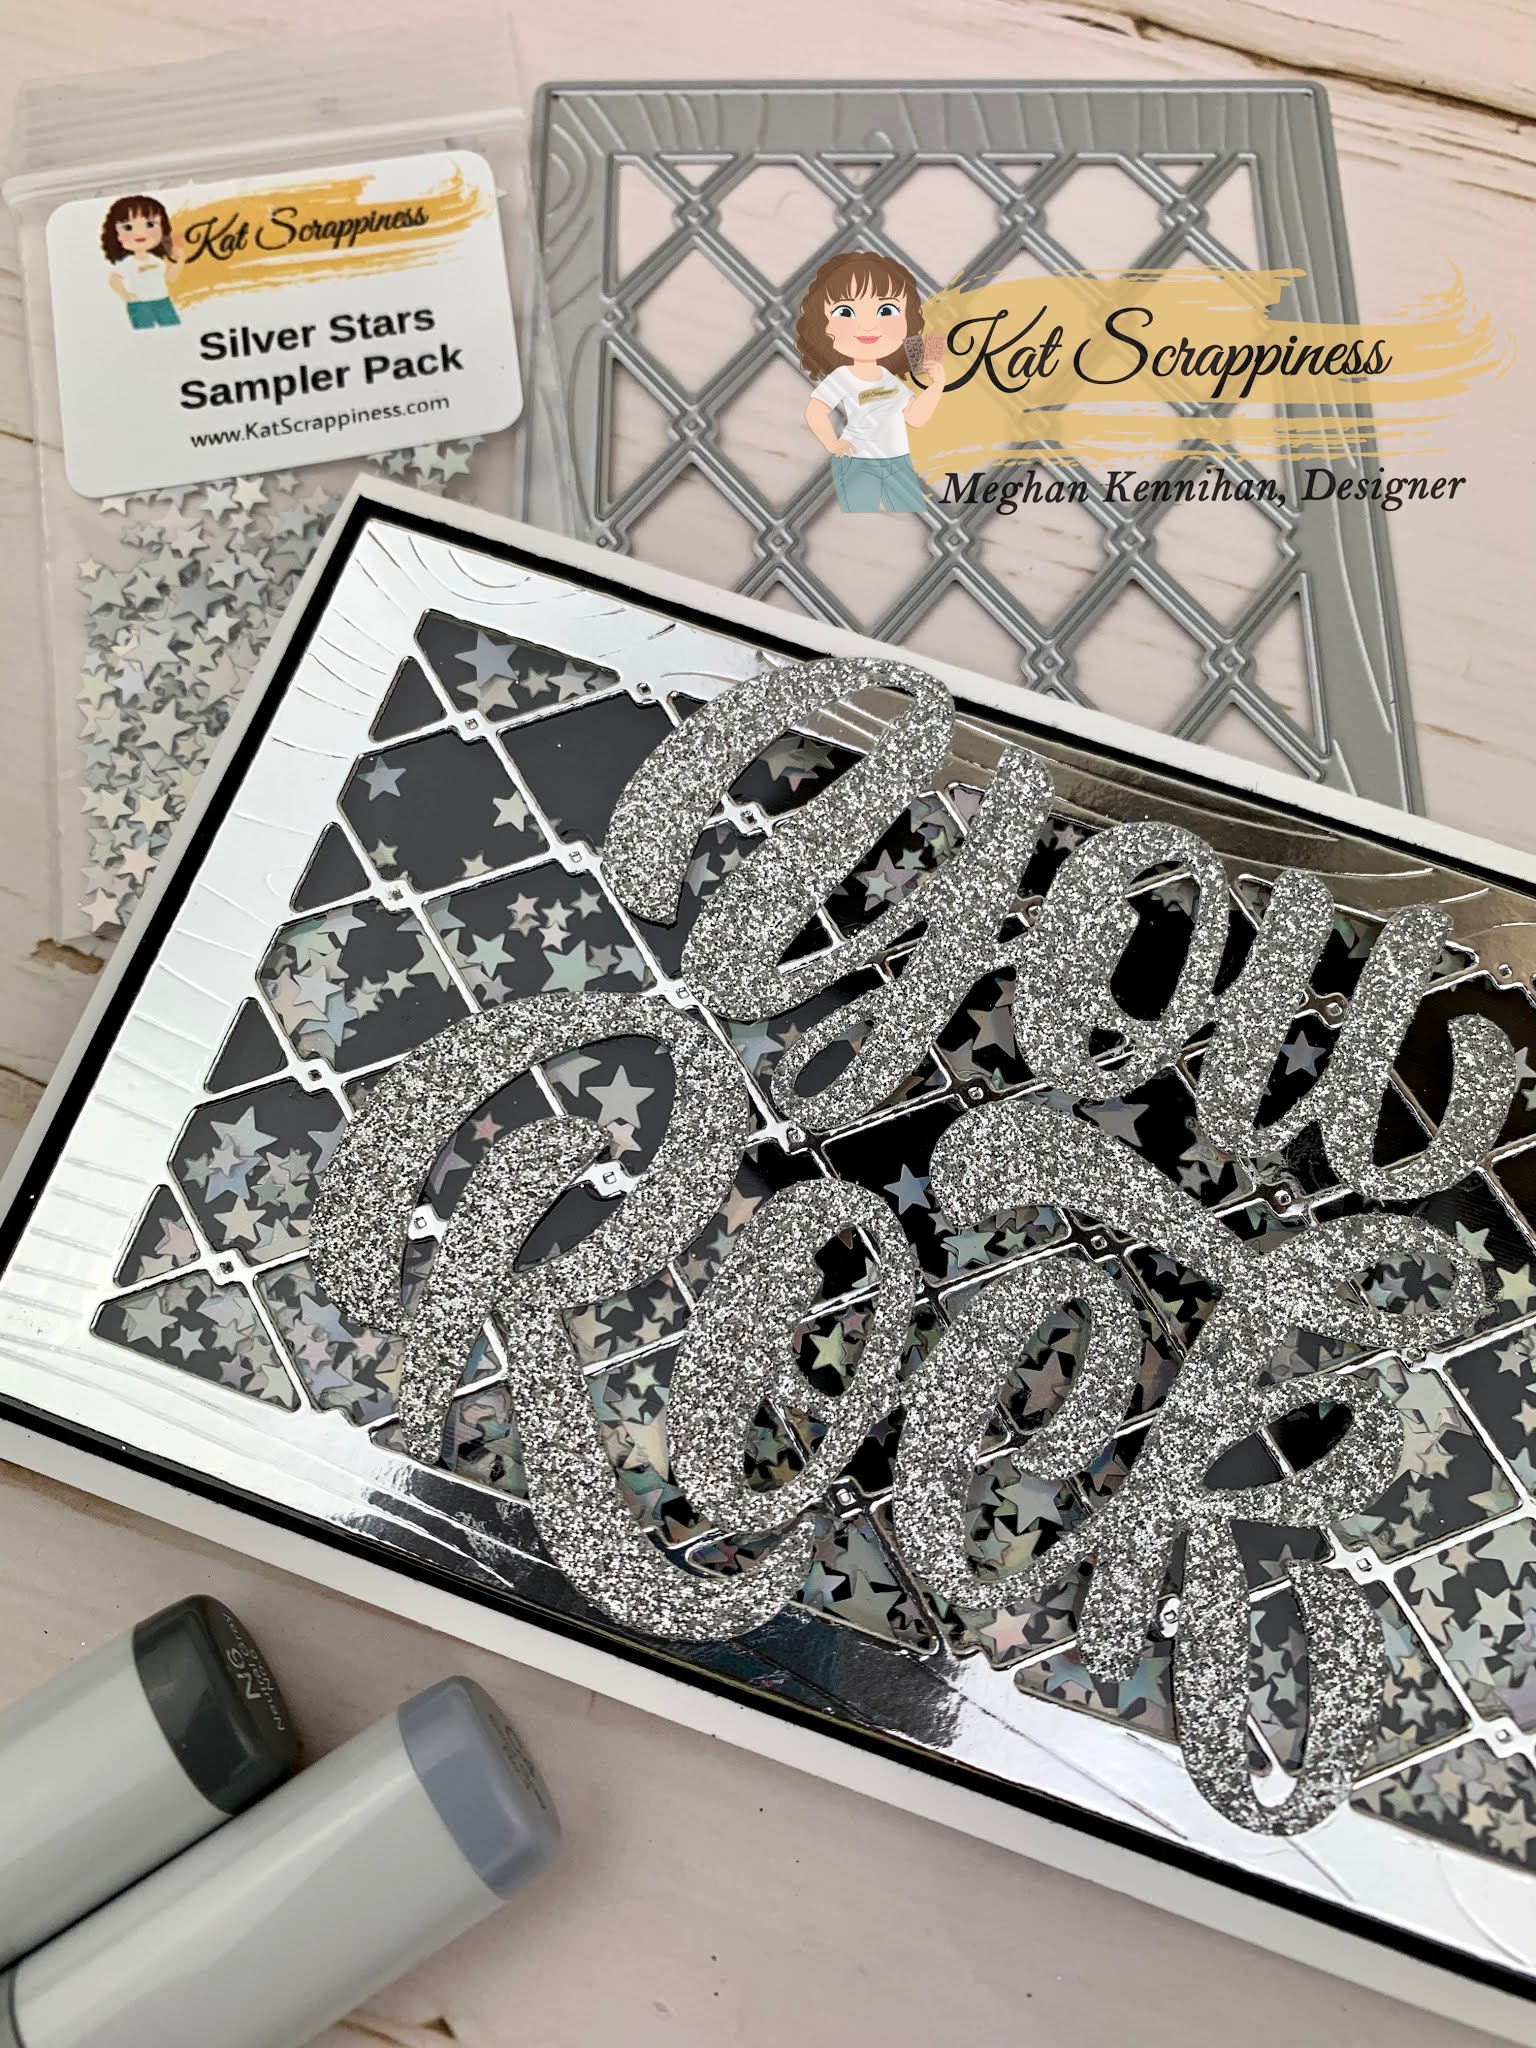
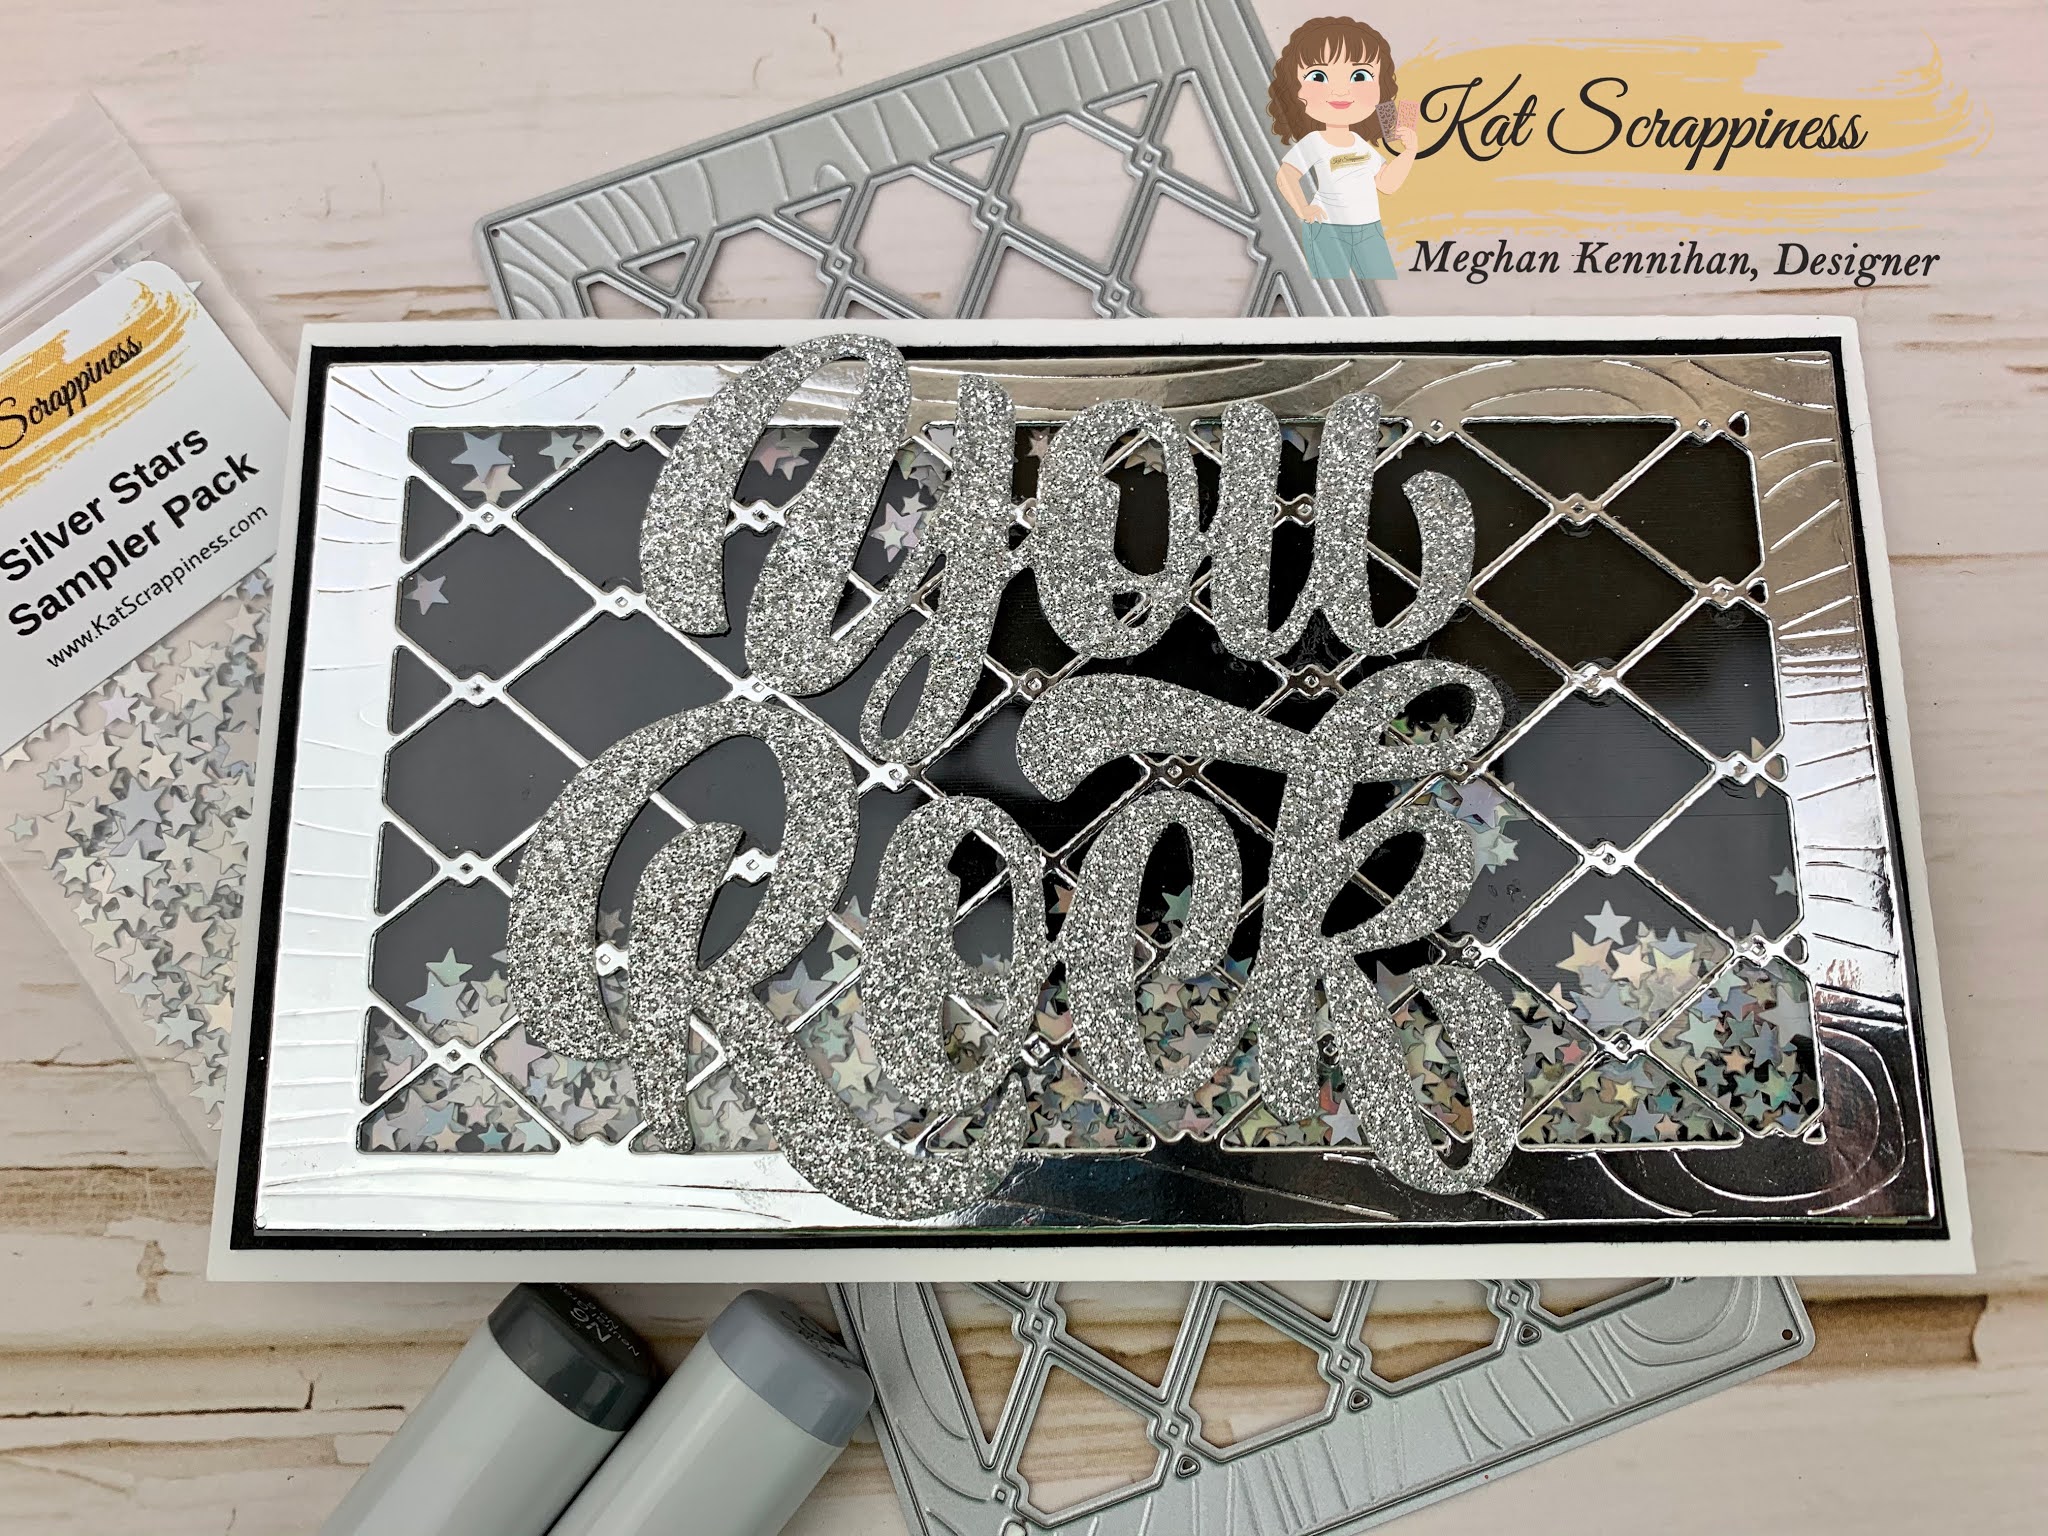
Wood Grain Framed Diamond Wire
Stay tuned for the Valentine’s Paper Pad coming soon at the shop!
Each DT member will have a blog post during the month to show you how they made their cards. To keep things rather short, I will only show you the samples and I also listed the supplies below for your convenience. Get ready to be amazed!
ADAM KARLE
Adam is giving you a sneak peek of some of the dies we are releasing soon.
Supplies for all projects:
Valentine’s Quokkas Stamp Set
Stitched Scalloped Edge Mini SL Die
Wonky Stitched Mini SL Die
Wood Grain Framed Diamond Wire
Distressed Edge Mini SL Die
Quokka’n Up Stamp Set
Solid White Star Confetti
A2 Acetate Sheet
Embellishment Pick-up Tool
CAREN BARTHOLOMEW
Supplies for all projects:
JO THOMPSON
Supplies for all projects:
KATHY SCHWEINFURTH
Supplies for all projects:
Wood Grain Framed Diamond Wire
Valentine’s Quokkas Stamp Set
Happy Valentine’s Day Sentiment with Shadow die
Stitched Scalloped Edge Mini SL Die
Wonky Stitched Mini SL Die
KS Love Heart Sprinkles, Hearts O’ Plenty Sequin Mixes
A2 Acetate Sheet
Embellishment Pick-up Tool
LISA GOLZBEIN
Supplies for all projects:
MARIA RUSSELL
Supplies for all projects:
MARLA HARRIS
Supplies for all projects:
Valentine’s Quokkas Stamp Set
Stewart the Sloth stamp set
Embossed Edge Mini SL Die
KS Love Heart Sprinkles
A2 Acetate Sheet
Embellishment Pick-up Tool
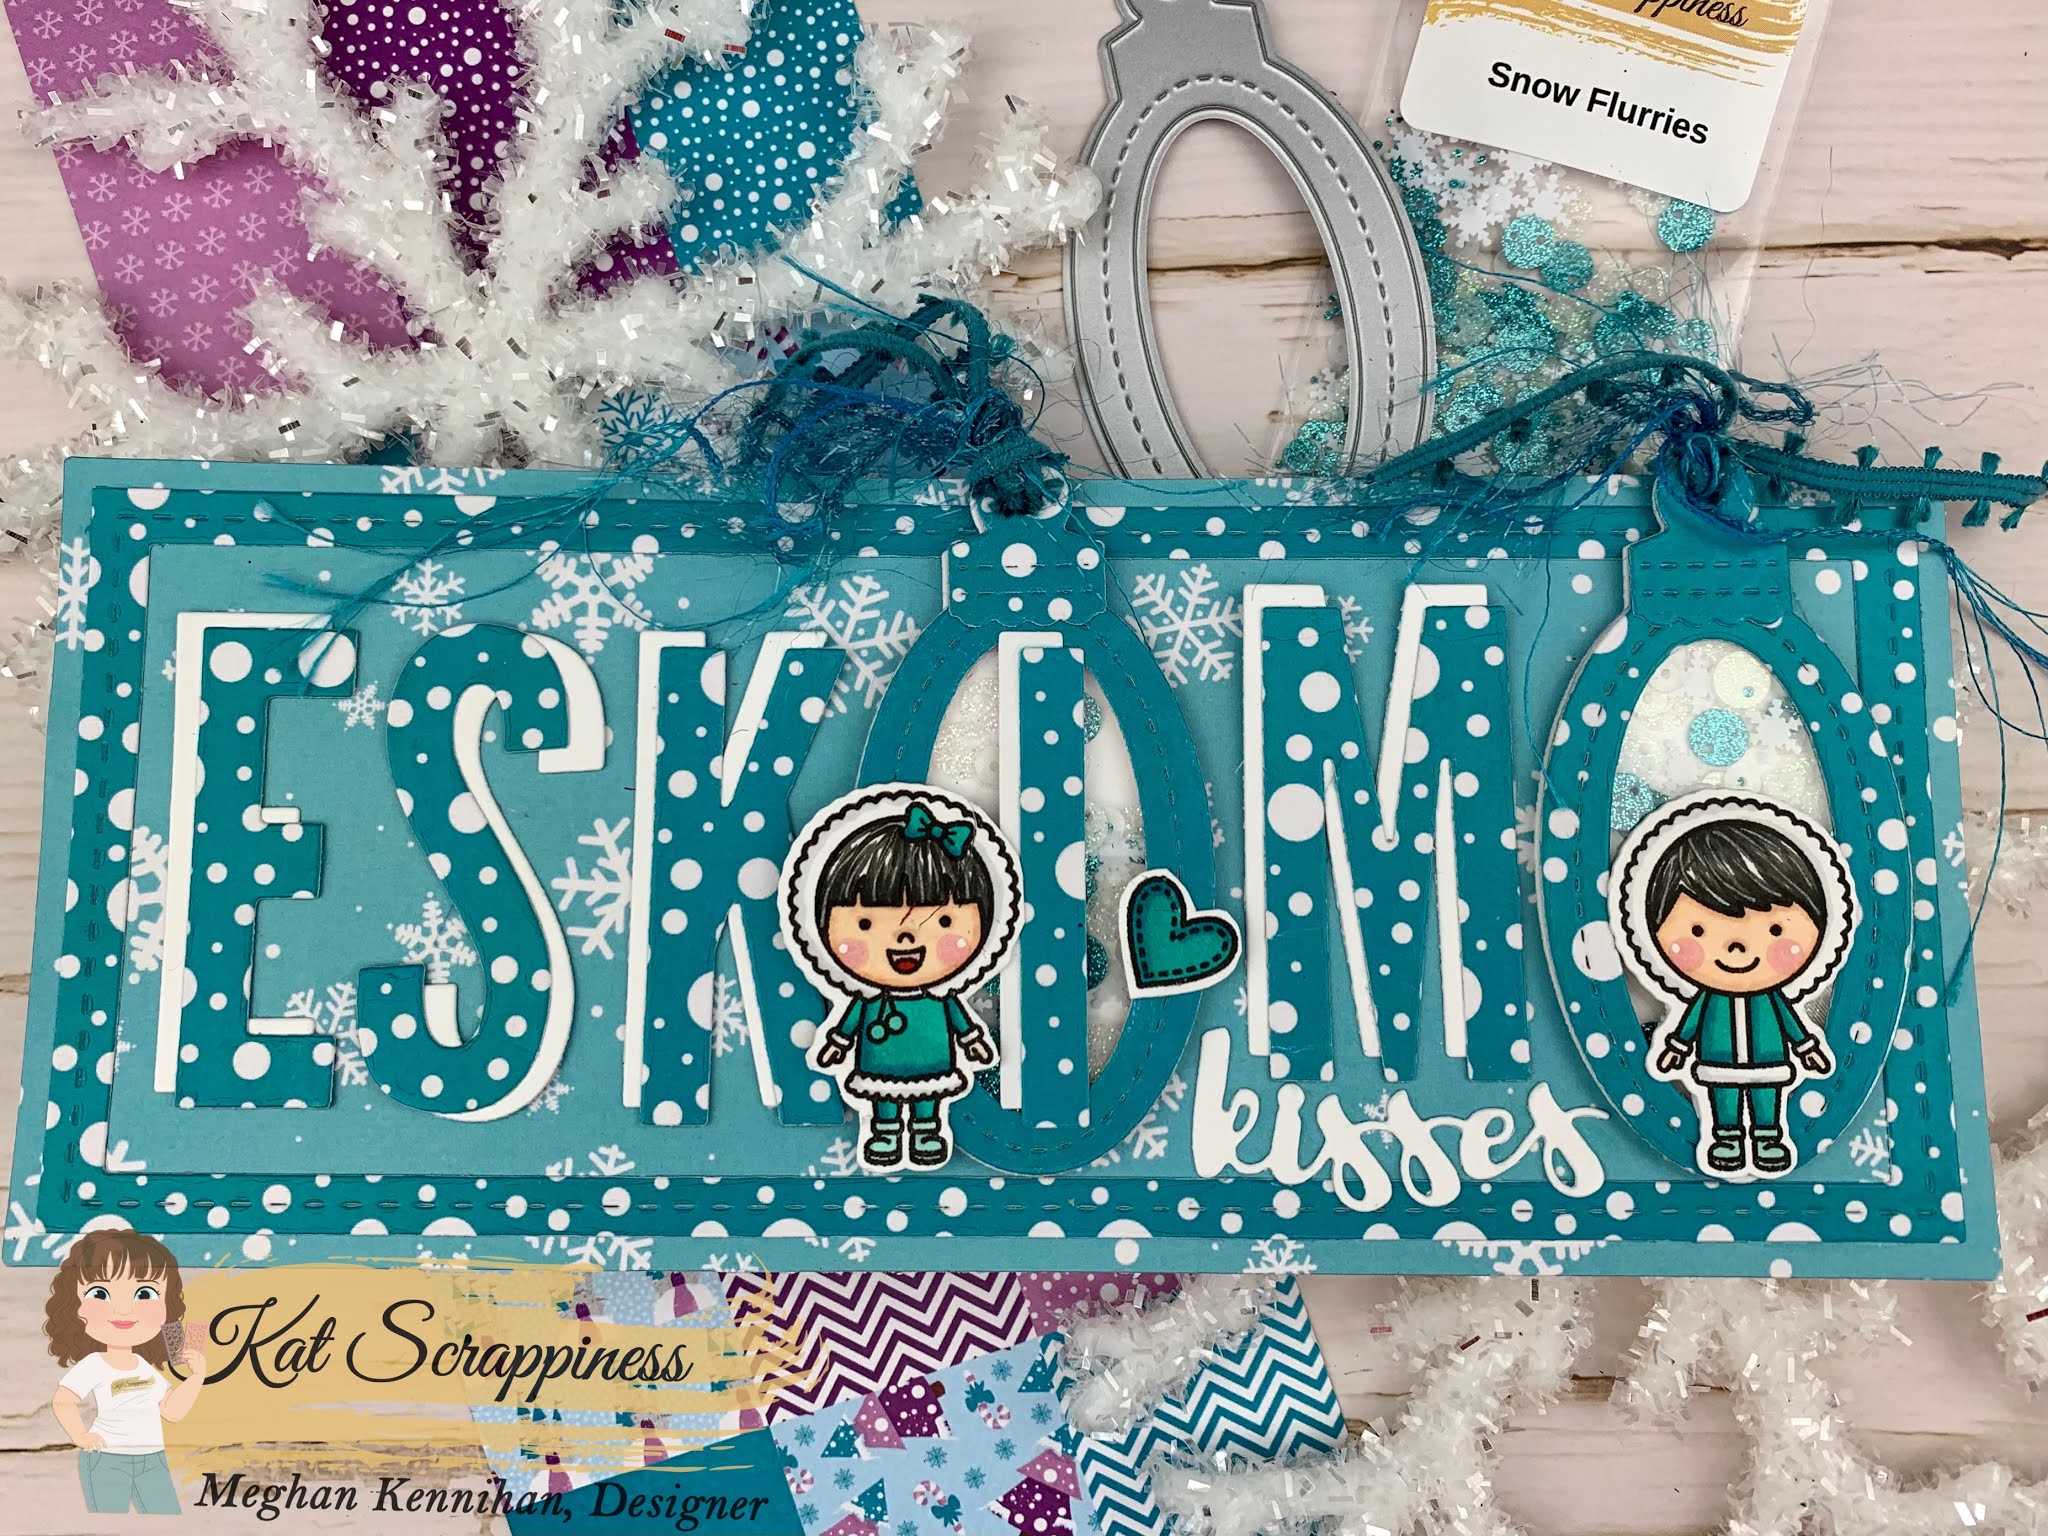
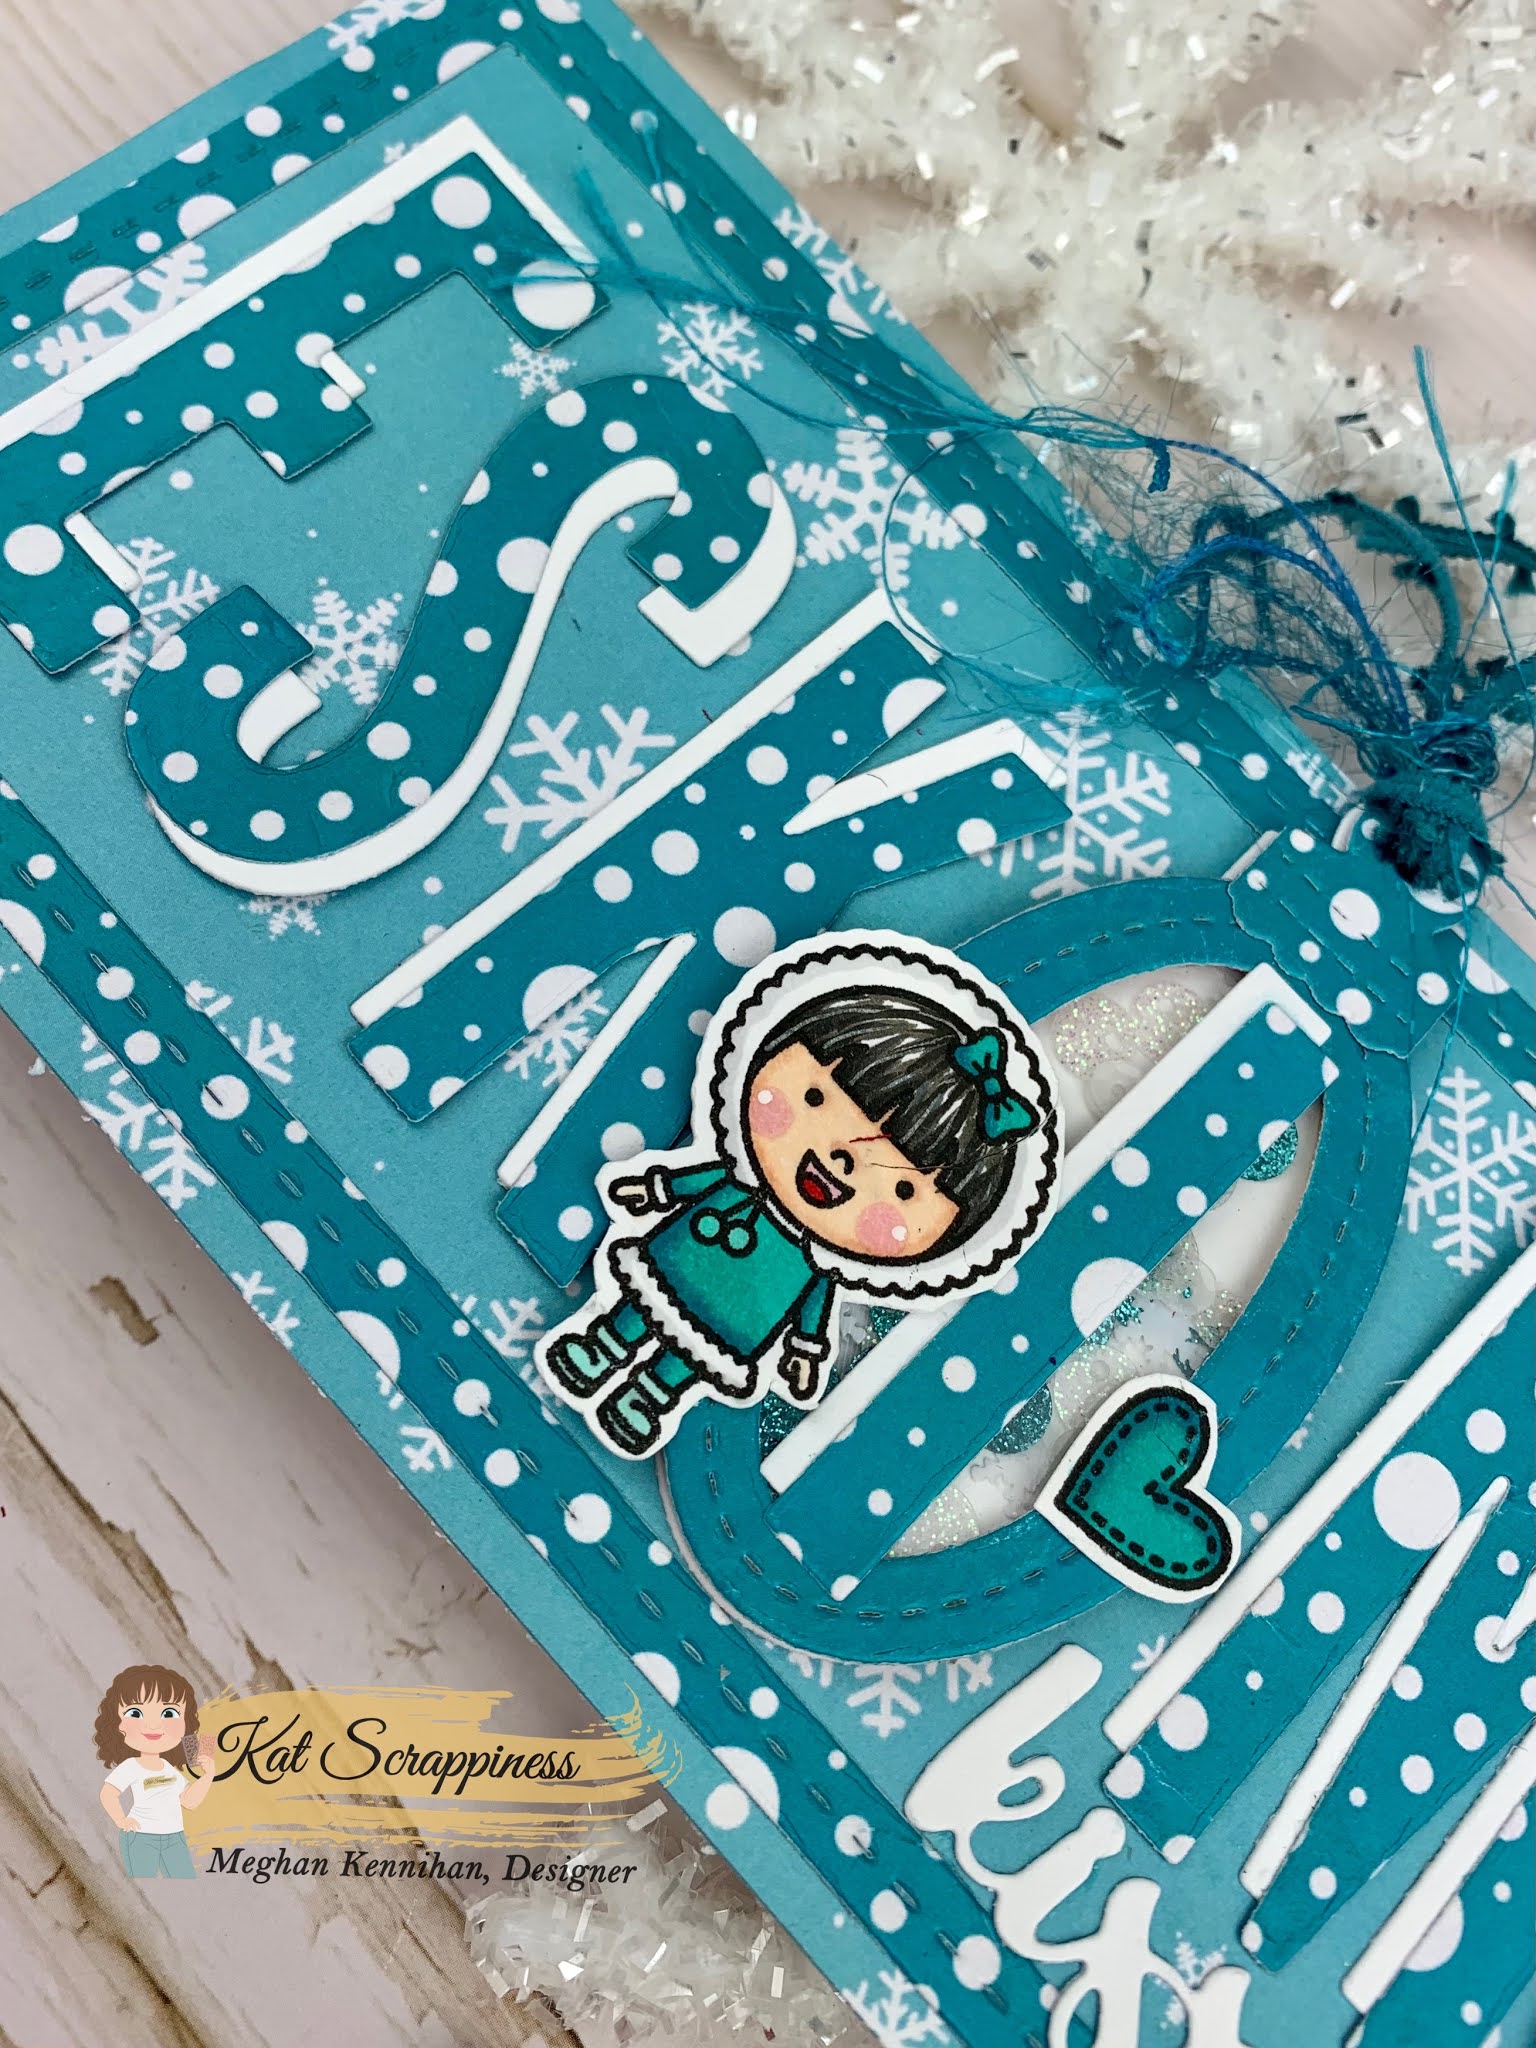
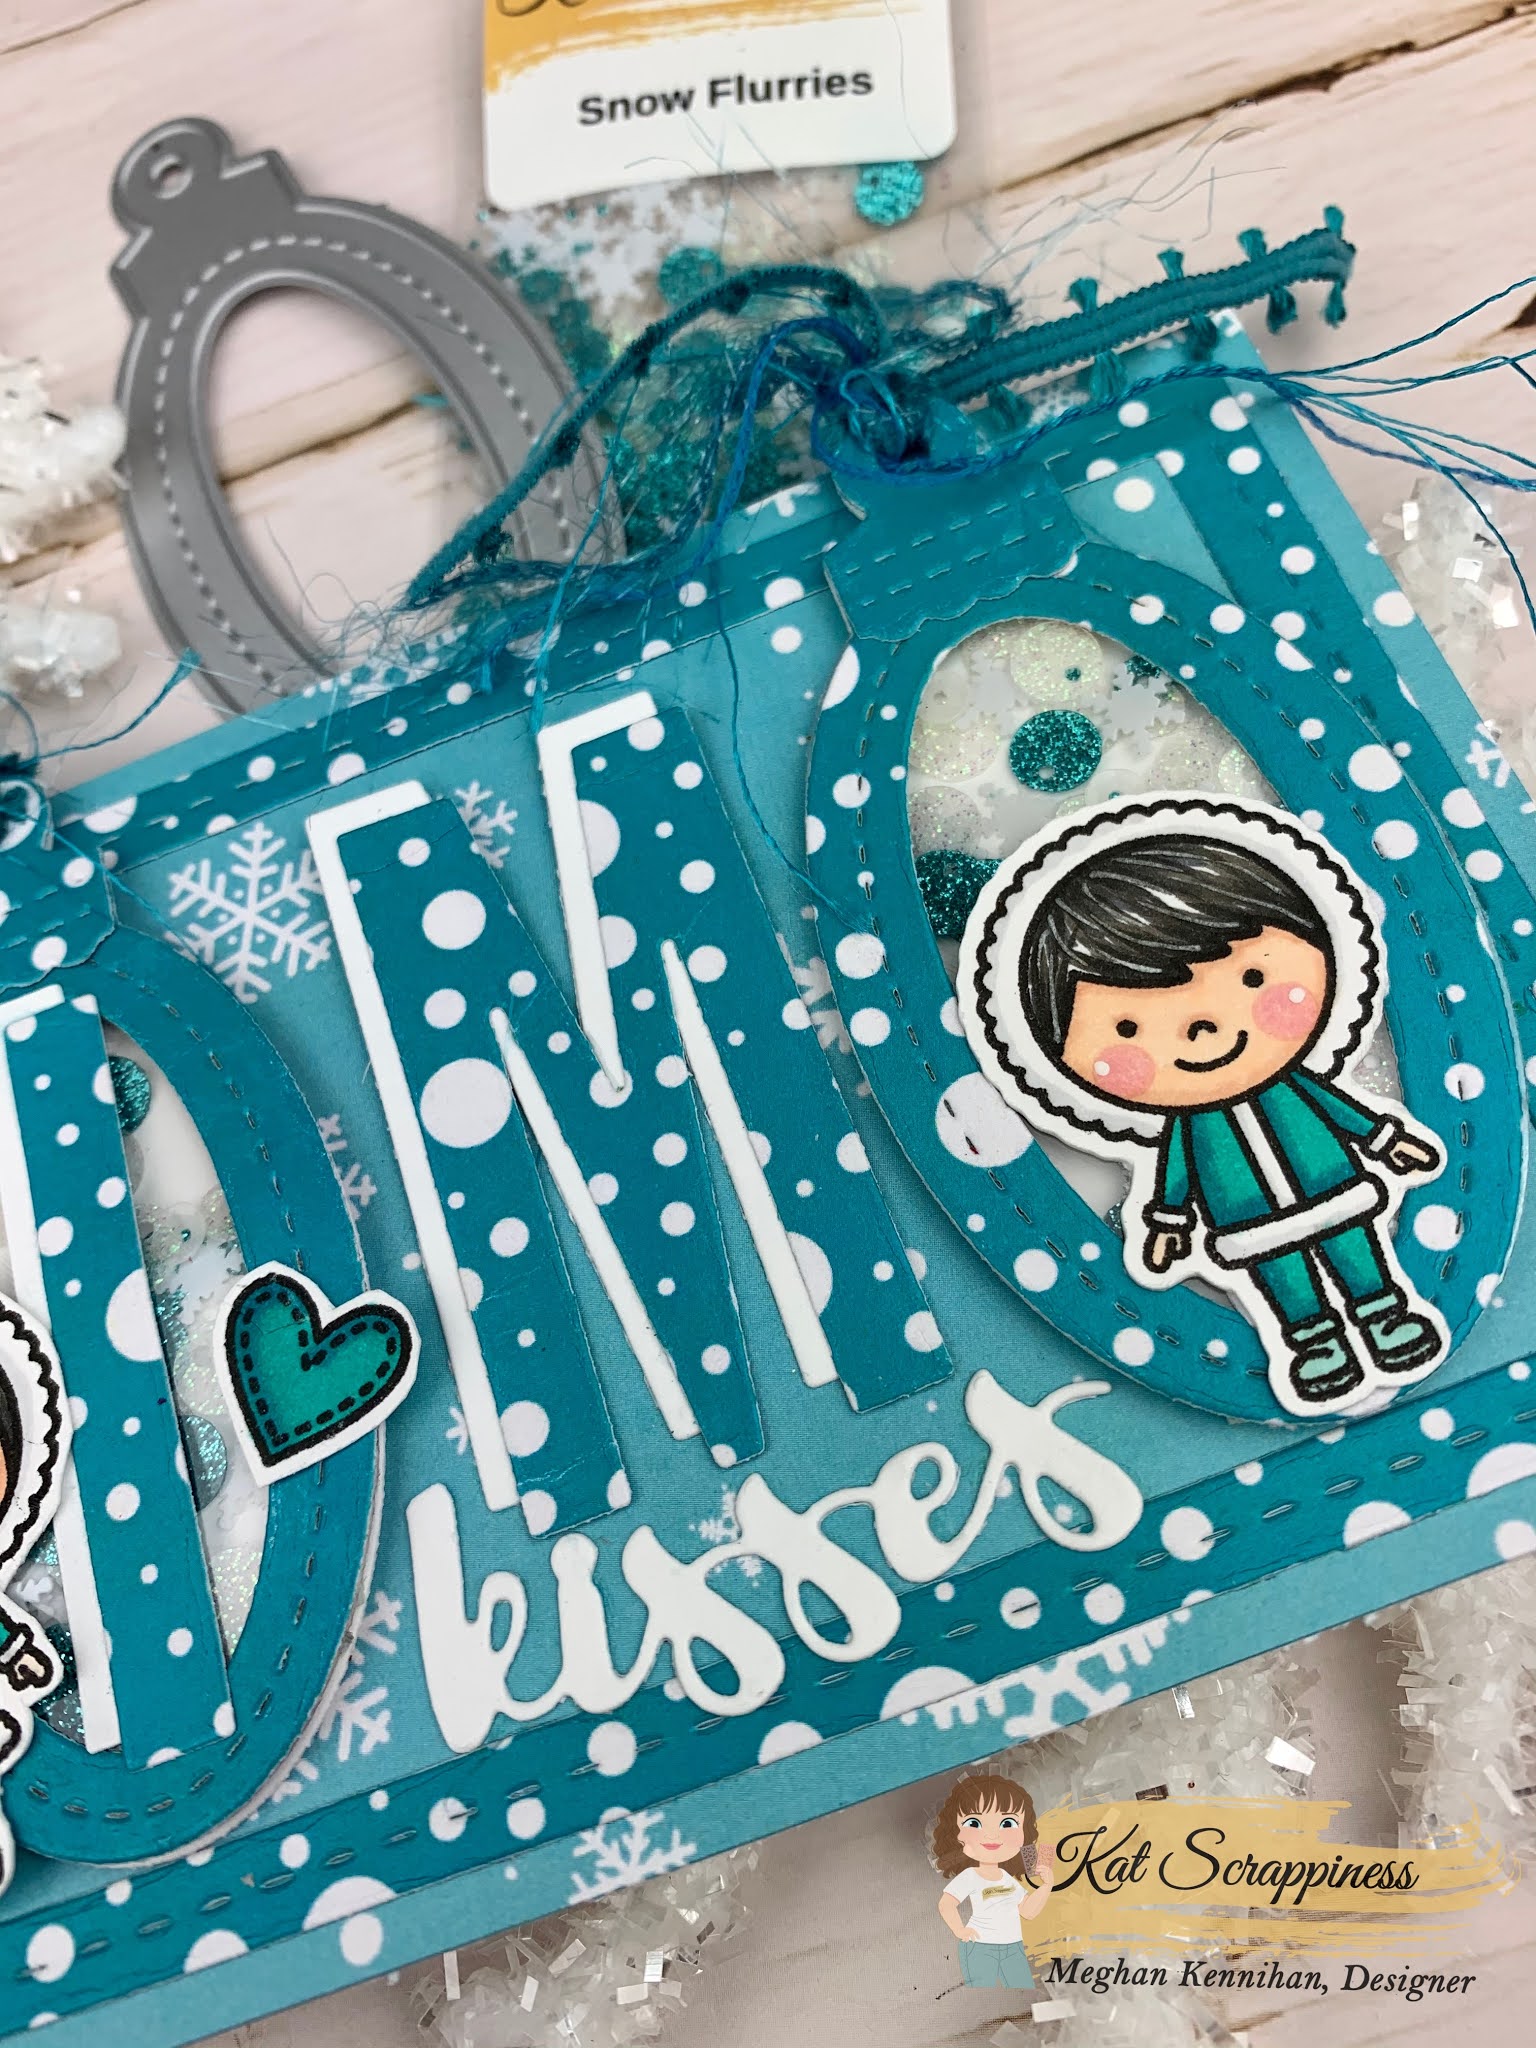
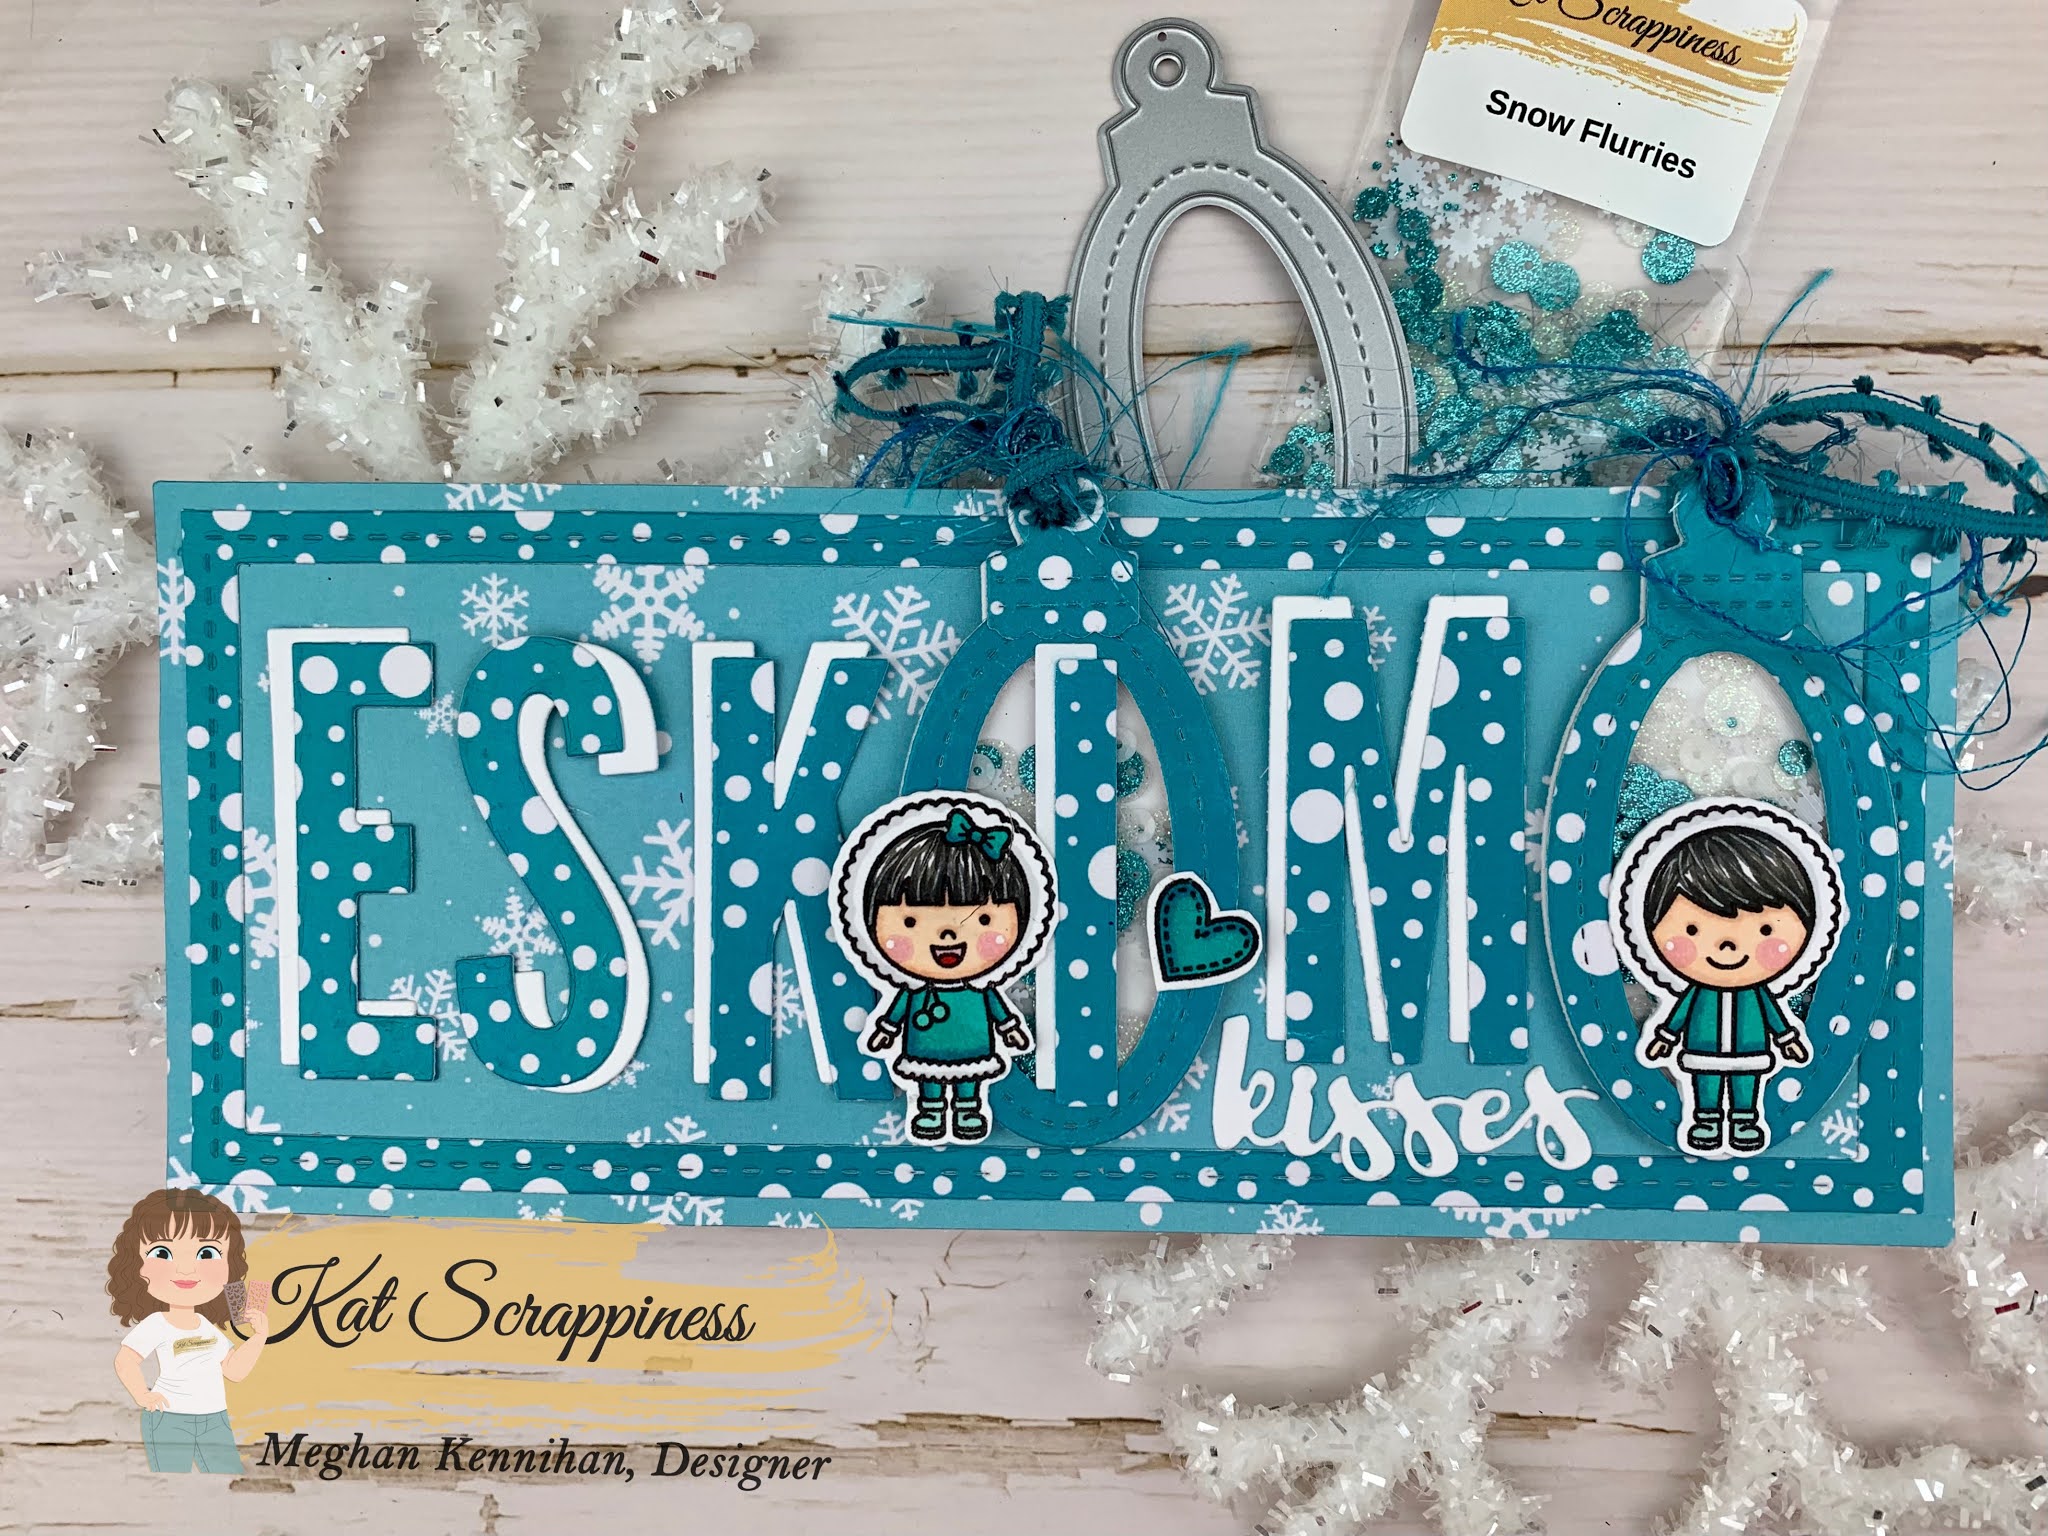
MEGHAN KENNIHAN
Meghan is giving you a preview of some of the dies we are releasing soon.
Supplies for all projects:
PRISCILLA BERGMAN-JOSEPH
Supplies for all projects:
SANDRA BEUS
Supplies used for all projects:
TINA DORNBAUM
Unfortunately, Tina did not receive the stamp set on time but she is such a trooper and created a cute sample for you anyway with the Quokka’n Up stamp set.
Supplies used for the project:
Double Stitched Mini Slimline dies
Heart Panel die
Layering Nested Heart Dies
Quokka’n Up stamp set
WALESKA GALINDO
Supplies used for all projects:
Valentine’s Quokkas Stamp Set
Stitched Scalloped Edge Mini SL Die
Double-stitched Mini SL Die
Embellishment Pick-up Tool
(GUEST-DESIGNER) DONNA GREEN IDLET
Supplies used for all projects:
Valentine’s Quokkas Stamp Set
Wood Grain Framed Diamond Wire
Stitched Scalloped Edge Mini SL Die
KS Love Heart Sprinkles
A2 Acetate Sheet
Embellishment Pick-up Tool
Would you like to win a $20 Gift Certificate* to the KS store (*the gift certificate will only work with KS products)? We will pick one lucky winner!
Here’s how to win:
Leave a comment on this blog post and tell us what project/s inspired you to the most today. You have until January 22nd to leave a comment. Winners will be announced on Saturday, January 23rd. All winners should send an email to: winners@katscrappiness.com to claim their prize within 48 hours.
Thanks for stopping by today and happy crafting!
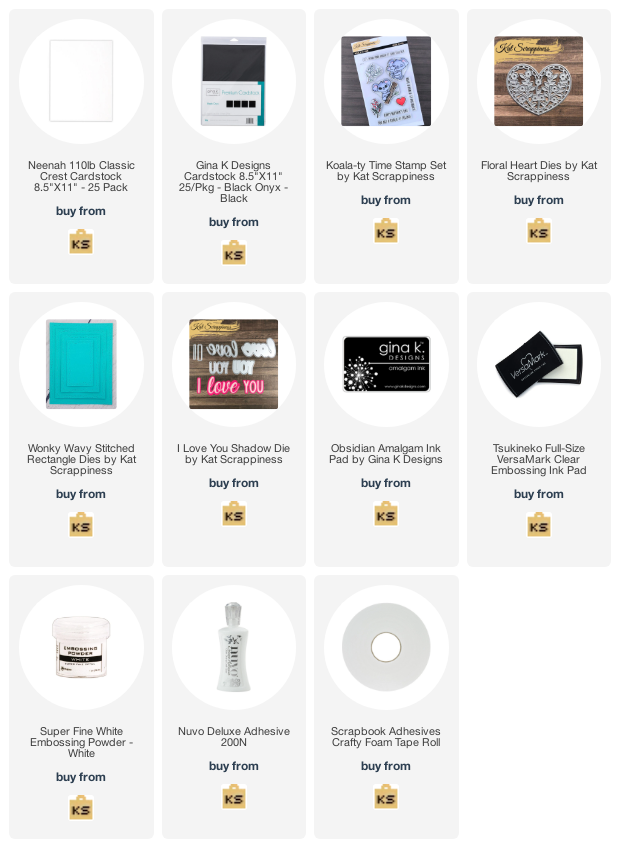
———–SUPPLIES———–