Follow:
    Design Team Projects

    You Are My Rainbow Slimline Card

    Hi everyone, it’s Tina here. I am super excited to share today’s card with you. It is using the new Slimline Film Strip Border dies which I designed along with the Slimline Raindow and Stitched Puffy Cloud dies. Below you will find the steps to create your own card.

    Step 1 – Trim White Cardstock to 7” x 8 1/2”, score at 3 1/2” and fold in half for a vertical side fold card. (Slimline)

    Step 2 – Diecut Slimline Film Strip Border using Black Cardstock.

    Step 3 – Apply Distress Oxide Tumbled Glass onto a Gel Plate and spread it using a brayer. Splash some water using a Distress Sprayer. Apply White Cardstock onto the Gel Plate and add a copy paper on top and roll the brayer on top to press the ink into the Cardstock. You may need to repeat this step depending on your Gel Plate size. Trim a panel to 2 1/8” x 8”. Place the Film Strip on top of the panel and lightly trace the outline of the three windows using a pencil.

    Step 4 – Diecut Slimline Rainbow using White Cardstock (or coloured). I used White and coloured in each rainbow strip using Alcohol Markers. Using some scotch tape I assembled the rainbow strips.

    Step 5 – Diecut Stitched Puffy Clouds using the DIY background created in Step 3.

    Step 6 – Cut sections of the Rainbow created in Step 4 and adhere with the clouds onto the panel created from Step 3 making sure each piece is within the penciled areas. If you have some out of the lines then trim it off. Once rainbows and clouds are adhered remove the pencil lines then adhere to entire panel to the backside of the Film Strip then adhere it to the card front using Bearly Art Precision Glue.

    Step 7 – Stamp sentiment from your stash using Versafine Onyx Black Ink on White Cardstock. Trim the sentiment and adhere to card front using Foam Tape.

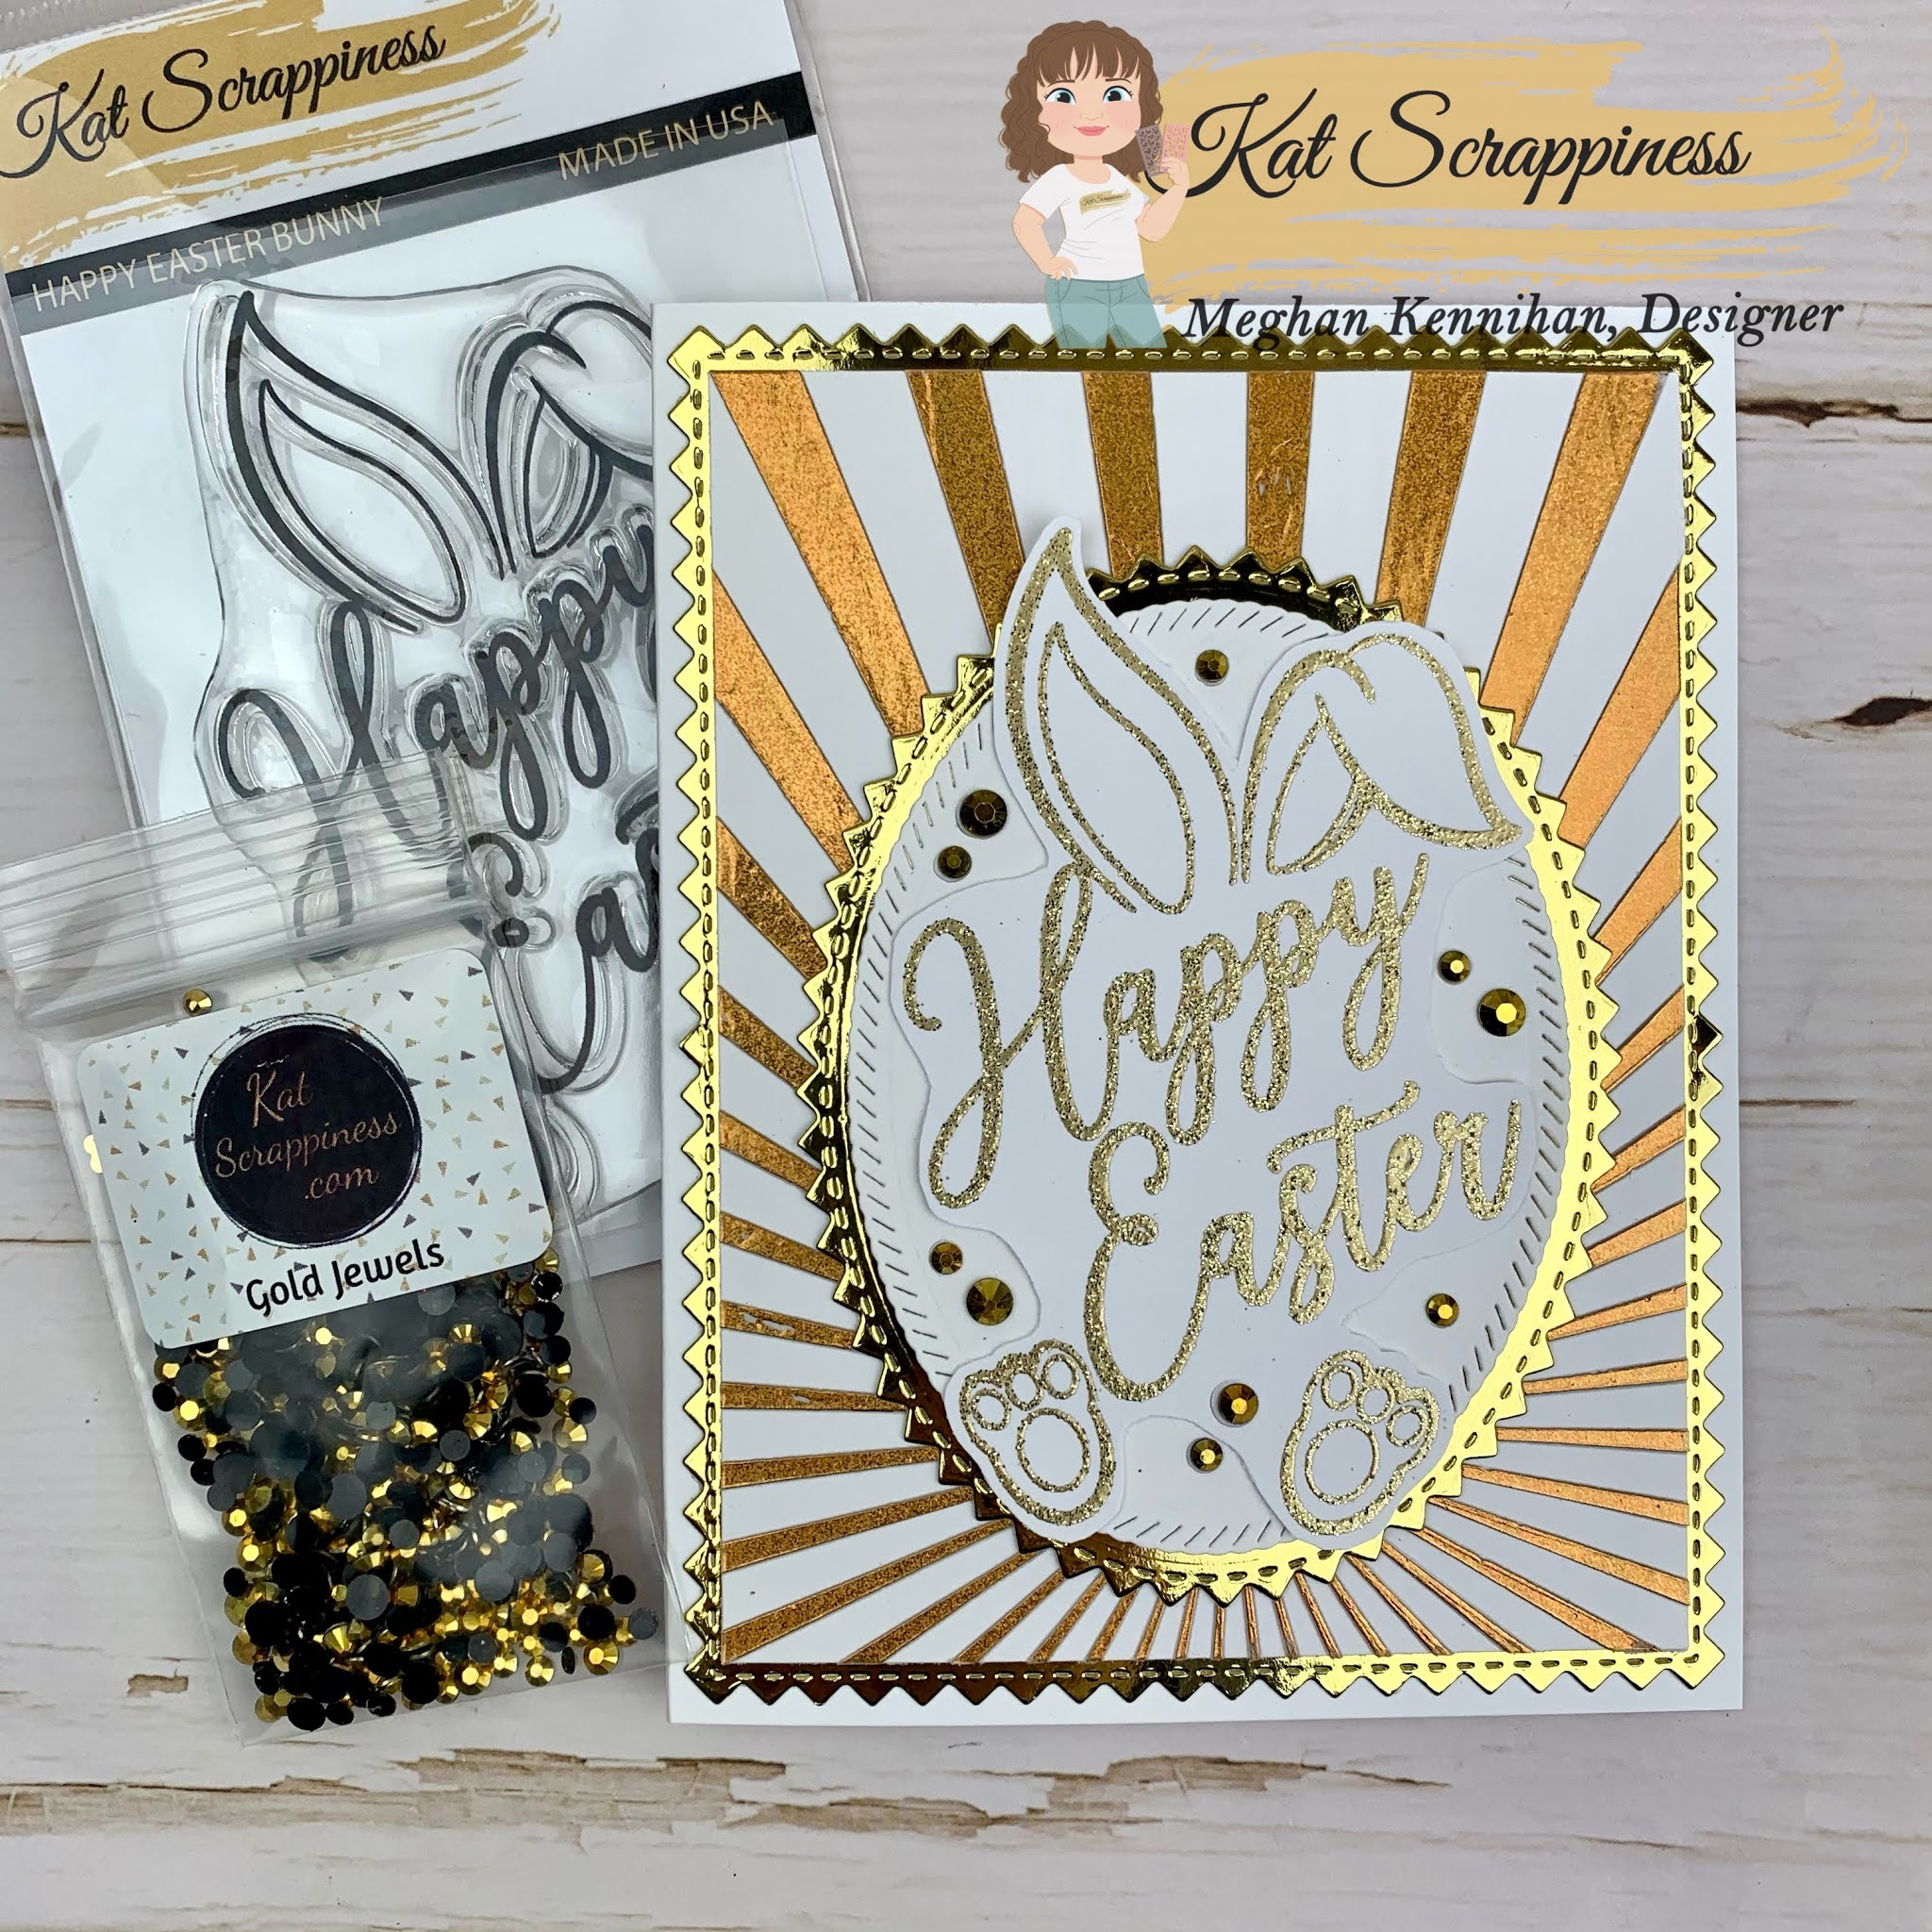
    This card can be used for many occasions by simply changing the sentiment. Below you will find the link to all the products used. Thank you for stopping by and Happy Crafting!
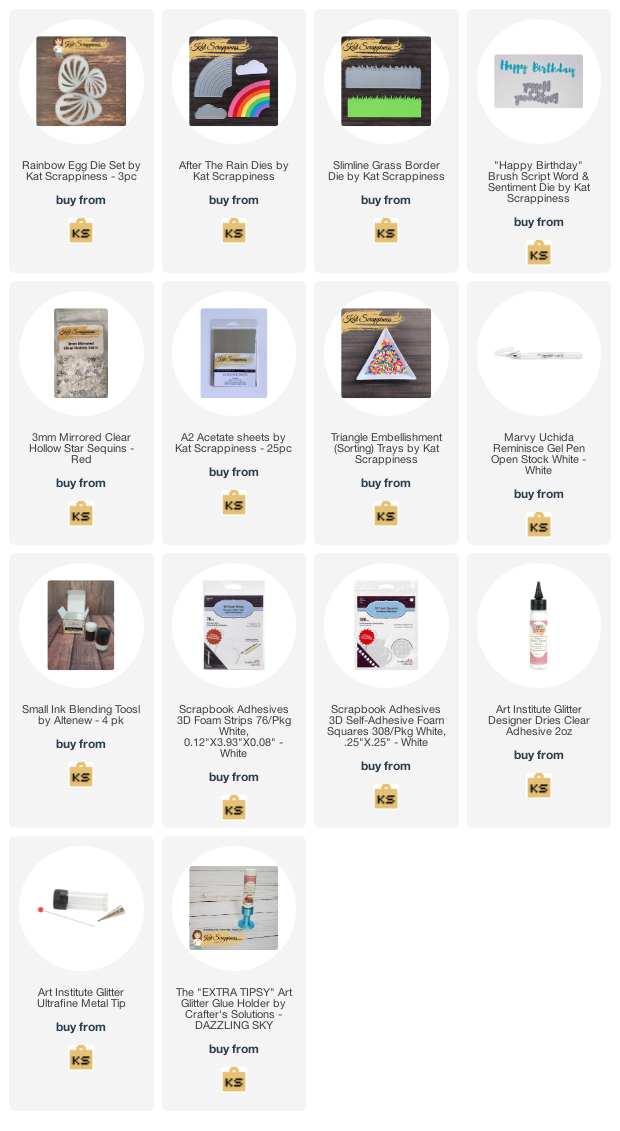
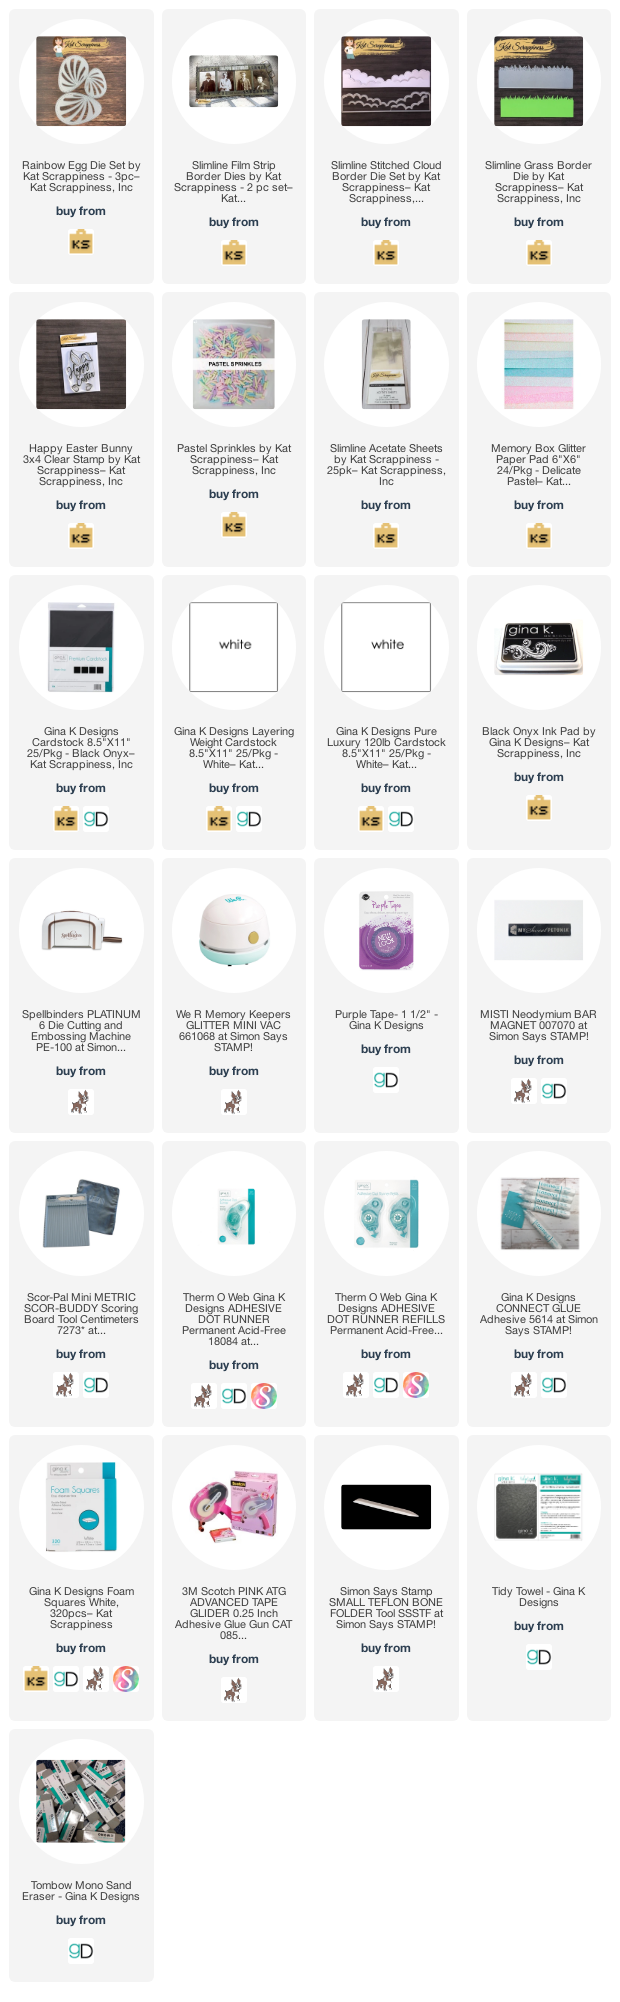
    Products Used:
    https://linkdeli.com/widget.js?id=f5e8378456858c916708

    Design Team Projects

    Sending Warm Fuzzies


    It’s Lisa here with you today on the Kat Scrappiness blog and I have this adorable mini slimline caffeinated creation!
    Today is the last day of the Spring/Summer 2021 Coffee Loving Cardmakers Hop and Kat Scrappiness is a returning Super Sponsor! In honor of the hop there is a special sale going on.
    There are over 100 coffee themed items in the shop and everything is 15% off through today!
    My card today features the brand new Happy Mail Gift Card Holder Die.
    It has the perfect little pocket for a gift card!
    For the base of my card I used the Mini Slimline Scalloped Edge Dies and some fun patterned paper.
    The darling little bear is from Gerda Steiner and the stamp is called Warm Fuzzies. I just love that little coffee loving bear! Make sure you head over to the Coffee Lovers Hop and link up your caffeinated creation, today is the last day! Also make sure to check out Kat Scrappiness for all the crafty goodness your little heart can handle!
    Here’s one more look at my sweet coffee card for today!


    Thanks for stopping by!
    Have a great day, I already am!
    🐻 ☕️ Lisa ☕️  🐻  
    Design Team Projects

    Springtime Wishes

    Happy Spring!  This Saturday was the first day of Spring and I find that worth celebrating!!  My tulips are popping out of the ground, tiny leaf buds are growing on tree branches and the weather is getting warmer — Spring is my favorite season!

    For my card, I layered black then light blue cardstock to the cardbase.  Green cardstock was cut with the Slimline Grass Border Die for the ground.  Using the After The Rain dies, I cut pretty spring colors of cardstock for the rainbow and added a white cardstock cloud with this die.

    The ‘abstract’ looking butterfly shaker was created using the Rainbow Egg Die set!  I cut two of the smaller egg die and brushed them with different inks then glued the centers, slightly overlapping them.  I then cut black cardstock with the larger egg die and used one of the cutouts for the center ‘body’; highlighting it with a white gel pen.  To create the shaker, I glued acetate to the back and trimmed it to the butterflies shape.  Using thin foam strips, I lined the edges of the butterfly over the acetate then added Mirrored Clear Hallowed Star Sequins.  I then enclosed the back with white cardstock and trimmed it to the shape of the butterfly.

    To finish, I cut black cardstock using the “Happy Birthday” Brush Script Word dies and highlighted the letters with a white gel pen.


    https://linkdeli.com/widget.js?id=f5e8378456858c916708

    Design Team Projects

    Glorious Gold Easter Bunny

    Hi Crafty Friends,
    I have a shiny gold glorious Easter card for you today featuring Kat Scrappiness Happy Easter Bunny Stamp set. I used all every kind of gold crafting product I could on one card… foil, metallic paper, jewels, and gold embossing powder.

    Make Crafty Friends Q & A:
    Q: Are you a gold or silver person?
    A: Me? Silver. I think I only own one or two pieces of gold jewelry

    I would be so grateful if you use the affiliate links below to grab your goodies! No extra cost to you!

    Don’t forget to subscribe, follow, and comment on my blog for your chance to win my March Prize and for more giveaways and inspiration follow me on Instagram @MadeByMeghanK

    Supplies:
    Kat Scrappiness Zig Zag Rectangle Dies
    Kat Scrappiness Zig Zag Oval Dies
    Kat Scrappiness Stitched Roped Oval Dies
    Kat Scrappiness Happy Easter Bunny Stamp
    Kat Scrappiness Gold Jewels

    Design Team Projects

    Happy Easter

    Hello everyone!

    It’s Donna here with Kat Scrappiness featuring the NEWLY released Easter dies and slimline dies. I’ve created a shaker card using the Rainbow Egg die set.  I used the Kat Scrappiness Pastel Sprinkles.  The frame is the Slimline Filmstrip Border Dies.  The sentiment if from the  Happy Easter Bunny clear stamp set.


    Kat Scrappiness is having a sale, EVERYTHING is 15% off from MARCH19-26th, use coupon code: “COFFEEHOP2021”.

     
    The sentiment if from the  Happy Easter Bunny clear stamp set.  My slimline die measure 3 1/2 x 8 1/2, I die cut the Slimline Filmstrip with black cardstock, I die cut the Slimline Stitched Cloud Border Die and inked it with blue ink, and die cut the Slimline grass die and adhered everything together.  I adhered it to the card.  I then added the shaker Rainbow eggs to the card and finished it off by adding the sentiment from the Happy Easter Bunny stamp.
    Here is a picture of some of the dies I used on my card.
    Thank you so much for stopping by, please come back again soon.
    Here is a list of supplies I used on my card, Affiliate Links used at no additional cost. Thank you for your support.


    https://linkdeli.com/widget.js?id=f5e8378456858c916708

    Design Team Projects

    SPRING SUMMER 2021 COFFEE LOVERS BLOG HOP


    Welcome to our blog!  Kat Scrappiness is pleased to be a super sponsor for the Coffee Lover’s Blog Hop for the Spring/Summer 2021.  Our design team members all joined in to show you some of the fun and coffee themed cards they made using some of the Kat Scrappiness “Coffee” related products.  We currently have over 100 Coffee themed products available here!

    Remember, EVERYTHING is 15% off from MARCH19-26TH, !!! use coupon code: “COFFEEHOP2021” for 15% off your order).

    We are also having a giveaway!  Since Kat Scrappiness is a super sponsor, we will be giving away a $25.00 gift card to the store, PLUS a flash prize which is a surprise package of Kat Scrappiness products!.


    Each of our design team members participate in the Coffee Lovers Blog Hops and we will list photos of their projects, along with links to the designer’s individual blog.  That way, you can go visit the designer’s blog to view their projects in detail, if you would like to see how the card was made or what products were used to create them.  Each link will open in a new window so don’t worry, you won’t lose your place in the hop 🙂

    Let’s get started with our Design Team Member’s Projects!

    Priscilla Bergman Joseph: Click Here to see how this card was made and what products were used.


    Kathy Schweinfurth: Click Here to see how this card was made and what products were used.

    Donna Green Idlet: Click Here to see how this card was made and what products were used.

    Meghan Kennihan: Click Here to see how this card was made and what products were used.

    Caren Bartholemew: Click Here to see how this card was made and what products were used.

    Tina Guigui Dornbaum: Click Here to see how this card was made and what products were used.

    Lisa Schneider-Golzbein: Click Here to see how this card was made and what products were used.

    Thanks for stopping by the Kat Scrappiness Blog! Don’t’ forget to visit the Kat Scrappiness store to save during the hop!

    Save 15% OFF EVERYTHING IN THE STORE!!!

    Use Coupon Code: COFFEEHOP2021

    SHOP HERE

    (Valid from March19th to March 26th)


    Return to the Hop Here

    Design Team Projects

    Mini Slimline Tulip Bouquet Card

    Hi everyone, it’s Tina here. I am sharing a card I made using the new Layered Tulip Bouquet dies which is perfect for Easter. Below you will find the steps to create your own card.

    Step 1 – Trim White Cardstock to 7″ x 6″, score at 3 1/2″ and fold in half for a horizontal top fold card. (Mini Slimline)

    Step 2 – Trim Black Cardstock to 3 1/4″ x 5 3/4″ and adhere to card front using Nuvo Deluxe Adhesive.

    Step 3 – Diecut Mini Slimline Double Stitched using a DIY Background or Patterned Paper. Adhere to card front using Nuvo Deluxe Adhesive.

    Step 4 – Diecut Layered Tulip Bouquet using White Cardstock inked with colors of your choice or using Colored Cardstock. Assemble and adhere to card front using using Nuvo Deluxe Adhesive. (I added Distress Oxide Inks onto a Gel Press and spalshed some water before diecutting.)

    Step 5 – Diecut Happy Easter with Shadow (I used the outline only) using White Cardstock. Adhere to card using Nuvo Deluxe Adhesive.

    This card can be used for many occasions by simply changing the sentiment and colors. Below is a link to all the products used. Thank you for stopping by and Happy Crafting!

    Products Used:
    https://linkdeli.com/widget.js?id=f5e8378456858c916708