
Hello Crafty Friends! Priscilla here from Nubble Light Designs. Today I am sharing a card featuring “Riley the Moose” painting some Easter eggs. The soft backdrop behind Riley was done be creating a D.I.Y. stencil from a large filagree egg die and softly blending pink ink over it.

I used the Kat Scrappiness Large Filigree Egg Craft Die, Happy Easter Shadow Sentiment Craft Die, and Blue Faux Glitter paper pad to make today’s card.
Card Details:
- Created an A2 top-folding white card base.
- Created a D.I.Y. stencil by using the Kat Scrappiness Large Filigree Egg Craft Die to die cut a mylar stencil sheet.
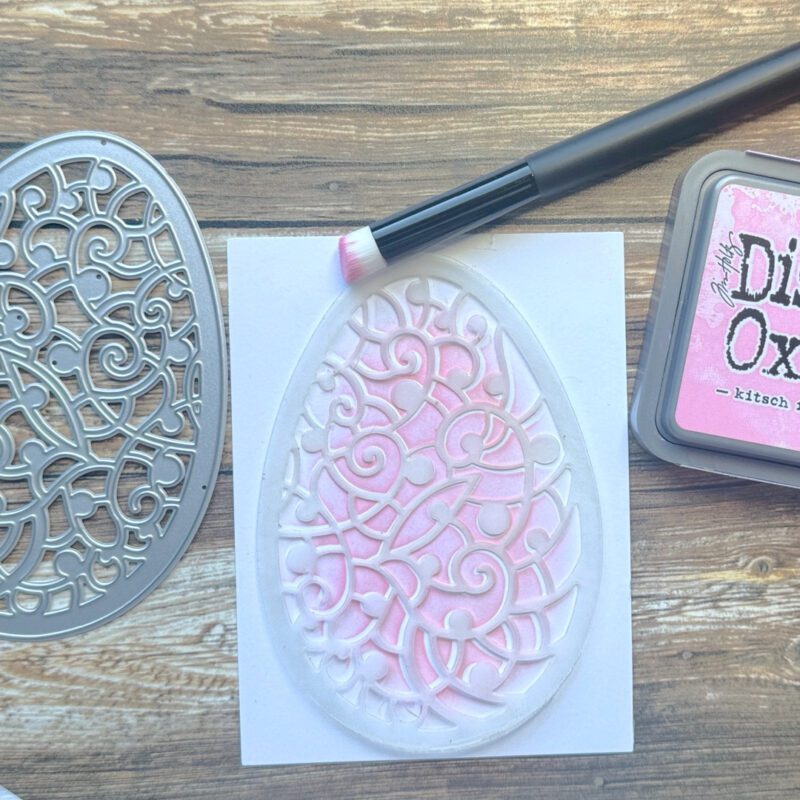
- Sprayed adhesive spray on the back of the stencil before laying it over a piece of white cardstock.
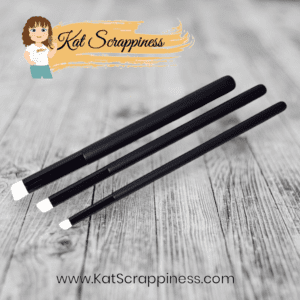
- Softly blended pink pigment ink over the stencil with one of Kat’s new Mini Detail Blending Brushes, making sure not to blend the ink all the way to the edges of the stencil for a more “organic” look.
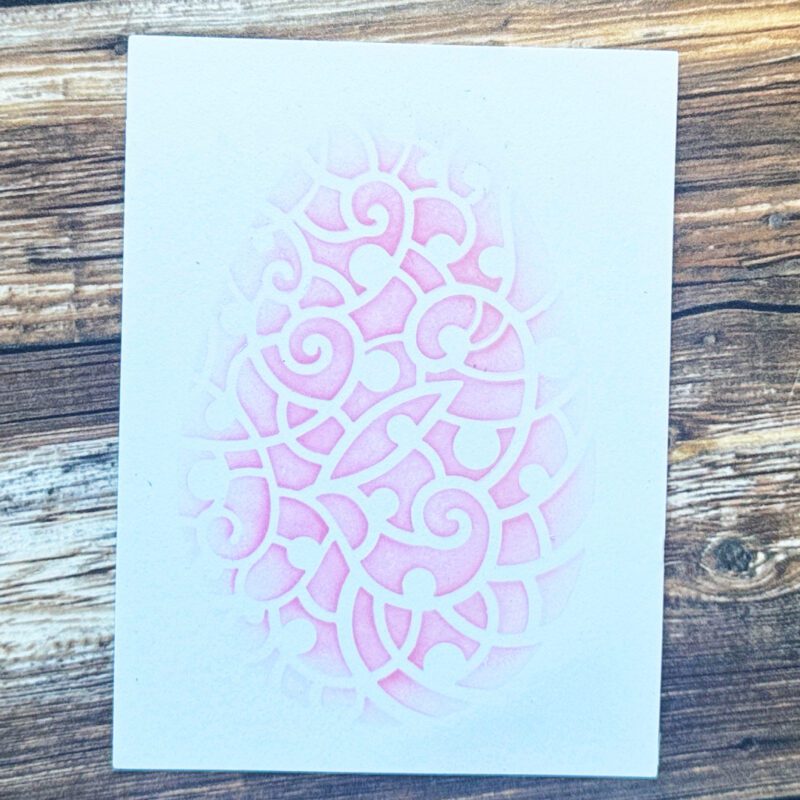
- Framed the finished layer with a piece of patterned paper from the Blue Faux Glitter paper pad.
- Adhered both layers to the card base.
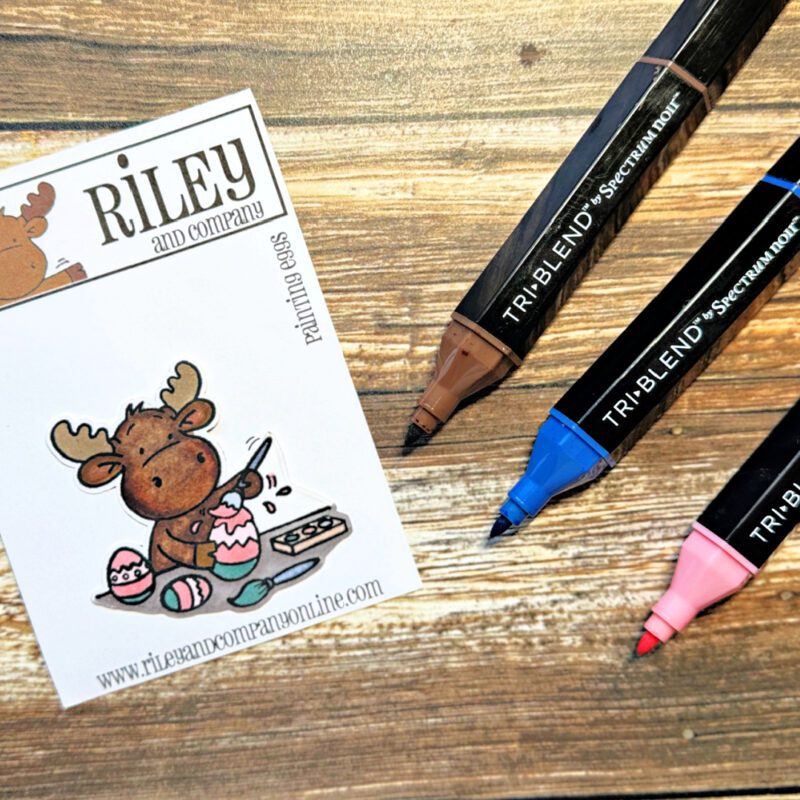
- Colored Riley and his eggs using Spectrum Noir Tri-Blend markers and cut him out using my Brother “Scan N Cut 2″ machine, and then adhered him to the front of the card.
- Die cut the sentiment using the Happy Easter Shadow Sentiment Craft Die and the same patterned paper from the Blue Faux Glitter paper pad, and then adhered it over the top of the stenciled egg.

- Added five Cotton Candy Glow Glitter Sequins for the finishing touch!


Thank you so much for stopping by! Don’t forget to check out what’s NEW in Kat’s Shop, and follow my blog,Instagram, and Facebook for more “Kat Scrappiness Amazingness”!
Priscilla
I would be so grateful if you use my affiliate links in this post to grab your Kat Scrappiness Goodies! No extra cost to you!
No Comments