Hi everyone, it’s Tina here. Stencils are so versatile. You can ink, dry emboss and apply gels and/or pastes. For…

Hi everyone, it’s Tina here. Stencils are so versatile. You can ink, dry emboss and apply gels and/or pastes. For…
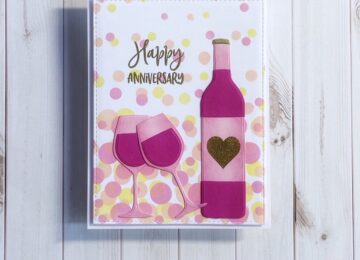
Hi everyone, it’s Tina here. Today I have an Anniversary Card to share using the Floating Dots 6×6 Stencil with…

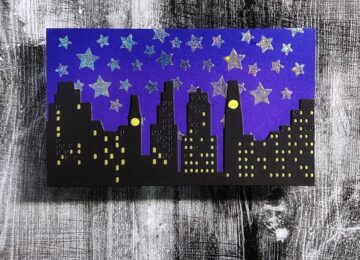
Hi everyone, it’s Tina here. Spring is in the air and I couldn’t resist using the Slimline Waterside for the…

Hi everyone, it’s Tina here. I have one last Easter card to share with you using the new Hippity Hoppity…
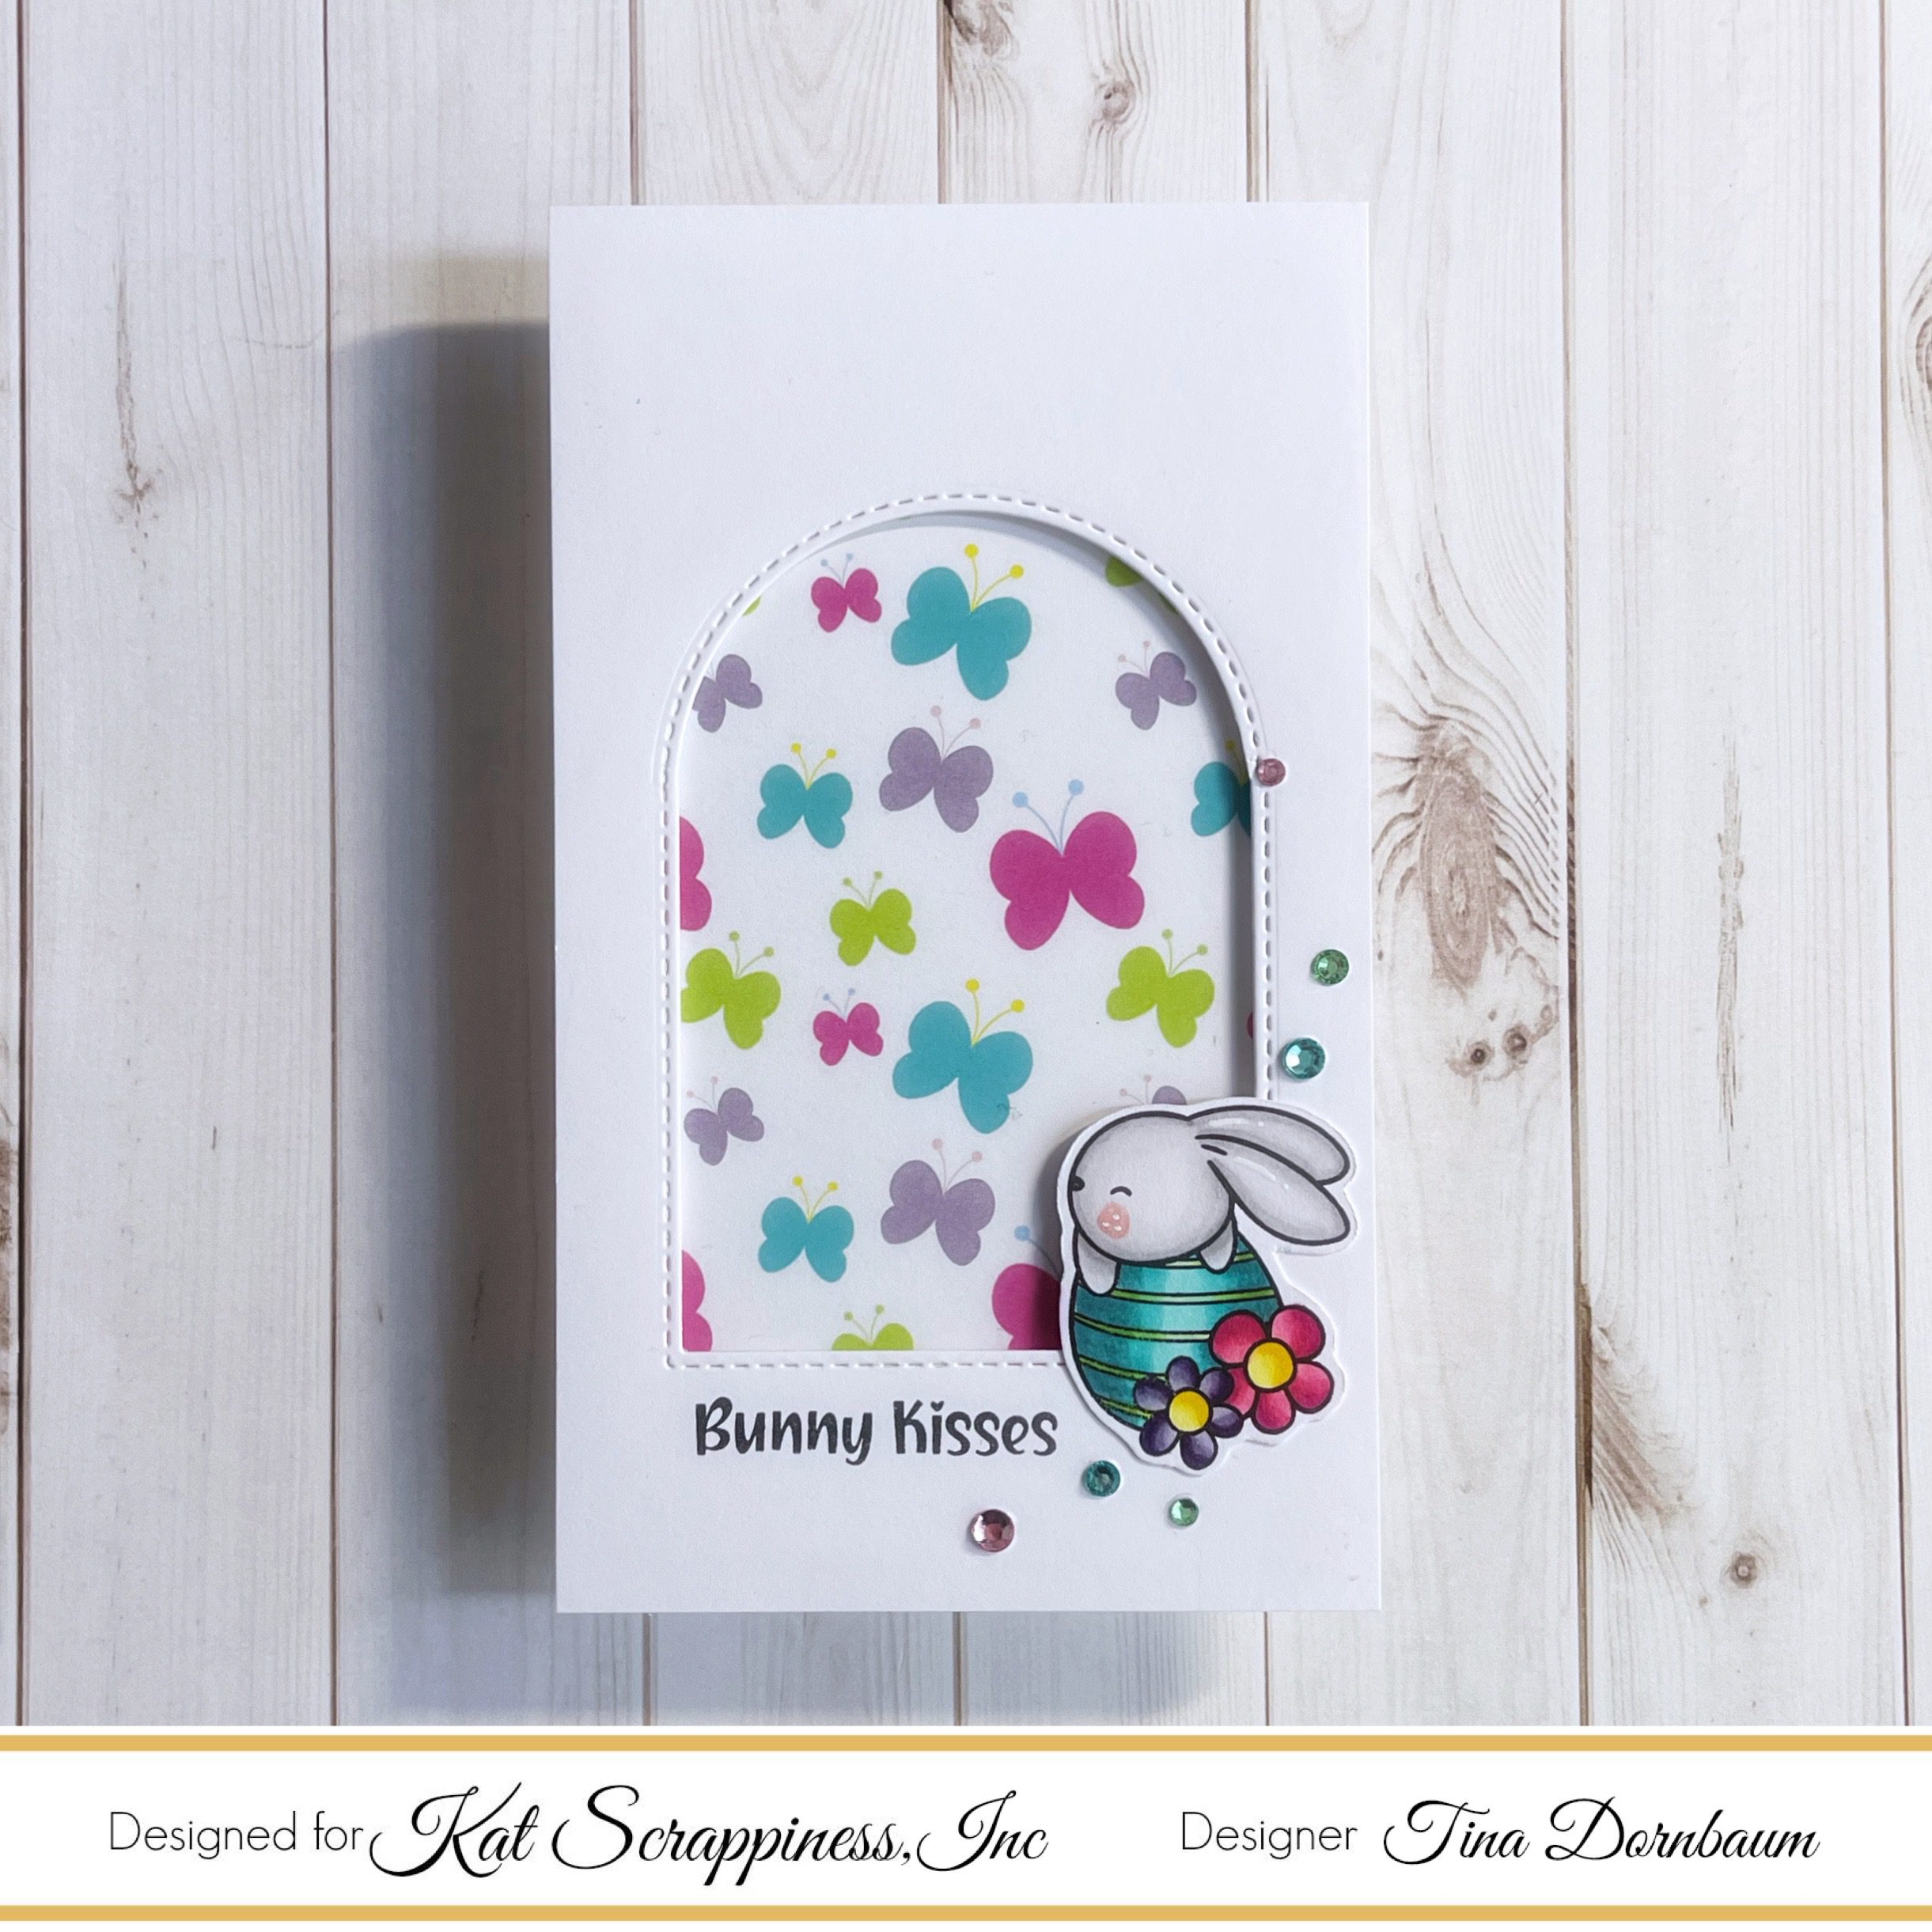
Hi everyone, it’s Tina here. I am totally loving the new Hippity Hoppity Bunnies and Sentiments Stamp Sets and the…
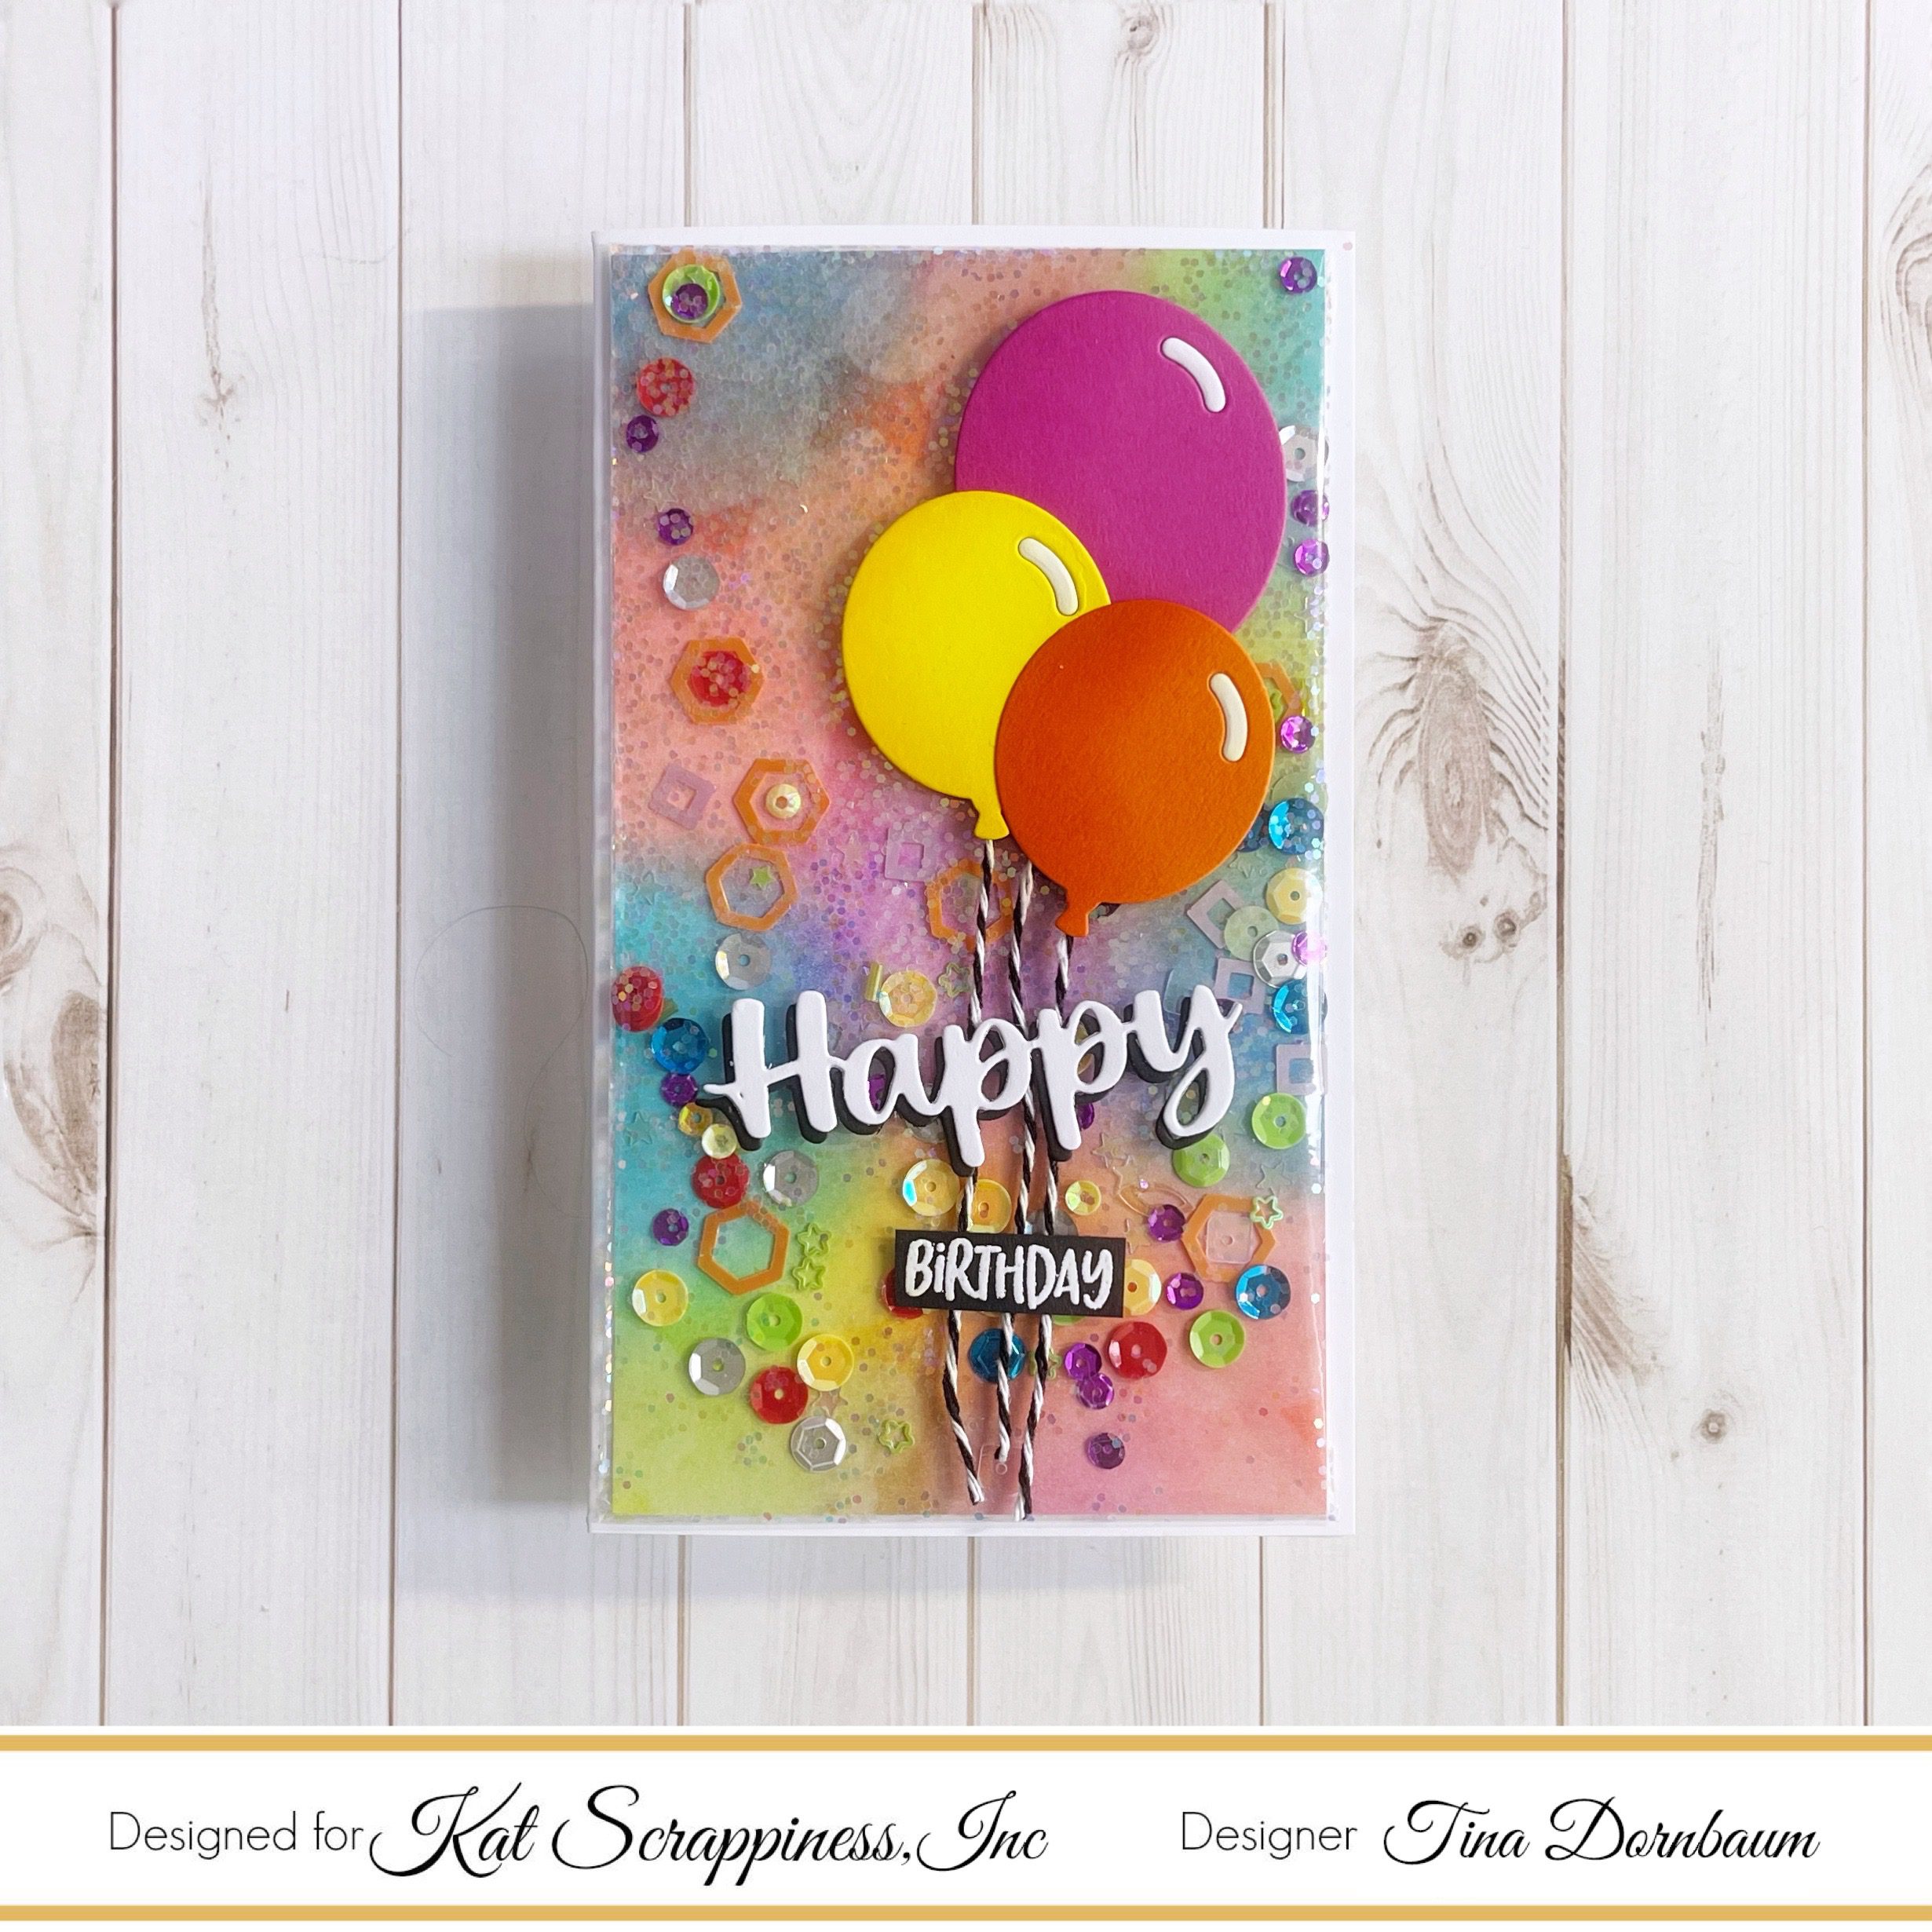
Hi everyone, it’s Tina here. I have a fun card to share using the Birthday Essentials dies and turned it…

Hi everyone, it’s Tina here. I have a Rainbow Balloons and Background Card to share using the Layered Balloon Coverplate…