Hi Everyone, it’s Tina here. Today I have two easy and fast cards to share with you using the new…

Hi Everyone, it’s Tina here. Today I have two easy and fast cards to share with you using the new…
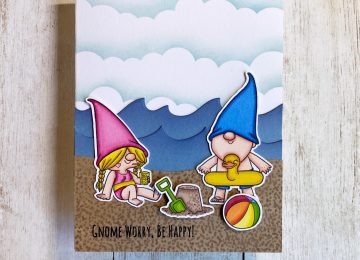
Hi Everyone, it’s Tina here. Today I am excited to share with you the new Gnome Summer Stamp Set from…
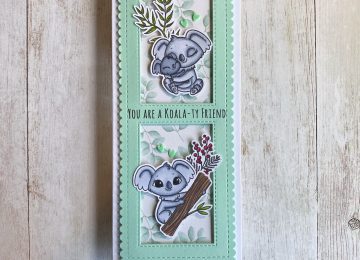
Hi Everyone, it’s Tina here. I combined some new Kat Scrappiness product to create this scene card. I used the…
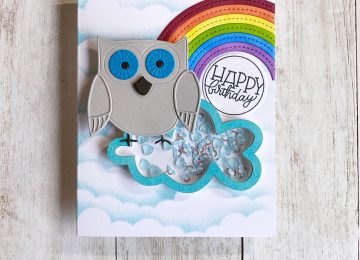
Hi Everyone, it’s Tina here. I often get messages on social media and emails asking how I make shaker cards….

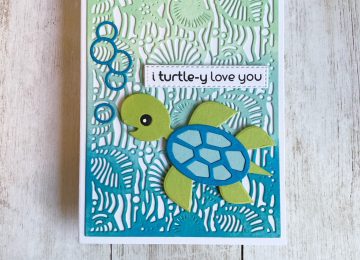
Hi Everyone, it’s Tina here. I am super excited to share with you Embossed Edge Nesting Slimline dies. This is…
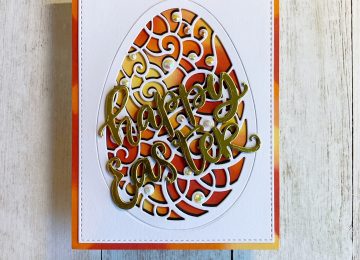
Hi Everyone, it’s Tina here. The Large Filigree Die from Kat Scrappiness makes super quick Easter Cards. Just create any…

Hi Everyone, it’s Tina here. I hope everyone is staying home and staying safe! With Easter coming up I have…