Hi everyone! Kat here, letting you know about our sale that starts today! It’s called “Pick Your Sale” because you…


Hi everyone! Kat here, letting you know about our sale that starts today! It’s called “Pick Your Sale” because you…
Hi Crafty Friends, I am LOVING being a Guest Designer for Kat Scrappiness this month. I am once again using…
Hello inky friends, Martha Lucia here with you! Today I have some inspiration with the new release of Kat Scrappiness….
Hi Crafty Friends, This is my second post for Kat Scrappiness as their Guest Designer this month. I am once…
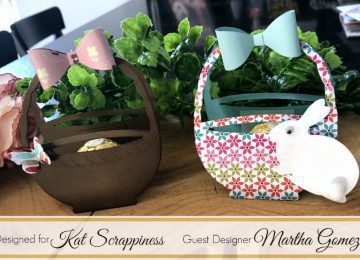
Hi Crafty Friends, I am BEYOND EXCITED to be Guest Designing for Kat Scrappiness this month. It is one of…
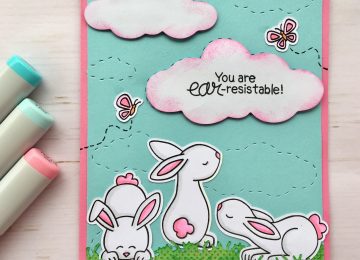
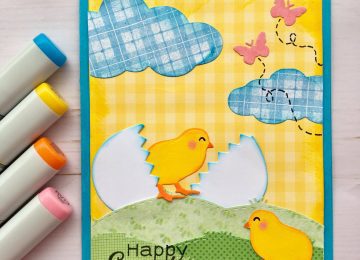
Hello Crafty friends, Martha Lucia here to share with you some inspiration using the recently released Crafters Essentials – Easter…
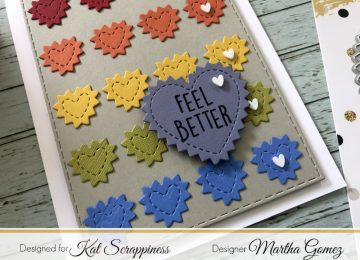
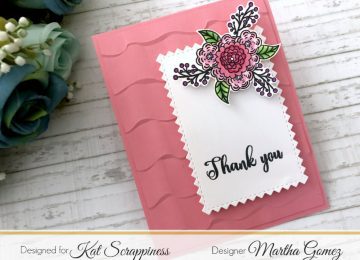
Hi there, Martha Lucia here with you. Today I am featuring the Zig Zag Hearts, Borders and Ovals Die Cuts. Let…