Hi everyone! First I would like to thank everyone who made a purchase during the month of July! You have…


Hi everyone! First I would like to thank everyone who made a purchase during the month of July! You have…
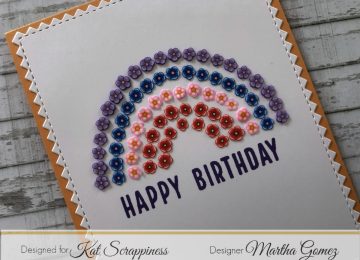
Hi there, Martha Lucia here with you. I just pop up to share with you a card with more sprinkles!…
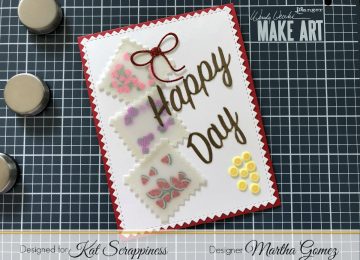
Hi there, Martha Lucia with you! Today I’m sharing this happy day card that I made creating sprinkles bags on…

It’s Christmas in July at Kat Scrappiness! Not only are we having a HUGE SALE but we are also having…

Hi there, Martha Lucia here with you! Today I’m sharing these fun sprinkles cards that I made featuring part of…
Hello crafty friends, Martha Lucia here with you! Today I am excited to share a card that I really, really…

Hello crafty friends, Martha Lucia here with you! Today I’m sharing this colorful card featuring the Hoppy for You stamp set…