Tag: Stitched Scalloped Rectangle

  • Stitched Flower Card

    Stitched Flower Card

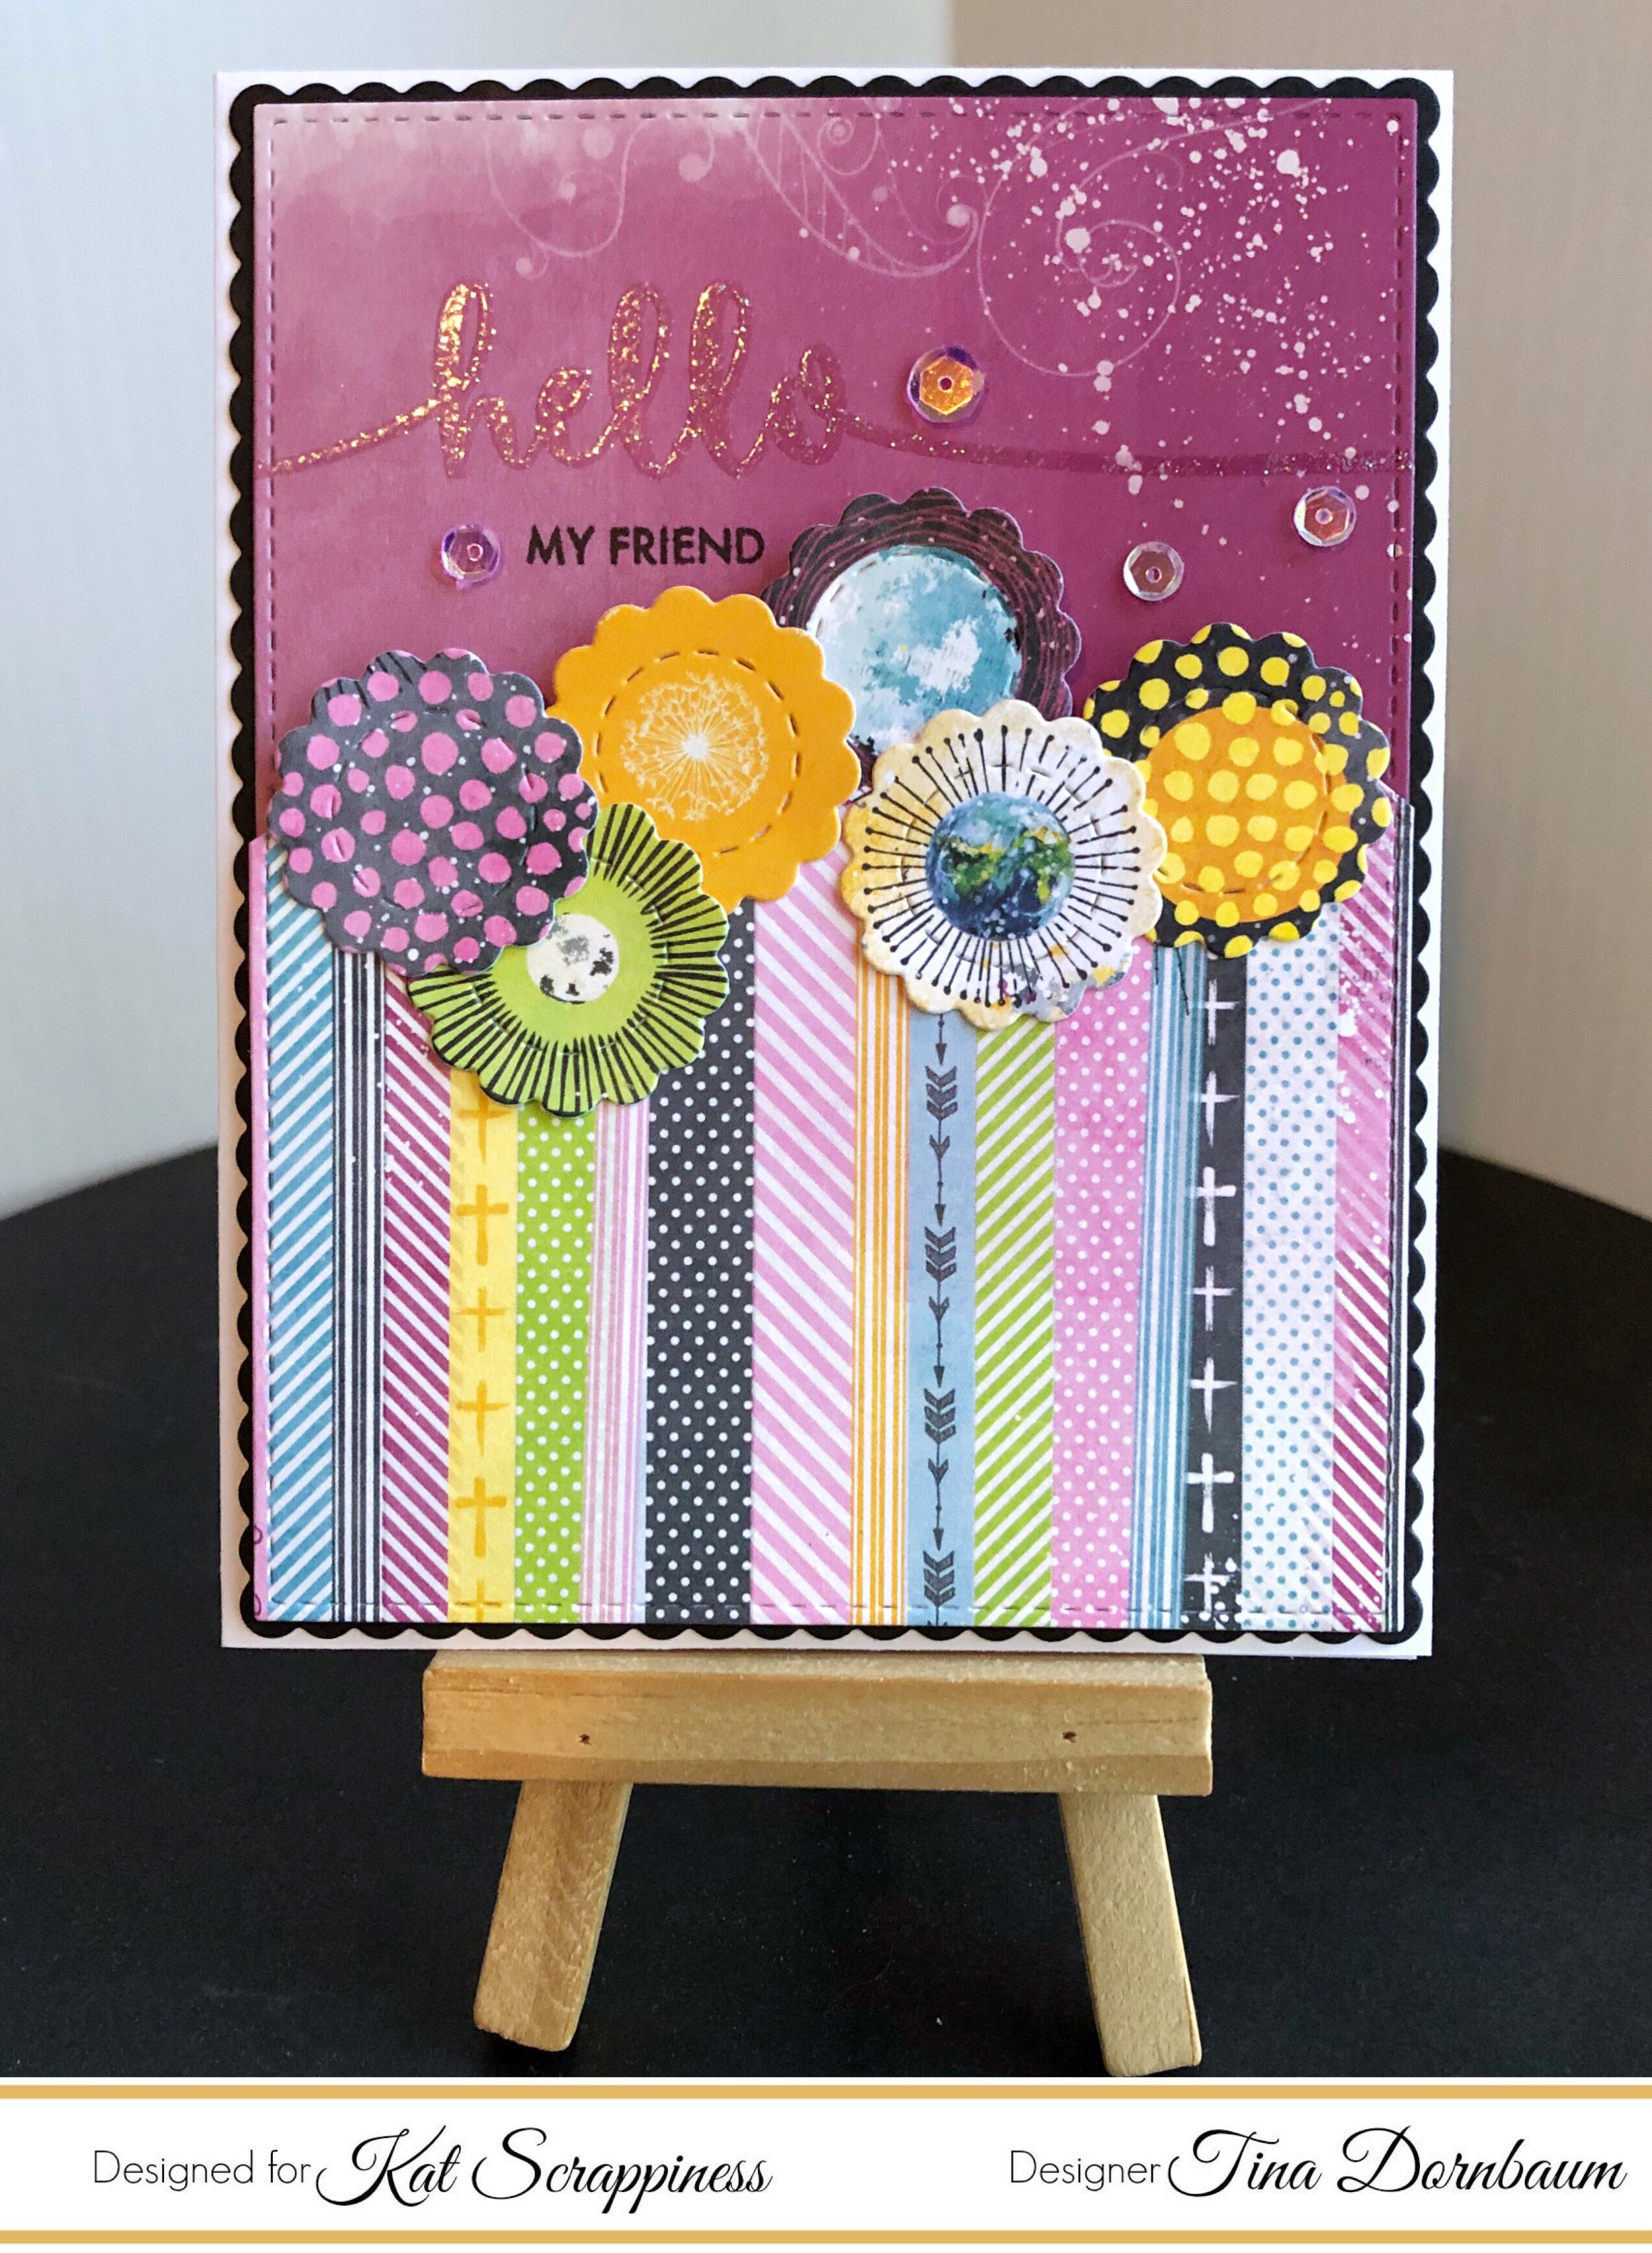
    Hi Everyone, it’s Tina here today. I have a super fun and fast card to share with you using the new Stitched Scallop Circles Die, Stitched Scallop Rectangles Die along with the Double Stitched Rectangles Die. Below you will find the link to the products used along with the steps to replicate this card.

    • Step 1 – Trim White Cardstock to 8 1/2″ x 5 1/2″, score at 4 1/4″ fold in half for a vertical side fold card.
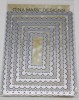
    • Step 2 – Diecut Stitched Scallop Rectangles using Black Cardstock. Adhere to card using double sided adhesive tape.
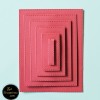
    • Step 3 – Diecut Double Stitched Rectangles using Patterned Paper (you want this to be mostly a solid color) Set it aside for now.
    • Step 4 – Diecut Double Stitched Rectangles using a Striped Patterned Paper.
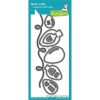
    • Step 5 – Diecut Stitched Scallop Circles 6 times using different Patterned Paper. About half way through the Striped Patterned Paper adhere the Diecut Stitched Scallop Circles using Collage Medium in the center. Once you have all your Stitched Scallop Circles adhered cut out the top half of the Stripe Patterned Paper.
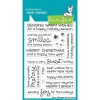
    • Step 6 – Place the Striped Patterned Paper on top of the Solid Patterned Paper and mark the area for the sentiment placement. Stamp Sentiment. For my Hello sentiment I used Versamark Ink and sprinkled Sparkling Embossing Powder then heat set with a heat tool. For my friend I used Versafine Onyx Black Ink.
    • Step 7 – Adhere Solid Background to the front of the card using Double Sided Adhesive Tape. Adhere Stripe Patterned Paper to the front of the card using Foam Tape.
    • Step 8 – Optional – Add Trim Mix II Sequins Mix to the upper part of the card.

    I hope you enjoyed today’s card. This card can be used for any occasion by changing the Color and/or sentiment. Below are links to all the products used. Thanks for stopping by and have a wonderful day!

    Kat Scrappiness Products Used:

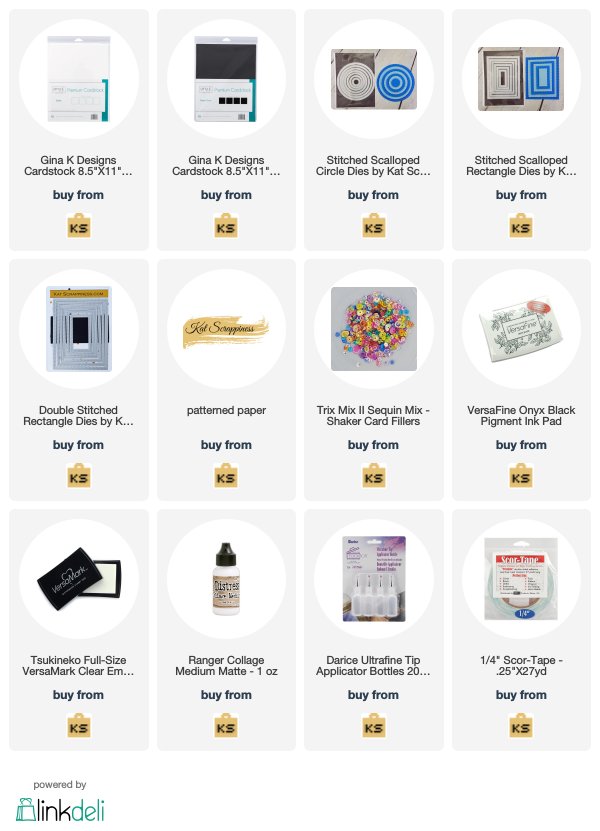
    https://linkdeli.com/widget.js?1528877046279

  • May Your Days Be Merry and Bright

    May Your Days Be Merry and Bright

    Hello friends!  Stephanie here.  I’m so excited to be on the Kat Scrappiness blog today to share this bright and colorful holiday card.

    img_0690

    I’ve included a process video below, along with some photos and links to all of the products I used, which can all be purchased on KatScrappiness.com.  I love that Kat carries so many of my favorite brands!

    [youtube https://www.youtube.com/watch?v=_riuQ6xnexE&w=560&h=315]


    I started out using these Stitched Scalloped Rectangle Dies by Gina Marie Designs.  I love anything with scallops and this is such a great set to have on hand.  I used this along with the Stitched Rectangle Dies by Kat Scrappiness to create a frame.  I’ll also be left with a stitched piece to use in the center, where I’ll do some ink blending.

    img_0678

    I used some distress inks to do some light ink blending behind where each of the lights will go.  I used a stencil brush that I had on hand, but this could be done with any kind of blending tool that you have.

    img_0471

    Next I cut my bulbs using the Lawn Fawn String of Lights die set, using papers from this 6×6 Gingham paper pad by Doodlebug.  I cut the background for the bulbs from white and the little hangers from some silver glitter cardstock.

    img_0680

    I then used my Stampoholic Nano stamping tool to stamp my sentiment, which came from the Lawn Fawn Merry Messages stamp set.  This set has such a wonderful variety of sentiments.  I wanted to incorporate a die cut word in my sentiment so I simply cut my stamp apart, taking out the word “Merry”.  Doing this really does give you more use out of your stamps, so don’t be afraid to cut them apart.  They fit right back together when you need them to.

    img_0465

    Next I die cut this Cursive Merry Christmas die by Gina Marie Designs using some silver glitter card stock.  I think this is probably one of my all-time favorite scripty dies.  It’s GORGEOUS!  I stacked it three layers high to give it some thickness and to make it stand out a bit.  I’ll just be using the “merry” part for this project so I’ve clipped the two words apart, which was very easy to do.

    img_0696

    Now it’s time to assemble the card.  I’ve added some foam tape behind the frame for added dimension and I cut the string die using some grey cardstock.  After putting it all together I finished off the card with some of Kat’s White Diamond Sequins, which add that extra twinkle.

    img_0697

    I hope you enjoyed today’s card.  Thank you so much for stopping by!  As always, the products I used are linked below.  I’ll see you next time!

    ~Stephanie