Tag: stitched scalloped borders

  • Quokka Love ❤️

    Quokka Love ❤️

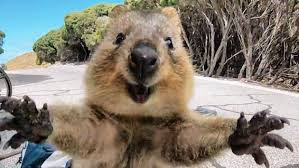
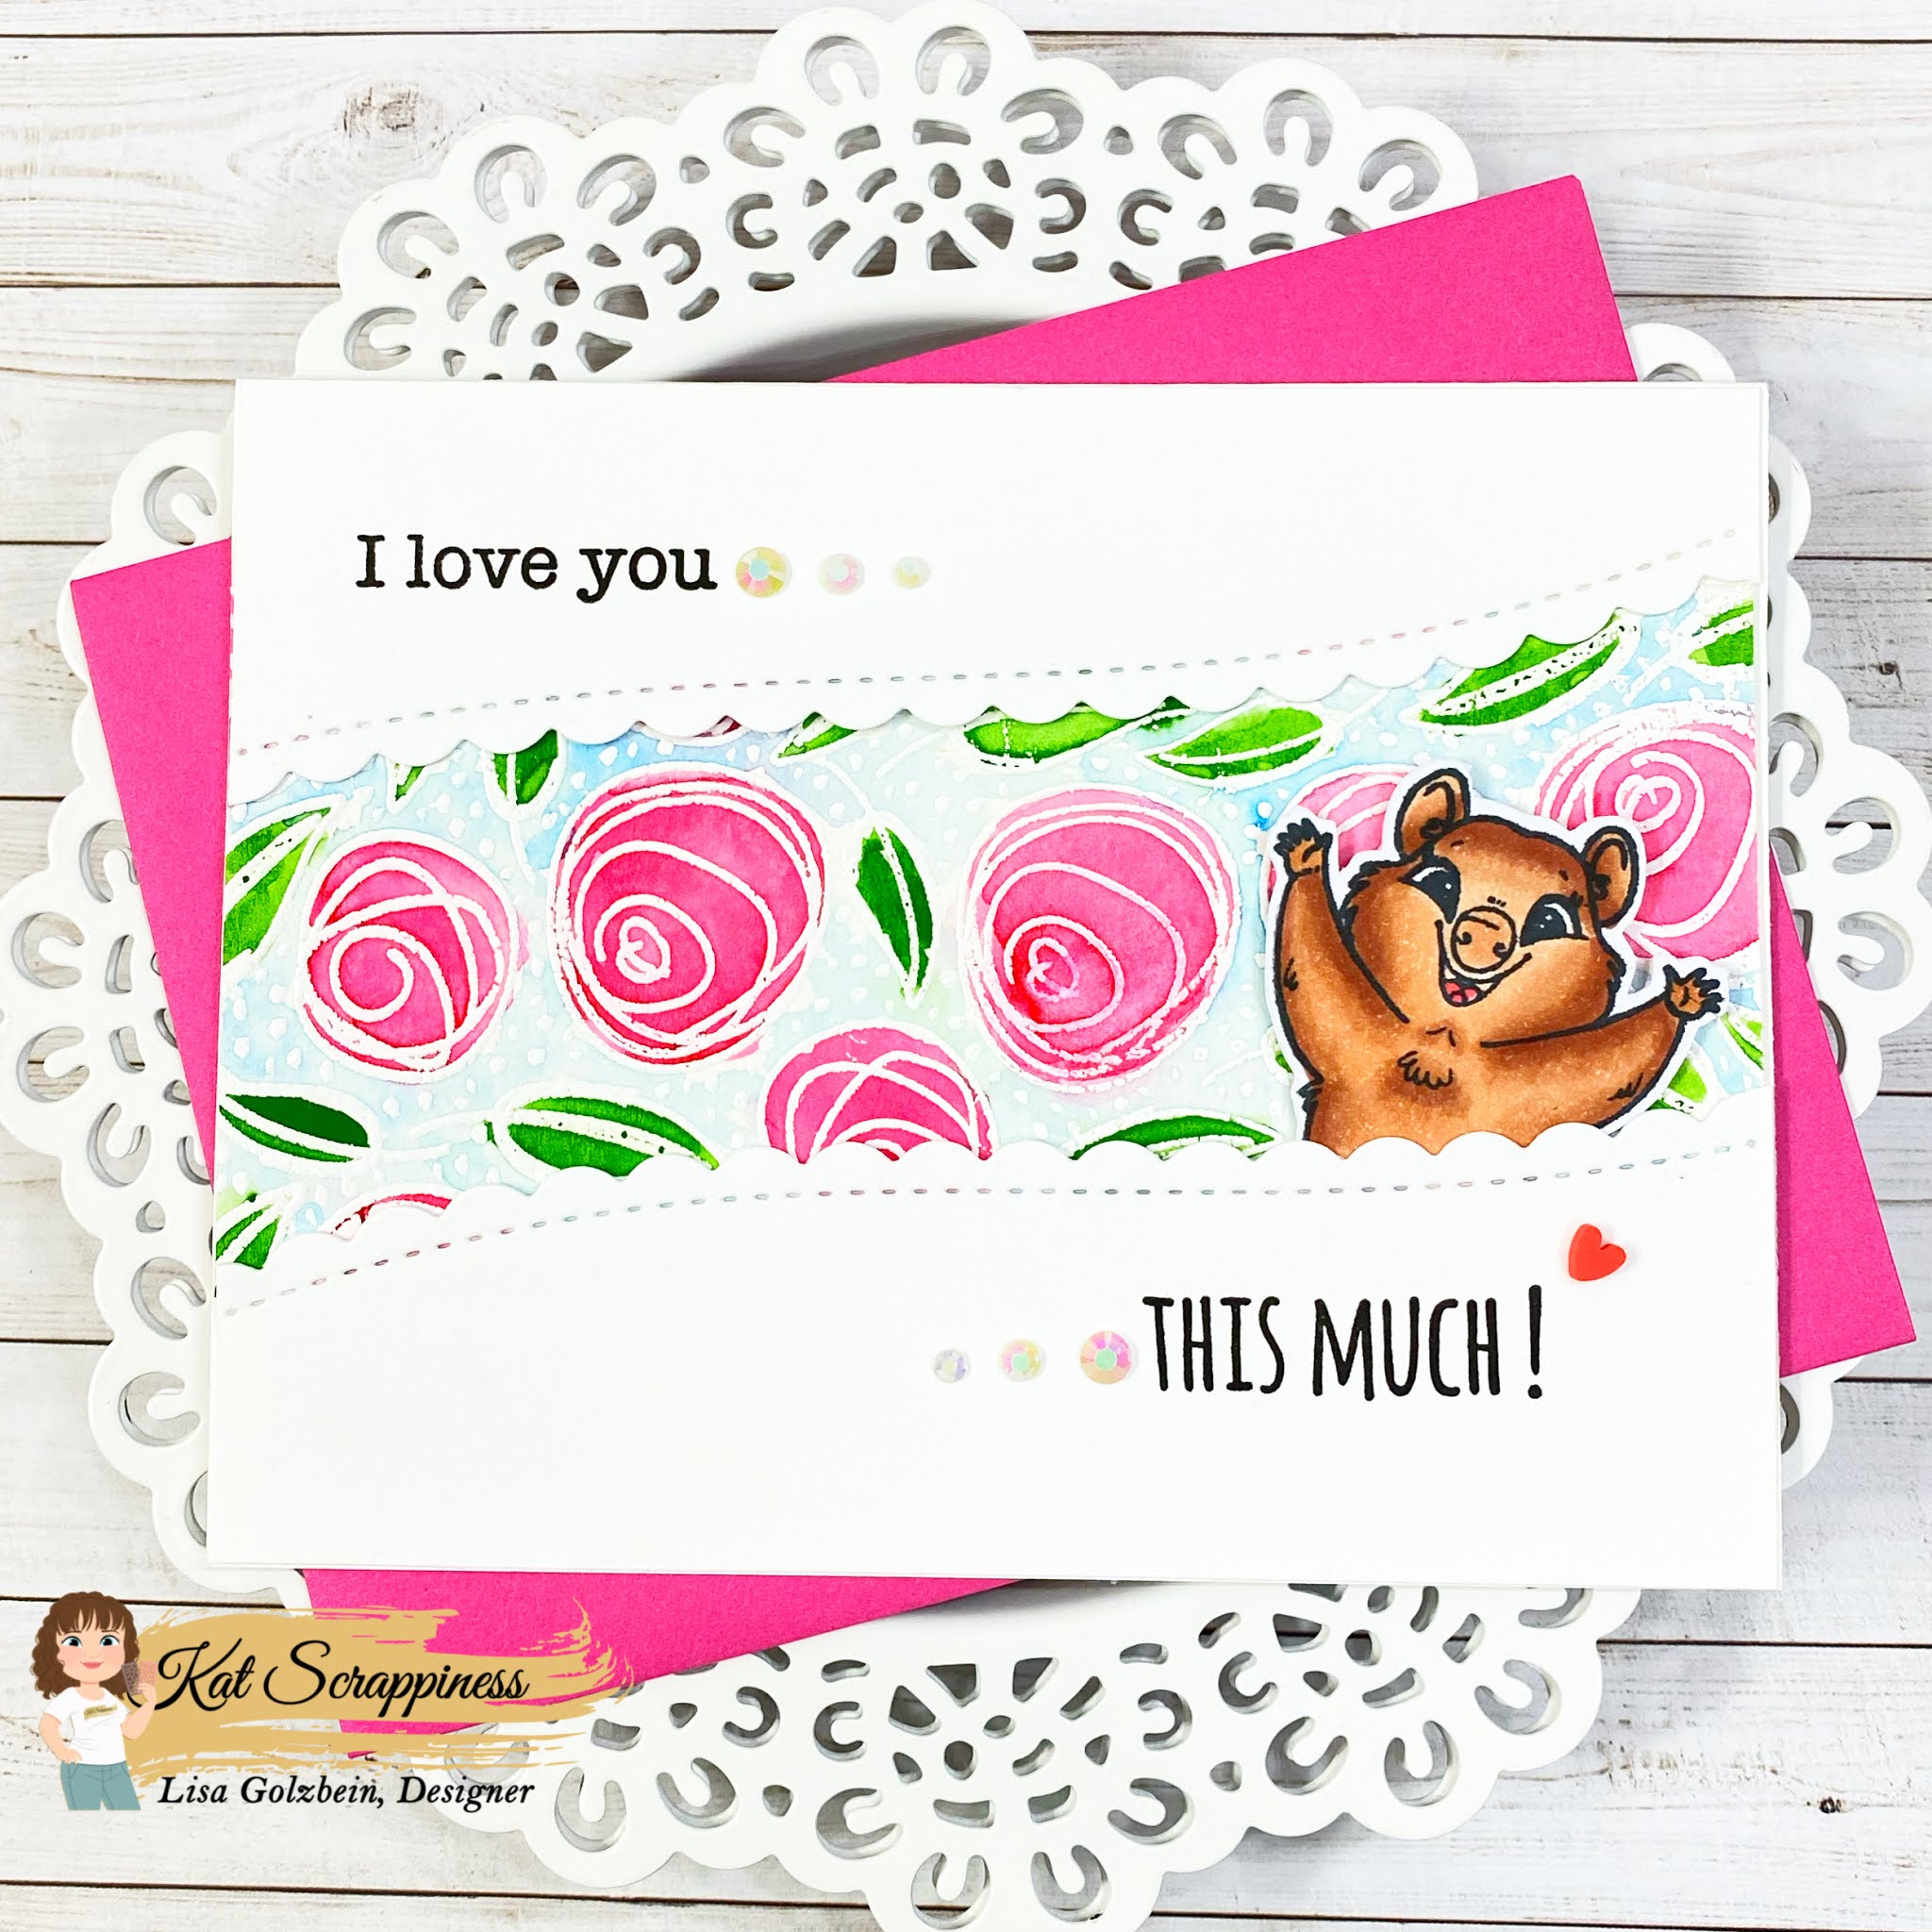
    Hello everyone, it’s Lisa from Oh So Cute By Lisa here with you today! I hope you’re having a good day, if not than just take a look at my card and it should brighten it up! That cute little animal is called a Quokka and it is known as the world’s happiest animal! If you’re interested in learning a little bit more about this adorable little marsupial, you can read this POST where I went into a little more detail.

    The Quokka is the main character of the brand new

    stamp set from Kat Scrappiness called Quokka’n Up!

    This Quokka a selfie loving animal and will add the cute to your cards and projects!

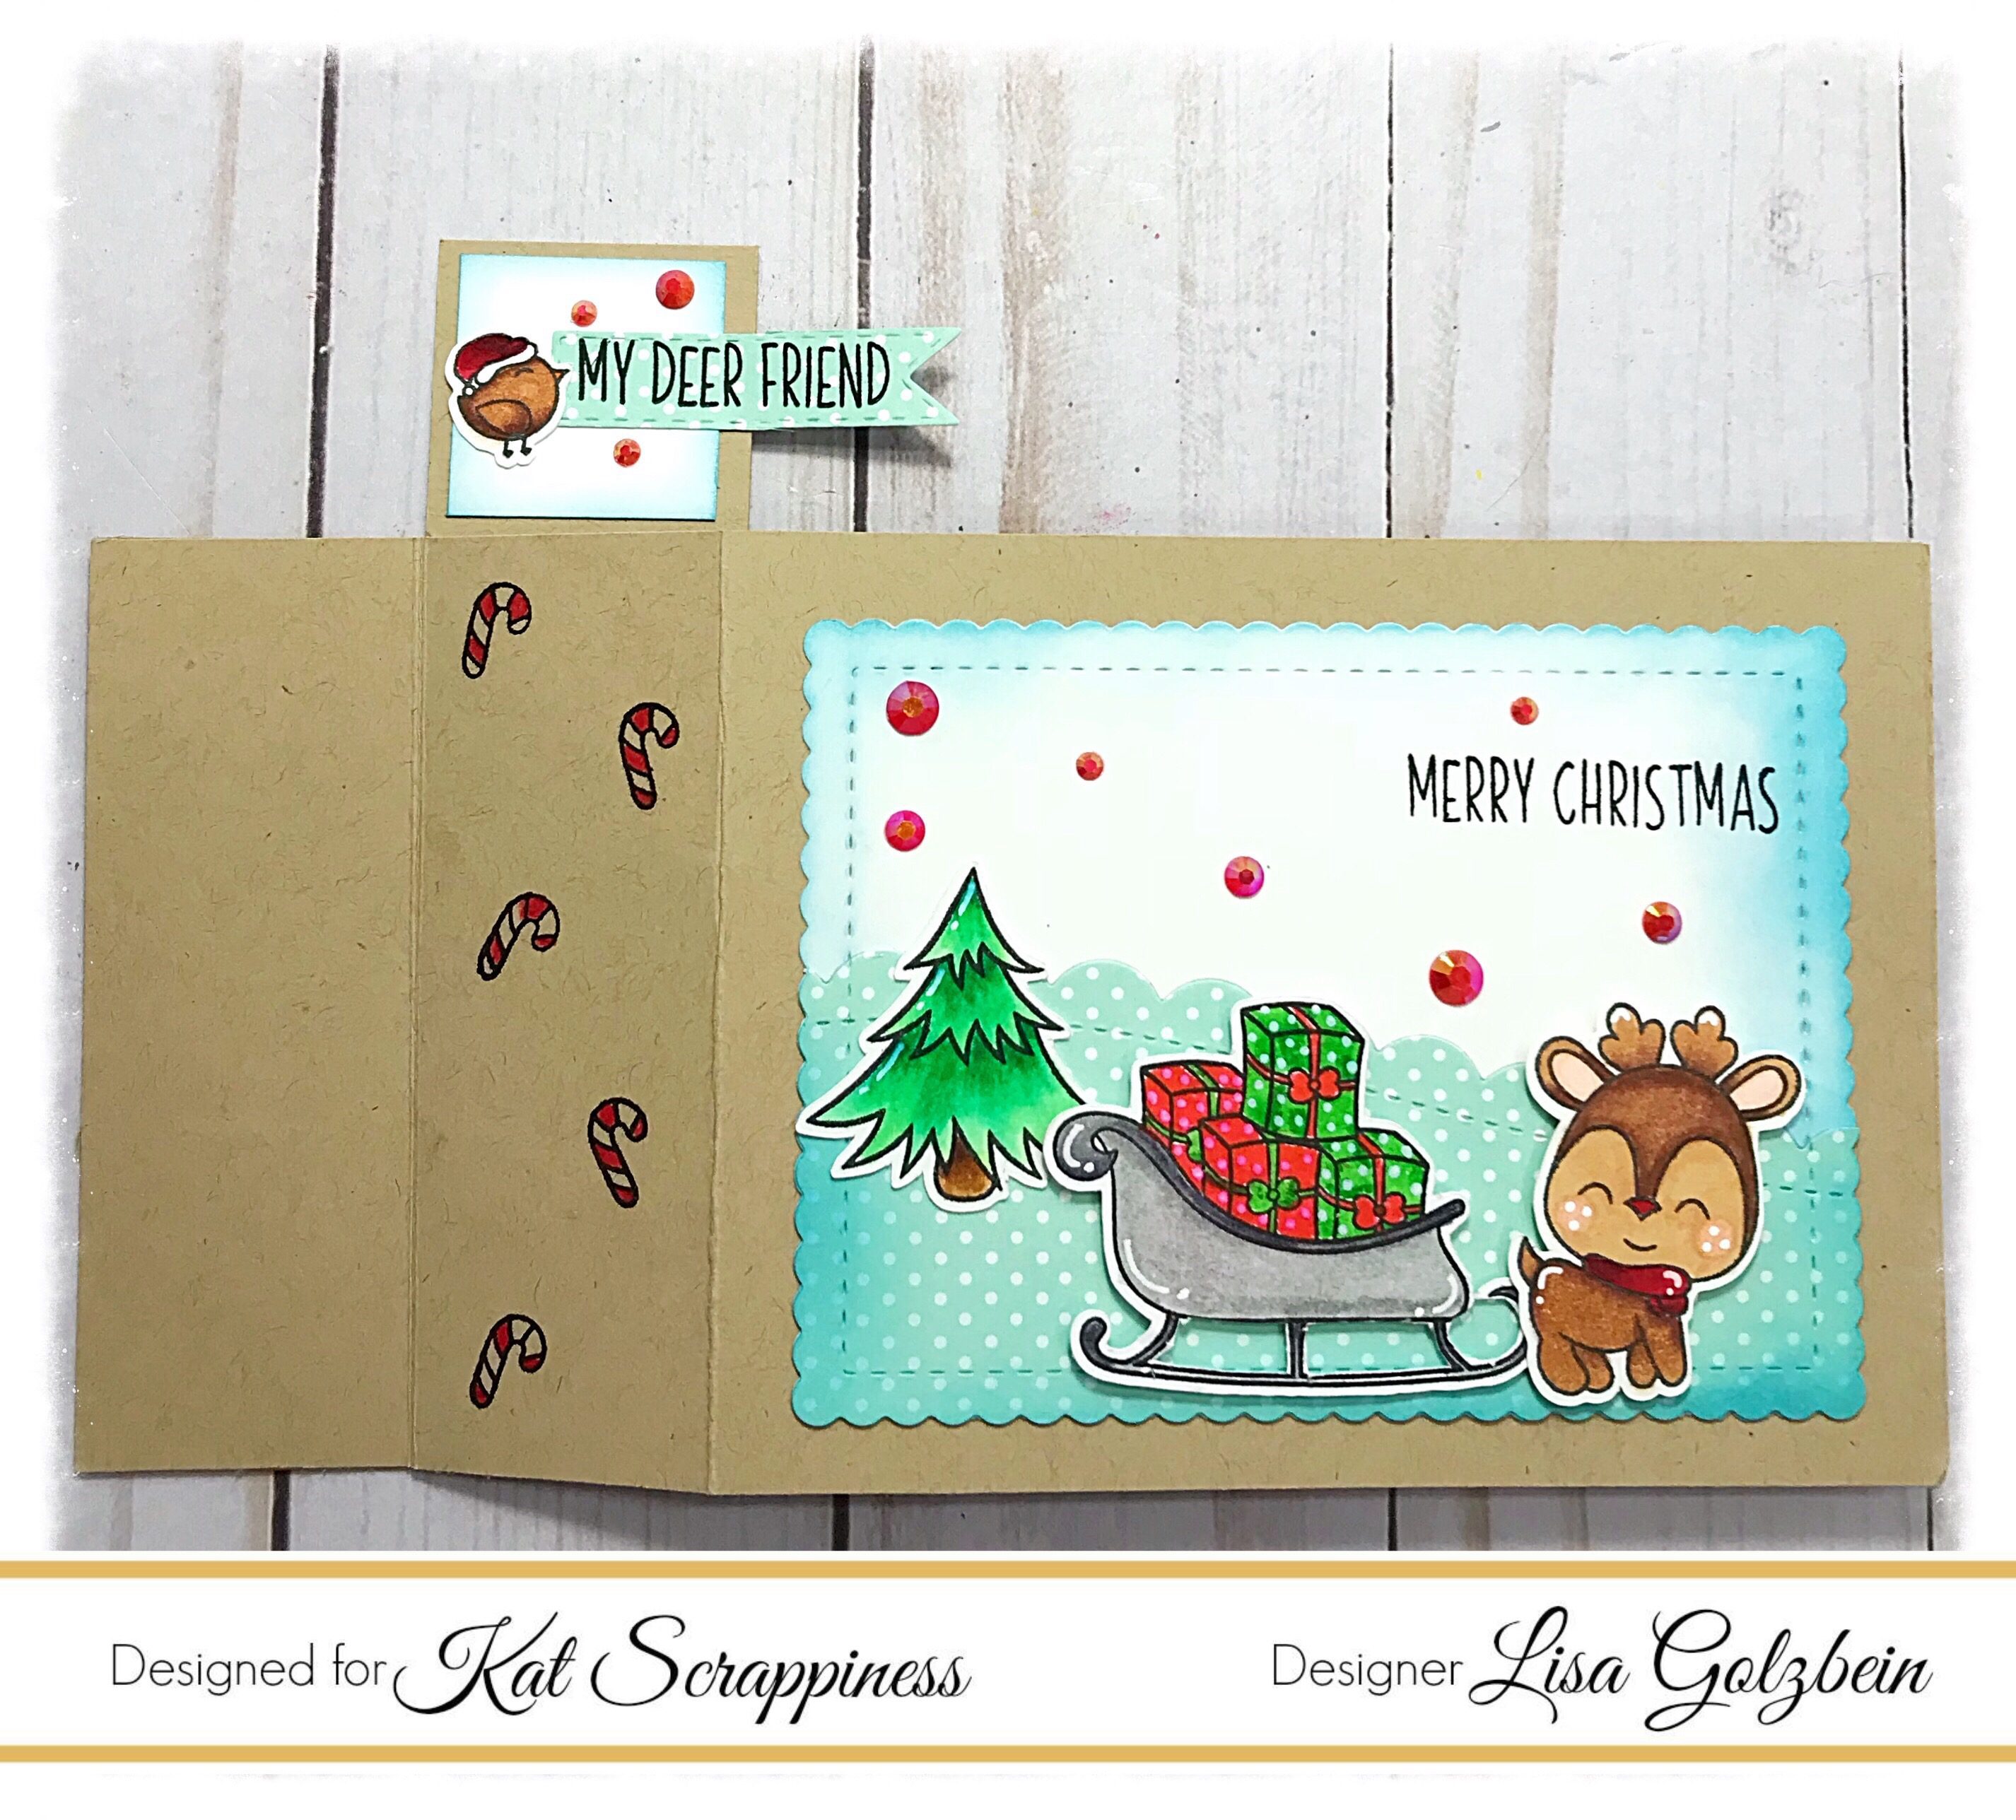
    For my card today I did some watercoloring on a beautiful rose themed background.
    I used the Stitched Scalloped Border dies to cut some white card stock for the top and bottom of my card.
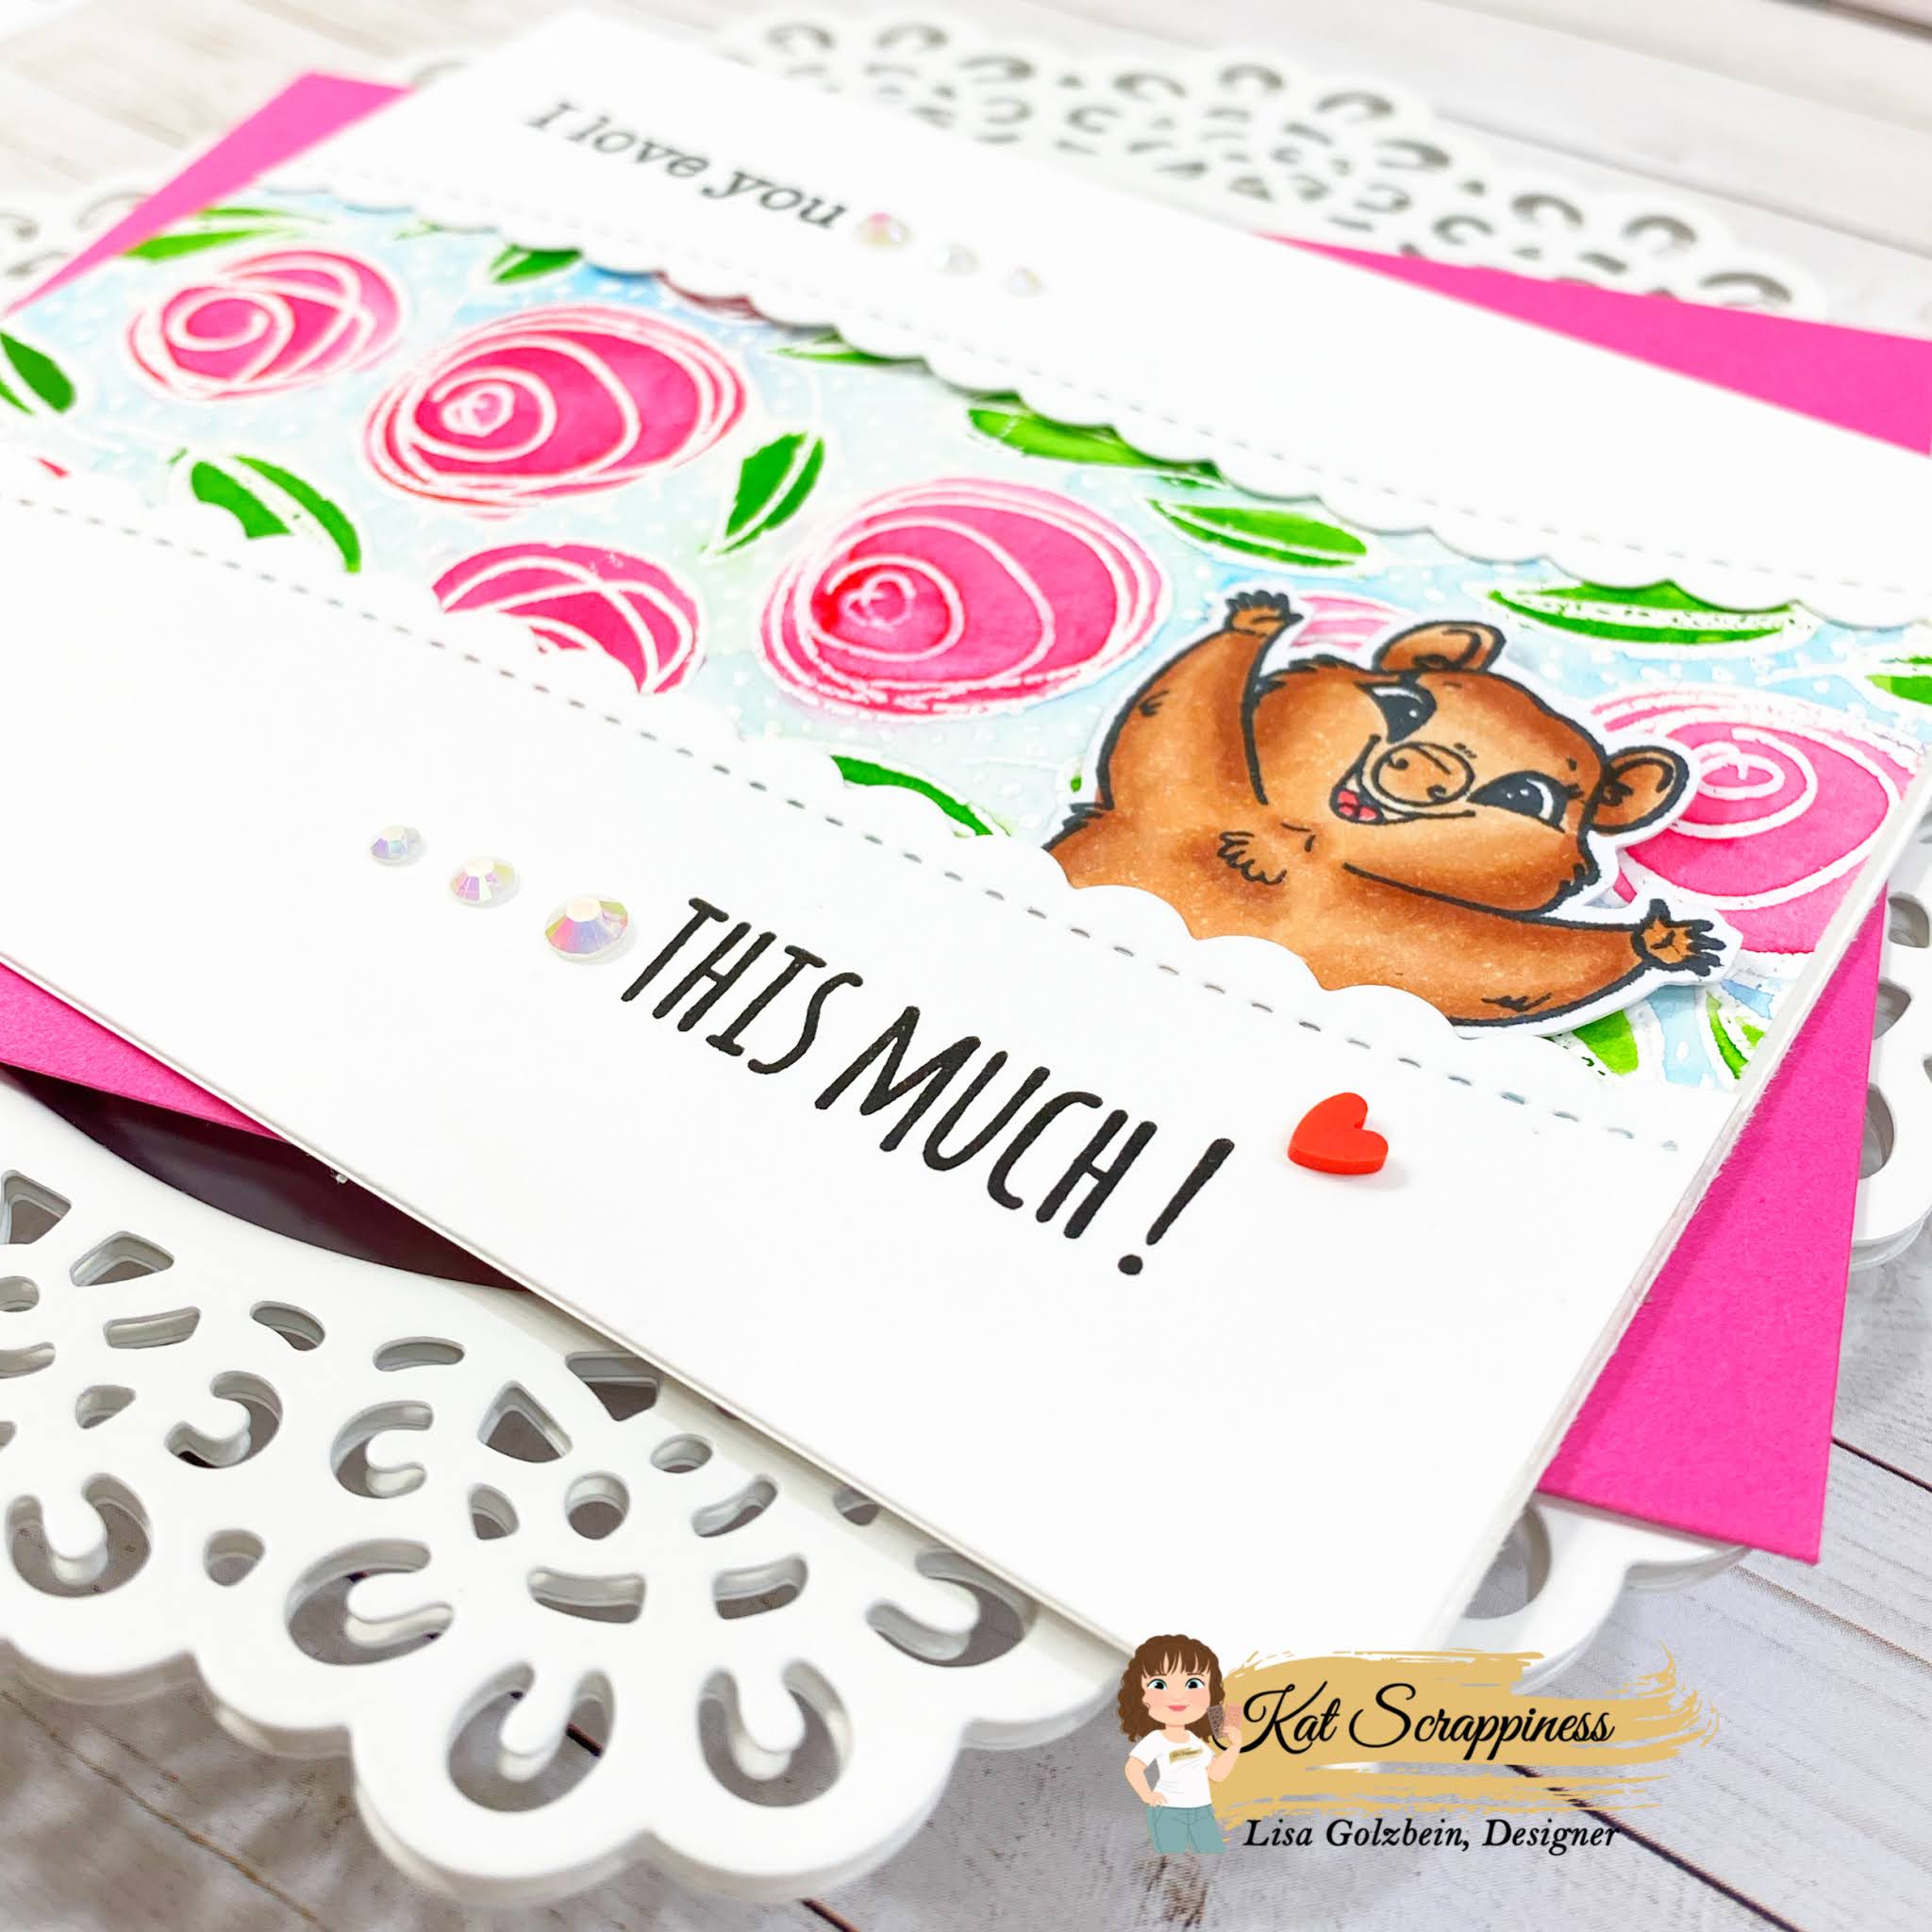
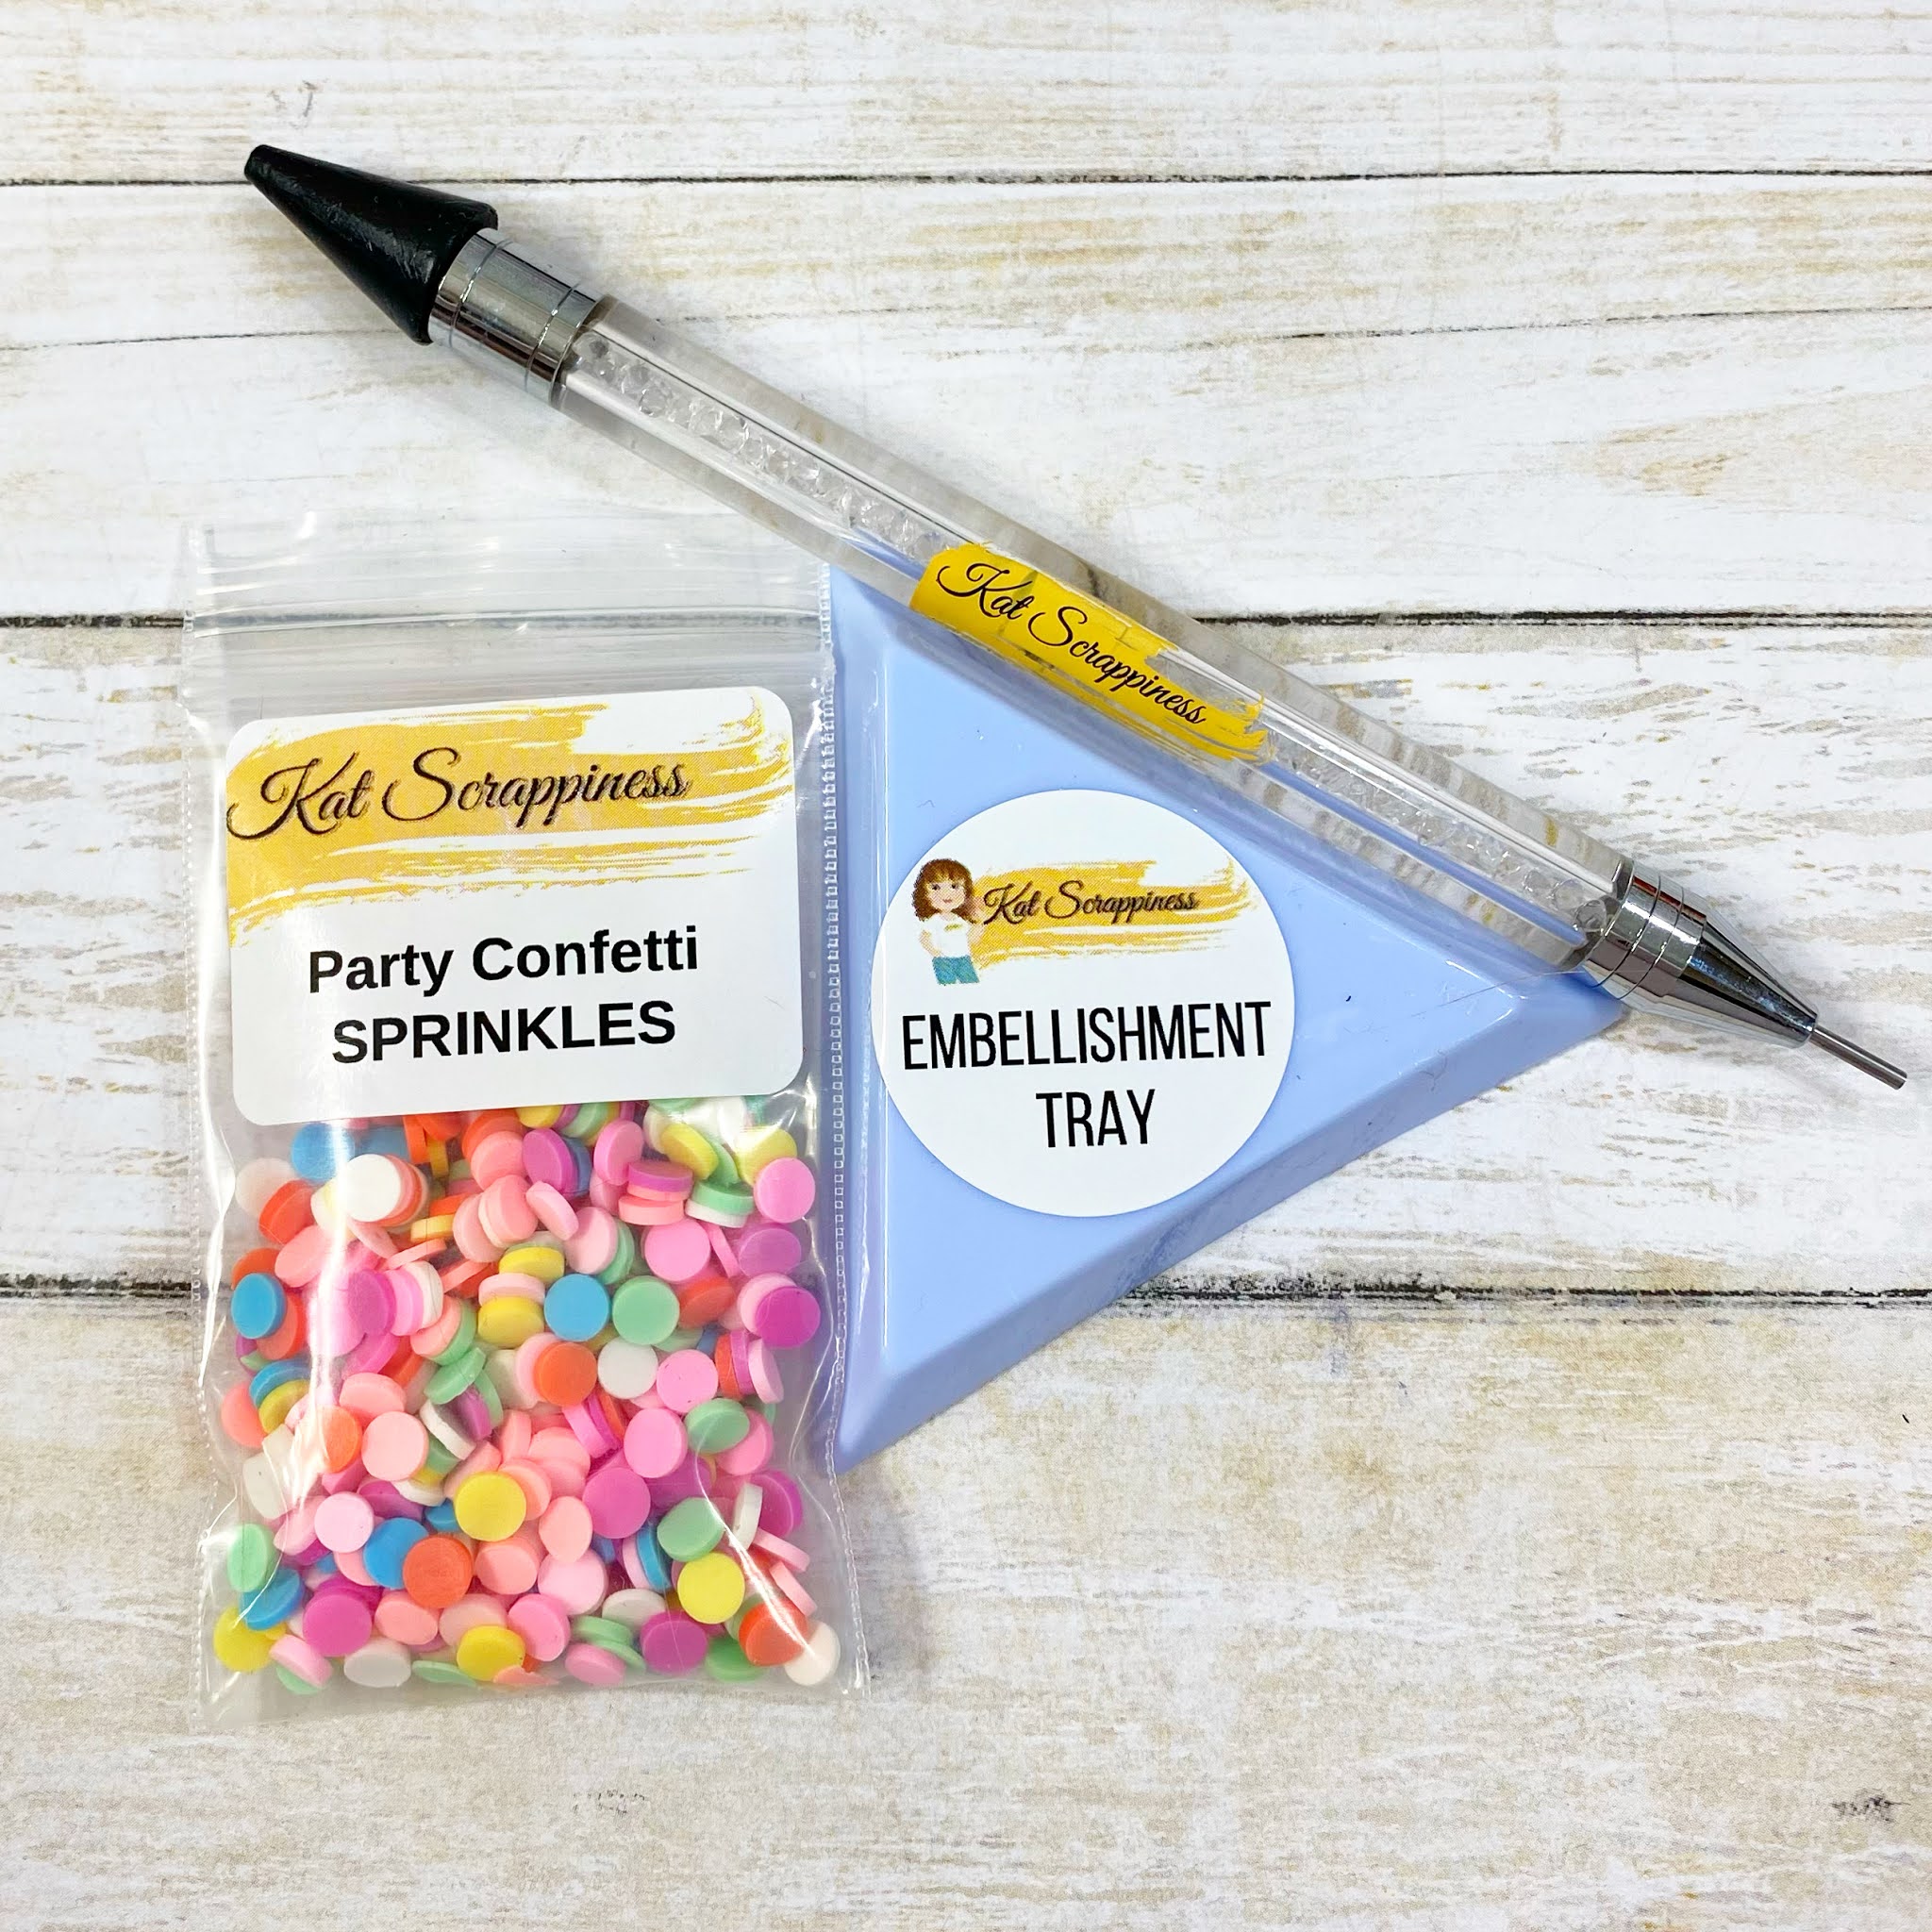
    I thought they framed the roses beautifully and toned down the busy pattern. Once I had the two scalloped panels glued down I tucked my cute little Quokka into the bottom panel and added the sentiments to the top and bottom of the card. To finish it off I added some fun bling to the sentiments by adding a trail of White Jewels and a single sweet Red Heart Sprinkle.
    To make placing my embellishments easier I used the brand new Embellishment Pick Up Tool and Triangle Embellishment Tray recently released by Kat Scrappiness.  No more embellishments all over my desk and on the floor and the pick up tool makes placement a breeze!
    I hope you enjoyed my card today and I hope you’ll check out all of the fun crafty goodness over at
    Kat Scrappiness! New products are arriving frequently and the signature line of Kat Scrappiness stamps, dies, embellishments, patterned paper and tools is expanding quickly!
    Don’t forget to follow
    Kat Scrappiness on all
    social media platforms to be alerted to new releases, sales and giveaways!
    Have a great day, I already am!

  • Snowman Holiday Card

    Snowman Holiday Card

    Hi Everyone, it’s Tina here. Today’s card is using some older but super fun dies to create a holiday scene. Below you will find the steps to create your own Holiday Card.

    Step 1 – Trim White Cardstock to 8 1/2″ x 5 1/2″, score at 4 1/4″ and fold in half for a vertical side fold card. (A2)

    Step 2 – Trim Light Blue Cardstock 5 1/2″ x 4 1/4″ (if you don’t have coloured cardstock then use White and Ink in colour of your choice). Use a snow stencil to create a snowy background using texture paste. Before it drys sprinkle some glitter. If you don’t have a stencil you can add white paint by splashing it on with a paintbrush. When completely dry adhere to card front using Nuvo Deluxe Adhesive.

    Step 3 – Diecut Stitched Scalloped Border dies using White Cardstock. I diecut twice and changed the position on the second diecut. Adhere to card using Nuvo Deluxe Adhesive.

    Step 4 – Diecut Stitched and Layered Snowman. I used White Cardstock for base, Red and Black for the hat, Black for the eyes, Brown for the arms, orange for the nose and a DIY Plaid for the scarf. Assemble using Nuvo Deluxe Adhesive and adhere to card using Foam Tape. For the button I used 2 Red Jewels and adhered it using Collage Medium and a Crystal Katana.

    Step 5 – Diecut Stitched and Layered Christmas Tree. I used Green Cardstock for the tree, Glitter cardstock in various colours for the ornaments and bows, and Brown Cardstock for the tree stump. Assemble and adhere to card using Nuvo Deluxe Adhesive.

    Step 6 – Diecut Merry from the Merry Christmas With Shadow dieset using Glitter Cardstock and an additional 2 diecuts using White Cardstock. Assemble all layers with the Glitter Cardstock on top and adhere to card using Nuvo Deluxe Adhesive.

    Step 7 – Optional – Stamp Christmas using Versafine Onyx Black Ink on White Cardstock. Trim and adhere to card over the word Merry using Nuvo Deluxe Adhesive.

    You can change the card to add a second snowman or change the colours when mass producing. Between now and Dec. 3 use code: SANTA2019 at checkout to receive 20% off sitewide (this excludes Gina Marie Designs. Below is a link to all the products used. Thank you for stopping by and have a wonderful day.

    Products Used:

    https://linkdeli.com/widget.js?1559654439292

  • Deer Friend Wiper Card

    Deer Friend Wiper Card

    Good morning Kat Scrappiness fans, it’s Lisa up on the blog today and

    I’ve got something exciting I want to share with you!

    It’s exciting for me because I learned a new technique recently

    and I’m in love with the results!

    The card I made is called a Wiper Card.

    A wiper card has a fun hidden element that swipes out like a

    windshield wiper when you open the card!

    SO MUCH FUN!

    I know this technique might not be new to some of you but I just

    stumbled across it on Instagram the other day.

    Here is a link to the YouTube tutorial that I followed if you want to make your own.

    ***Wiper Card Tutorial***

    The basic construction of the card is very simple and it’s up to you how to decorate it.

    This card was so much fun to make and I can’t wait to make more in other themes!

    Imagine the surprise for the recipient when they open the card!

    The outside of the card is decorated just like any traditional card and the

    wiper element of the card has an additional decoration on it.

    On my card  I added a finishing sentiment from the front of the card.

    Here is a short video to show you the card in action!

    Wiper card video

    Here are two pictures of the card first closed and

    then opened showing the wiper element popped up.

    All of the stamps on the card are from the Kat Scrappiness stamp set Merry Critters.

    I hope you enjoyed this card today as much as I enjoyed making it!

    I will list and link all of the Kat Scrappiness products below that I used to

    make this fun card!

    If you want to purchase any of the products that I used on today’s card

    please feel free to used my code Lisa 10 and save 10% on your order.

    Have a great day everyone, I already am!

    ?Lisa ?

    Products used on card:

  • Fun With Scallops

    Fun With Scallops

    This month in the Kat Scrappiness shop, there are lots of new dies featuring a scalloped detail.  I love scallops– so I thought I’d do a couple of projects and a video using the Stitched Scalloped Border Dies and the Stitched Scalloped Heart dies.

    For the first card, I die cut multiple pieces using the border dies and blended ink onto the panels.  I adhered them in a “swooping” fashion down the front of my card for a pretty scalloped rainbow.

    For my second project, I created a cute window card layering the hearts.

    This card would be perfect to add to a little gift bag of chocolate…….

    I have a video below showing how these projects came together.  This will be my last post for the Kat Scrappiness Design Team.  It has been such a great year and I want to thank all of the talented ladies on the design team and Kat for all her encouragement and generosity.  Best wishes and happy crafting!

    [youtube https://www.youtube.com/watch?v=eAEIUVBsDGs]


    —SUPPLIES—

    Stitched Scalloped Border Dies

    Stitched Scalloped Heart dies

    Distress Oxide Inks— Candied Apple, Spiced Marmelade, Squeezed Lemonade, Twisted Citron, Salty Ocean

    Layered Chocolate Bar Stamp Set

    Chocolate Lover’s Sentiment Stamp Set


  • Crafters Gonna Craft Cards

    Crafters Gonna Craft Cards

    Hi Everyone, It’s Tina here. Today I have 3 cards to share with you using the Crafters Gonna Craft Stamp set. It is such a fun stamp set that I found myself making cards one after another. Below you will find the steps to replicate these cards.

    Card with Distress Oxide Background

    • Step 1 – Trim White Cardstock to 8 1/2″ x 5 1/2″, score at 4 1/4″ and fold in half for a vertical side fold card. (A2)
    • Step 2 – Trim Black Cardstock to 4″ x 5 1/4″ and adhere to card front using Clear Double Sided Adhesive.
    • Step 3 – Trim White Cardstock to 4 1/4″ x 5 1/2″. Stamp Crafters Gonna Craft using Versamark Ink. Sprinkle White Embossing Powder and heat set it with a heat tool.
    • Step 4 – Apply Distress Oxide Ink starting at bottom darkest to lightest going towards the top. (I used Squeezed Lemonade, Wild Honey & Abandoned Coral.)
    • Step 5 – Diecut Stitched Scalloped Border Die using the background created at the top. Adhere to card using Clear Double Sided Adhesive.
    • Step 6 – Adhere White Jewels using Collage Medium. The Crystal Katana is a great tool to pick up the jewels and place them.

    Cards One Layer

    • Step 1 – Trim White Cardstock to 8 1/2″ x 5 1/2″, score at 4 1/4″ and fold in half for a vertical side fold card. (A2)
    • Step 2 – Stamp Crafters Gonna Craft directly on the card front using Versafine Onyx Black Ink. Color one above the sentiment or color all. I colored one and stamped in color the brush stroke.
    • Step 3 – Optional – Add Sequins for interest.

    The Crafters Gonna Craft stamp set is such a versatile stamp set. You can have so much fun making your own backgrounds on a one layer card or adding a layer as the examples I have shown you. Below is a list of all products used. To receive 10% off your order use code TINA10 at checkout. Thank you for stopping by and have a wonderful day.

    Products Used:

    https://linkdeli.com/widget.js?1533216656914

  • Heart Shaker Card

    Heart Shaker Card

    Hi everyone! It’s Lisa up on the blog again today to bring you a pretty little shaker card!  I have the privilege of introducing some new products that are available in the shop this month. One of the products is a set of nested Stitched Scalloped Heart dies and the second product is a set of Stitched Scalloped Border dies. I’m just loving the combination of the scallops and the stitching together!  I used the Stitched Scalloped Border dies to cut some white card stock and I popped it up on foam tape over the patterned paper on the bottom of the card front.

    I made a shaker element out of the Stitched Scalloped Heart dies and filled them with the 2 sequin mixes, the 4 mm Sparkling Clear Solid Confetti Mix and the 3 mm Transparent Coral Hearts.

      There are over 400 sequin mixes in the Kat Scrappiness shop to choose from!

    Shaker cards are so much fun to make, I hope you’ll give one a try and thanks for stopping by!

    Have a great day, I already am!

    Lisa ?