
Hello friends and welcome to the Kat Scrappiness April 2022 Release. This release includes tons of fun Shaker Card Kits, four new Kat Scrappiness Stencils, Stencil Blending Brushes, five new Silicone Tool Caddies and Mini Slimline Envelopes in several colors!
Thank you to our video team member Nicki for the introduction video:
INTRODUCTION VIDEO BY VIDEO TEAM MEMBER- NICKI
INTRODUCTION VIDEO BY VIDEO TEAM MEMBER- KIMBERLY
Grab a glass of Sweet Tea (or any beverage you have in mind) while browsing through all of the beautiful projects prepared by the design team!
Are you ready to get inspired?
Thank you to our Blog team members for your awesome projects!!!
BLOG TEAM MEMBER- CAREN B
- Falling Starlights Stencil (with foil)
Distressed Edge Rectangle dies
Hooray w/Shadow die
- Stencil Release Post
Kat Scrappiness Products Used:
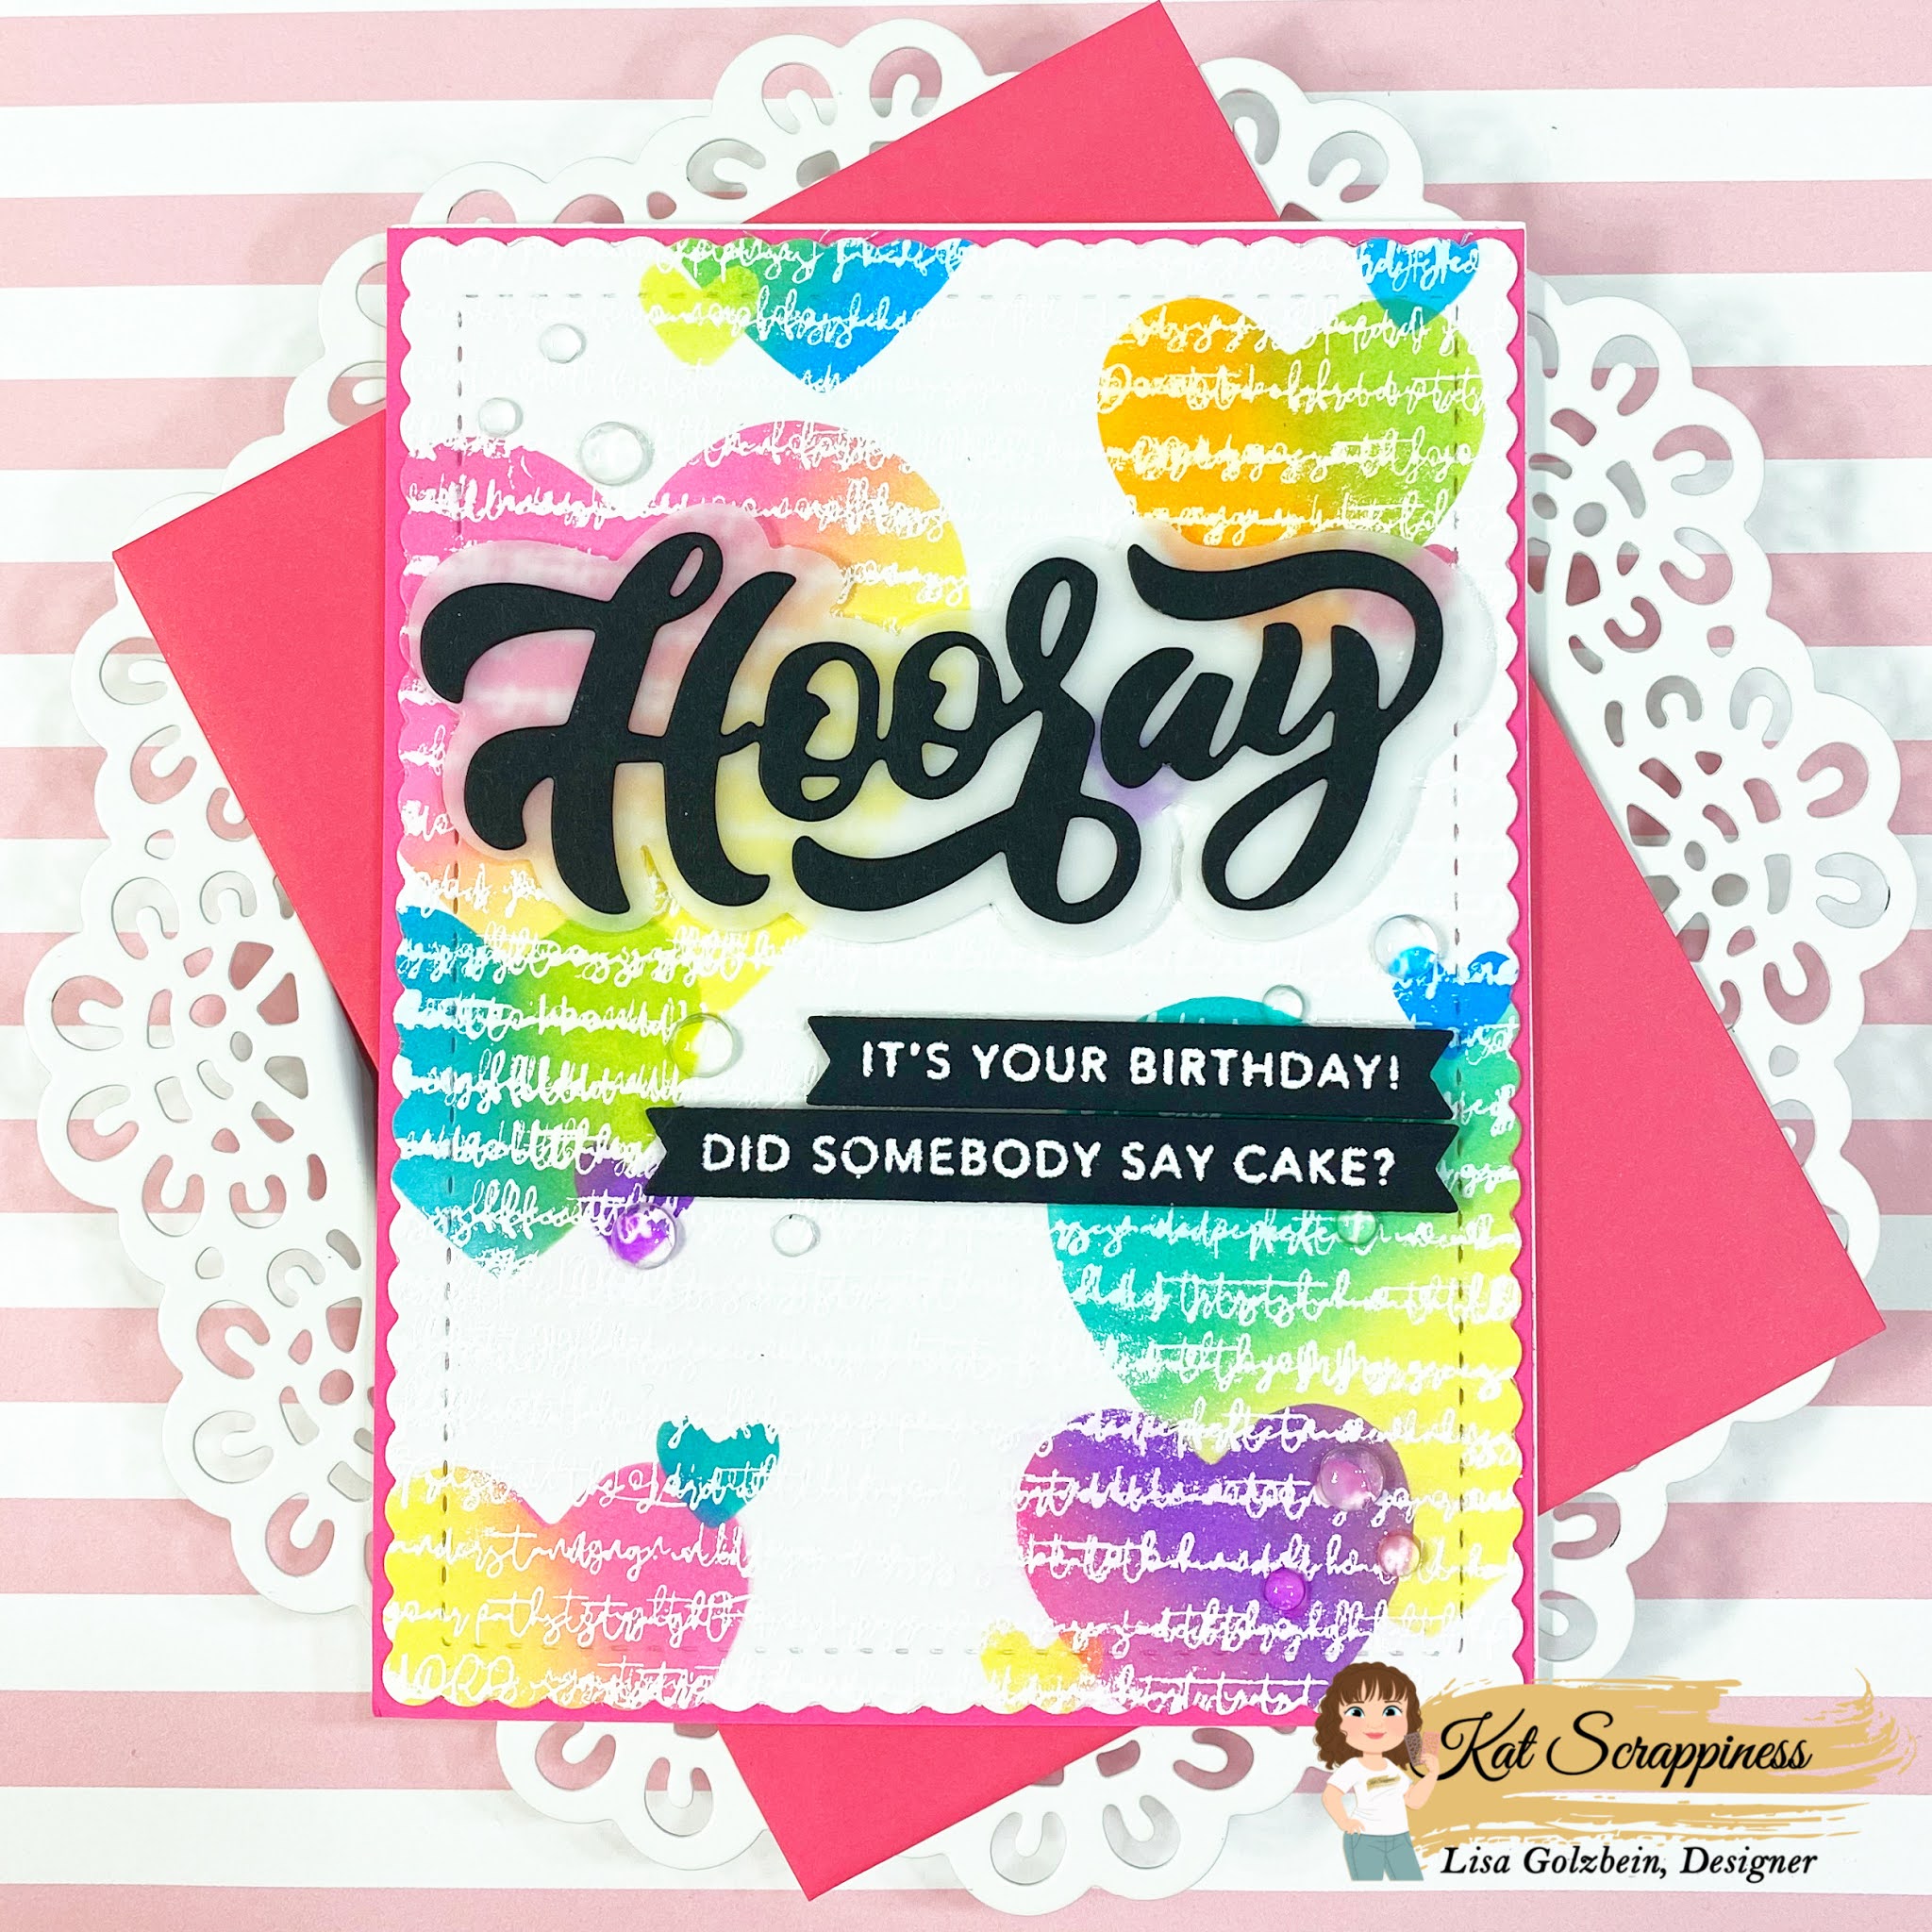
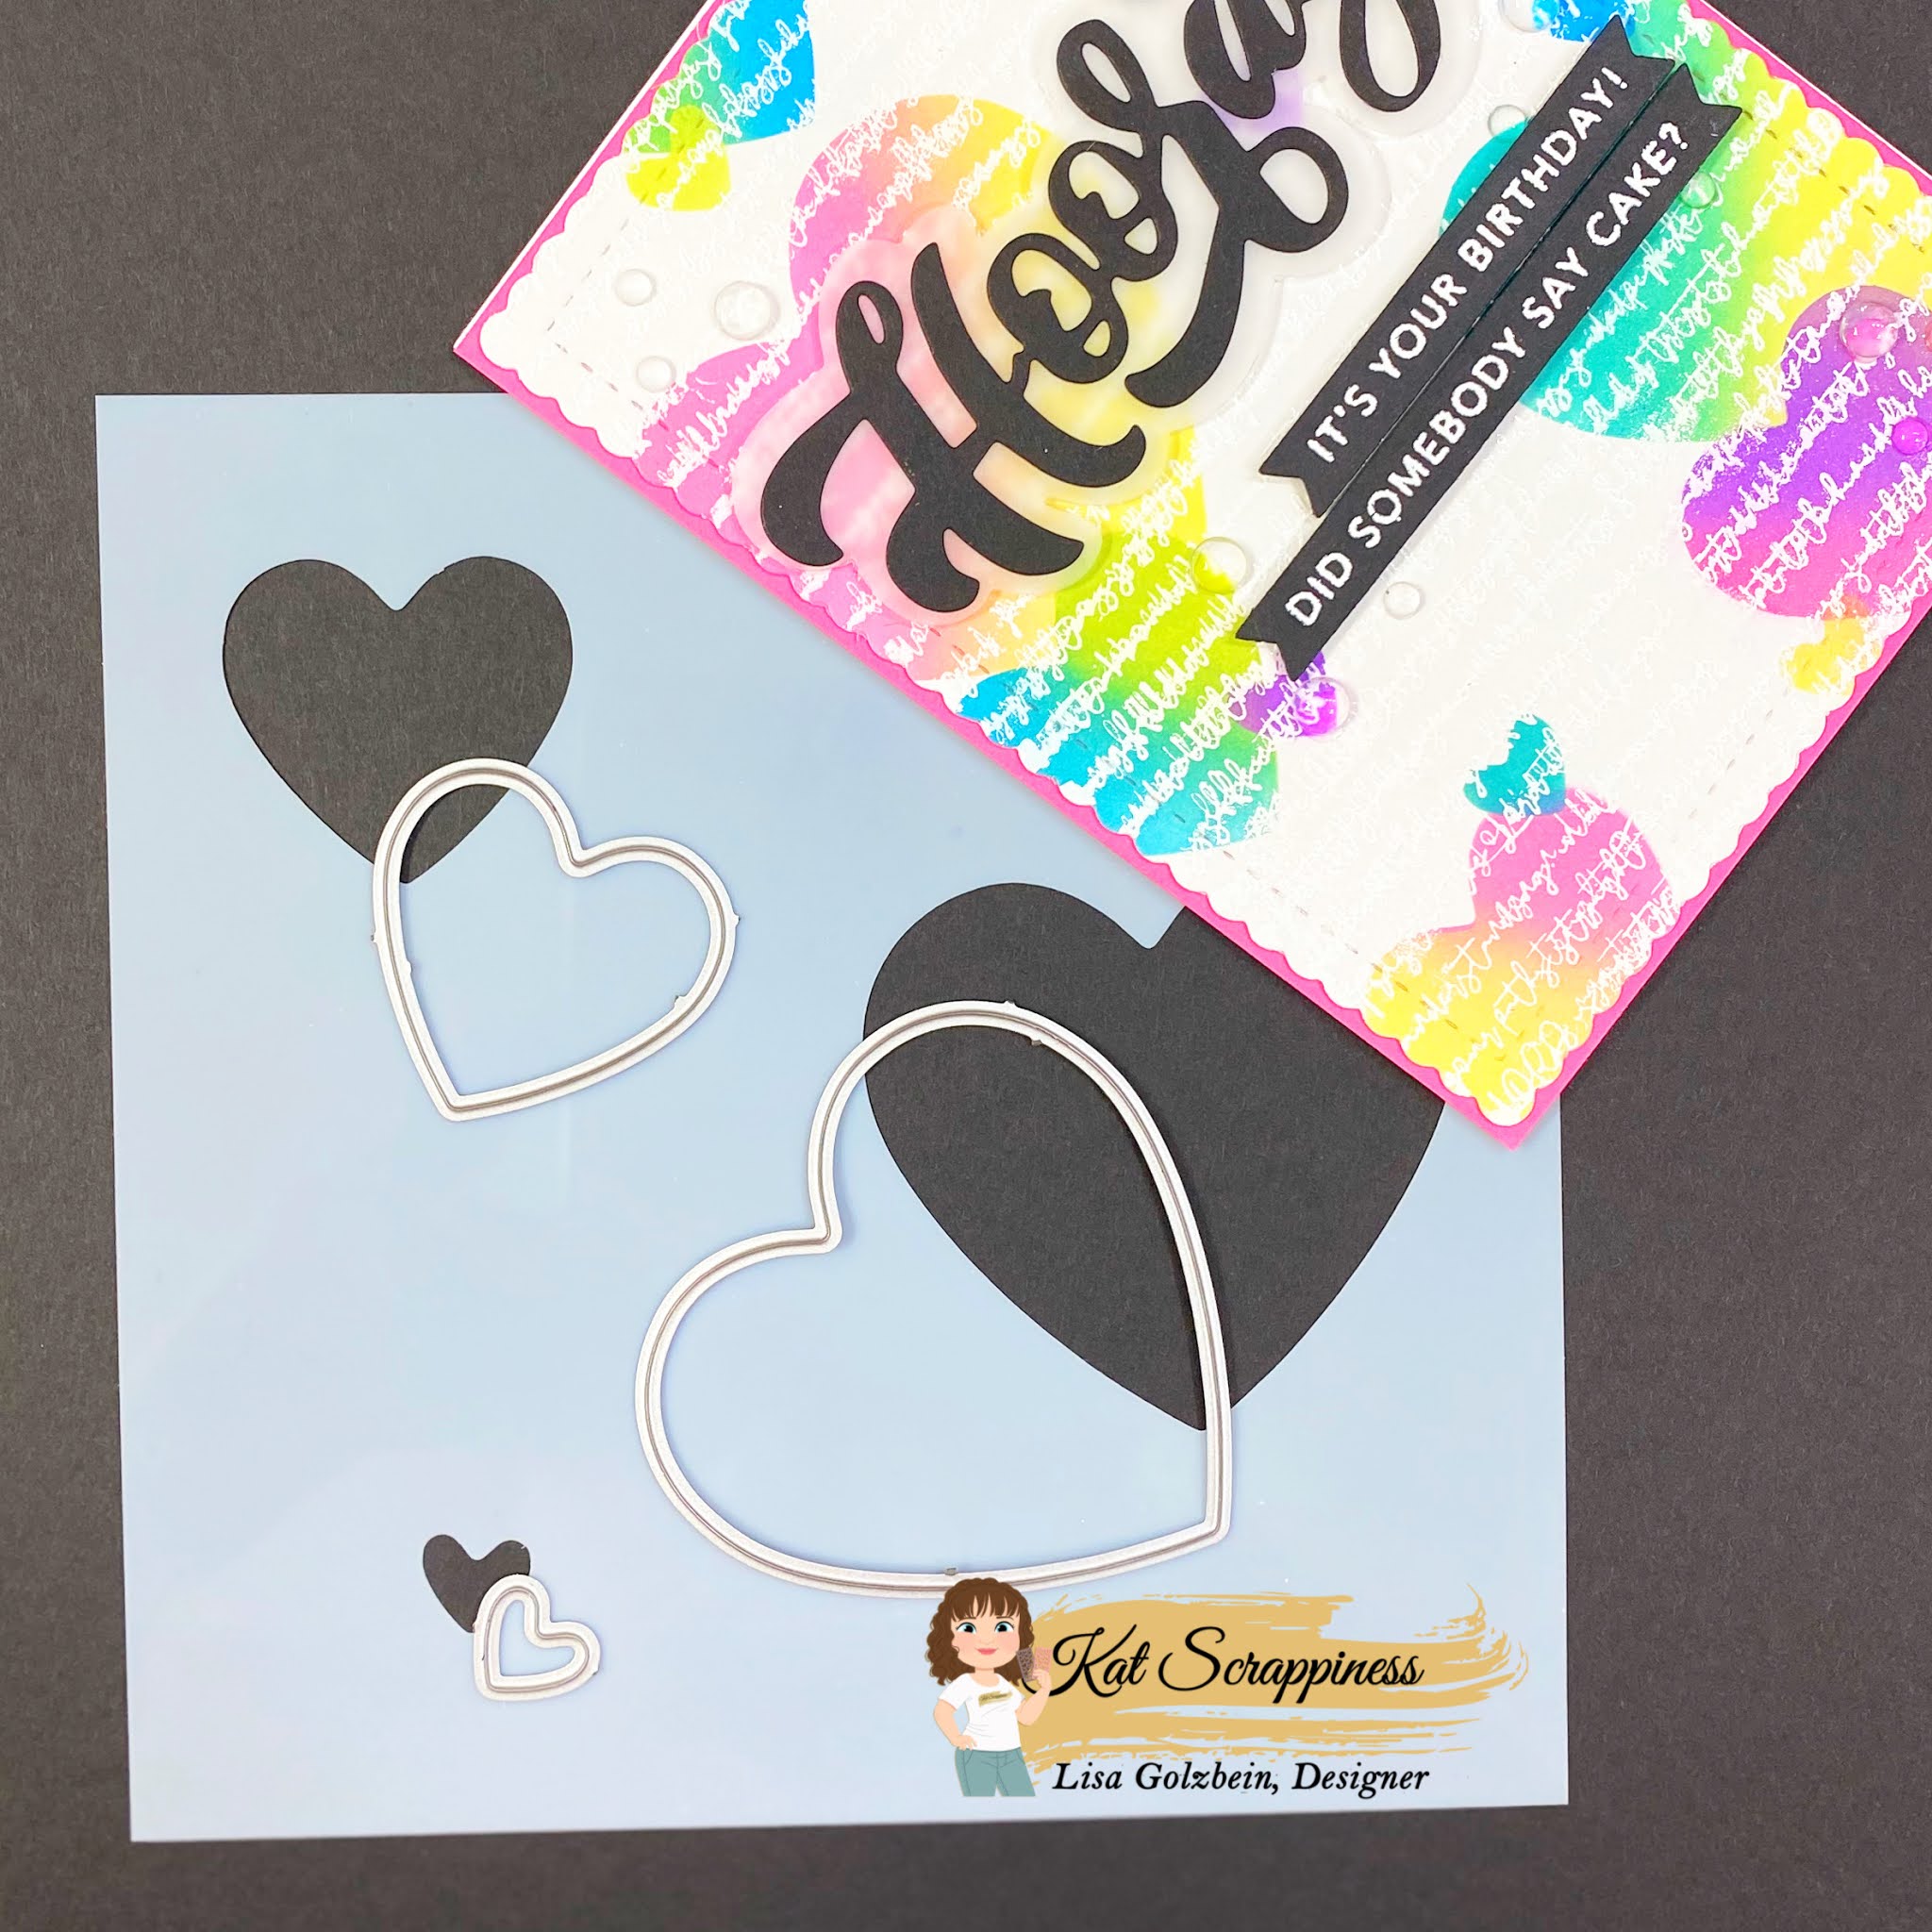
– Falling Hearts stencil
– Rainbow Hugs w/Shadow dies
– Neon Rainbow Sprinkles
– Sparkling Snow Pearl Mix
Stencil Release Post
Kat Scrappiness Products Used:
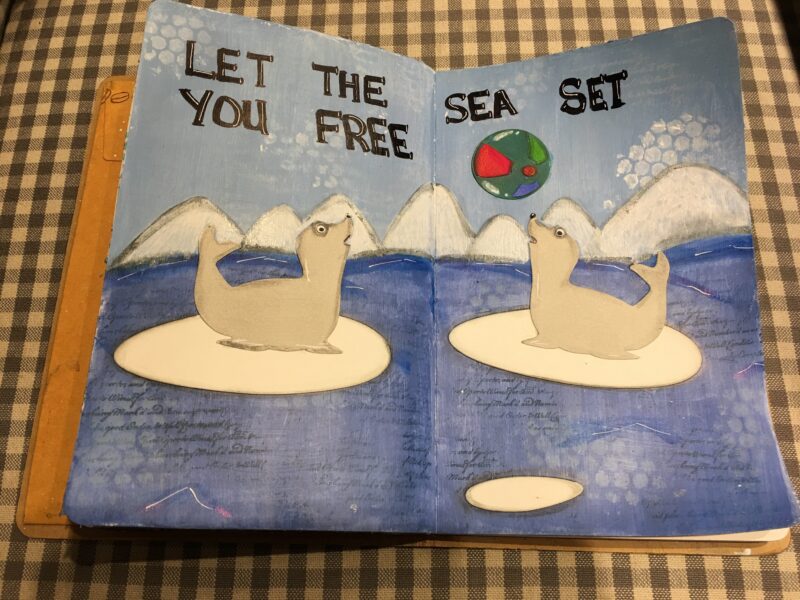
– Floating Dots stencil
– Happy Birthday w/Shadow dies
– Birthday Essentials Dies
– Sparkling Snow Pearl Mix
BLOG TEAM MEMBER- CRYSTAL
- Elephant Shaker
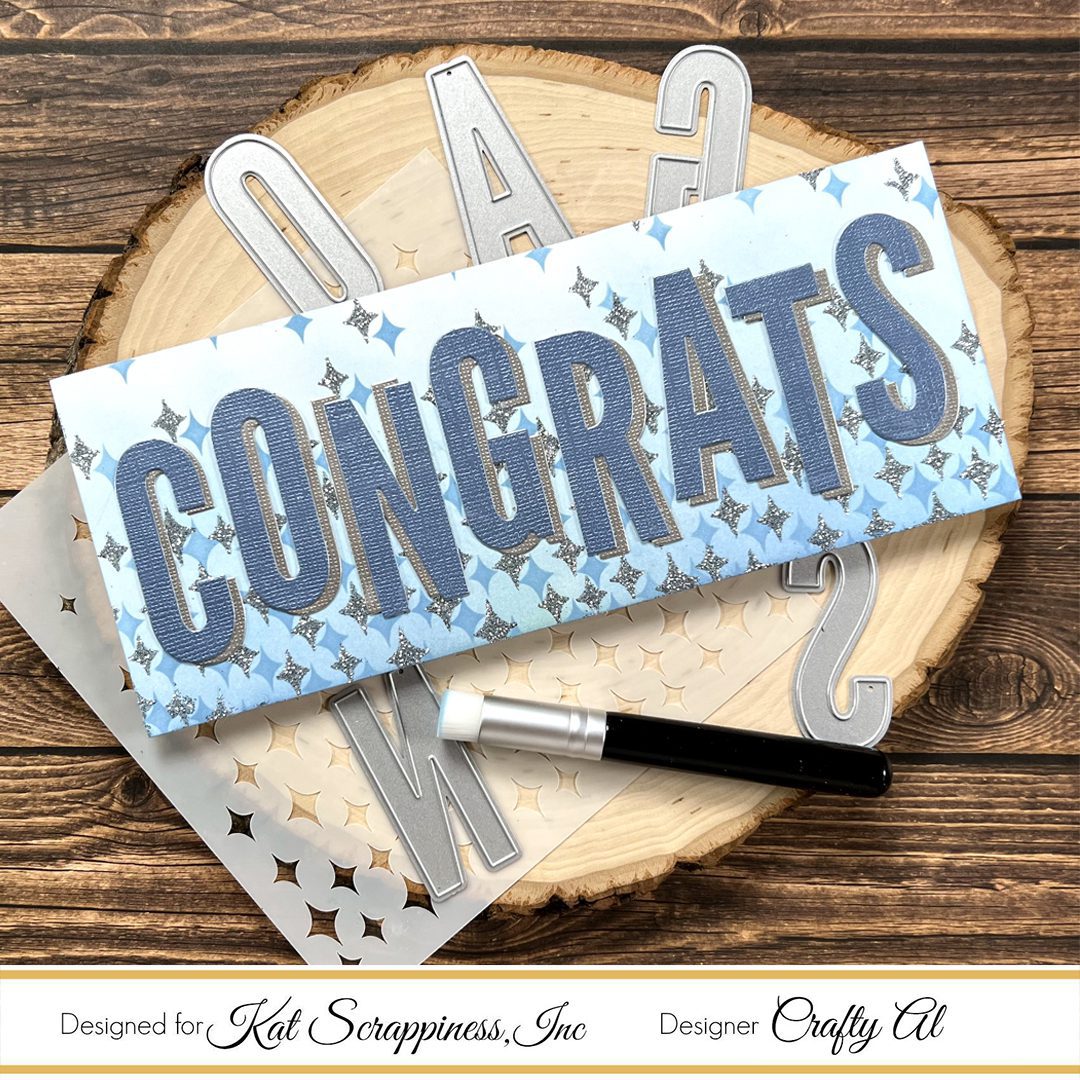
Congrats sentiment with shadow
Teal Jewels
Champagne Jewels
BLOG TEAM MEMBER – DONNA I
KS Supply used:
Coffee Shaker Dimension
Falling Starlights Stencil
5×7 Stitched Rectangle Dies
Spring Fling 6×8 Paper Pad
Let’s Get Caffeinated
Hot Cocoa Sequins
- KS Supply used:
Falling Stars Stencil
Uppercase Condensed Alphas
Starlights Jewel Slimline Paper
Starlights Bright Slimline Paper
Birthday Essentials Dies
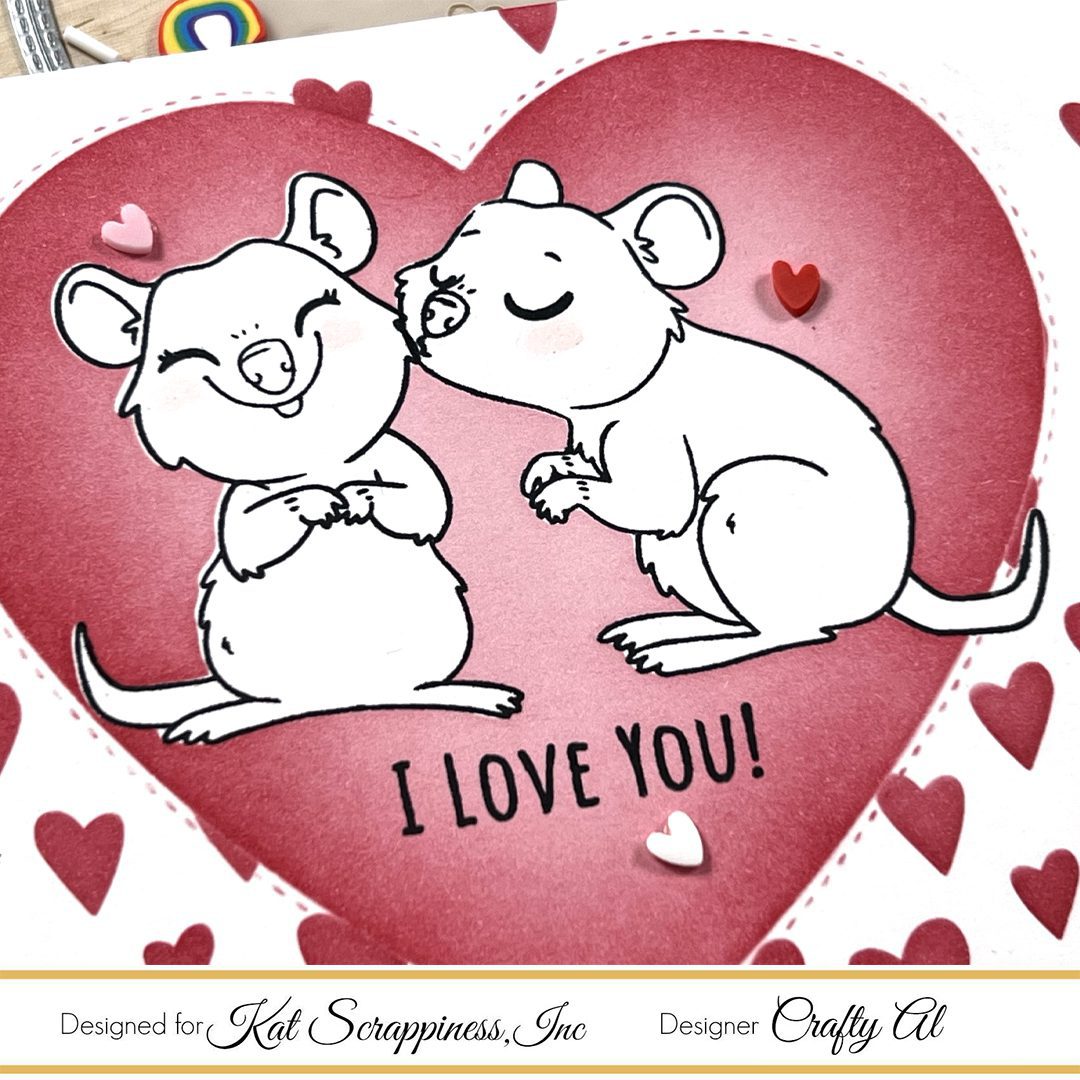
Quokka’n Up Stamp Set
BLOG TEAM MEMBER – DONNA W
- **NR Post
Hourglass Shaker Kit
Happy Birthday With Shadow Sentiment Die
Birthday Essentials Paper Pack
Falling Starlights Stencil
Silver Rhinestones Mix
Midnight Sky Pearl Mix
Blue Belle Pearl Mix
NR Post
Rose Shaker Kit
Thanks Sentiment Die with Shadow (used without Shadow)
Spring Leaves Pearl Mix
Pretty in Pink Pearl Mix
Gold Mine Rhinestone Mix
Spectrum of Love Paper Pack
Falling Hearts Stencil
BLOG TEAM MEMBER – KATHY
- Airplane Shaker Kit
6×6 Falling Stars Stencil
Sending All my Love Shadow Die
White Puffy Cloud Sequins
Fluffy Clouds Sequin
Cactus Shaker Kit 4.5″ x 4.75″
Cactus Sprinkles
6×6 Falling Stars
Mini Ice cubes
Mini SL Scallop Rectangle HELLO
VIDEO TEAM MEMBER- KIM
- Falling Starlights stencil
- Proud of You word/shadow die
BLOG TEAM MEMBER- MARIA
- – Lantern Shaker (FDSKR-073-4)
– Falling Stars 6×6 Stencil
– 5×7 Foliage Frame Die
– 3mm Light Gold Solid Stars
VIDEO TEAM MEMBER- NICKI
- Falling starlights
Lowercase condensed letters
Dog house shaker set
Friendship greetings stamp set
Falling Stars stencil
Dog Bone sprinkles
3mm Mirrored Clear Solid Stars
BLOG TEAM MEMBER – NORA
KS Floating Dot Stencil
KS Butterfly Shaker Set
KS Embossed Edged Rectangle Dies
KS Friendship Greetings
KS Boxed Sentiment Strips
KS Stitched Edge Postage Stamp Rectangles
KS Trix Mix II
KS White Diamond Sequin Mix
- KS Upper Condensed Alphabet
KS Falling Star Stencil
KS Gray Opal Pearl Mix
BLOG TEAM MEMBER-PRISCILLA
- Falling Stars 6×6 Stencil
Slimline Layered Cityscape Dies
Quokka Up Stamp Set – (“I Miss You”)
Baby Girl Onesie Shaker Kit
Sunflower Fields Sprinkle Mix
5×7 Stitched Rectangle Dies
Onyx Black Pearl Mix
Hoppy for You Stamp Set -(“Congratulations”)
BLOG TEAM MEMBER – SHERI
KS Floating Dots Stencil
KS Mini Stencil Brush
KS Hippity Hoppity Bunnies stamp set
KS Everyday Brush Strokes stamp set
KS Never Ending Rectangles
KS Never Ending Circles
KS Boxed Sentiment Strips
KS Embossing Powder Tool
KS Clear Solid Round Confetti
KS Baby Boy Shaker
KS Everyday Brush Strokes stamp set
KS Double Stitched Rectangles
KS Embossing Powder Tool
KS Sparkling Lime Sequins
KS Lime Green Confetti Sprinkles
BLOG TEAM MEMBER -TASHA
- -Floating Dots Stencil
-Reversed Scallop Mini Slimline W/Hello Dies
-Fish Shaker
-White Diamond Sequin Mix
BLOG TEAM MEMBER -TINA
- For Blog Release. Hot Air Balloon Shaker kit, Rainbow Hugs with Shadow die, Birthday Essentials for bow, Star Bright Sprinkles
BLOG TEAM MEMBER- WALESKA
- Falling Stars stencil
Condensed Number Dies
Every Day Brushed Strokes Stamps
Dimention Shaker
5×7 Rectangle Dies
Gold Starlights
Sparkling Clear Jewels
Gold Mine Rhrinestone Mix
*Would you like to win 2 Shaker Card Kits, four new Kat Scrappiness Stencils, Stencil Blending Brushes(*U.S. residents only but if international winner is chosen, winner will have to pay for shipping).
Here’s how to win:
Comment on this blog post and tell us who inspired you today and what products you loved the most. You have until Sunday, May 1st to comment — winners will be announced on Tuesday May 3, 2022


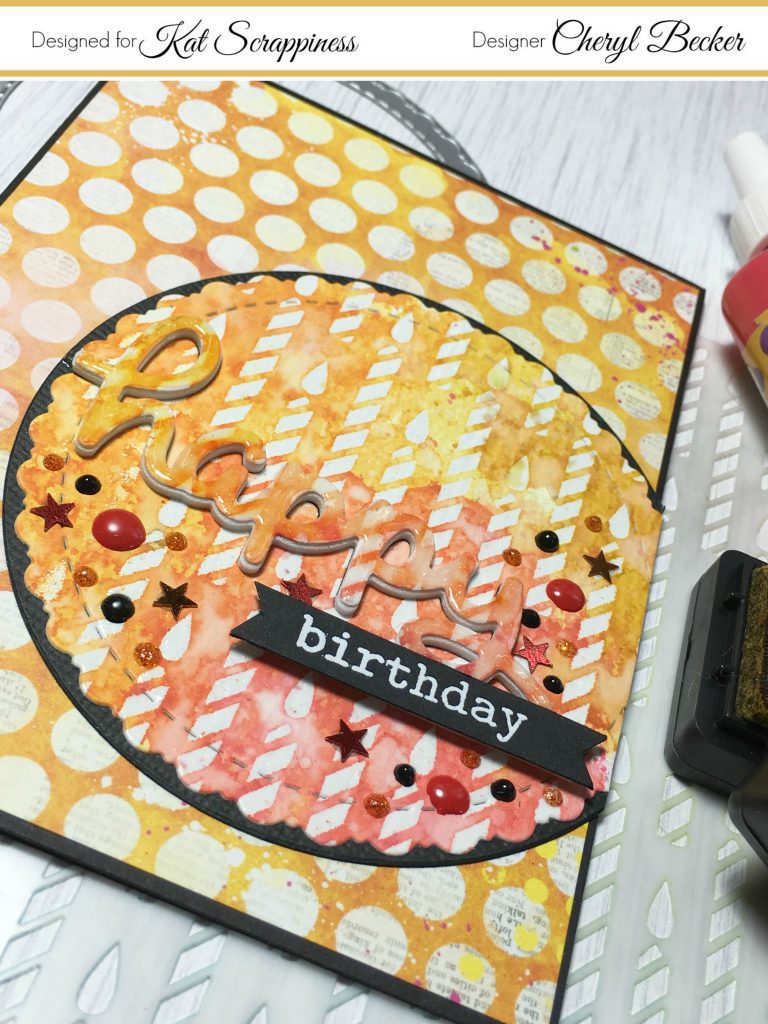


Cupcake Shaker kit
Floating Dots stencil
Happy Birthday w/shadow die
Stitched Rope rectangle dies
Star Bright sprinkles
Candy Explosion sprinkles
Neon Rainbow Sprinkles
Rainbow Confetti paper