Hi all, Jo here welcome to a cardset creation using the latest Peacock cover die just released this month. …


Hi all, Jo here welcome to a cardset creation using the latest Peacock cover die just released this month. …
Hello everybody! Today I am excited to share another quick and easy card tutorial with you all using some amazing…
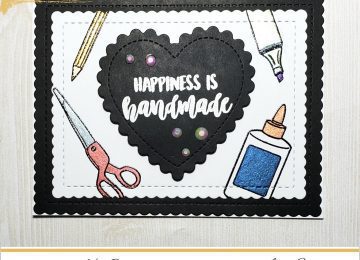
Hello crafty friends and welcome to the Kat Scrappiness Blog! Today I have a quick tutorial showing you how I…
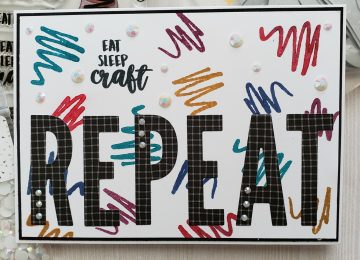
Hi Friends! kel here today to share a punny card with you!! I used the brand new Crafter’s Essentials 1…
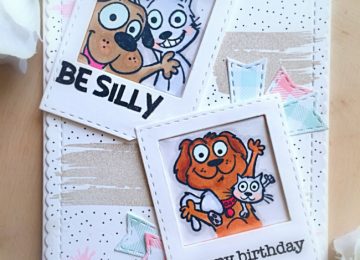
Do you ever run out of birthday cards? I do! I make them a lot but I always seem to…
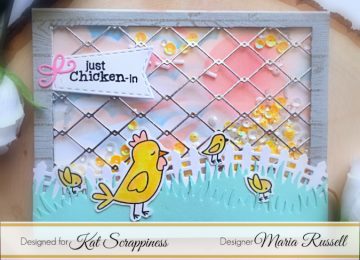
Hello my crafty peeps! I am super excited to share this post because today, we are launching a new die…
Hello my crafty peeps! I hope you are all enjoying your Sunday and getting some much-needed quality time with the…