Happy Labor Day to everyone in the US. I plan on spending the day at the pool probably for the…

Happy Labor Day to everyone in the US. I plan on spending the day at the pool probably for the…
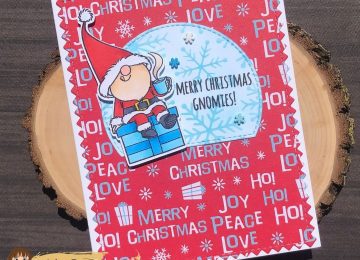
Hi friends, Thought I would make a quick card today. So I naturally turned to one of the Kat Scrappiness…
Hey, Crafty Friends! Rainbows just make me happy – whether when I see the real thing after a storm or…
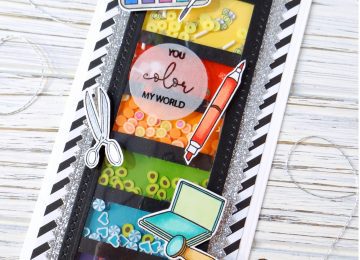
Happy Friday everyone! Today I have a fun slimline shaker card to share with you. For the shaker portion of…

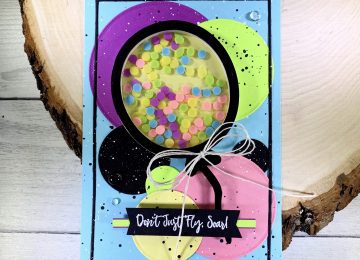
Hello Friends craftinglovew here with a couple of shaker cards I want to share with you! They look great and…
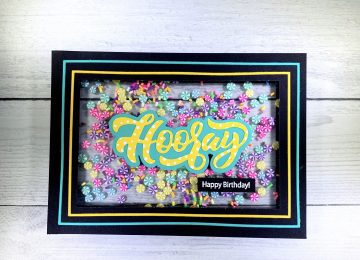
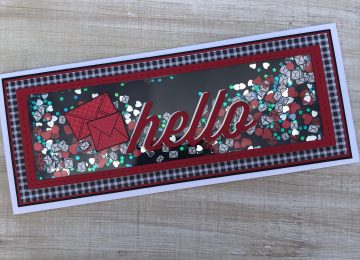
Hello fellow crafters, I wanted to share this shaker card I made, I tried something new for me. I…
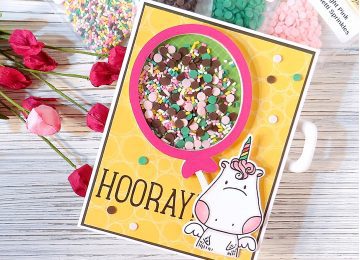
Our celebrations may look a little different right now, but we can still send fun cards for birthdays, anniversaries, milestones…