Good day crafty friends! Design Team Member Jana stopping in to share a quick and easy card tutorial with you…
Design Team Projects

Good day crafty friends! Design Team Member Jana stopping in to share a quick and easy card tutorial with you…
Hi Friends! kel here today to share a punny card with you!! I used the brand new Crafter’s Essentials 1…

Have you seen the new Wood Grain Framed Diamond Wire Background Die that was just released from Kat Scrappiness? I absolutely…
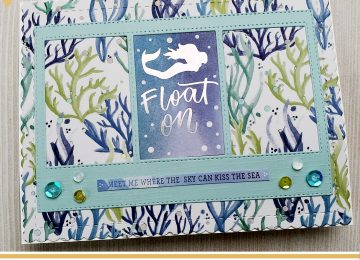
Hi Friends! kel here today to share a fun card for a special mermaid!! And I totally took inspiration from…
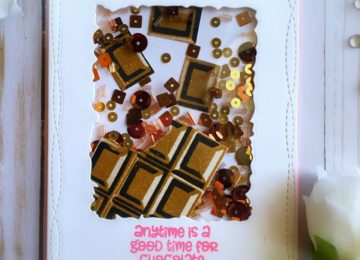
Hi, crafters! Cynthia here with a new video on how I made this Star Shaker Card. I was very inspired…
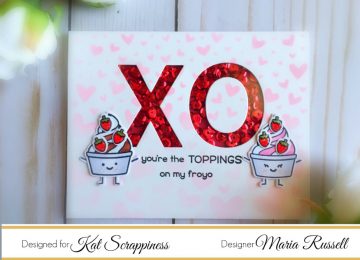
Hello my crafty friends. I am back today to share with you a simple Valentine’s Day card, showcasing the new…
Are you looking for a simple Valentine’s Day card without all the hearts and romantic stuff? Or just a simple…