Merry Christmas dear friends!!! Thank you for being with me today to celebrate the perfect love! I am featuring another…
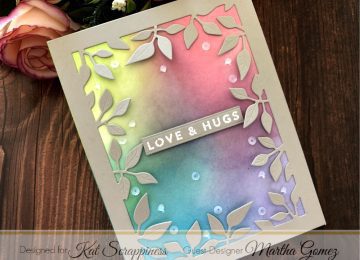

Merry Christmas dear friends!!! Thank you for being with me today to celebrate the perfect love! I am featuring another…
Hey Everyone! My name is Priscilla and I am honored to be the November Guest Designer on the Kat Scrappiness blog….
Hello, crafters! Cynthia here with my last blog post for the August 2018 Kat Scrappiness release. For this card, I…
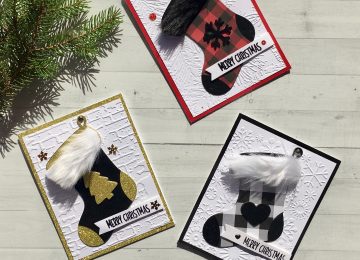
Hello again, crafters! Boy, it sure doesn’t feel like a week has gone by since my last post. Between vacation,…
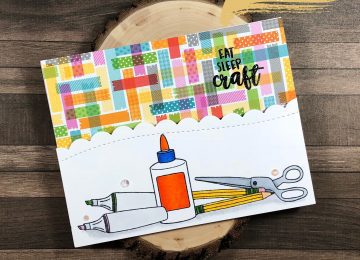
Hi Everyone! Today I have a fun crafty card featuring two just released items at Kat Scrappiness – Crafters Gonna Craft…
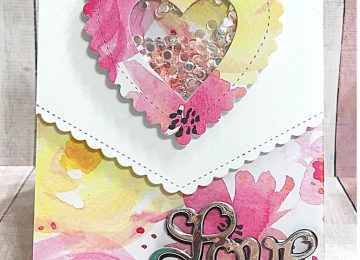
Hi everyone! It’s Lisa up on the blog again today to bring you a pretty little shaker card! I have…
Hello, crafters! Thank you for joining me today as I create a fun, shaker birthday card using the new Kat…