Hello, my sweet crafty friends!
Today I’m sharing a fun two-for-one card idea using the Oopsie Daisy 6×6 Layering Stencils from Kat Scrappiness. I always love finding ways to stretch one background into multiple projects, and this technique is perfect for that.
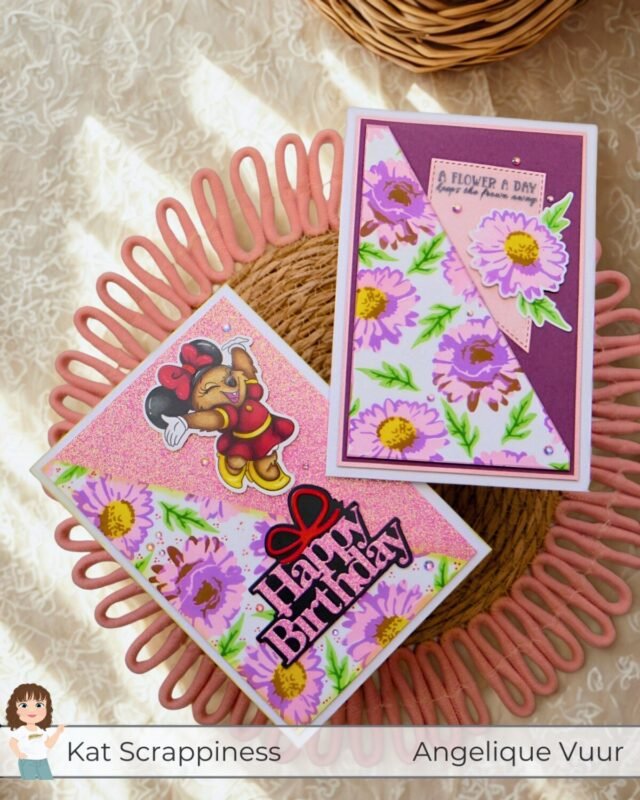
By creating one stenciled floral background and cutting it diagonally, you can easily make two completely different handmade cards. For one card I focused on a soft floral design, and for the second card I added a playful touch with the adorable Quokkas ephemera.
It’s a simple technique that gives you two cards with the same base, but each with its own personality.
Have you used the Oopsie Daisy Layering Stencils more often? I love to hear.
Let’s make some cards!
Card Details
Card 1 – Floral Card
Card Base: 5 x 7 inch
Pink Pearl Mat: 4.75 x 6.75 inch
Purple Mat: 4.50 x 6.50 inch
Background Panel: 4.75 x 6.75 inch (cut diagonally)
Card 2 – Quokka Birthday Card
Card Base: 5 x 7 inch
Pink Glitter Mat: 4.75 x 6.75 inch
Background Panel: second half of the stenciled background
Kat Scrappiness Products Used
Step-by-Step Card Tutorial
1. Card Base and Panels
Both cards start with a 5 x 7 inch white card base.
For Card 1, I layered a pink pearl mat (4.75 x 6.75 inch) and a purple mat (4.50 x 6.50 inch).
For Card 2, I used a pink glitter mat (4.75 x 6.75 inch) to give the card a more playful look.
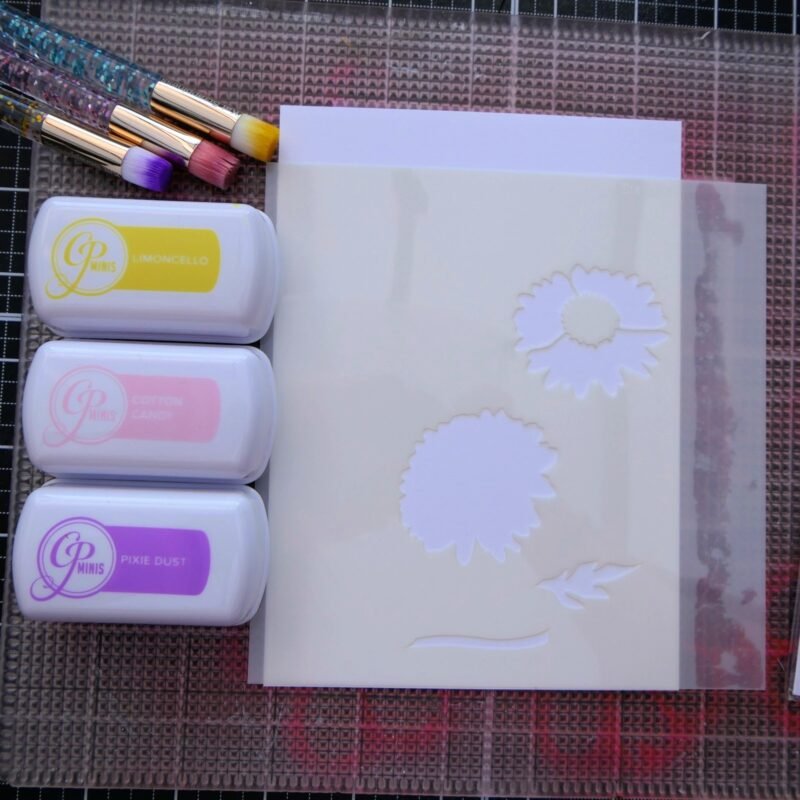
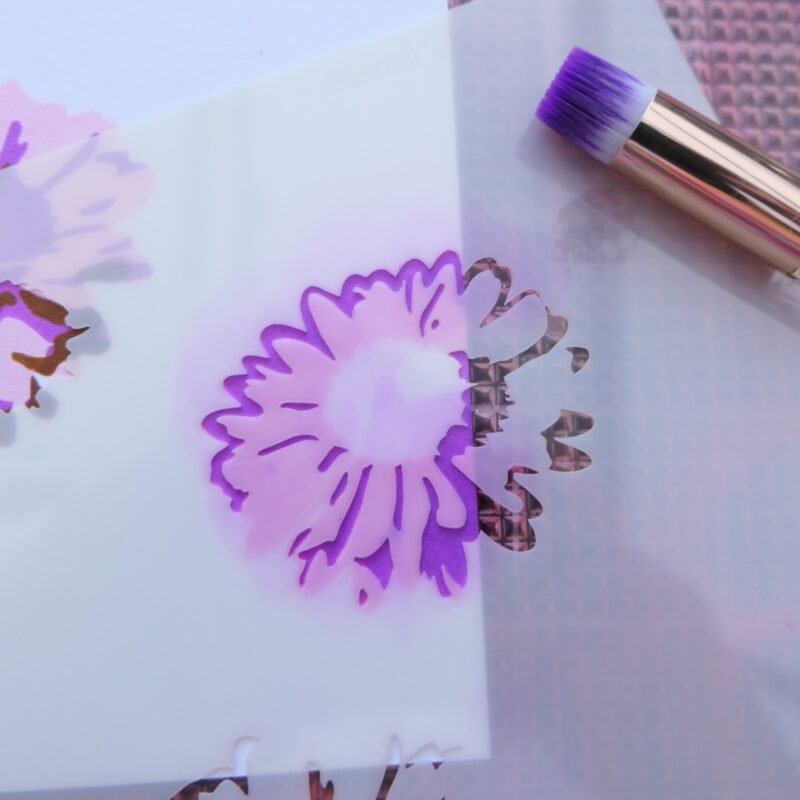
2. Making the Floral Background
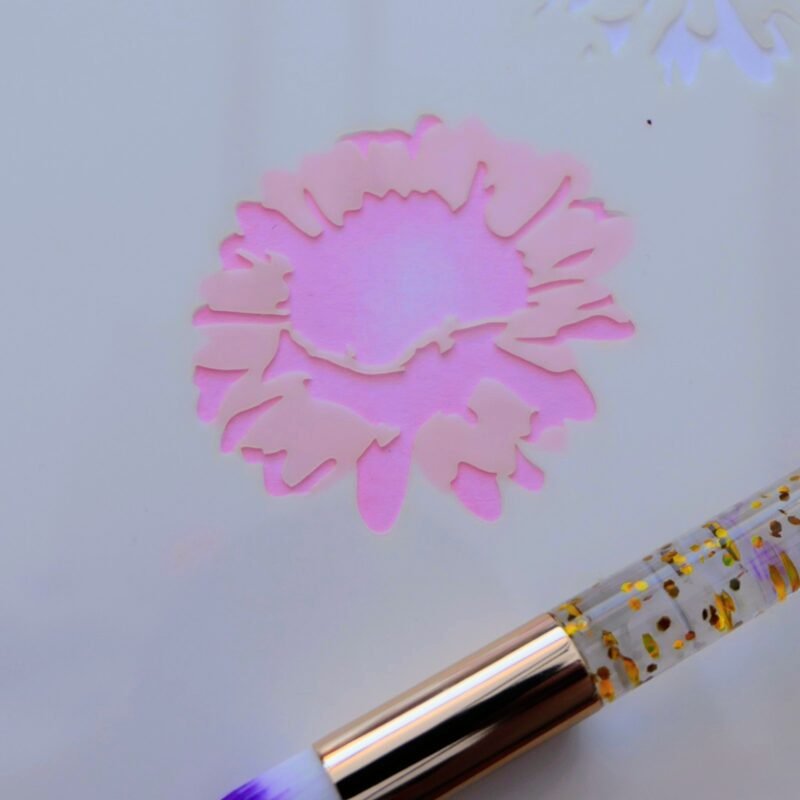
Using the Oopsie Daisy Layering Stencils, I blended the flowers onto a piece of white cardstock.
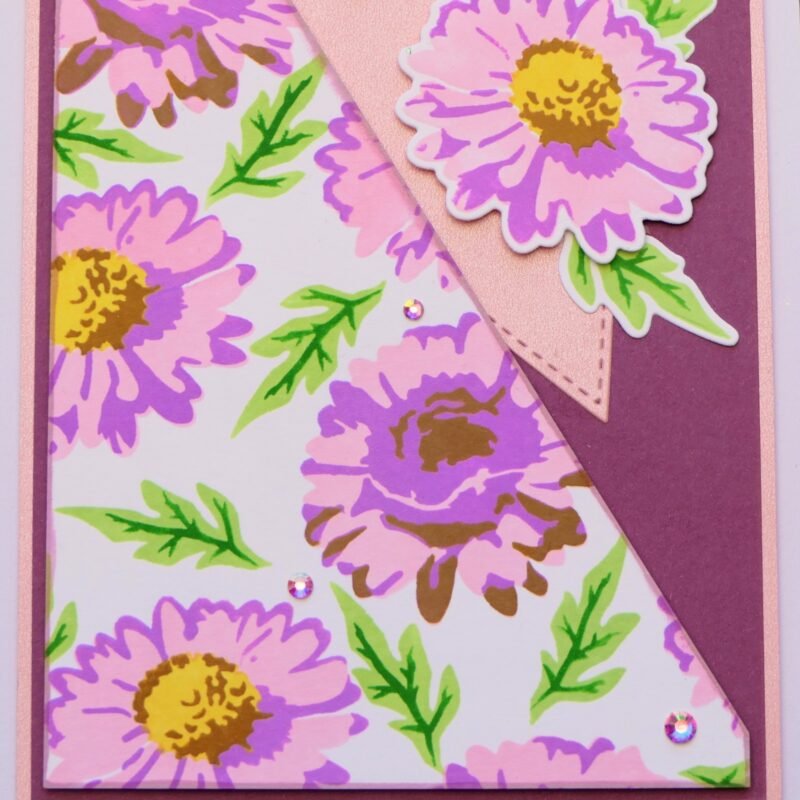
I started with the first flower slightly below the center (see picture 1) so the design wouldn’t feel too static. I also blended several flowers partially off the edge of the cardstock (see picture 3), which helps create a more natural and dynamic background.
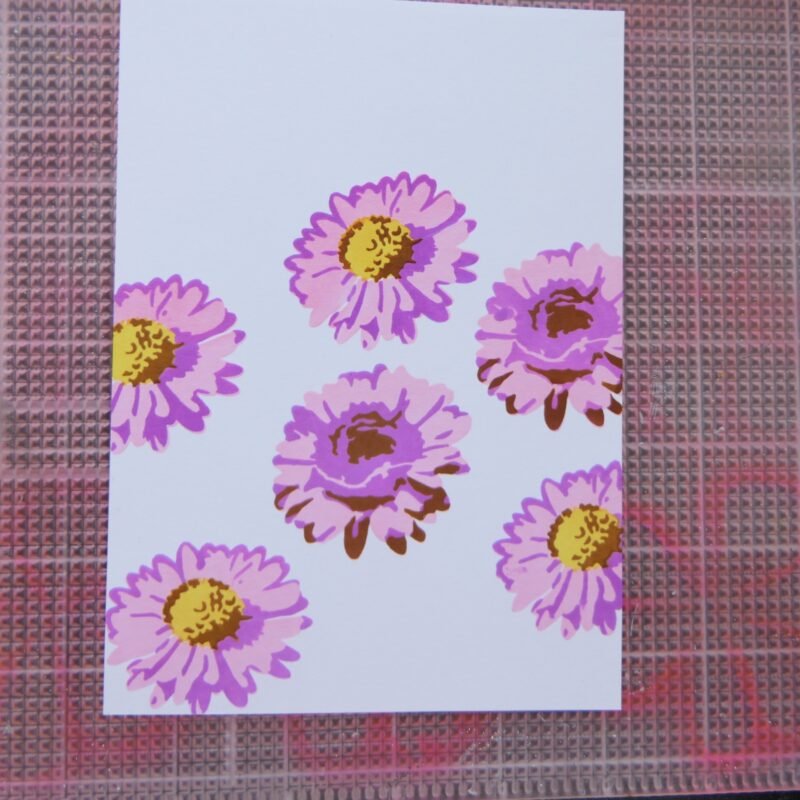
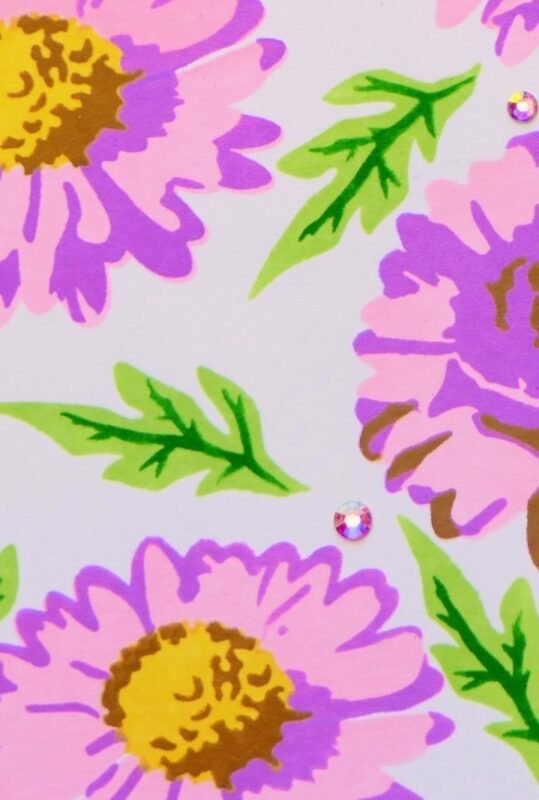
After completing the flowers, I blended the leaves from the stencil set in between the flowers to fill the background nicely.
On a separate piece of white cardstock, I ink blended two additional flowers and four leaves and die cut them using the Oopsie Daisy Coordinating Dies. These pieces will add extra dimension later on.
Finally, I cut the finished background diagonally, slightly next to the center, creating two panels that will be used for both cards.
3. Creating Card 1 – Floral Design
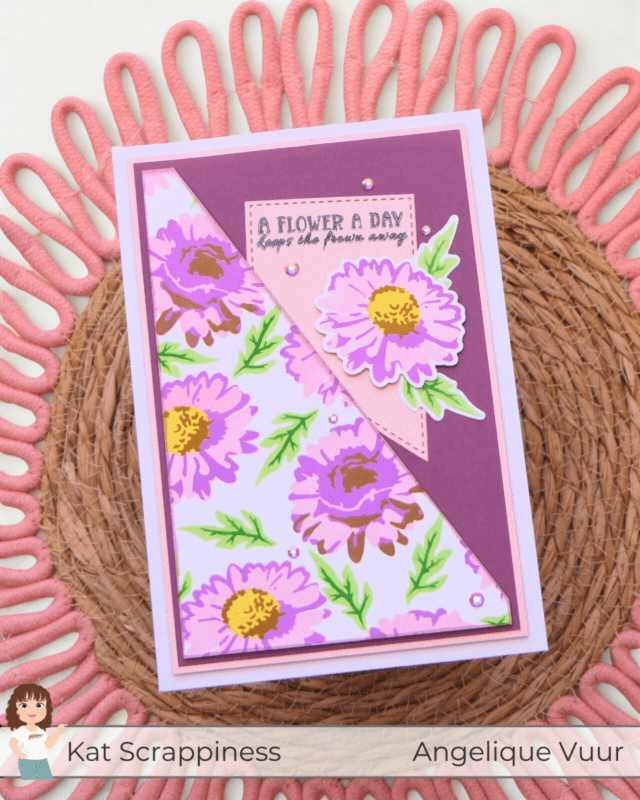
For the first card I wanted to keep the focus on the flowers.
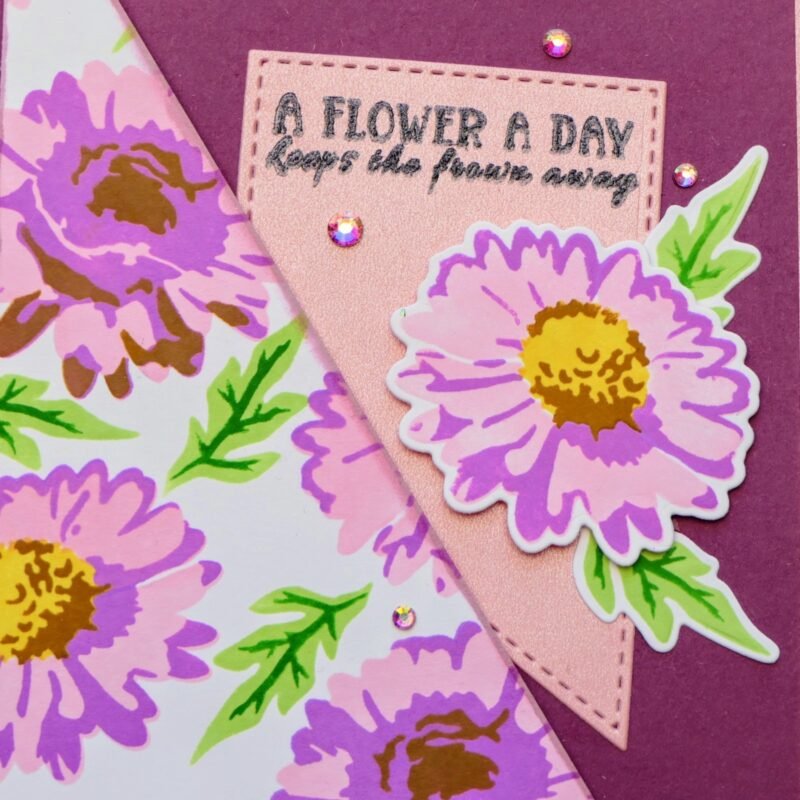
I cut a fishtail banner from the pink pearl cardstock using the Nesting Fishtail Banner Dies. From small to big I used the second die. On this banner I stamped the sentiment from the Quokka Flowers Stamp Set using Stazon ink so it would adhere well to the smooth pearl surface.
The edges of the floral panel were softly ink blended with a slightly darker pink ink to frame the design.
Before attaching the diagonal panel with foam tape, I first positioned and glued the sentiment banner to make sure everything aligned nicely.
Next, I adhered the diagonal background panel onto the purple mat, leaving a small border around the edges.
To finish the card, I added the die cut flowers and leaves for dimension. One flower is popped up with foam tape on the right of the banner, under the sentiment. The second flower is adhered flat in the lower right corner on the inside of the card.
Finally, I added a few Crystal AB Rhinestones for some sparkle.
4. Creating Card 2 – Playful Quokka Card
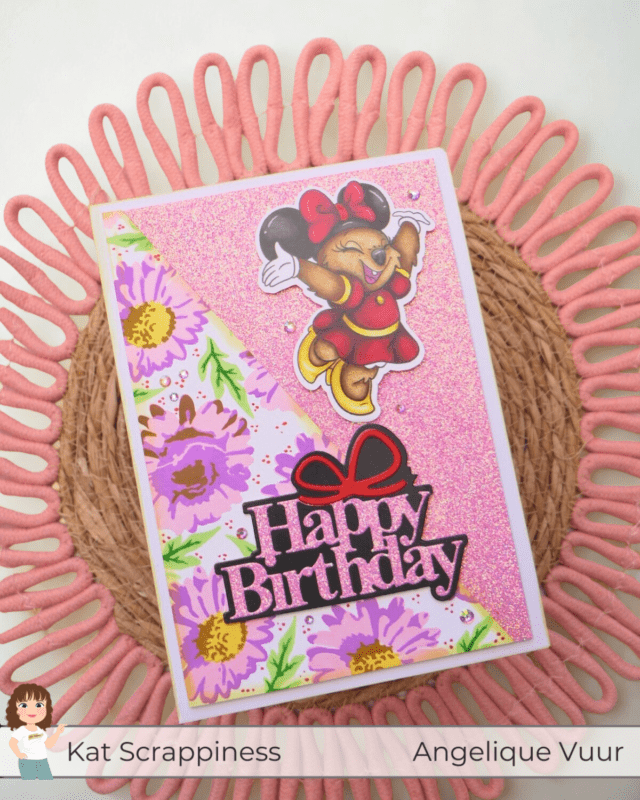
For the second card I wanted a different look, even though it uses the same background.
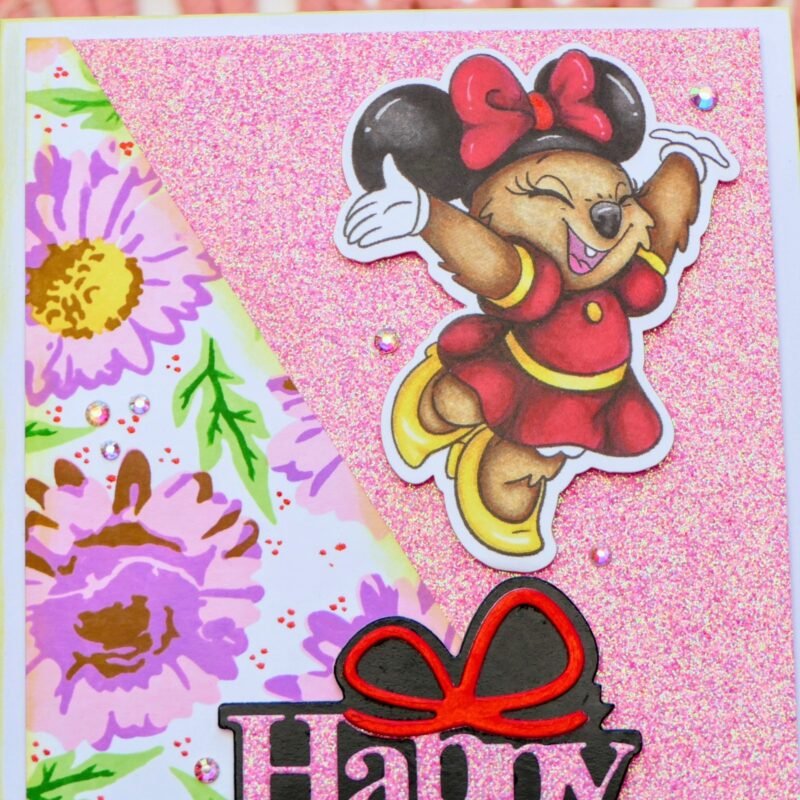
I added small red dots across the floral panel, mostly in clusters of three, which gives the card a fun and playful feel.
The edges of the panel were softly ink blended with a yellow-green ink to create a fresh look.
For the focal point I chose one of the adorable characters from the Meet the Quouses Ephemera Pack, and I also added a round quokka image inside the card.
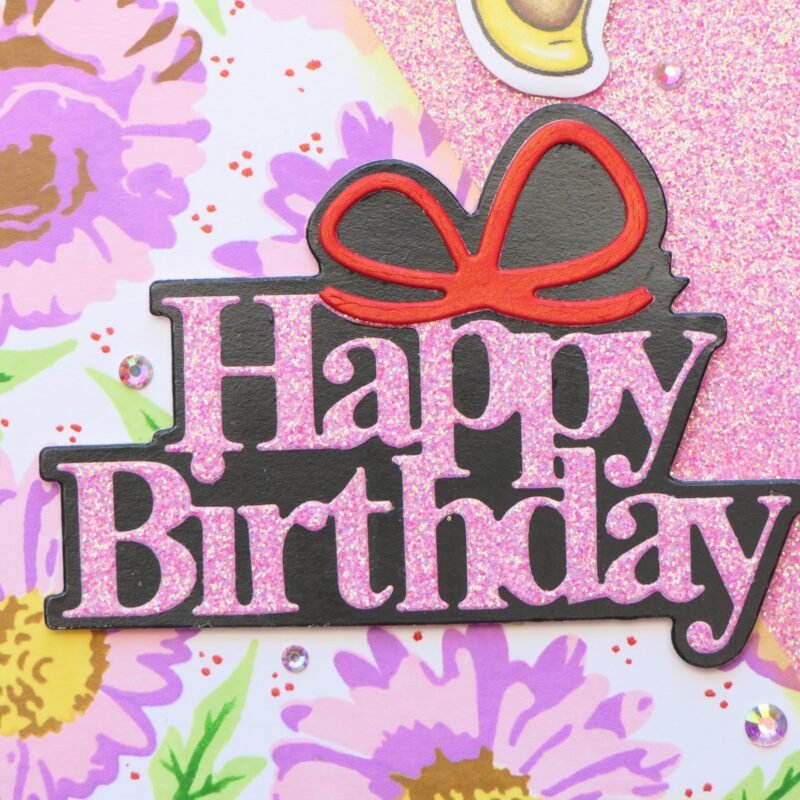
For the sentiment I used the Bow-tiful Happy Birthday Shadow Sentiment Craft Dies.
The shadow layer was cut from black cardstock, the words from pink glitter cardstock, and the small bow from red cardstock.
Both the sentiment and the quokka were adhered with thin foam tape for dimension.
To finish the card, I added a few Crystal AB Rhinestones for extra sparkle. Yes, the glitter cardstock wasn’t sparkly enough. 😁
Final Thoughts
Creating these cards reminded me how fun it is to stretch one background into multiple projects. With just a few different elements, you can easily create two different cards from the same starting point.
I hope this inspires you to try a two-for-one background technique with one of your own stencils!
Thank you so much for stopping by, and don’t forget to check out What’s New at Kat Scrappiness for even more crafty inspiration!
Until next time and happy crafting!
Hugs,
Angelique 💮