Tag: Neenah

  • Birthday Fishes Mini Slimline Card

    Birthday Fishes Mini Slimline Card

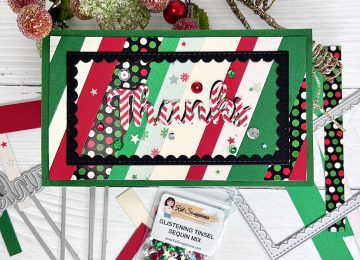
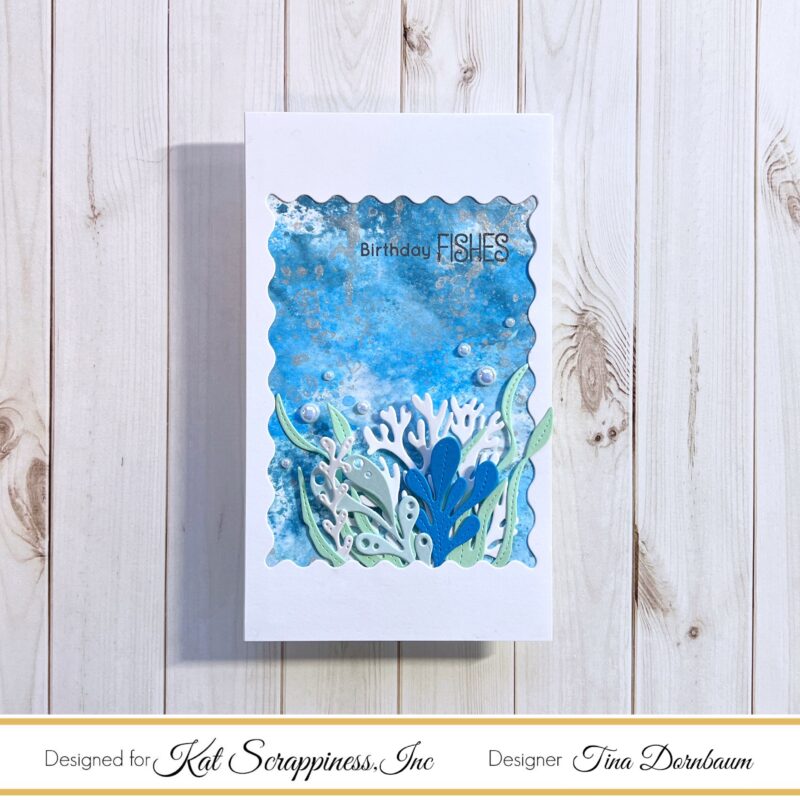
    Hi everyone, it’s Tina here. I used the Life Under The Sea and Embossed Edge Wavy Frame Dies to create a sea scene Birthday card. Below are the steps to create your own card.

    Step 1 – Trim White Cardstock to 7″ x 6″, score at 3 1/2″ and fold in half for a vertical side fold card. (Mini Slimline)

    Step 2 – Trim White Cardstock to 3 1/2″ x 6″. Apply any water reactive Inks of your choice onto a craft mat to create a background. I used Distress Oxide Inks in colors Tumbled Glass, Broken China, Salty Ocean and Uncharted Mariner. Spray water to the inks and dip your cardstock to it. Heat set the cardstock in between each application for favorable results. Let dry.

    Optional – Spray the background with a Shimmer Spray. I used Brutus Monroe Shimmer Mist Pearl which enhanced the oceanic background I was going for. Adhere to card using Bearly Art Precision Glue.

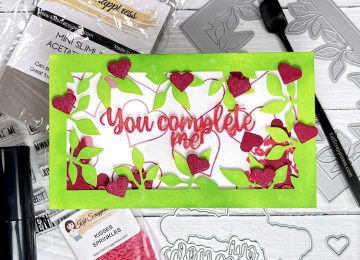
    Step 3 – Trim White Cardstock to 3 1/2″ x 6″. Diecut Embossed Edge Wavy Frame using the trimmed panel. Adhere to card front leaving a little opening at the inner bottom.

    Step 4 – Diecut Life Under The Sea in various colors. I used White, Teal, Blue and Soft Green Cardstocks. Arrange and adhere to card using Bearly Art Precision Glue.

    Step 5 – Stamp sentiment of your choice to the inner top right using Versafine Onyx Black Ink.

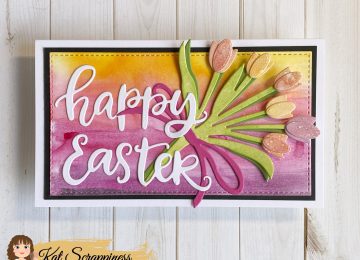
    Step 6 – For added interest and sparkle randomly adhere Sparkling Snow Pearl Mix using Bearly Art Precision Glue.

    This card can be used for several occasions by changing the sentiment. Below is a link to all the products used. Thank you for stopping by and Happy Crafting!

    Products Used:


    https://linkdeli.com/widget.js?id=f5e8378456858c916708

  • A Valentine’s Day Card

    A Valentine’s Day Card

    Hello my fellow crafters.

    Nora here with a Valentine’s Day card that features some of the NEW product from Kat Scrappiness. I combined stamps, die cuts and sprinkles to create my fun shaker card. I especially like the new Kat Scrappiness Mini Slimline Foliage Frame Die. I used it here with some heart “flowers” that I die cut using the smallest heart die from KS Heart Donut Builder Dies.

    Here is how I created this card:

    • Cut the white, Mini Slimline card base into a 6″ by 7″ piece. Using the Kat Scrappiness Teflon Bone Folder, score core at 3 1/2″ so that your card is 6″ by 3 1/2″
    • I used the outline heart from the Say it With Hearts stamp set to stamp read hearts over the front of the white card base.
    • With the  Mini Slimline Foliage Frame Die, die cut the leaves out of white cardstock. Ink blend the entire die cut with two shades of green ink. On the back of the foliage frame, adhere a Kat Scrappiness Mini Slimline Acetate Sheet.
    • While the acetate is drying, use the smallest heart die from the Heart Donut Builder Dies to die cut 25 hearts from red cardstock
    • Line the dried frame with foam adhesive. Add sixteen of the red paper hearts and some Kat Scrappiness Kisses Sprinkles in the middle of the white card base. Adhere the Mini Slimline Foliage Frame over the top of the card base to create your shaker.
    • Using a piece of the red pattern paper from the new Spectrum of Love Slimline Paper Pack, die cut the sentiment out with the new Kat Scrappiness You Complete Me w/Shadow die three times. Adhere each of these three sentiments together. Then glue them to the front of the card, as shown.
    • Adhere the remaining hearts to the card front using foam adhesive.
    • To finish off the card, add some sparkle to the hearts and the sentiment with a Spectrum Clear Sparkle Marker.

    I want to thank you for taking the time to stop by today. Be sure to stop in at the Kat Scrappiness Blog this week for some more FABULOUS inspiration from the Design Team. Below are links to all the products I used for my card. These links are Affiliate Links that can be used at no extra cost to you. Have a FABULOUS day!!!


    Card Supplies:

  • Festive Boxed Sentiment Strip Thanks

    Festive Boxed Sentiment Strip Thanks

    Hello everyone!! Nora here on the blog today with a festive, mini-slimline thanks card. I used the Boxed Sentiment Strips to die cut strips out of the Ugly Sweater Slimline Paper and matching cardstock scraps from my stash!!

    Here are the steps I used to create my card:

    • I used the largest die from the Kat Scrappiness Mini Slimline Embossed Edge rectangle die set to die cut a piece of white cardstock as a guide for my paper strips.
    • Next I die cut various sized paper strips from the Ugly Sweater Slimline Paper and cardstock scraps using the Kat Scrappiness Boxed Sentiment Strips. I love combining strips of pattern paper and plain cardstock pieces. It gives a card such visual interest.
    • I adhered my strips over the front of my mini slimline base in a diagonal and cut the edges off to create a rectangle card front.
    • I used Bearly Art Precision Craft Glue to adhere the striped card front to a green, mini slimline card base.
    • I then cut out a black cardstock frame with the Kat Scrappiness Mini Slimline Reverse Scallop w/Hello die. I adhered this to the middle of my striped panel.
    • I die cut my sentiment out of two different patterns of Ugly Sweater Slimline paper and then two out of white cardstock with the Thanks Sentiment w/Shadow Die. I adhered the white thanks together with the red pattern paper. While that was drying, I glued the second pattern paper sentiment down in the middle of the black frame. I adhered my stacked sentiment over this, off setting it so that the darker “thanks” looks like a shadow.

    Below is a list of supplies I used from the Kat Scrappiness Shop. Affiliate links used at no extra cost to you. I thank you for your support.

    I want to thank you for taking the time to stop by. Have a FABULOUS day!!!


  • Mini Slimline Tulip Bouquet Card

    Mini Slimline Tulip Bouquet Card

    Hi everyone, it’s Tina here. I am sharing a card I made using the new Layered Tulip Bouquet dies which is perfect for Easter. Below you will find the steps to create your own card.

    Step 1 – Trim White Cardstock to 7″ x 6″, score at 3 1/2″ and fold in half for a horizontal top fold card. (Mini Slimline)

    Step 2 – Trim Black Cardstock to 3 1/4″ x 5 3/4″ and adhere to card front using Nuvo Deluxe Adhesive.

    Step 3 – Diecut Mini Slimline Double Stitched using a DIY Background or Patterned Paper. Adhere to card front using Nuvo Deluxe Adhesive.

    Step 4 – Diecut Layered Tulip Bouquet using White Cardstock inked with colors of your choice or using Colored Cardstock. Assemble and adhere to card front using using Nuvo Deluxe Adhesive. (I added Distress Oxide Inks onto a Gel Press and spalshed some water before diecutting.)

    Step 5 – Diecut Happy Easter with Shadow (I used the outline only) using White Cardstock. Adhere to card using Nuvo Deluxe Adhesive.

    This card can be used for many occasions by simply changing the sentiment and colors. Below is a link to all the products used. Thank you for stopping by and Happy Crafting!

    Products Used:
    https://linkdeli.com/widget.js?id=f5e8378456858c916708

  • I Love You This Much Mini Slimline Card

    I Love You This Much Mini Slimline Card

    Hi everyone, it’s Tina here. Today’s card is using the new Double Stitched Mini Slimline dies along with the Quokka’N Up Stamp Set. I also used the Heart Panel to emboss on a Ombré Inked Background. Below you will find the steps to create your own card.

    Step 1 – Trim White Cardstock to 7” x 6”, score at 3 1/2” and fold in half for a vertical side fold card. (Mini Slimline)

    Step 2 – Trim White Cardstock to 3 1/2” x 6”. Apply various shades of ink in the same color family using a Blending Brush starting from top lightest color working down to the darkest color. Emboss Heart Panel using your favourite die cutting machine. Be sure to check the sandwich needed to emboss using a die. I embossed the wrong side but decided to keep it as I liked the effect it created. Adhere to card front using Nuvo Deluxe Adhesive.

    Step 3 – Diecut Double Stitched Mini Slimline using White Cardstock (2 dies together) to create a frame. Adhere to card using Nuvo Deluxe Adhesive.

    Step 4 – Stamp Quokka’N Up (image) using Gina K Amalgam Ink on White Cardstock. Color in with alcohol markers of your choice. I used Spectrum Noir Illustrator Markers. Diecut with matching die and adhere to card using Nuvo Deluxe Adhesive.

    Step 5 – Stamp Quokka’N Up (sentiments) using Versafine Onyx Black Ink on White Cardstock. Trim out the sentiments and adhere to card using Nuvo Deluxe Adhesive.

    This card can be used for several occasions by changing the colors, sentiments and image. Below is a link to all the products used. Thank you for stopping by and Happy Crafting!

    Products Used:
    https://linkdeli.com/widget.js?id=f5e8378456858c916708

  • Love Shaker Card

    Love Shaker Card

    Hi Everyone, it’s Tina here. Did you know Kat Scrappiness has Shaker Cards Kits which takes the guess work out of making Shaker Cards. Each one comes with everything you need which are precut to the exact dimensions. All you need is a Shaker Card Kit, glue and sequins. Below you will find the easy steps to creating your own shaker card.

    Step 1 – Trim White Cardstock to 8 1/2″ x 5 1/2″, score at 4 1/4″ and fold in half for a vertical side fold card. (A2)

    Step 2 – Trim White Cardstock to 5 1/2″ x 4 1/4″. Emboss a pattern and adhere to the front of the card using Nuvo Deluxe Adhesive.

    Step 3 – Color in or Spray some Glimmer Mist to the Decorative Frame Overlay. Set aside to dry. Adhere the Element Shape Base (3mm) to the front of the card using Collage Medium. Wait a few minutes for it to dry. Add to the inside of the base with 3mm Mirrored Clear Hollow Hearts, 3mm Mirrored Clear Solid Heart Confetti and Candy Kisses Valentine Sequin Mix. Adhere the precut Acetate Sheet using collage medium. Adhere the Decorative Frame Overlay using Collage Medium.

    Step 4 – For added interest randomly adhere the same sequin mix from Step 3 on the front of the card using a Crystal Katana and Collage Medium.

    Easy peasy…right! This card can be used for an Anniversary or just to say you love someone without it having to be a Valentine’s Card. Below is a link to all the products used. Thank you for stopping by and Happy Crafting!

    Products Used:
    https://linkdeli.com/widget.js?1559654439292