Hello KS Friends!!
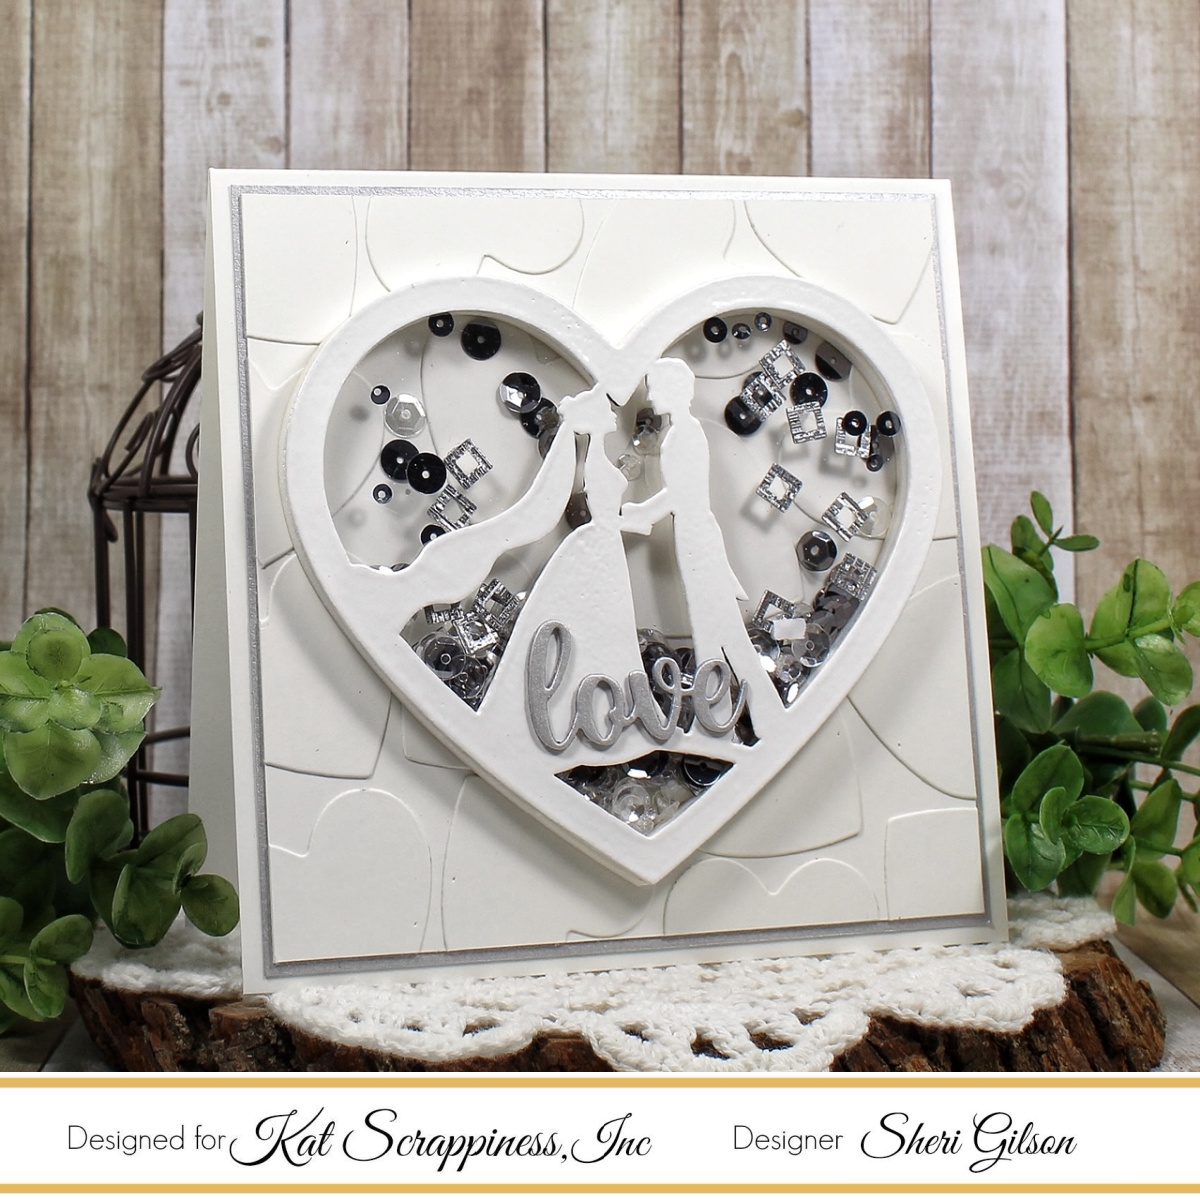
Sheri here with a festive Wedding card featuring the NEW Wedding Heart Shaker Card Kit! If you missed the Shake It Up Release this past weekend you can find the full release HERE.
31 NEW Shaker Card Kits were added to the store and can be found HERE. The shaker kits are super easy to assemble and just need to be filed with shaker bits of your choice.

Steps to Create Card:
- Create 5″ x 5″ Square Card Base (5″ x 10″, scored at 5″).
- Cut Silver Mat: 4 3/4″ x 4 3/4″.
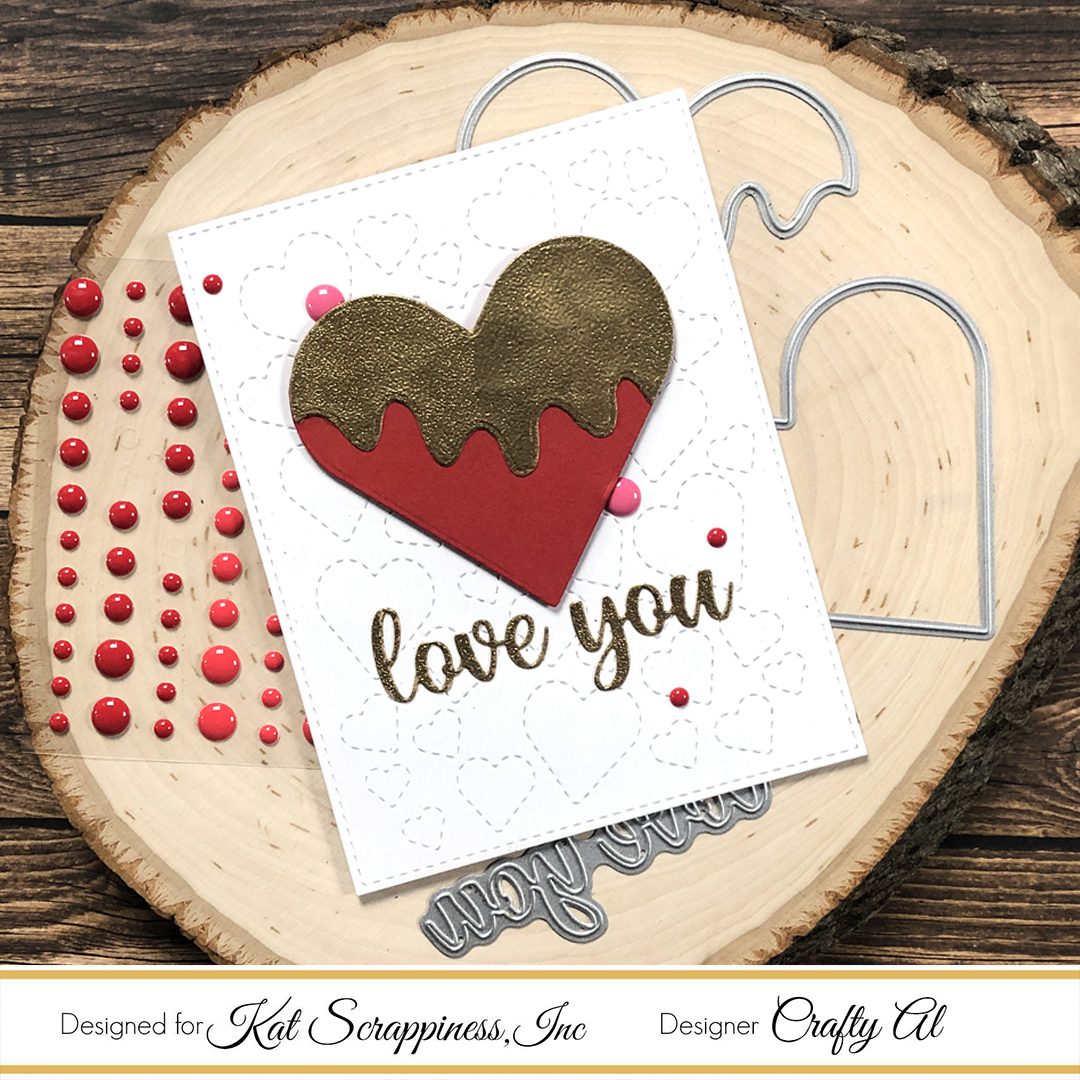
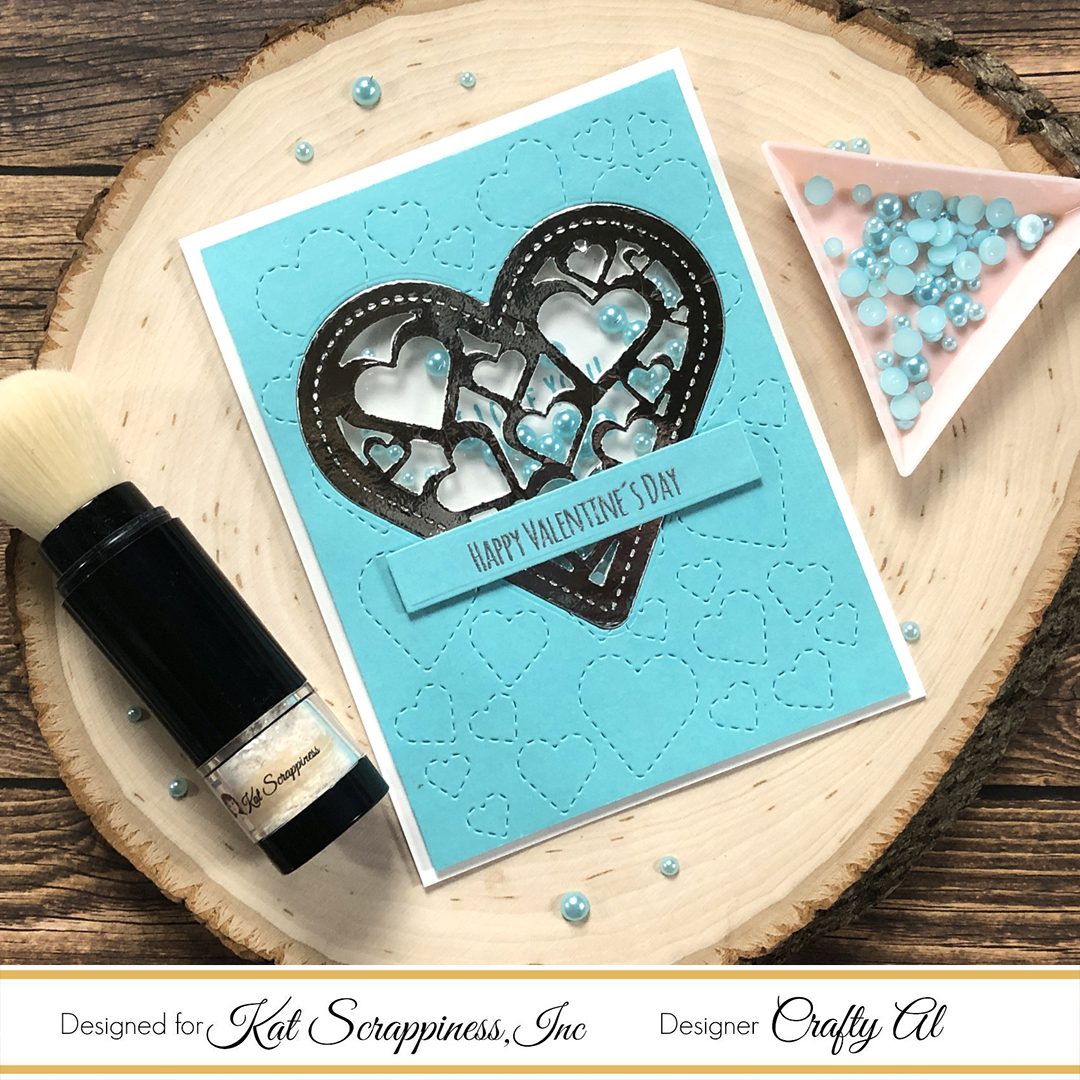
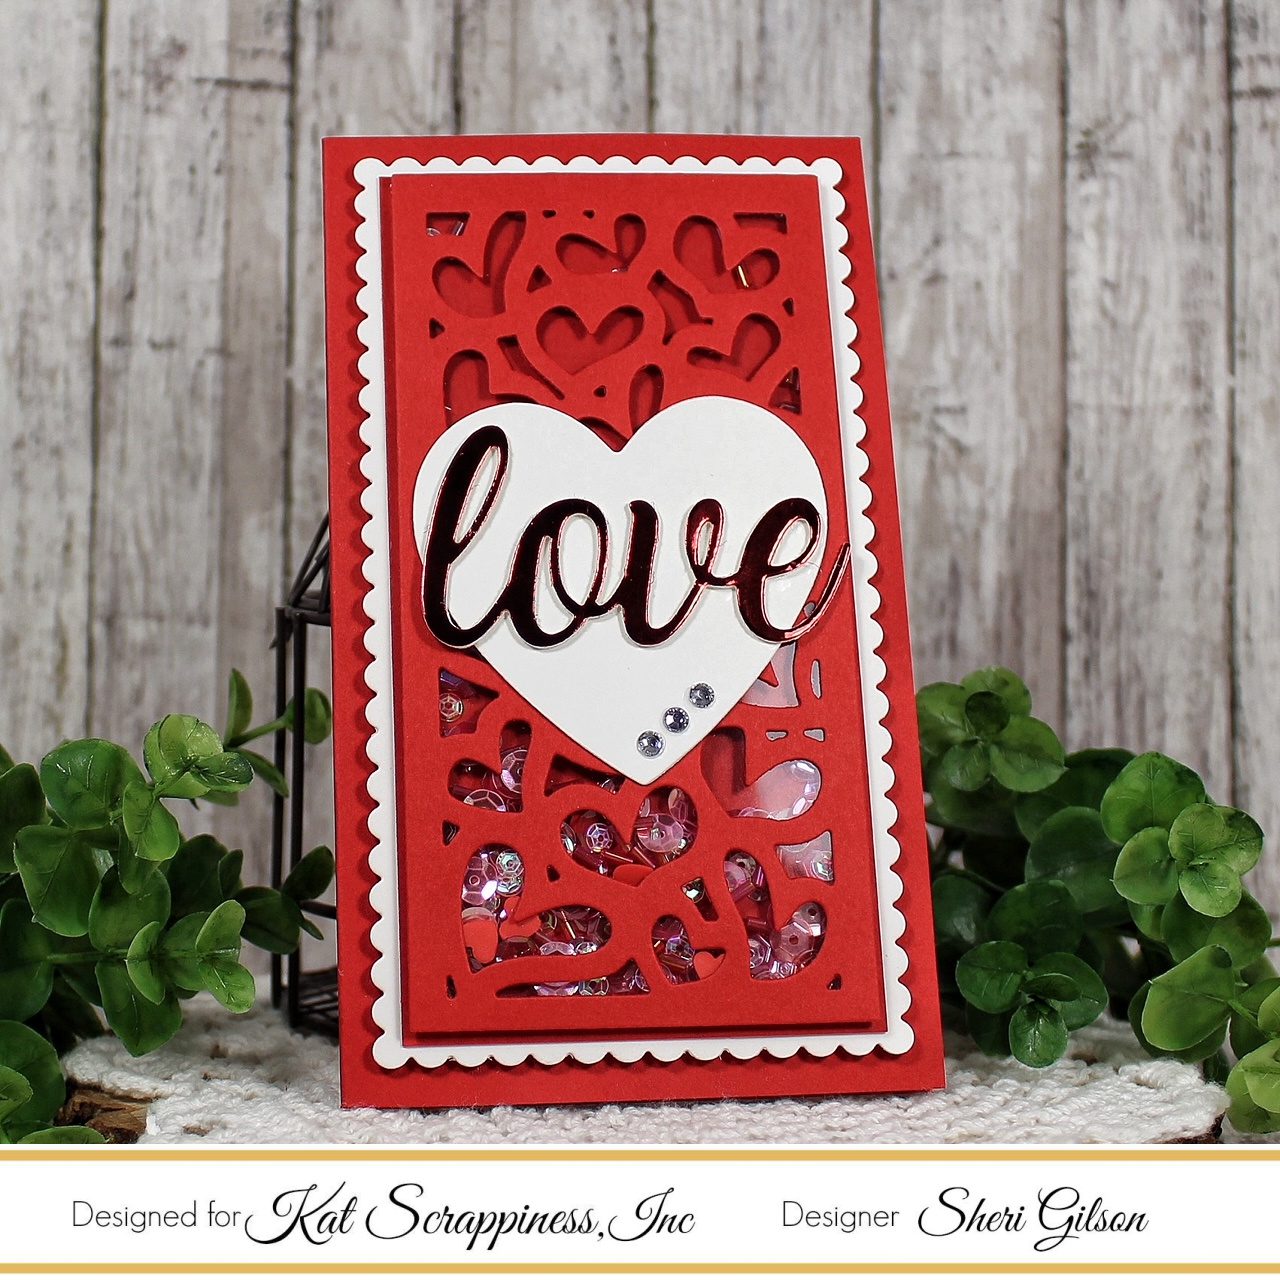
- Cut White Panel: 4 5/8″ x 4 5/8″. Next you can emboss with a favorite embossing folder of your choice or create a faux embossed background like I did. To create a faux embossed background, I cut out approximately 16 hearts (smallest heart from the Layering Nested Hearts die set). I then glued them randomly on my panel.
- Assemble the White Panel to the Silver Mat and attach it to your white card base.
- Assemble Wedding Heart Shaker. First I painted the heart with white acrylic paint and to add a bit of shine I did emboss twice with white embossing powder, next I attached the foam heart to my card panel, filled with shaker bits, attached Acetate heart to Wood Heart and then glued it to the foam heart. I used a combination of 1/8″ double sided tape and liquid glue. My shaker is not going anywhere.
- For a sentiment I added the word “Love” die cut in silver card stock from the Love You w/Shadow die. The sentiment is cut out twice and stacked and glued directly to the bottom of the bridal couple.
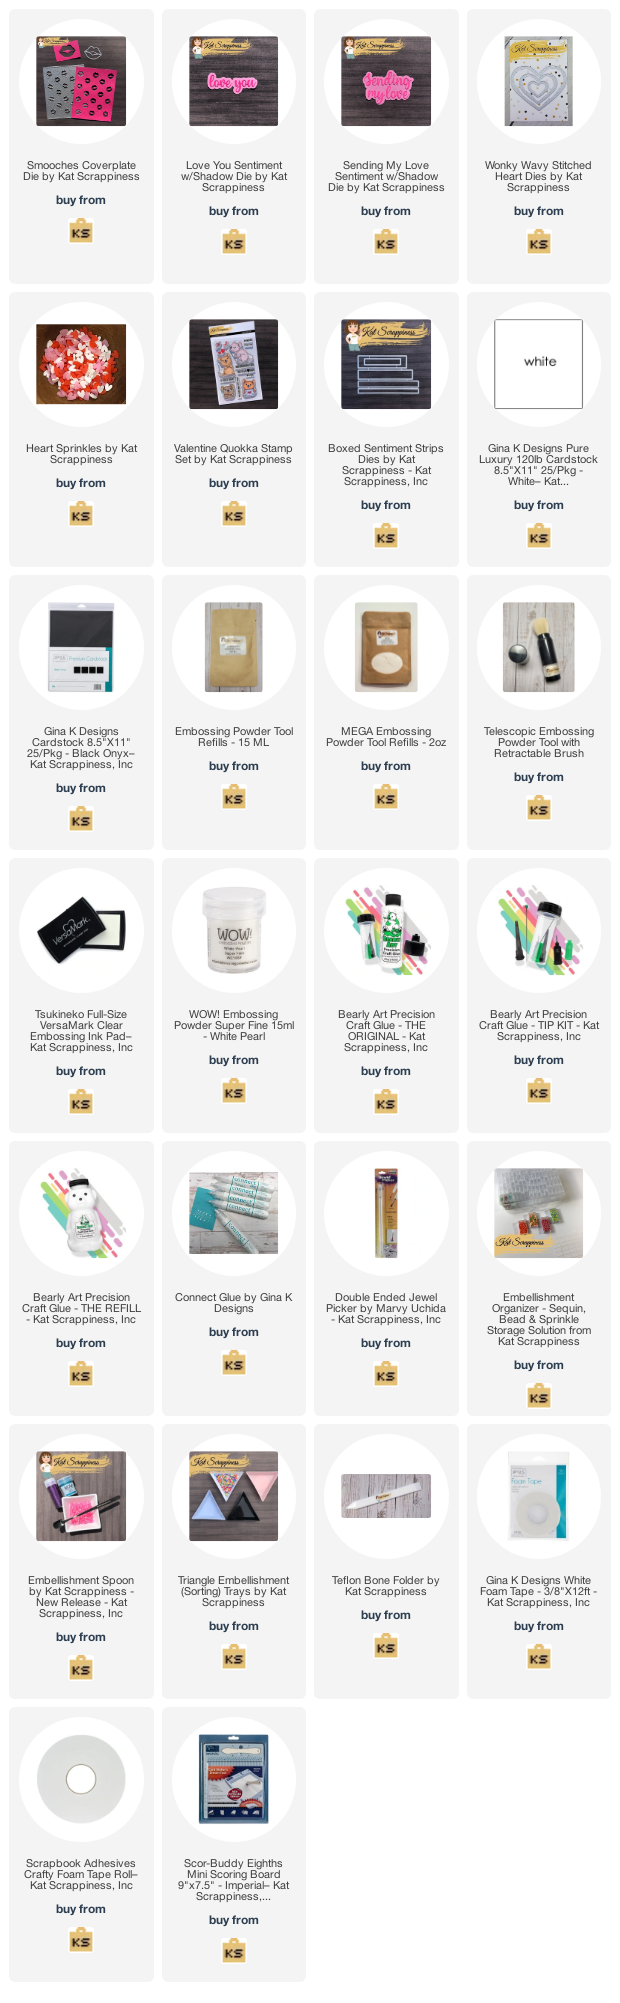
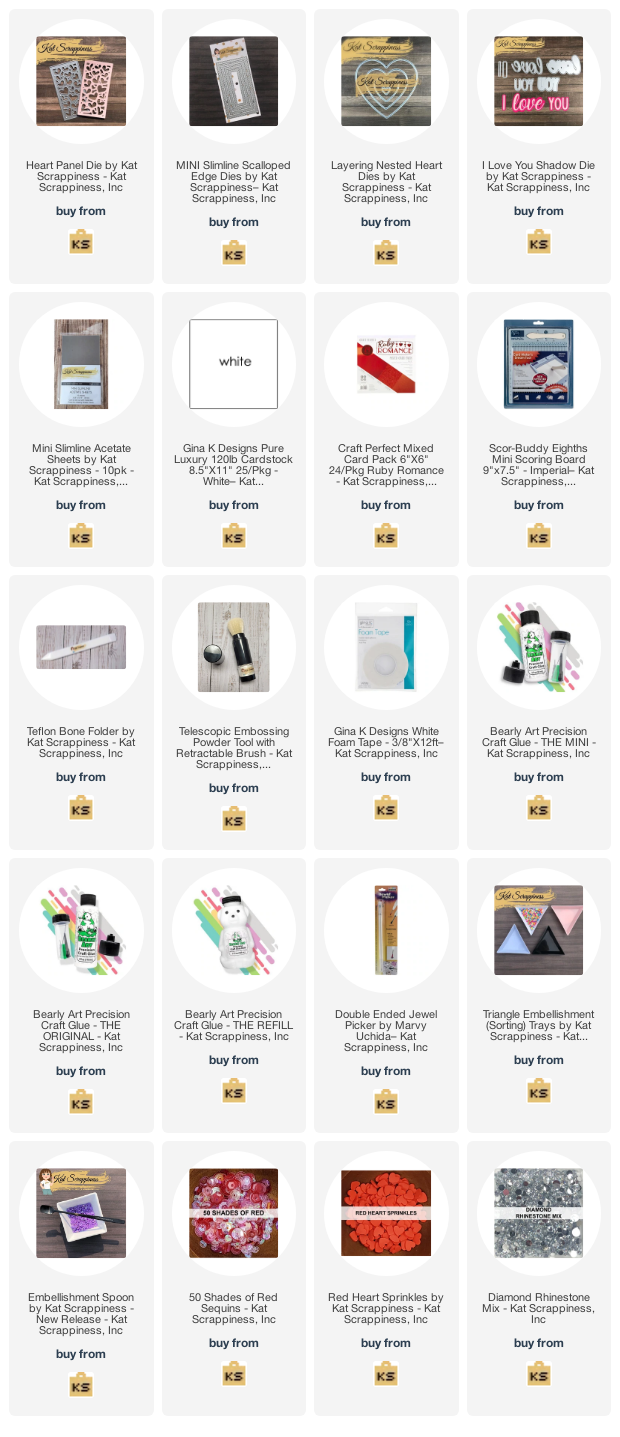
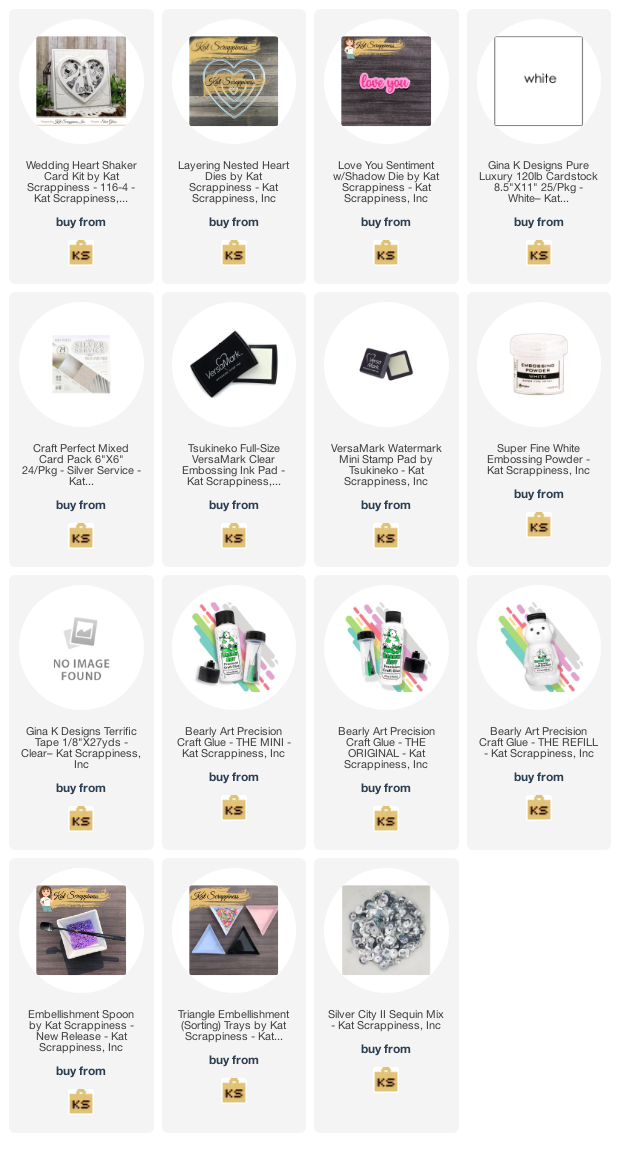
Here’s a list of the supplies I used from the store.
Affiliate links are used at no additional cost to you. Thank you so much for your support!
Happy Stamping!!