Hello Crafty Friends! Priscilla here from Nubble Light Designs. Today I am sharing a fall-themed card using the new Kat Scrappiness…
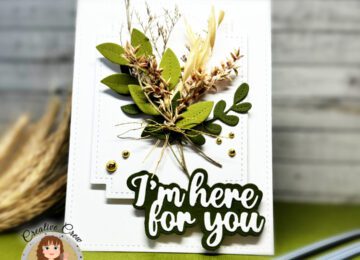

Hello Crafty Friends! Priscilla here from Nubble Light Designs. Today I am sharing a fall-themed card using the new Kat Scrappiness…
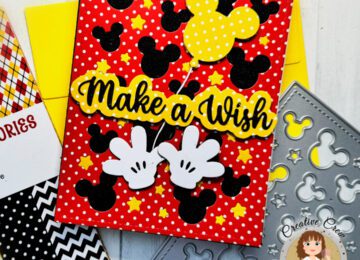
Hello Crafty Friends! Priscilla here from Nubble Light Designs. Today I am sharing another Mickey themed birthday card using the…

Hello Crafty Friends! Priscilla here from Nubble Light Designs. Today I am sharing a birthday card perfect for a Mickey…
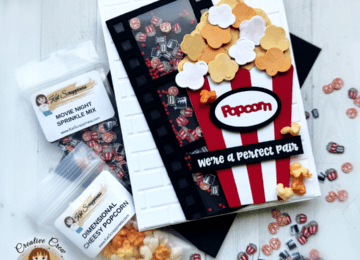
Hello Crafty Friends! Priscilla here from Nubble Light Designs. Today I am sharing a fun card perfect for a close…
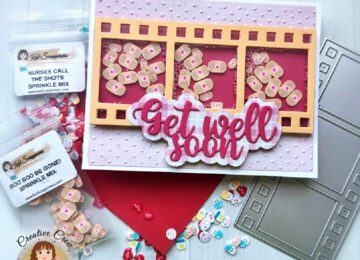
Hello Crafty Friends! Priscilla here from Nubble Light Designs. Today I am sharing a fun and feminine “Get Well” card….

Hello Crafty Friends! Priscilla here from Nubble Light Designs. Today I am sharing a birthday card featuring several new products…
Hello and welcome to the Kat Scrappiness, Inc. blog. Maria Russell here with you today with a very simple, yet…