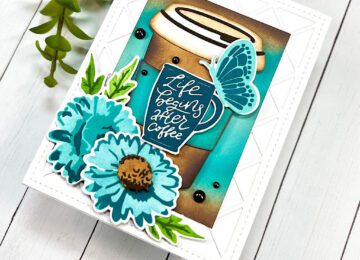
Hello friends!! Nora on the blog today with a card using some of the NEW Kat Scrappiness Perk Up release…
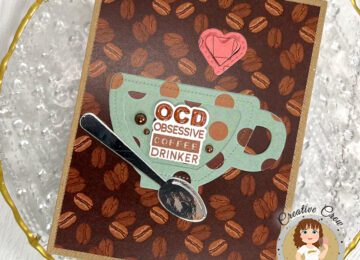

Hello friends!! Nora on the blog today with a card using some of the NEW Kat Scrappiness Perk Up release…
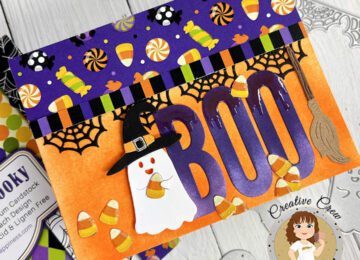
Hello Friends!!! Nora here on the blog today with a festive Halloween card using some of the FABULOUS Kat Scrappiness…
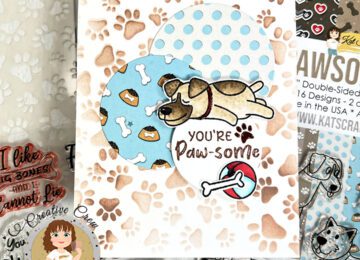
Hey friends!! Nora here on the blog today using some of the supplies from the Kat Scrappiness Shop’s Pawsome Dog…

(affiliate links to most products are provided below at no additional cost to you) Good Morning, I am up on…
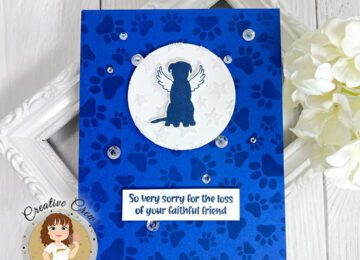
Hi Friends!! Nora here with a simple card using some of the products from this weekend’s Kat Scrappiness Pawsome Release….
Hi crafty friends! Sammi here today showing you a beautiful card made with the new Oopsie Daisy 6×6 Layering stencils…
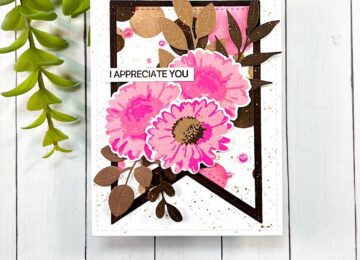
Hello my crafty friends! Sammi here to show you the beautiful new layering stamp set Oopsie Daisy with coordinating dies!…