Tag: holly & berries die set

  • Christmas Wishes

    Christmas Wishes

    Hello Everyone!

    Sheri here today with a CAS (clean and simple) Christmas card!

    Do you like stretching your supplies and being able to use them for more than one way?  Well the striped “Candy Cane” background paper was created with the NEW Boxed Sentiment Strips die set.

    Steps to Create Card:

        • Create White A2 Top Fold Card Base: 4 1/4″ x 5 1/2″ (4 1/4″ x 11″, scored at 5 1/2″)
        • To create stripped panel:
          • Cut 4 1/4″ x 5 1/2″ rectangle panel out of copy paper
          • Cut 20 (10 red and 10 white) strips using the 3/8″ x 5″ die from the Boxed Sentiment Strips die set to create your stripes.
          • Next apply adhesive to the rectangle panel and start adding your strips on a diagonal to create your background.
          • Clean up your panel by cutting it out with the 2nd largest die from the Never Ending Rectangle die set.
        • Cut Holly & Berries out using green and red card stocking with the Holly Leaves & Berries die set.
        • Cut Christmas Wishes out of gold mirror card stock using the Christmas Wishes w/shadow die.
        • Assemble card.
        • For embellishment I added a few gold pearls and some glossy accents to the berries.

    Here’s a list of the supplies I used from the store.
    Affiliate Links used at no additional cost to you. Thank You so much for your support!

    Happy Stamping!!


  • Merry Christmas and more with Martha Lucia

    Merry Christmas and more with Martha Lucia

    Hello crafty friends, Martha Lucia here with you! I have two different things for share with you. The first is the card that I created using the Holly Leaves & Berry Dies and the second, you will know at the end of this post.

    Merry Christmas and more with Martha Lucia

    To Make this card, I die cut several pieces of the Holly Leaves & Berries Dies using a green card stock. Then I arranged and pasted these pieces directly over a green layer and die cut the entire layer with the large Embossed Edge Rectangle Die.

    Merry Christmas and more with Martha Lucia


    Using a Green Illustrator Marker from Spectrum Noir, I colored all the areas that keep free and market the stitched wines of each Holly leaves creating a tone to tone look. To complete the card I die cut the berries using Cherry Cobbler card stock and stamped a message from the stamp set Merry Critters with StazOn Snow.

    Merry Christmas and more with Martha Lucia


    THANK YOU!

    My second notice is that this is my last card as part of the fabulous Design Team of Kat Scrappiness. This year on this team has been for me one of my best creative years. The friendship and amazing products made this one of my favorites. But I am not sad, because I will continue using the products of Kat Scrappiness and I am leaving the team because since January 2020, I will have a great creative business in my hands! Keep in touch!

    I want to give special thanks to Kathleen the owner of Kat Scrappiness and Maria Rusell the great DT Coordinator and to ALL the amazing teammates that made this one of my best teams! See you soon and thank you for your love!

    Martha Lucia

  • November Release Christmas Cards by Maria

    November Release Christmas Cards by Maria

    Maria here on the blog with you today!  Have you checked out the new dies and jewels available now from the November release by Kat Scrappiness?  They are to die for!  I can’t even pick a favorite.  Wait til you see the dies next month, hint, hint!  They are fabulous!!  You really need to save up your Christmas money for those.  Or ask Santa to check out your Christmas wish list at the shop then maybe he will be good to you this year!


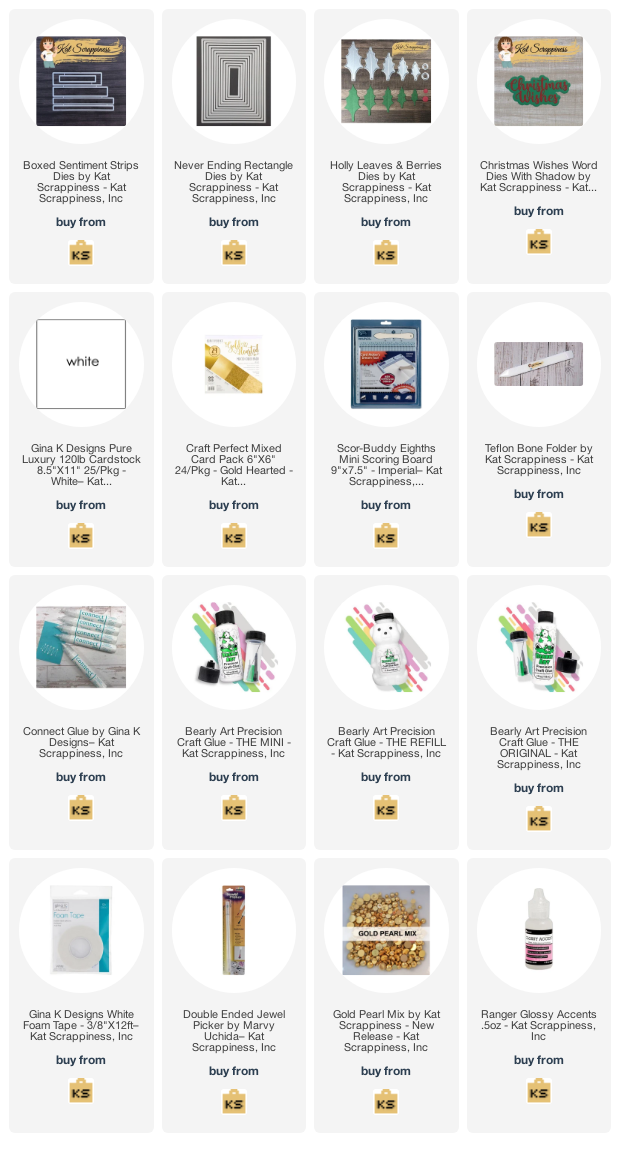
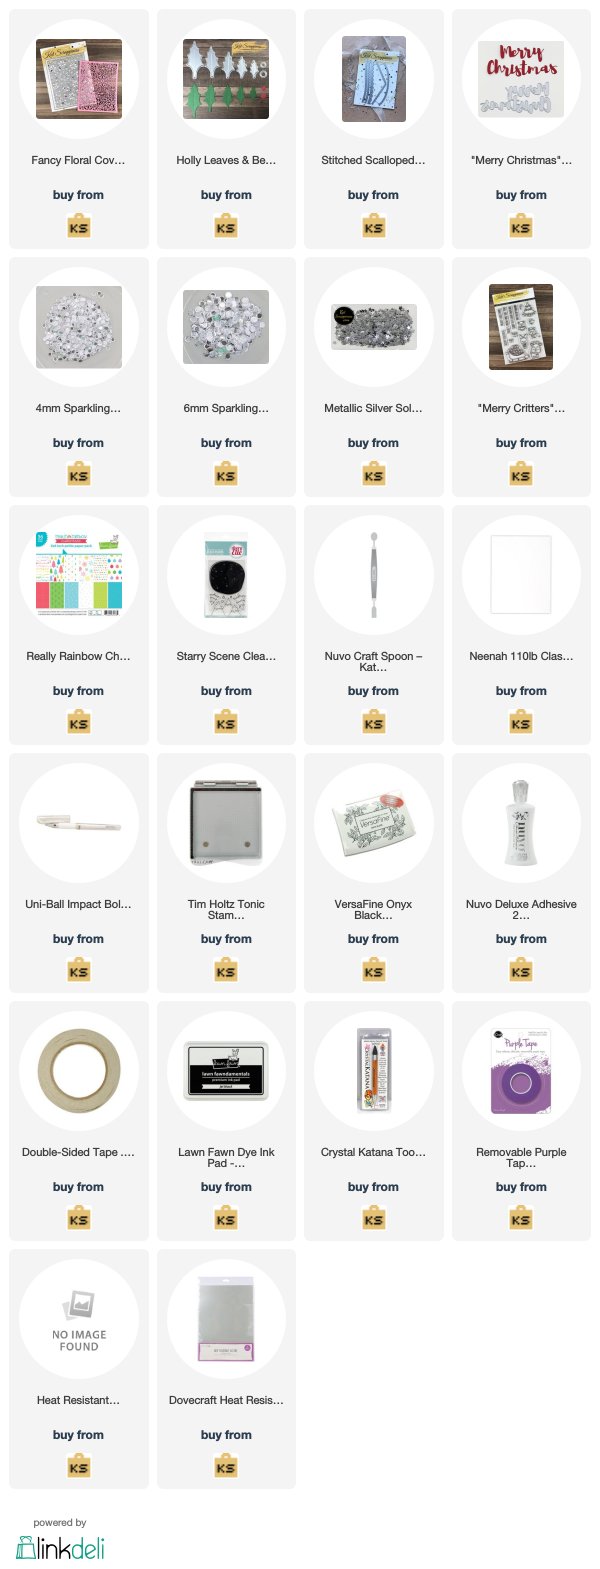
    Since my design team package got a little delayed getting to me, I am on catch up mode.  I created two projects for you guys because I really wanted to show them off!  For my projects today, I am featuring the Holly Leaves and Berries die set, Fancy Floral Coverplate die, Merry Critters stamp set, Avery Elle Starry Scene stamp set, 6mm Sparkling clear solid confetti, Metallic Silver Solid Star Confetti, Stitched Scalloped Border Dies and a bunch of other products available at the shop.


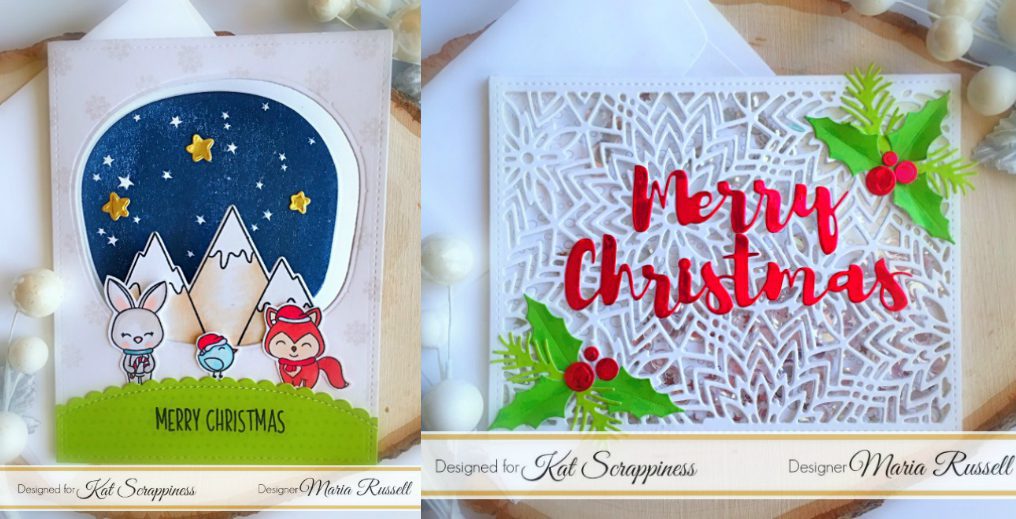
    For my first card, I stamped the Merry Critters stamp set and the mountains from the Starry Scene stamp set with a Copic friendly ink and colored them in with my Copic markers.  I fussy-cut the images with my scissors.  On another piece of Neenah solar white card stock, I stamped the mountains from the Avery Elle Starry Scene stamp set.  I adhered this piece onto my A2 size card base.  I used the coordinating die to die-cut both pieces to create the window.  I adhered this piece inside my card.  I also adhered the mountains inside the window.


    I used a patterned paper from Lawn Fawn and die-cut a piece with the Stitched Scalloped Border Dies to create my grass hill.  I adhered this piece onto my foreground and added my little critters.


    To finish my design, I die-cut some gold stars and stamped the little snowflakes with some light gray ink.  Here’s a little close-up:


    I really love how this card turned out.  The critters are so cute.  That little bird reminds me of tweety so much.  The little starry background is just the perfect size to create a beautiful scene to your cards.


    For my second project, I die-cut a piece of some heavy weight white card stock using the Fancy Floral Coverplate die.  I know this die is not really meant for Christmas but I always want to share ideas on how to stretch your dies by using it for any occasion.  I covered this piece with some acetate sheet and added foam adhesive to create my well.  I used the 6 mm sparkling clear solid confetti with the metallic silver solid star confetti for my shaker element.   I know you can barely see them in the photo but trust me, this is so pretty in real life!


    To finish my design, I die-cut the Merry Christmas sentiment with red foil card stock.  I also die-cut the holly leaves and berries with some Lawn Fawn patterned paper and red foil card stock.  I adhered the pieces using my Nuvo liquid adhesive.  Here’s a little close-up:


    The holly leaves are so pretty!  As I mentioned earlier, I can’t pick and choose my favorite from the November release.  They are all AMAZING!!!!!


    I hope you like my projects today.  The supplies I used are listed and linked below.  I would be grateful if you can click on the links provided.  By doing so, I will be getting a little commission at no cost to you!  Please don’t forget to use my coupon code “MARIA10” for 10% off your order at the shop.   Happy crafting!


    ———–SUPPLIES————