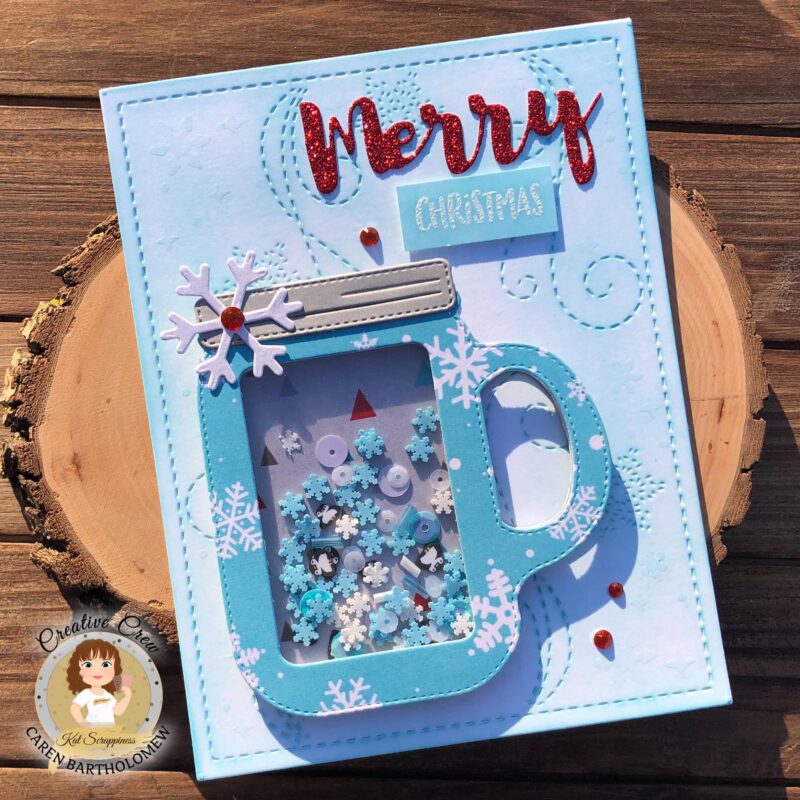
Happy Friday everyone. It’s Caren here on the blog today. Have you started your Christmas cards yet? I try to make them throughout the year, but I’m always scrambling in November! I have a fun Christmas shaker card for you today using lots of Kat Scrappiness products!

Here is how I created the card:
- To create the shaker element – Using the jar dies from the Mason Jar Shaker card die set, I die cut a using paper from the Cozy Christmas Slimline paper pad, gray card stock, and acetate
- Adhere the outline layer with the acetate
- Add dimensional adhesive to the back of the acetate
- Now the fun part – add sprinkles! I used Chilly Willy sprinkles and Fluffy Clouds sequin mix
- Die cut the snowflake from the Build a Stocking die set from white glitter paper and adhere to mason jar
- To create the background, die cut the Snowflake Swirls background from Crafters Essentials: Winter from white card stock
- Ink blend with a light blue ink
- For the sentiment, die cut Merry from Merry Christmas brush sentiment die set using red glitter paper
- Stamp and heat emboss the word Christmas from the Happy Day stamp set
- Adhere all to card base
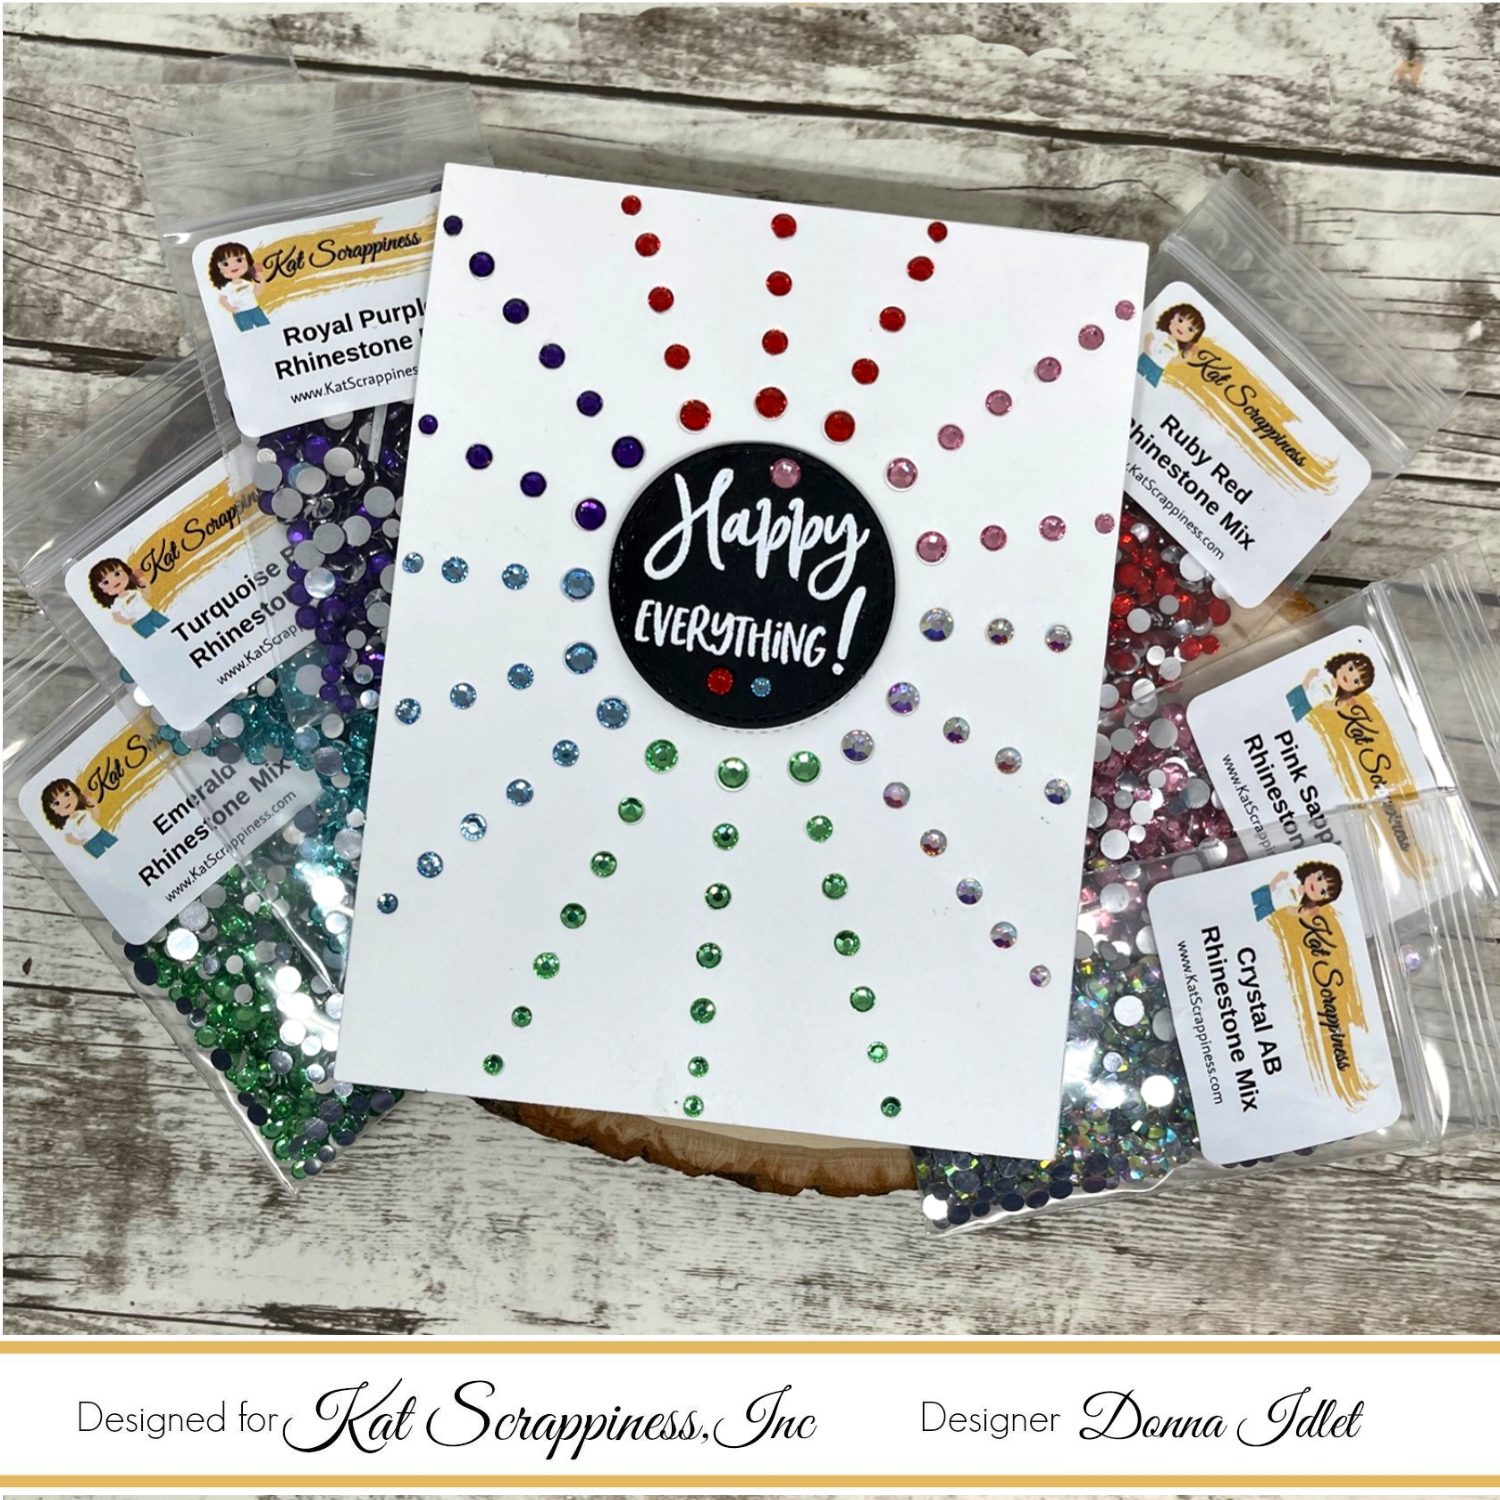
- Add Ruby Red rhinestones to finish the card
Thanks for stopping by!
– – –– – –– – –– – –– – –– – –– – –– – –– – –– – –– – –– – –– – –– – –– – –– – –– – –– – –– – –– – –– – –– –
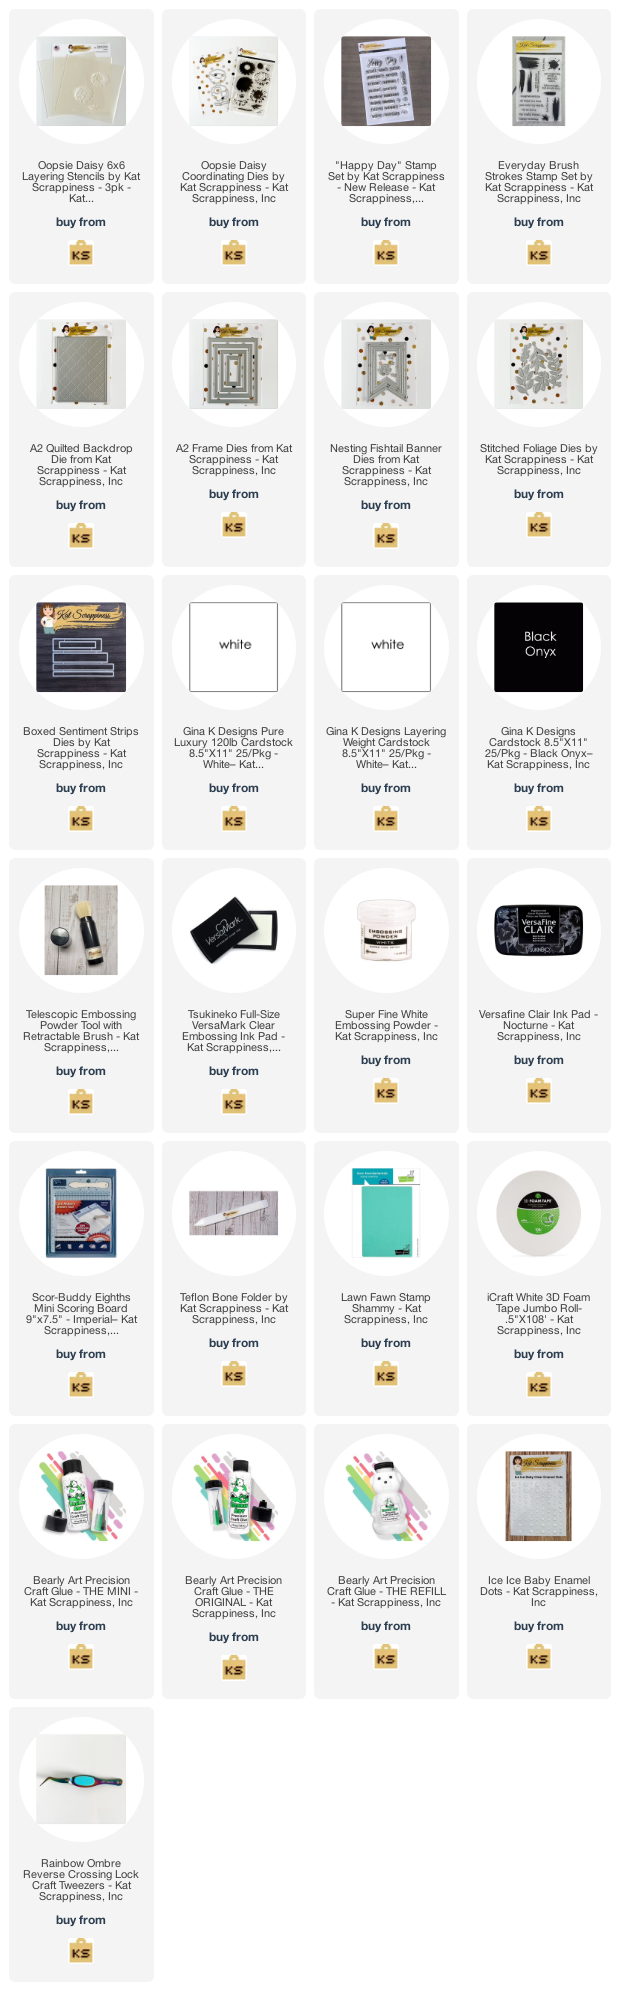
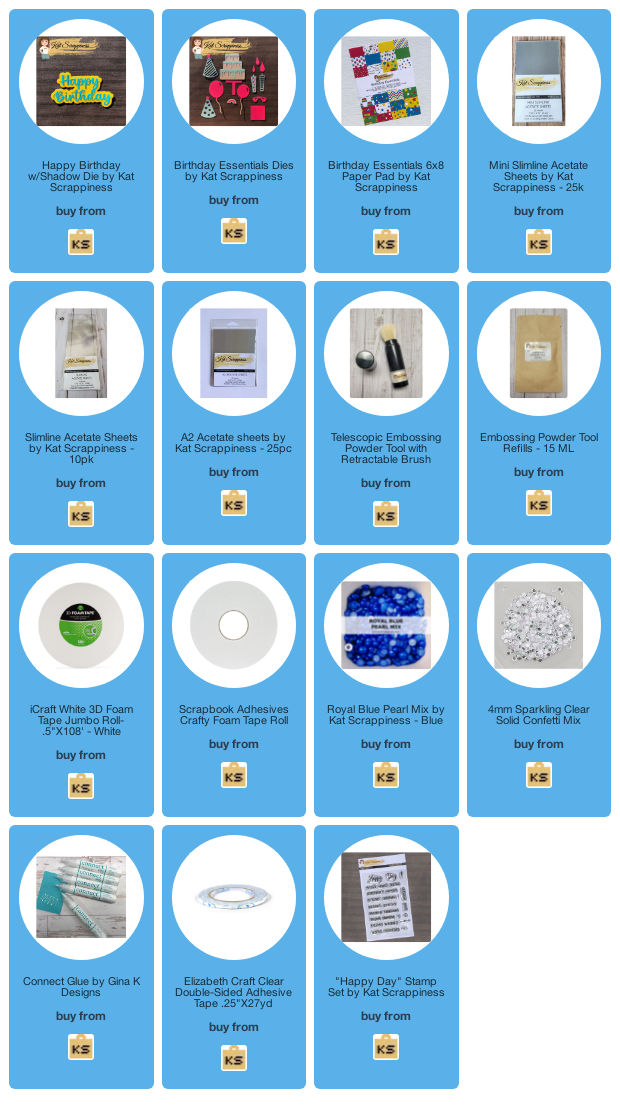
Here is a link to the Kat Scrappiness shop and direct links for products I used on today’s card.
– – – SUPPLIES for today’s project– – – – – – – – – – – – – – – – – – – – – – – – – – – – – – – – – – – – – – –
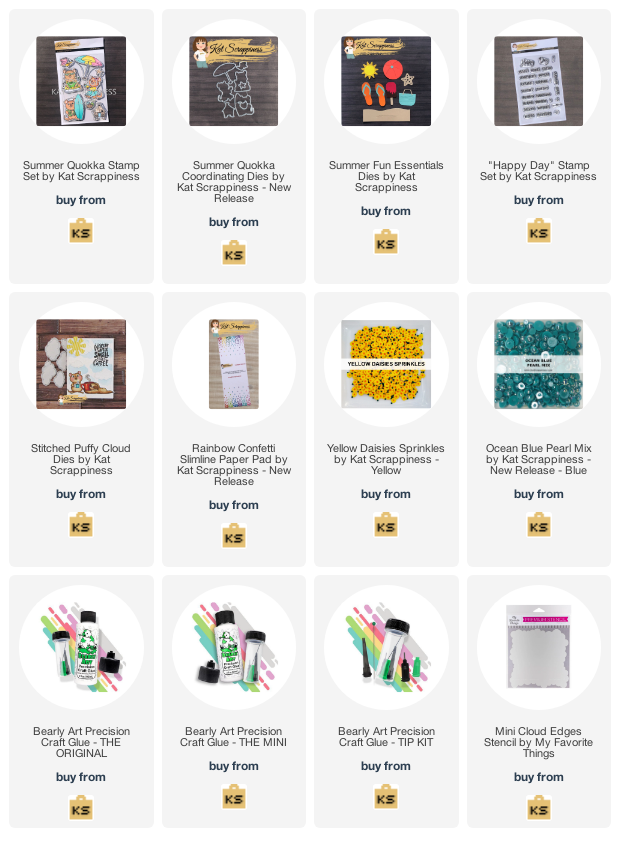
- Mason Jar Shaker Card die set by Kat Scrappiness
- Cozy Christmas Slimline paper pad by Kat Scrappiness
- Build a Stocking die set by Kat Scrappiness
- Crafters Essentials Winter die set by Kat Scrappiness
- Merry Christmas brush sentiment die by Kat Scrappiness
- Happy Day stamp set by Kat Scrappiness
- Chilly Willy sprinkles by Kat Scrappiness
- Fluffy Clouds sequin mix by Kat Scrappiness
- Ruby Red rhinestones by Kat Scrappiness
- Acetate by Kat Scrappiness