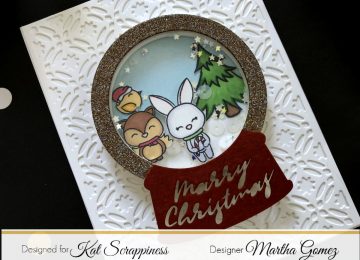
Hello crafty friends, Martha Lucia here with you! I prepared some easy shaker cards and more for you! Now Kat…

Hello crafty friends, Martha Lucia here with you! I prepared some easy shaker cards and more for you! Now Kat…
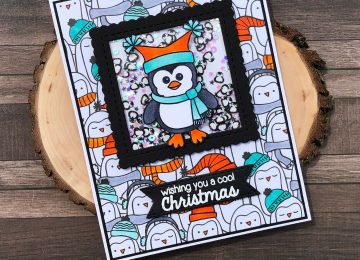
Have you seen the new shaker kits that were released yesterday? There are 30 different designs to choose from. These…
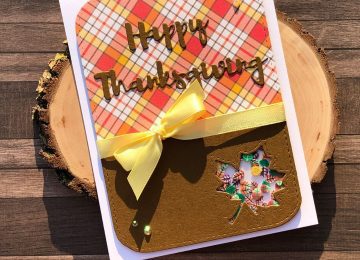
Hi crafters It’s only a couple more months until Thanksgiving. This year has flown by, I think I say that…
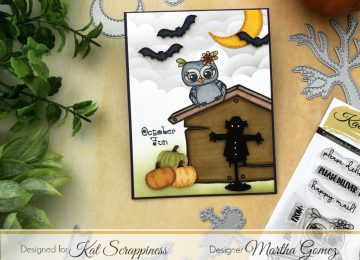
Hi there, Martha Lucia here with you! Today I am sharing a Cute Fall Stamped Card featuring the Owl Envelope Art…
Hi everyone. I’m so ready for fall weather, we are still in the 90’s here in Oklahoma! For today, I’ve…
Hello crafty friends! Martha Lucia here with you! Today I’m excited to share with you a new card that I…
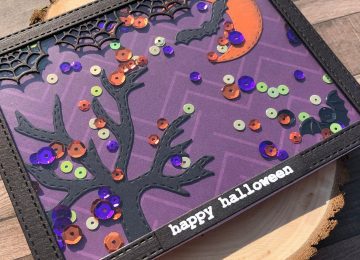
Hi crafters! Did you see all the new sprinkles and awesome acetate sheets that were released this month? So much…