Tag: Foliage Frame Die

  • Creating a Spooky Framed Halloween Scene

    Creating a Spooky Framed Halloween Scene

    Happy Sunday Crafty Friends! Priscilla here from the Kat Scrappiness Design Team. Halloween cards are definitely my favorite to make! I love all the vivd colors this holiday has to offer, including purple, orange, bright green, and of course black. I created a spooky scene for today’s card using rich purple and black inside a leafy frame, and then added touches of the unexpected – gold splatter and cobwebs!

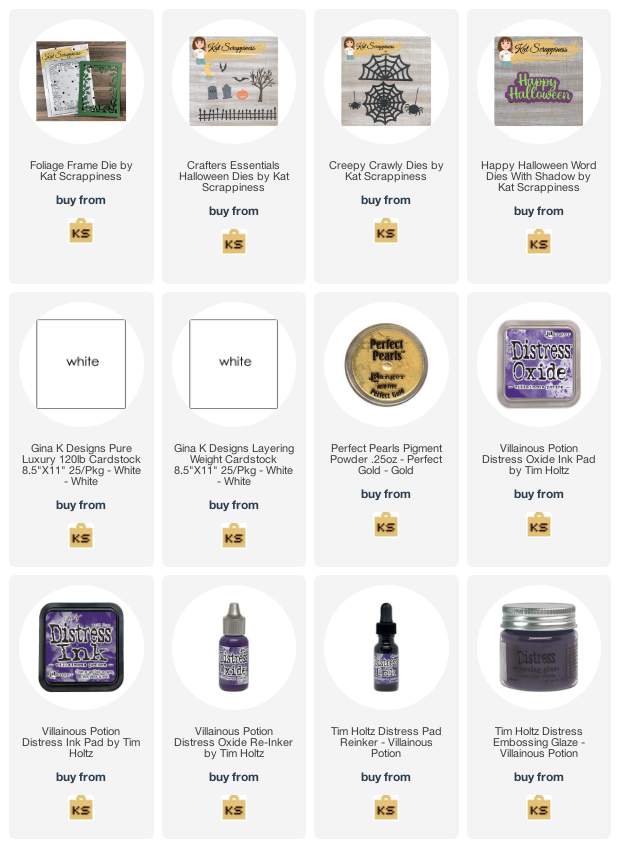
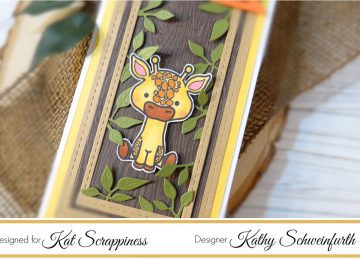
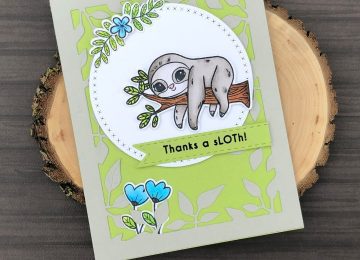
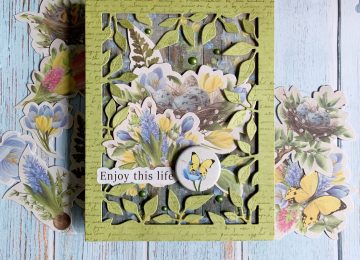
    I used several Kat Scrappiness products to make today’s card, including the A2 Foliage Frame Die, elements from both the Creepy Crawly Dies and Crafters Essentials Halloween Dies, plus the  Happy Halloween Word Dies with Shadow.

    Card Details:

    Thank you so much for stopping by! Don’t forget to check out what’s NEW in Kat’s Shop, and follow my blog, Instagram, and Facebook for more “Kat Scrappiness Amazingness”!

    Stay Safe . . .

    Priscilla 👿

    The supplies I used are listed and linked below. I would be so grateful if you use these affiliate links  to grab your Kat Scrappiness Goodies! No extra cost to you!

  • You are Koalified for a Hug

    You are Koalified for a Hug

    Hi Crafty Friends,

    I am sharing a darling Koala card for you today featuring the amazing Foliage Frame Slimline Die from Kat Scrappiness. This die is perfect for your jungle themed cards and your fall leaves and Thanksgiving cards! There are just so many ways to use it!

    Make Crafty Friends Q & A:

    Q: What kind of slimline background die would you like to see Kat Scrappiness sell?

    A: Me? I would love a STAR one for skies.

    Don’t forget to subscribe, follow, and comment on my blog for your chance to win my October Prize, use the links below to purchase the goodies, and for more giveaways and inspiration follow me on Instagram @MadeByMeghanK

    Supplies:

    Kat Scrappiness Foliage Frame Slimline Die

    Kat Scrappiness Stitched Fishtail Banner Die

    Gerda Steiner Designs You’re Koalified

  • I’m Missing You!

    I’m Missing You!

    It’s been soooo long since I’ve seen many of my friends!  I’m sure you’re in a similar boat.  Here’s a card I plan to send to one of my good friends who I haven’t seen since Christmas!

    My slimline card was created with several new Kat Scrappiness goodies!  The layers were made using the Embossed Edge Nesting Slimline Dies to cut yellow cardstock and a wood grain pattern paper.  The stitched frames were created by cutting kraft cardstock with two of the Tri-Frame Slimline Dies.  The leaves were then cut from dark green cardstock using the Foliage Frame Die and placed around the inside frame.

    The darling little giraffe image and sentiment are from the Lola the Giraffe set


    https://linkdeli.com/widget.js?id=f5e8378456858c916708

  • Foliage Frame with Dimention

    Foliage Frame with Dimention

    Hello Friends Waleska here to share an easy and super dimentional card using only one die!!! To create this card I used the Foliage Frame Die, one of my favorite from Kat Scrappiness.


    Card Details:

    To create this card I look for different tones of green cardstock and cut 3 Foliage frames from those different colors.  I used the lighter color as the front of the card, I wanted to give this card lot of dimention to do that cut and adhere the Foliage Frame dies in the back of the frame in different places for dimention.

    This is how it looks from the front and the back.


    All you have to do is adhere the foliage around the base in different shades of green.


    This is how it looks from the front part as you can see it looks fuller and the different shades of green make it look great!


    To finish this card I adhere the frame to a green card base, I adhere the sentiment across the card and put some embellishments, and that is all an easy dimentional card!

    Thank you so much for stopping by today I hope you can be inspired.


    Waleska Galindo

  • Thanks a Sloth

    Thanks a Sloth

    Happy Sunday, hope everyone is having a great weekend so far.  We are having a Critter Instagram Hop right now with prizes at every stop.

    Here is my creation featuring one of the sloths from the Stewart the Sloth stamp set.

    I colored the sloth, the flowers and leaves from the Hoppy for You stamp set using Copic markers.  I then die the following – Foliage Frame from gray card stock, Cross Stitch Circle from white card stock, and a Stitched Fishtail Banner from green card stock.  I stamped the Thanks a sLOTh sentiment onto the banner.

    I adhered everything to a green card base using liquid and foam dimensional adhesive.  I added some sparkle to the flowers using a shimmer pen to finish the card – I wish the camera could capture this.

    Thanks for stopping by and be sure to check out the HOP.

    – – –– – –– – –– – –– – –– – –– – –– – –– – –– – –– – –– – –– – –– – –– – –– – –– – –– – –– – –– – –– – –– –

    Here is a link to the Kat Scrappiness shop and direct links for products I used on today’s card are below.

    – – – SUPPLIES for today’s project– – – – – – – – – – – – – – – – – – – – – – – – – – – – – – – – – – – – – – –

  • Jump for Joy

    Jump for Joy

    Hello Friends Waleska Galindo here to share a super cute card with the Hoppy for you stamp set, this sweet kangaroos come with a bunch of other images to create some fun cards.


    CARD DETAILS:

    To create this card I started with the frame, the frame I used is the Foliage Frame die by Kat Scrappiness.  I colored the foliage leaves with copic markers,

    I then used oxide inks in colors Twisted Citron, Mowed Lawn and Lucky Clover to color the rest of the frame.

    I colored the cute Kangaroos also with copic markers, I wanted to used them as if they were popping from the corners.

    To finish this card I inked a panel with the same Oxide ink colors I used before and did some water splashes and adhere everything into place.  I used one of the sentiments from this set and add some sequins here and there.


    Thank you so much friends to stop by today, I hope you are inspired by my card.  Please stay safe!


    Waleska Galindo

  • 3 Cards 1 Kit Using Botany Spring

    3 Cards 1 Kit Using Botany Spring

    Hi Everyone, it’s Tina here. Did you see the new kits in the shop? I made 3 cards using the Botany Spring Kit. It is a very pretty kit. In the video I refer to one of the embellishments as brads but it is actually Flair Buttons. They look like brads but without the mechanism in the back. Below is a process video showing you what is in the kit as well as how I made the 3 cards.

    YouTube Process Video

    After making these cards there was still plenty of papers and embellishments left to make many more. Below is a link to all the products used. Thank you for stopping by and have a wonderful day.

    Products Used:

    https://linkdeli.com/widget.js?1559654439292

  • Foliage Frame Shaker Card With Process Video

    Foliage Frame Shaker Card With Process Video

    Hi Everyone, it’s Tina here. Today I have a shaker card to share using the Foliage Frame die and the new sequins and sprinkles. The Foliage Frame die makes it super easy and fast to create a shaker card. Below is a process video showing you how.

    Process Video

    This card can be used for many occasions by changing the colors, sentiments and shaker elements. Below is a link to all the products used. Right now Kat Scrappiness is having a Christmas in July Sale. Use Code: JULYXMAS to receive 20% off all Christmas Products. Plus every order will receive a raffle ticket (an extra raffle ticket for orders over $50). The winners will be announced August 10. Thank you for stopping by and have a wonderful day!

    Products Used:

    https://linkdeli.com/widget.js?1559654439292

  • Winter Wonderland Card

    Winter Wonderland Card

    Hello again, crafters!  It’s Cynthia, back again with one last Christmas project before we put the holidays behind us.  This time, I decided to create a wintery scene with lots of layers to highlight each of Kat’s fabulous dies.  I used the Foliage Frame Die, the Pine Tree Border Die, and the Woodland Reindeer Die.  Each one of these dies are perfect on their own, but I decided to combine all of them for a rich, heavily detailed design.  Let’s go ahead and break down the steps for creating this card project.


    My first step was to cut the Foliage Frame Die in white card stock.  I apologize that my photo isn’t showing the delicate veins in the leaves, but they are visible when the card is in hand.


    To further the theme of a frosty winter night, I edged each one of the leaves with a fine line of glue, then sprinkled on a generous amount of the gorgeous Nuvo Glitter in Ice White.  This glitter is so lovely, with the texture of granulated sugar and a very bright shine.  I also love that it is crystal clear, meaning the sparkle doesn’t have any “rainbow” iridescence to it.  I set this panel aside for the glue to dry while I worked on the next steps.


    For a nice border of trees, I cut the Pine Tree Border Die with a piece of medium blue card stock.  This pretty die can be cut in many different colors, depending on the season and the theme of your card.  A die like this one is something I would consider an essential in any crafters stash 🙂


    My final layer, which will be the middle layer in my scene, is the adorable Woodland Reindeer Die.  This die cuts like a dream!  Even the delicate antlers cut perfectly, which is not always the case with dies like this.  I have purchased and used many different brands over the years, and I can honestly say that Kat’s dies are the highest quality 🙂  To add a little highlighting, I used my white gel pen and outlined some of the edges of this piece.  You could also sponge the edges if you want – even using a deep navy or black ink would help define the edges.


    Here is a look at the background layers, all assembled.  You can see the white detailing here on my Reindeer die, which I also popped up on a single layer of foam tape.  My line of Pine Trees was adhered flat to the background panel, and I completed the look with some “stars” made from super-tiny droplets of glue and more of the Nuvo Ice White glitter.


    To add the Foliage Frame die cut panel, I popped it up on two layers of foam tape so that it was clearly in the forefront.  Because of the low profile of the tape, adding two layers still gives you an attractive card that isn’t ridiculously thick.  I will be delivering this card in person, but if you were going to mail yours you’d want to add an extra stamp just to avoid any embarrassing Postage Due to the recipient 😉   Since there is so much going on here, I decided to add my sentiment stamp on the inside of the card.


    And there is my finished project!  If you’d like to get yourself some (or all!) of these dies, they are all available right now at the Kat Scrappiness website.  I have included a shopping link for you below to see these and many other fabulous items.  Please be sure to use my coupon code “CYNTHIA10” at check out to receive 10% off your entire purchase.  Thank you for joining me today, and Merry Christmas to you all 🙂


    Kat Scrappiness Shop


    My YouTube Channel


  • Foliage Frame Cards

    Foliage Frame Cards

    Hi Everyone, it’s Tina here. Today I am excited to share with you 2 cards using the new Foliage Frame Die which I designed. I wanted to thank Kat for having faith in my design. Below you will finds the steps used to create these cards.

    Card #1

    Step 1 – Trim White Cardstock to 8 1/2″ x 5 1/2″, score at 4 1/4″ and fold in half for a vertical side fold card. (A2)

    Step 2 – Trim White Cardstock to 4 1/4″ x 5 1/2″. Lightly spray the cardstock, as this will prevent cracks when you emboss. Dry Emboss Foliage Frame using the slightly sprayed cardstock through your diecutting machine. Diecut Double Stitched Rectangles for the edge and another for a window.

    Step 3 – Trim Acetate slightly larger than the window and adhere to the inside of panel using double sided adhesive glue. Apply foam tape around the window (2 layers). Add Fluffy Clouds Sequins Mix inside the window. Seal it with a slightly larger background panel using patterned paper or a DIY background. I created the background using Distress Oxide Inks Faded Jeans and Broken China by applying the inks on a craft mat. I sprayed it with water and dipped the cardstock, heat set it and repeated until I was happy with the design. Adhere the entire panel to the front of the card.

    Step 4 – Diecut word sentiment using White Cardstock. Add versamark directly on the sentiment and sprinkle Brutus Monroe Mermaid Tail. Heat set it with a heat tool. Repeat this step 2 more times. Adhere to card using collage medium.

    Card #2

    Step 1 – Trim White Cardstock to 8 1/2″ x 5 1/2″, score at 4 1/4″ and fold in half for a vertical side fold card. (A2)

    Step 2 – Trim White Cardstock to 4 1/4″ x 5 1/2″. Lightly spray the cardstock, as this will prevent cracks when you emboss. Dry Emboss Foliage Frame using the slightly sprayed cardstock through your diecutting machine. Apply Distress Oxide Ink using an ink applicator. I used Squeezed Lemonade for the edge and worked in Tumbled Glass to the center. For added interest and sparkle I sprayed Shimmer Spritz. Let dry.

    Step 3 – Create a background on scrap piece of White Cardstock. I applied Distress Oxide Inks Faded Jeans, Broken China and Cracked Pistachio on a craft mat. I sprayed it with water. I dipped the cardstock into the ink and heat set. I repeated this step until I was happy with the background.

    Step 4 – Diecut Double Stitched Ovals using the background created from Step 3. Stamp sentiment using Versamark towards the bottom of the diecut background. Sprinkle White Embossing Powder. Heat set it with a heat tool. Adhere the panel to the front of the card using foam tape.

    Step 5 – Diecut Flitter Side Butterfly using White Cardstock to the Detail die and Patterned Paper or DIY background to the Solid die. Assemble the butterfly using collage medium and adhere to card.

    Step 6 – For added interest and sparkle adhere Teal and Dark Blue Jewels using a Crystal Katana and adhering it with collage medium.


    These cards can be used for any occasion by changing the colors, diecut images and sentiment. Below is a link to all the products used. To receive 10% off your next order use code: TINA10 at checkout. Thank you for stopping by and have a wonderful day.

    Products Used:

    https://linkdeli.com/widget.js?1542972592847