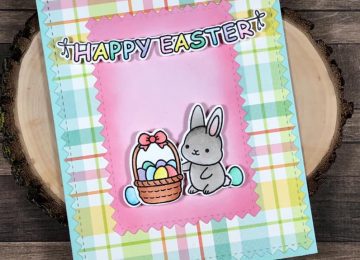
Hi Everyone, it’s Tina here. Today is release day for the Crafters Essentials Easter dies. The Crafters Essentials come packed…
-
-
 Design Team Projects
Zig Zag Dies – Hearts, Squares, Circles, Ovals, Rectangles, and Borders – Oh My!
Hi everyone! Have you seen the new Zig Zag dies that were released this week? I can’t stop using them! …
-

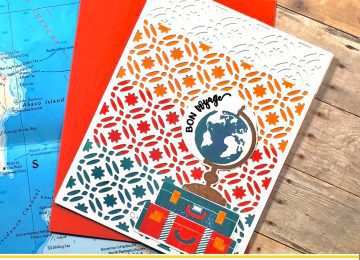
Hey Crafters! Priscilla here again with more card designs using the new Kat ScrappinessCoverplate and Mandala dies. I have six…
-
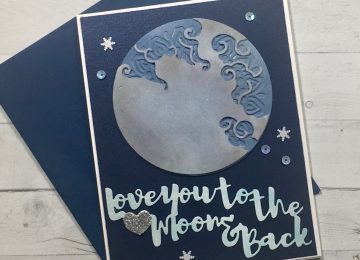
Hey Crafters! Priscilla here. I’m excited to show you how I made this really special “Love” card using the Kat…
-
Good morning, crafters! Design Team Member Cynthia here with a final project featuring several of the latest Kat Scrappiness goodies….
-
Hello crafty friends! I’m excited to share some of the new Valentine’s products from Kat Scrappiness. One of my favorites…
-
Hey Guys! I’m back again with both some Christmas cards and “Happy New Year” cards for you today. And “Newton”…