Hello everyone, Martha Lucia here to share with you two different cards that I made using the recently released Mandala…
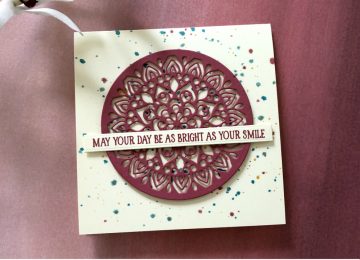

Hello everyone, Martha Lucia here to share with you two different cards that I made using the recently released Mandala…
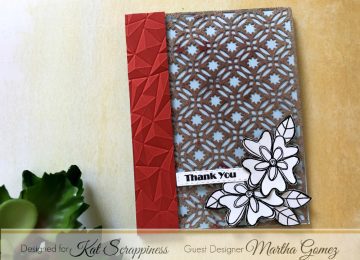
Happy Saturday! Martha Lucia here with you featuring one of our new coverplates. Today I am using the Star Fusion…
Merry Christmas dear friends!!! Thank you for being with me today to celebrate the perfect love! I am featuring another…
Good morning, crafters! Today’s card is featuring something near and dear to my heart – coffee!!! I always love stamp…
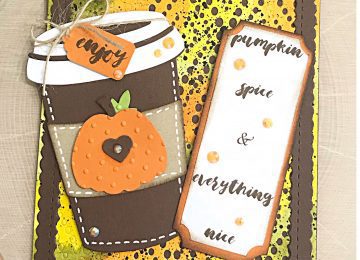
It’s Lisa here on the blog today and guess what Kat Scrappiness fans? Pumpkin Spice season is fast approaching and today’s card…
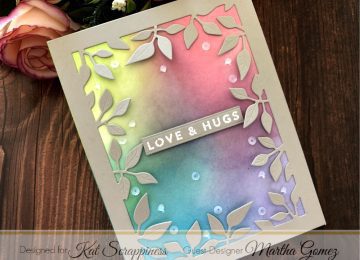
Good morning everyone! It’s my turn today on the blog and I’ve got a fun card to share with you. …
Hi Friends! kel here today to share a patriotic card using the new Swatches stamp set!! This one is semi-quick and…