Tag: Creepy Crawly Dies

  • Happy Halloween

    Happy Halloween

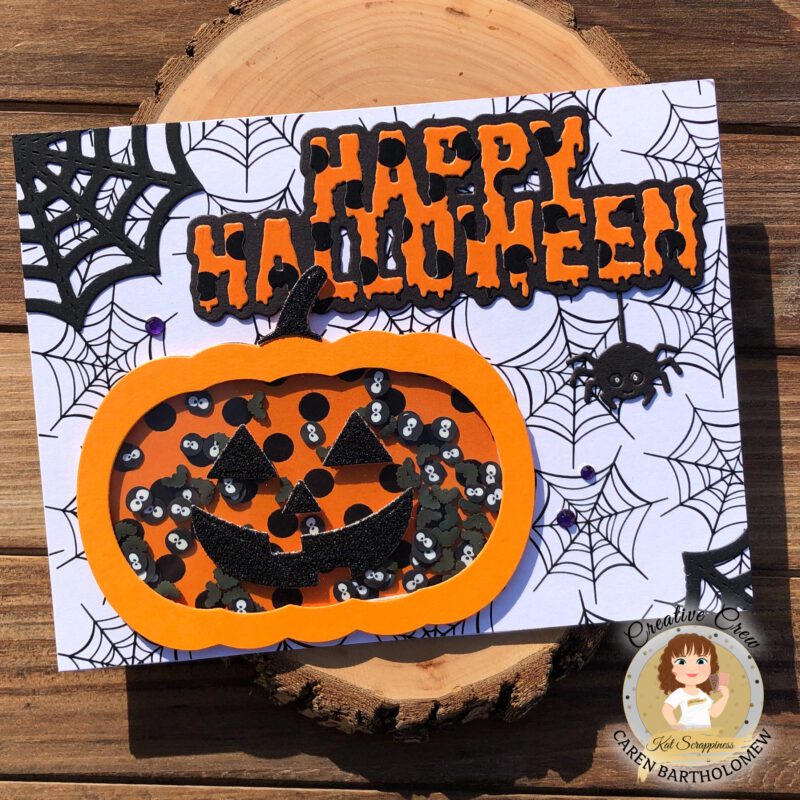
    Happy Thursday everyone.  It’s Caren here on the blog today.  I have a fun Halloween shaker card for you today using lots of Kat Scrappiness products!


    Here is how I created the card:

    • To create the shaker element – Using the solid pumpkin from the Pumpkin Shaker die set, die cut a piece of the orange and black paper from the Boo to You paper pad and a piece of acetate
    • Die cut the outline layer pumpkin die from a piece of orange card stock
    • Die cut the stem and one of the pumpkin faces from orange glitter card stock
    • Adhere the outline layer with the acetate
    • Adhere the pumpkin face to the acetate
    • Add dimensional adhesive to the back of the acetate
    • Now the fun part – add sprinkles!  I used Eyes Have It and Simply Batty sprinkles
    • To create the sentiment, using the Spooky Happy Halloween dies, die cut the top layer from the same orange and black paper from the Boo to You paper and the back layer from black card stock
    • Die cut the spider web and small spider from the Creepy Crawly die set using black card stock
    • Cut a panel using the spiderweb paper from the Creepy & Kooky paper pad and adhere to a card base
    • Adhere the pumpkin shaker, Happy Halloween, and web/spider to card
    • Complete the card by adding Royal Purple rhinestones

    Thanks for stopping by!

    – – –– – –– – –– – –– – –– – –– – –– – –– – –– – –– – –– – –– – –– – –– – –– – –– – –– – –– – –– – –– – –– –

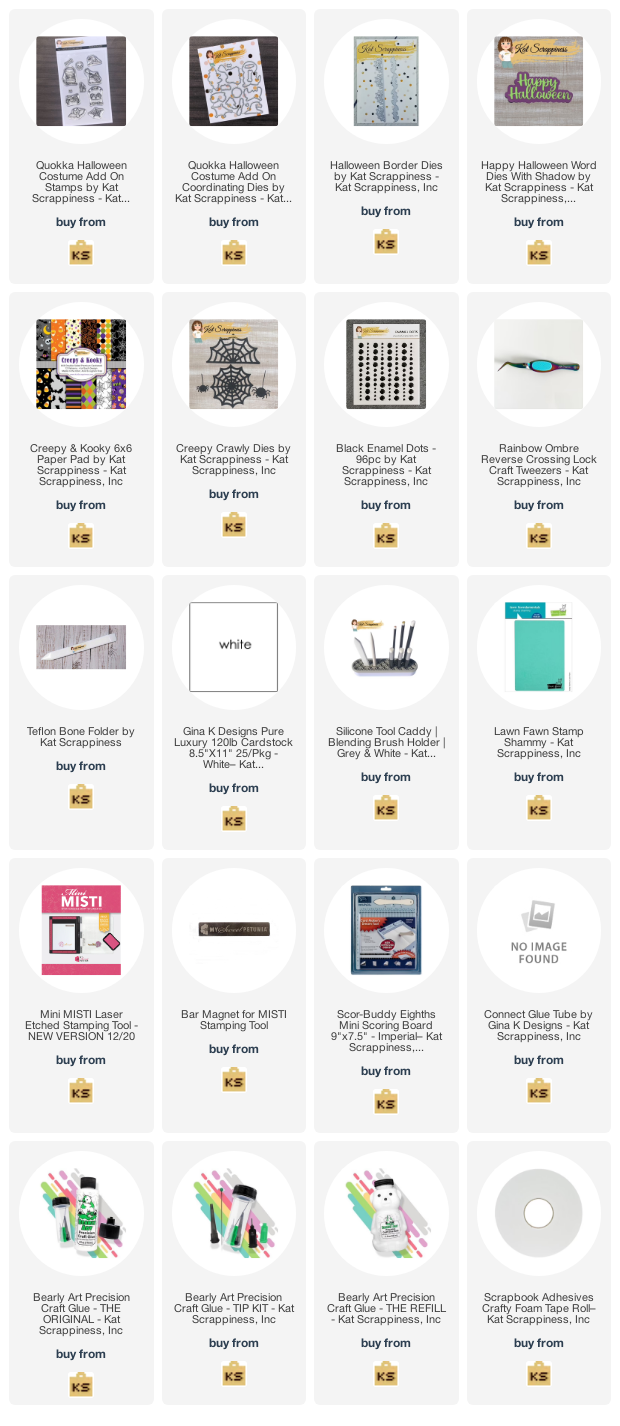
    Here is a link to the Kat Scrappiness shop and direct links for products I used on today’s card.

    – – – SUPPLIES for today’s project– – – – – – – – – – – – – – – – – – – – – – – – – – – – – – – – – – – – – – –

  • Creepy and Kooky Halloween Card

    Creepy and Kooky Halloween Card

    Hello KS fans! Maria here on the blog with you today, sharing this super simple Halloween card, showcasing the Creepy and Kooky Halloween Paper Pad, along with the Happy Halloween Word Die with Shadow, Creepy Crawly Dies (spider), Peacock Backdrop Die, Dress-Up Quokka Stamp Set, Quokka Halloween Costume Add On Stamp and Mint Green AB Solid Round Confetti Sequins.

    Sometimes, you just don’t have the time or energy to die-cut a lot of pieces to create a scene for your card. I am showing you a simple way to create a cute Halloween card without spending too much time, and use up those cute pattern paper without overwhelming the design.

    Here’s how I made my project:

    • Stamp the image from the Quokka Halloween Costume Add On Stamp on Neenah solar white card stock. Stamp the image again on some masking paper and use precision snips to fussy-cut the masking image.
    • Stamp the Dress-Up Quokka Stamp Set onto the masked image. Remove the mask and color the images with alcohol markers.
    • Use Brother Scan N Cut machine to die-cut the image or precision snips if you don’t have the machine.
    • Die-cut the background panel using the Peacock Backdrop Die and adhere on some A2-size top-folding notecard.
    • Die-cut some black circle using the Never-Ending Circle Dies and cut some black strip as well measuring 2 1/4 by 4 1/4. Adhere both pieces on the card.

    Here’s another look at the card:


    I hope you like this super simple Halloween card today and got inspired. Below, you will find links to the supplies used to create this project(s). Where available, I use compensated affiliate links at no extra cost to you. Your support helps me to keep bringing you new projects and inspiration. Thank you for stopping by, and have an amazing day!

    ———SUPPLIES——-

  • Happy Halloween

    Happy Halloween

    Hello everyone!

    It’s Donna Idlet here sharing a Halloween card.  Have you finished up your Halloween cards?  Kat Scrappiness has added lots of Halloween goodies in the store, please stop by and check it out….and there is more to come!

    Here is my card for your inspiration.
    Here is how I created the card:
    • A2 card measuring 5 1/2 x 4 1/4.
    • Cut a 1/2 inch off the bottom and added the Spider Web border from the Halloween Borders Dies.
    • Cut the paper on the front panel from the Creepy & Kooky 6×6 paper pad.
    • Die cut the Happy Halloween from the Happy Halloween Word Dies With Shadow.
    • Die cut the spiders from the Creepy Crawly Dies and added some googly eyes.
    • Stamped, die cut and colored the witches hat with Copics from the Quokka Halloween Costume Add On Stamps.
    • Added a white panel on the inside of the card.
    • Finished the card by adding KS black enamel dots.
    • Assembled the card.

    Thank you for stopping by, I hope you have been inspired.

    Here is a list of supplies I used on my cards. Affiliate Links used at no additional cost. Thank you for your support.


    https://linkdeli.com/widget.js?id=f5e8378456858c916708