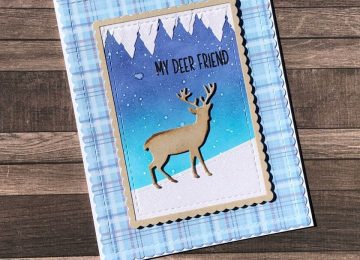
Hi Everyone, it’s Priscilla here. Today I have two holiday cards with a “not-your-ordinary” color scheme. Blue and gray for…


Hi Everyone, it’s Priscilla here. Today I have two holiday cards with a “not-your-ordinary” color scheme. Blue and gray for…
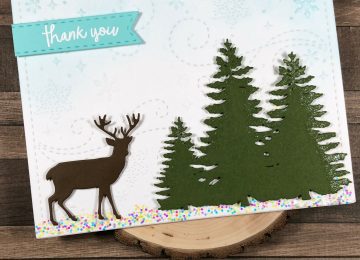
Hi Crafters! Kat has re-released the Pine Tree Border die. The previous die (which is still available here) doesn’t cut…
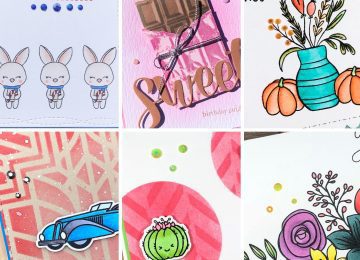
Hi everyone! Today I have a video that features my favorite Kat Scrappiness that have been released this year. I’ve…
Merry Christmas Eve to all of you!! As of this post the Crafters Essentials Winter dies by Kat Scrappiness is back…
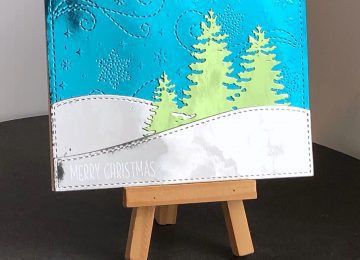
Hi Everyone, it’s Tina here. Today I have a couple of holiday cards to share with you using the new…
Hello crafty friends! I wanted to try something a bit different and create a card that would work for Christmas,…

Hello Kat Scrappiness fans! It’s Lisa on the blog with you today and I have a Winter Wonderland to share with you in the…