Tag: Condensed Lowercase Alphabet Dies

  • One Layer Beach Scene Card with Texture

    One Layer Beach Scene Card with Texture

    Hi, this is Nicki from the design team! I’m excited to share this bright beach scene card with you today. For all the details make sure to check out the YouTube video on the Kat Scrappiness channel.

    To start this card, you will need the A2 Waterside Die and the Condensed Lowercase Alphabet dies. You could color this card with any medium but I am going to use Copic Markers today with very fast coloring. I did long strokes to imitate all the changes/texture in the water and sand.

    Once the coloring was complete, it was time to add texture with some embossing paste.

    Once the embossing paste was dry, I could put the scene back together like a puzzle. Next, I used the lowercase condensed alpha “hi” to create an inlaid die cutting area. Foam tape was applied to pop up the letters.

    Nicki Hearts Cards, Nicki Baxley, Kat Scrappiness

    Let me know what you think in the comments! All the supplies from Kat Scrappiness are listed below. For full list of copic markers, check out my IG @nickiheartscards. The links below provide a small commission to me at NO cost to you! Thank you for your support!!

    Supplies:

    A2 Waterside Die

    Condensed Lowercase Alpha Dies

    Elizabeth Craft Double Sided Adhesive Sheets

    Gina K Connect Glue

  • Hope Candle & Matching Card

    Hope Candle & Matching Card

    Hello everyone! Maria here on the blog with you sharing two projects, showcasing the #Ukraine Strong Stamp Set and Coordinating Dies, along with the Condensed Lowercase Alpha Die Set, Layered Bubbles Stencil Set and Transparent Heart Droplets.

    I know that #Ukraine Strong Stamp Set was originally made to support Ukraine (and all profits will be donated to the  Ukraine Crisis Relief Fund. )  However, I am here to show you that you can stretch your stamps and use it for a different purpose.

    I made these projects to support my sister who was diagnosed with Stage 4 Lymphoma in March this year. She went through chemo treatments (I cannot even tell you how hard it really was to see her go through it) and after her PETScan this month, the doctors told us that the chemo worked successfully. Even though she is not out of the woods yet and will still go through a few radiation treatments, we are so happy with this news.

    The purple ribbon represents all types of cancer so this blog post is dedicated not only to my sister Maria Pilar, but to all people who are either going through treatments or have survived this nasty disease.

    For my first project, I decided to make this “Hope” candle. In my sister’s case, it just goes to show you that there is always HOPE at the end of the tunnel, and the power of prayer is really STRONG! You just need to believe that you can do it, and have faith in God to work his mysterious ways!

    Here’s how I made this project:

    My next project is the matching card to go with this candle.

    I hope you like these projects and got inspired. Below, you will find links to the supplies used to create these projects. Where available, I use compensated affiliate links at no extra cost to you. Your support helps me to keep bringing you new projects and inspiration. Thank you for stopping by, and have an amazing day!

    ——–SUPPLIES——

  • Typographic Easter Card | Hop Into Easter Release | Call Me Crafty Al

    Typographic Easter Card | Hop Into Easter Release | Call Me Crafty Al

    Hello crafty friends!

    It’s Alicia a.k.a. Crafty Al here to share a look at the tYpOgRaPhIc CaRd I made using some of the new products from Kat Scrappiness.

    I used papers from the NEW Hop Into Easter paper pack for the letters and to cover my card front. The letters were cut using the Condensed Lowercase Alphabet die set.

    I replaced the “o” in “hoppy” with a stamped and colored bunny from the Hippity Hoppity Bunnies stamp set and finished the sentiment using one of the stamps from the Hippity Hoppity Sentiments stamp set.

    After the card was put together, I embellished it with some of the NEW Aqua AB Jewels.

    You can check out my video for the full process…

    Thanks for stopping by and I hope you enjoyed today’s card!

    Alicia / Crafty Al

    Related Products:

    Kat Scrappiness 

       Hippity Hoppity Bunnies Stamps: http://shrsl.com/3f3nw

       Hippity Hoppity Sentiment Stamps: http://shrsl.com/3f3ny

       Hop Into Easter Paper Pad: http://shrsl.com/3f3nt

       Aqua AB Jewels: http://shrsl.com/3f3nz

       Condensed Lowercase Alphabet dies: http://shrsl.com/3e97x

       Boxed Sentiments Strips Dies: http://shrsl.com/375bz

    Art Glitter Glue: http://shrsl.com/37svl

    **Some links above are affiliate links. I link them up for your convenience and may receive a small commission, at no extra cost to you. I hope you will consider using the links if you decide to purchase the products I share. 🙂

  • Sending Love Mini Slimline Card

    Sending Love Mini Slimline Card

    Hi everyone, it’s Tina here. I love creating stencils from Background dies. I used the Star Fusion Coverplate with the Valentine Quokka Stamps, Mini Slimline Distressed Edge die, and the Condensed Alpha dies to create this sending love card. Below are the steps to create your own card.

    Step 1 – Trim White Cardstock to 7” x 6”, score at 3 1/2” and fold in half for a horizontal top fold card. (Mini Slimline)

    Step 2 – Diecut Star Fusion Coverplate using White Cardstock. This will be used as a stencil. Place on top of a White panel measuring 3 1/2” x 6”. Apply Distress Oxide Ink. I used Worn Lipstick.

    Step 3 – Diecut Mini Slimline Distressed Edge using the panel created from Step 2. Apply Distress Oxide Ink to the edges. I used Aged Mahogany.

    Step 4 – Diecut the word Love using Condensed Uppercase for L and Condensed Lowercase for V and E leaving a space where the O would be. Adhere the panel to the card front using Bearly Art Precision Glue. Adhere the letters back into the negative space using Foam Tape.

    Step 5 – Stamp Valentine Quokka (Image) using Versafine Onyx Black Ink on White Cardstock. Color in image. I used Prismacolor Pencils with gambol. Diecut it using the matching die and adhere to card where the O would be using Foam Tape.

    Step 6 – For added interest diecut little hearts you may have in your stash and adhere to card using Glossy Accents. Or adhere Heart Enamel or whatever you have in your stash.

    This card can be used for several occasions such as Anniversary, Just Because, etc. Below you will find the link to all products used. Thank you for stopping by and Happy Crafting!

    Products Used:
    https://linkdeli.com/widget.js?id=f5e8378456858c916708

  • Clean and Simple Calming Cards

    Clean and Simple Calming Cards

    Welcome to the Kat Scrappiness blog, take a deep breath and relax!

    It’s Lisa here with you today from Oh So Cute By Lisa!

    2020 has been a stressful year and the past few days of this crazy election hasn’t made it any easier.  No matter which side of the political fence you are on, the stress is running high!
    The ugliness in the world only seems to be getting worse and it is so scary!

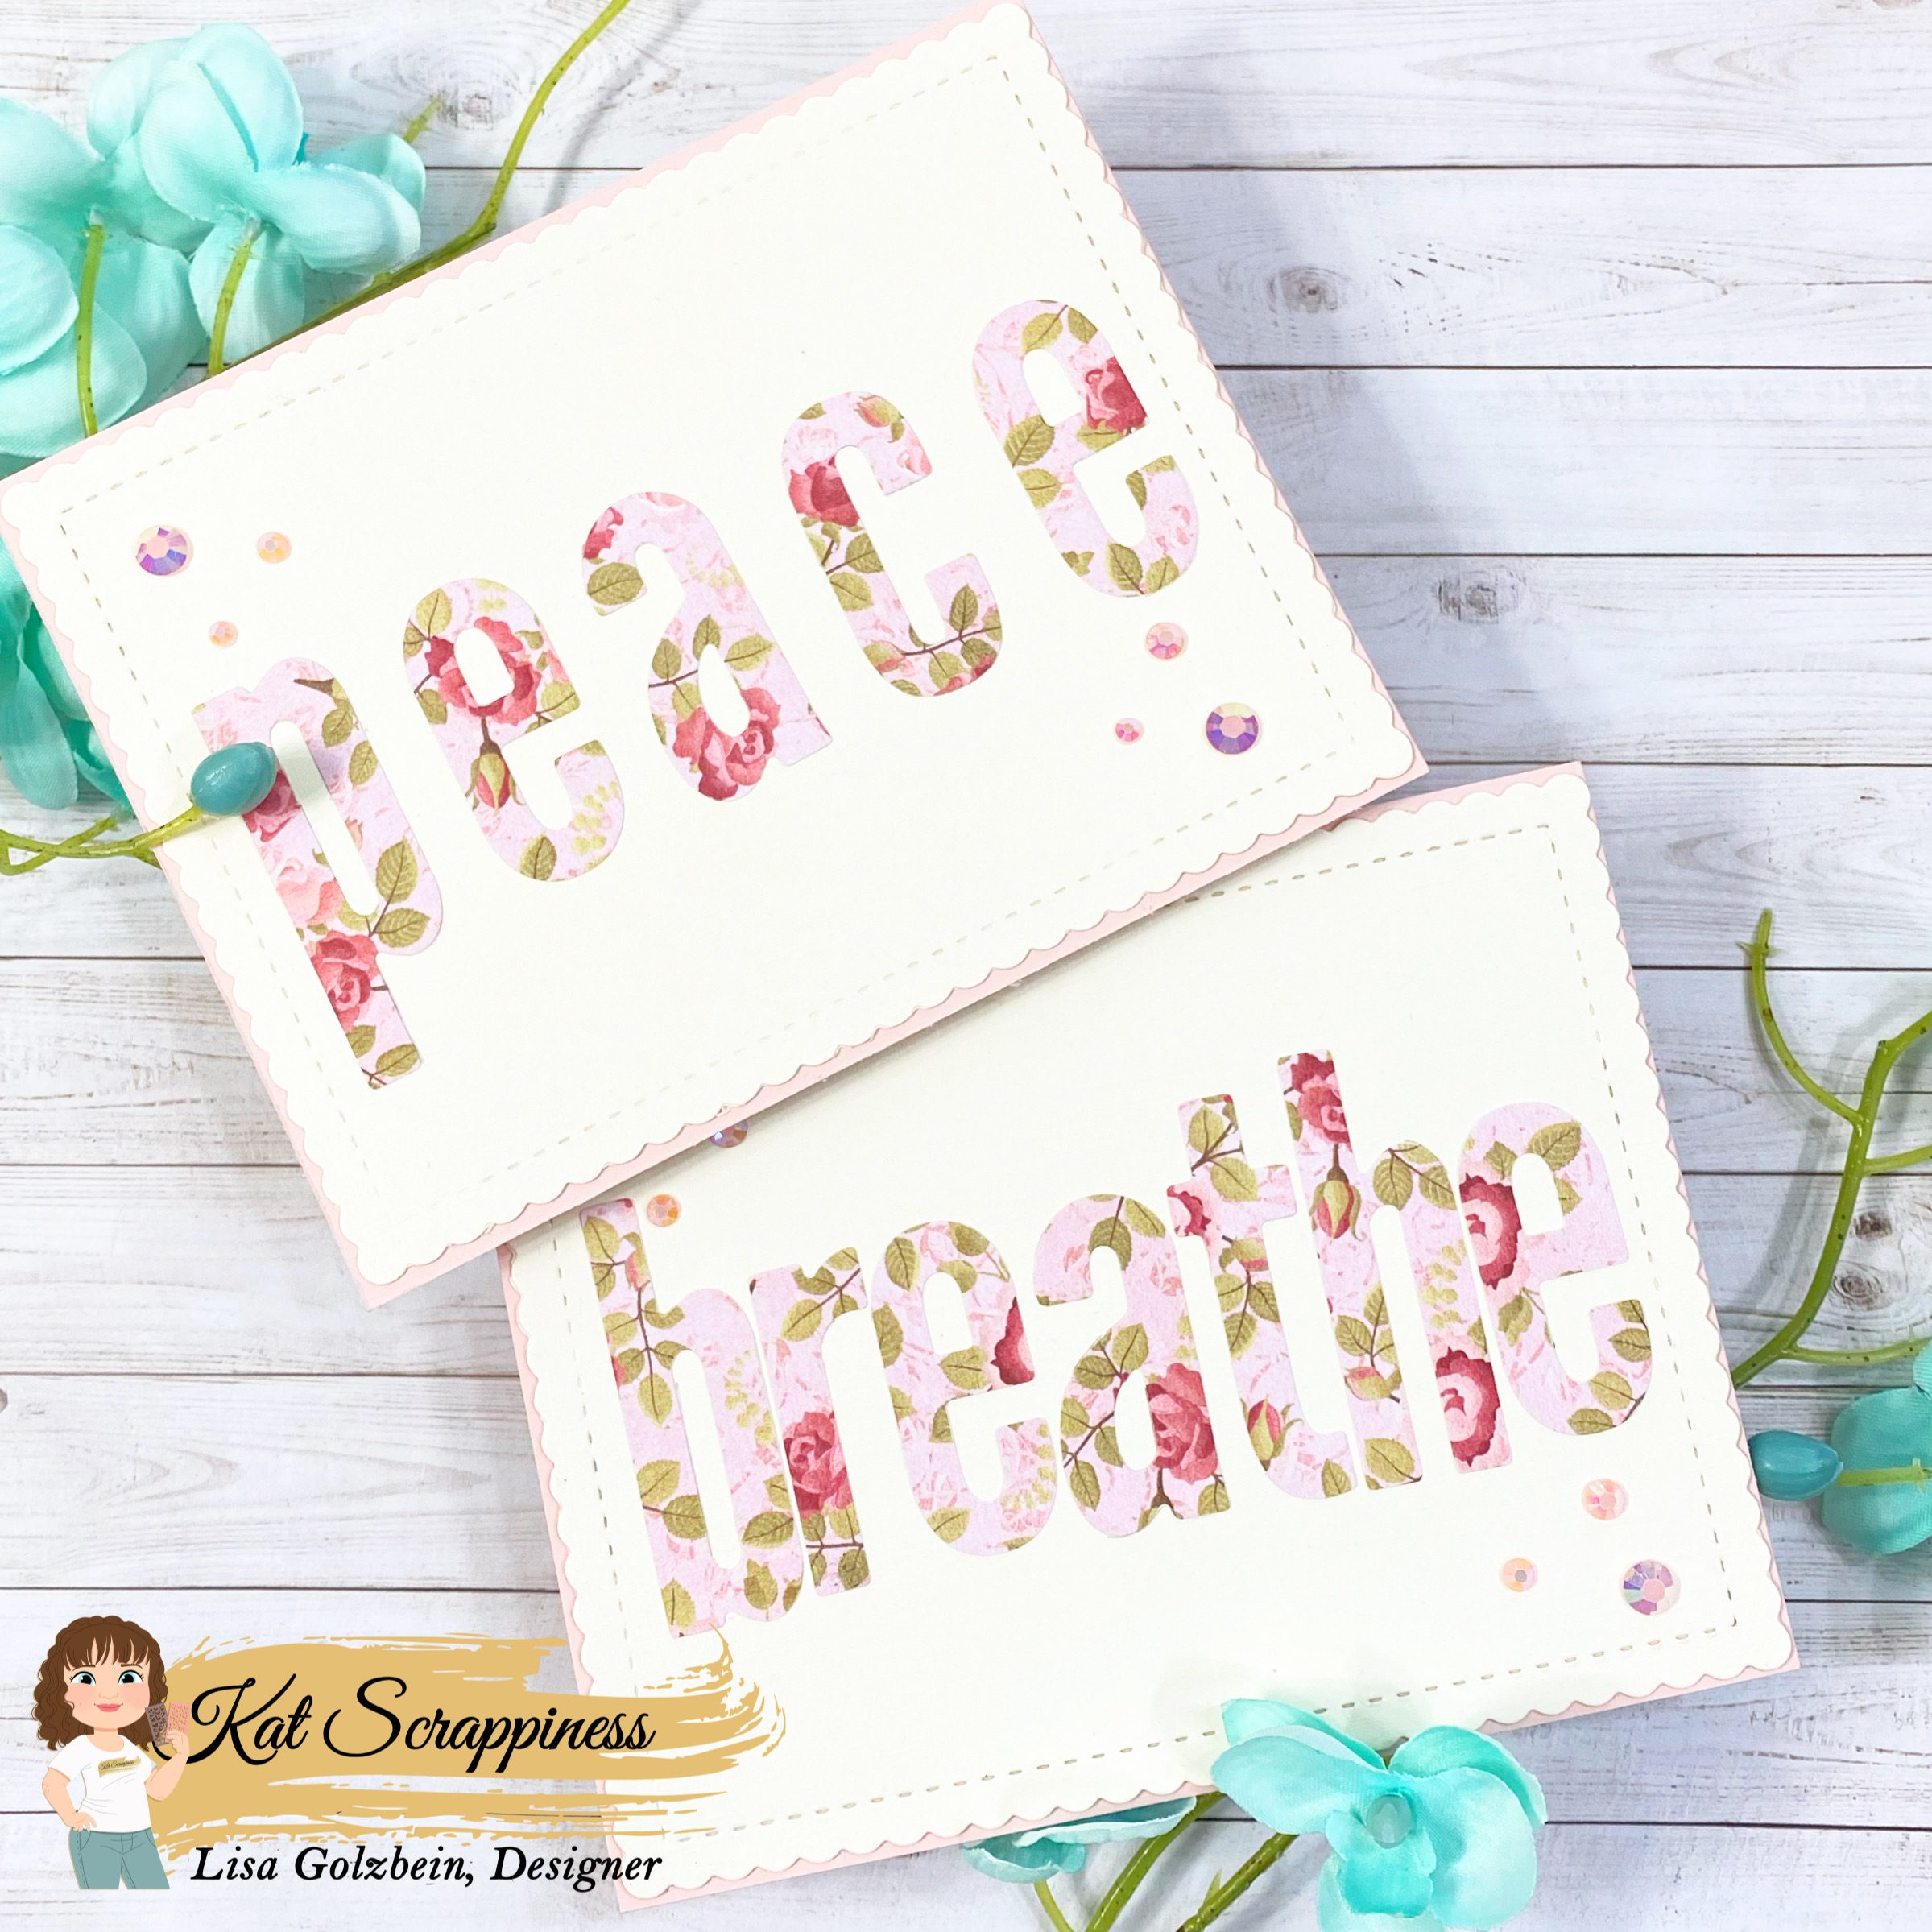
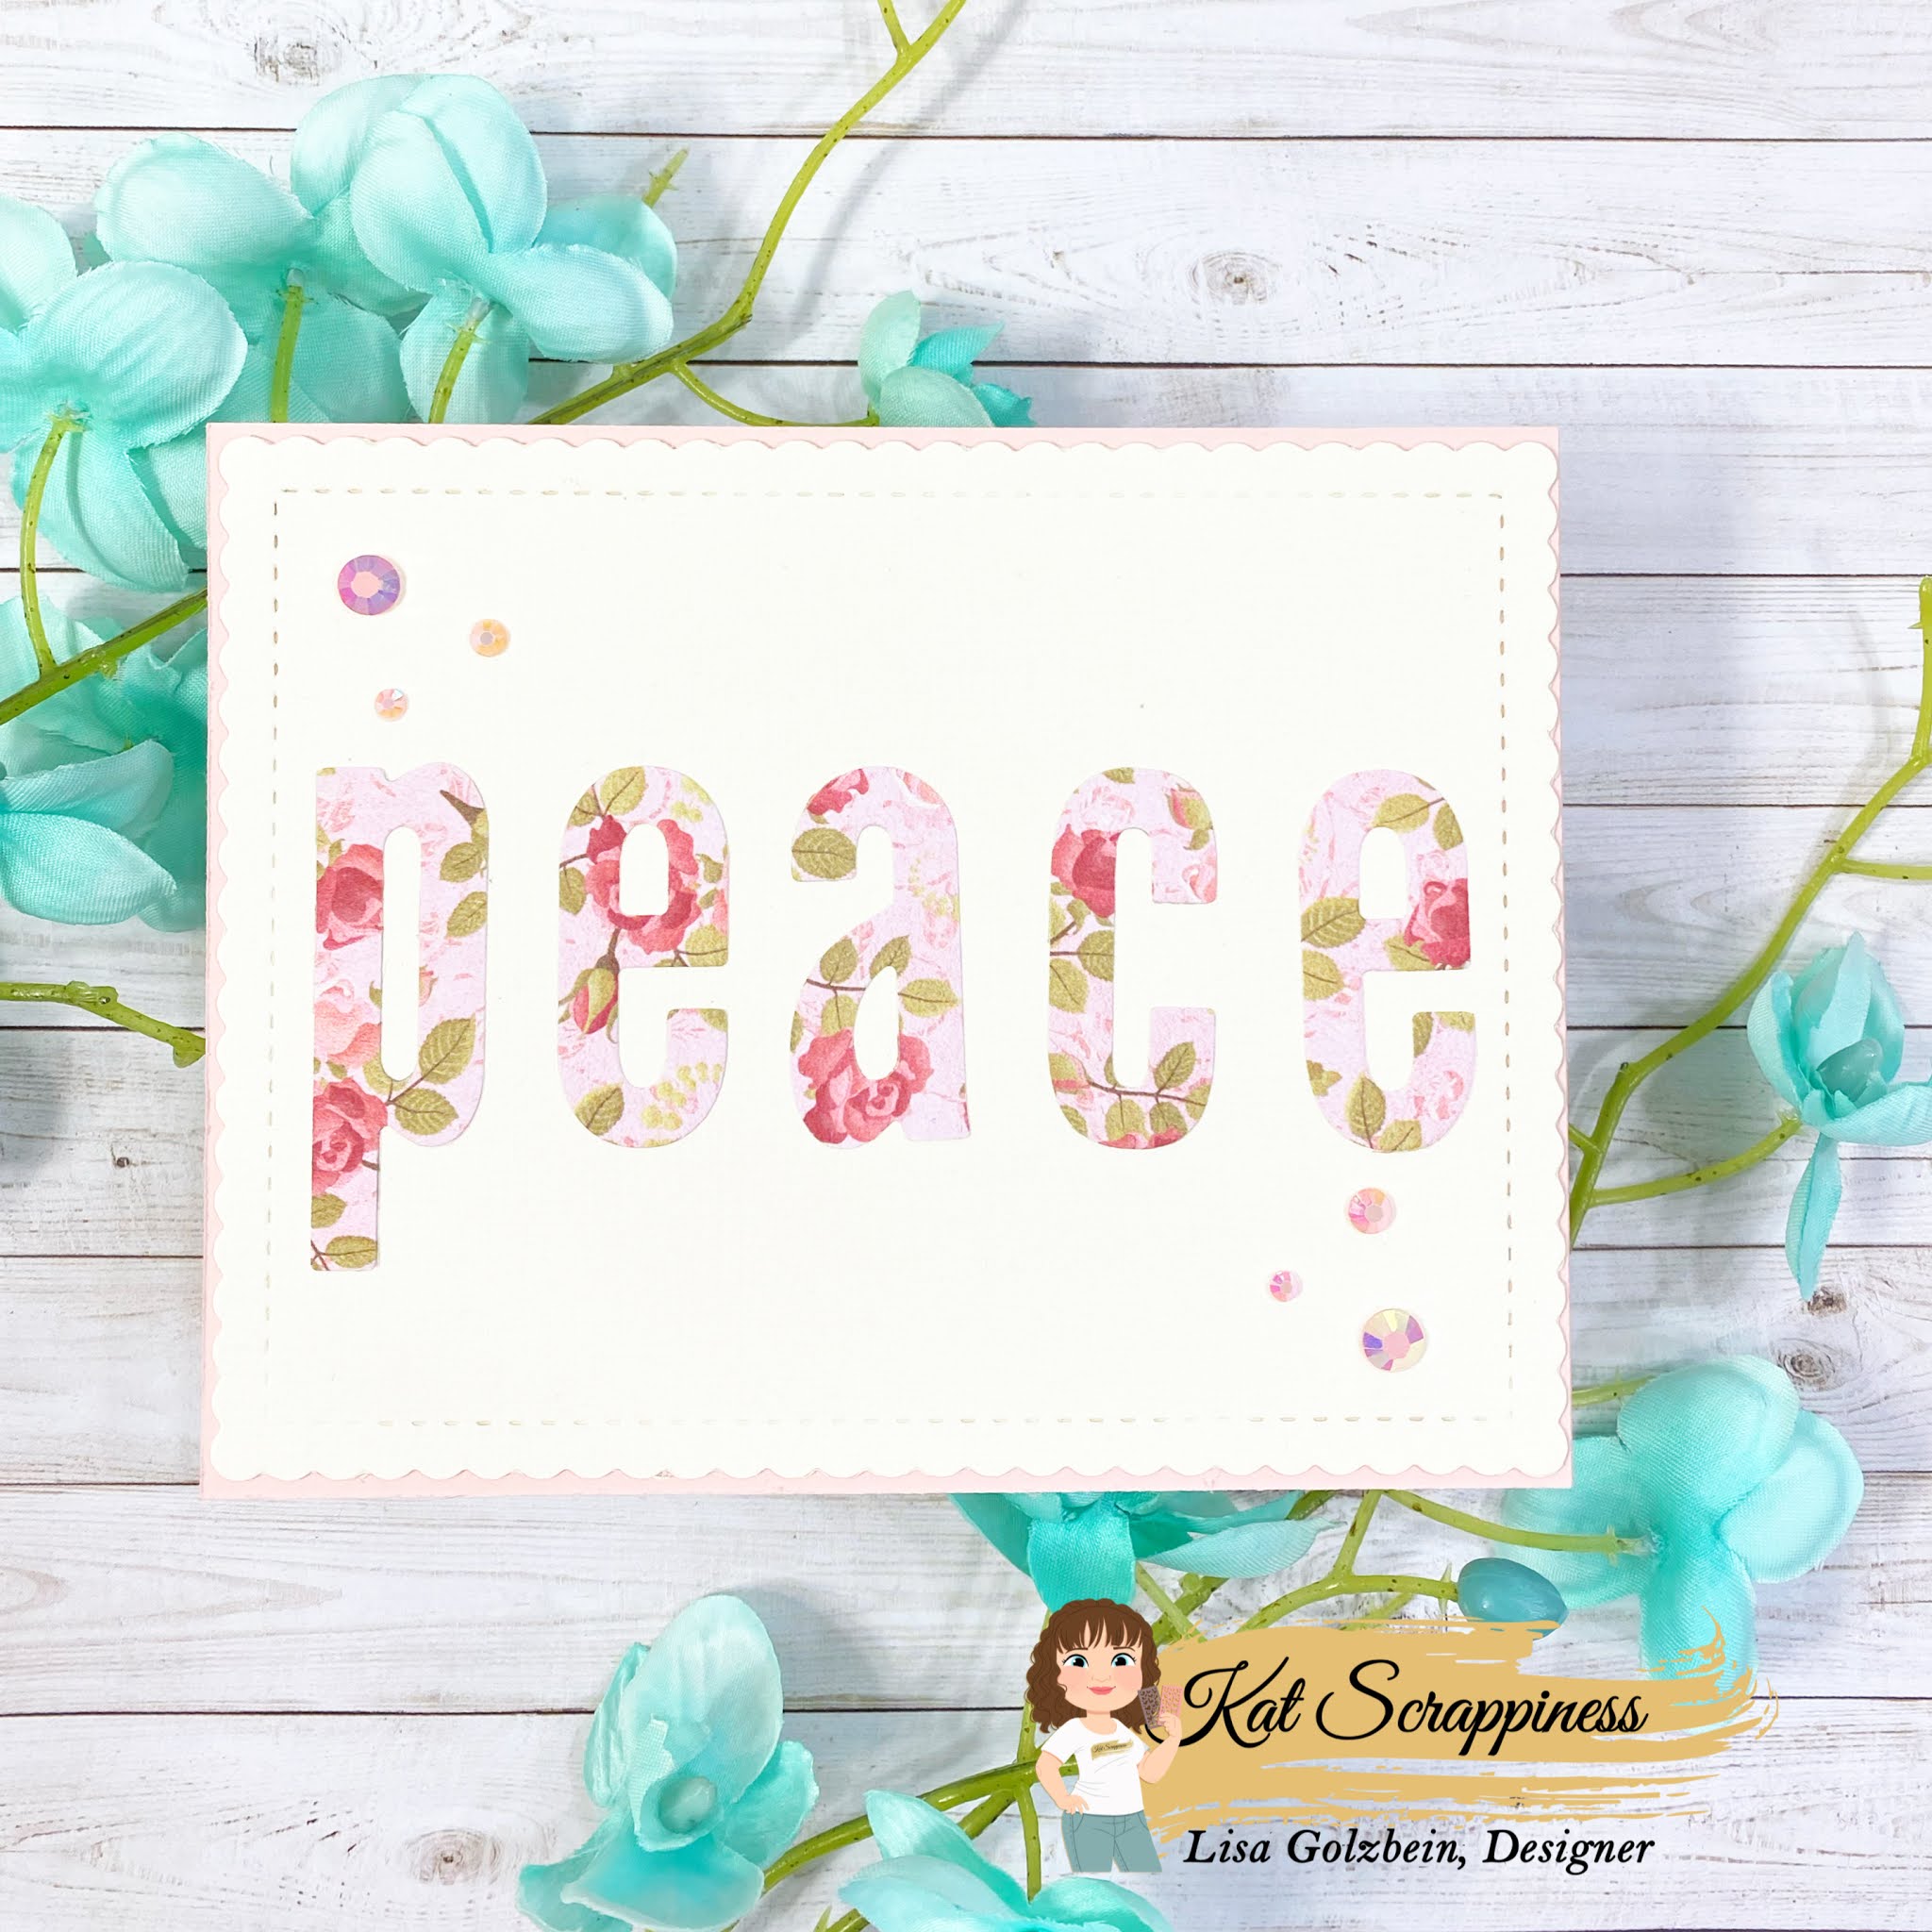
    As card makers we tend to craft away the stress and it can be very calming to immerse yourself in making art and pretty things! Today is my day on the Kat Scrappiness blog and I knew I wanted a pair of clean and simple cards to deliver a calming message. It felt so good to sit at my desk and use minimal supplies and some of my prettiest pattern paper to make 2 cards to share today.

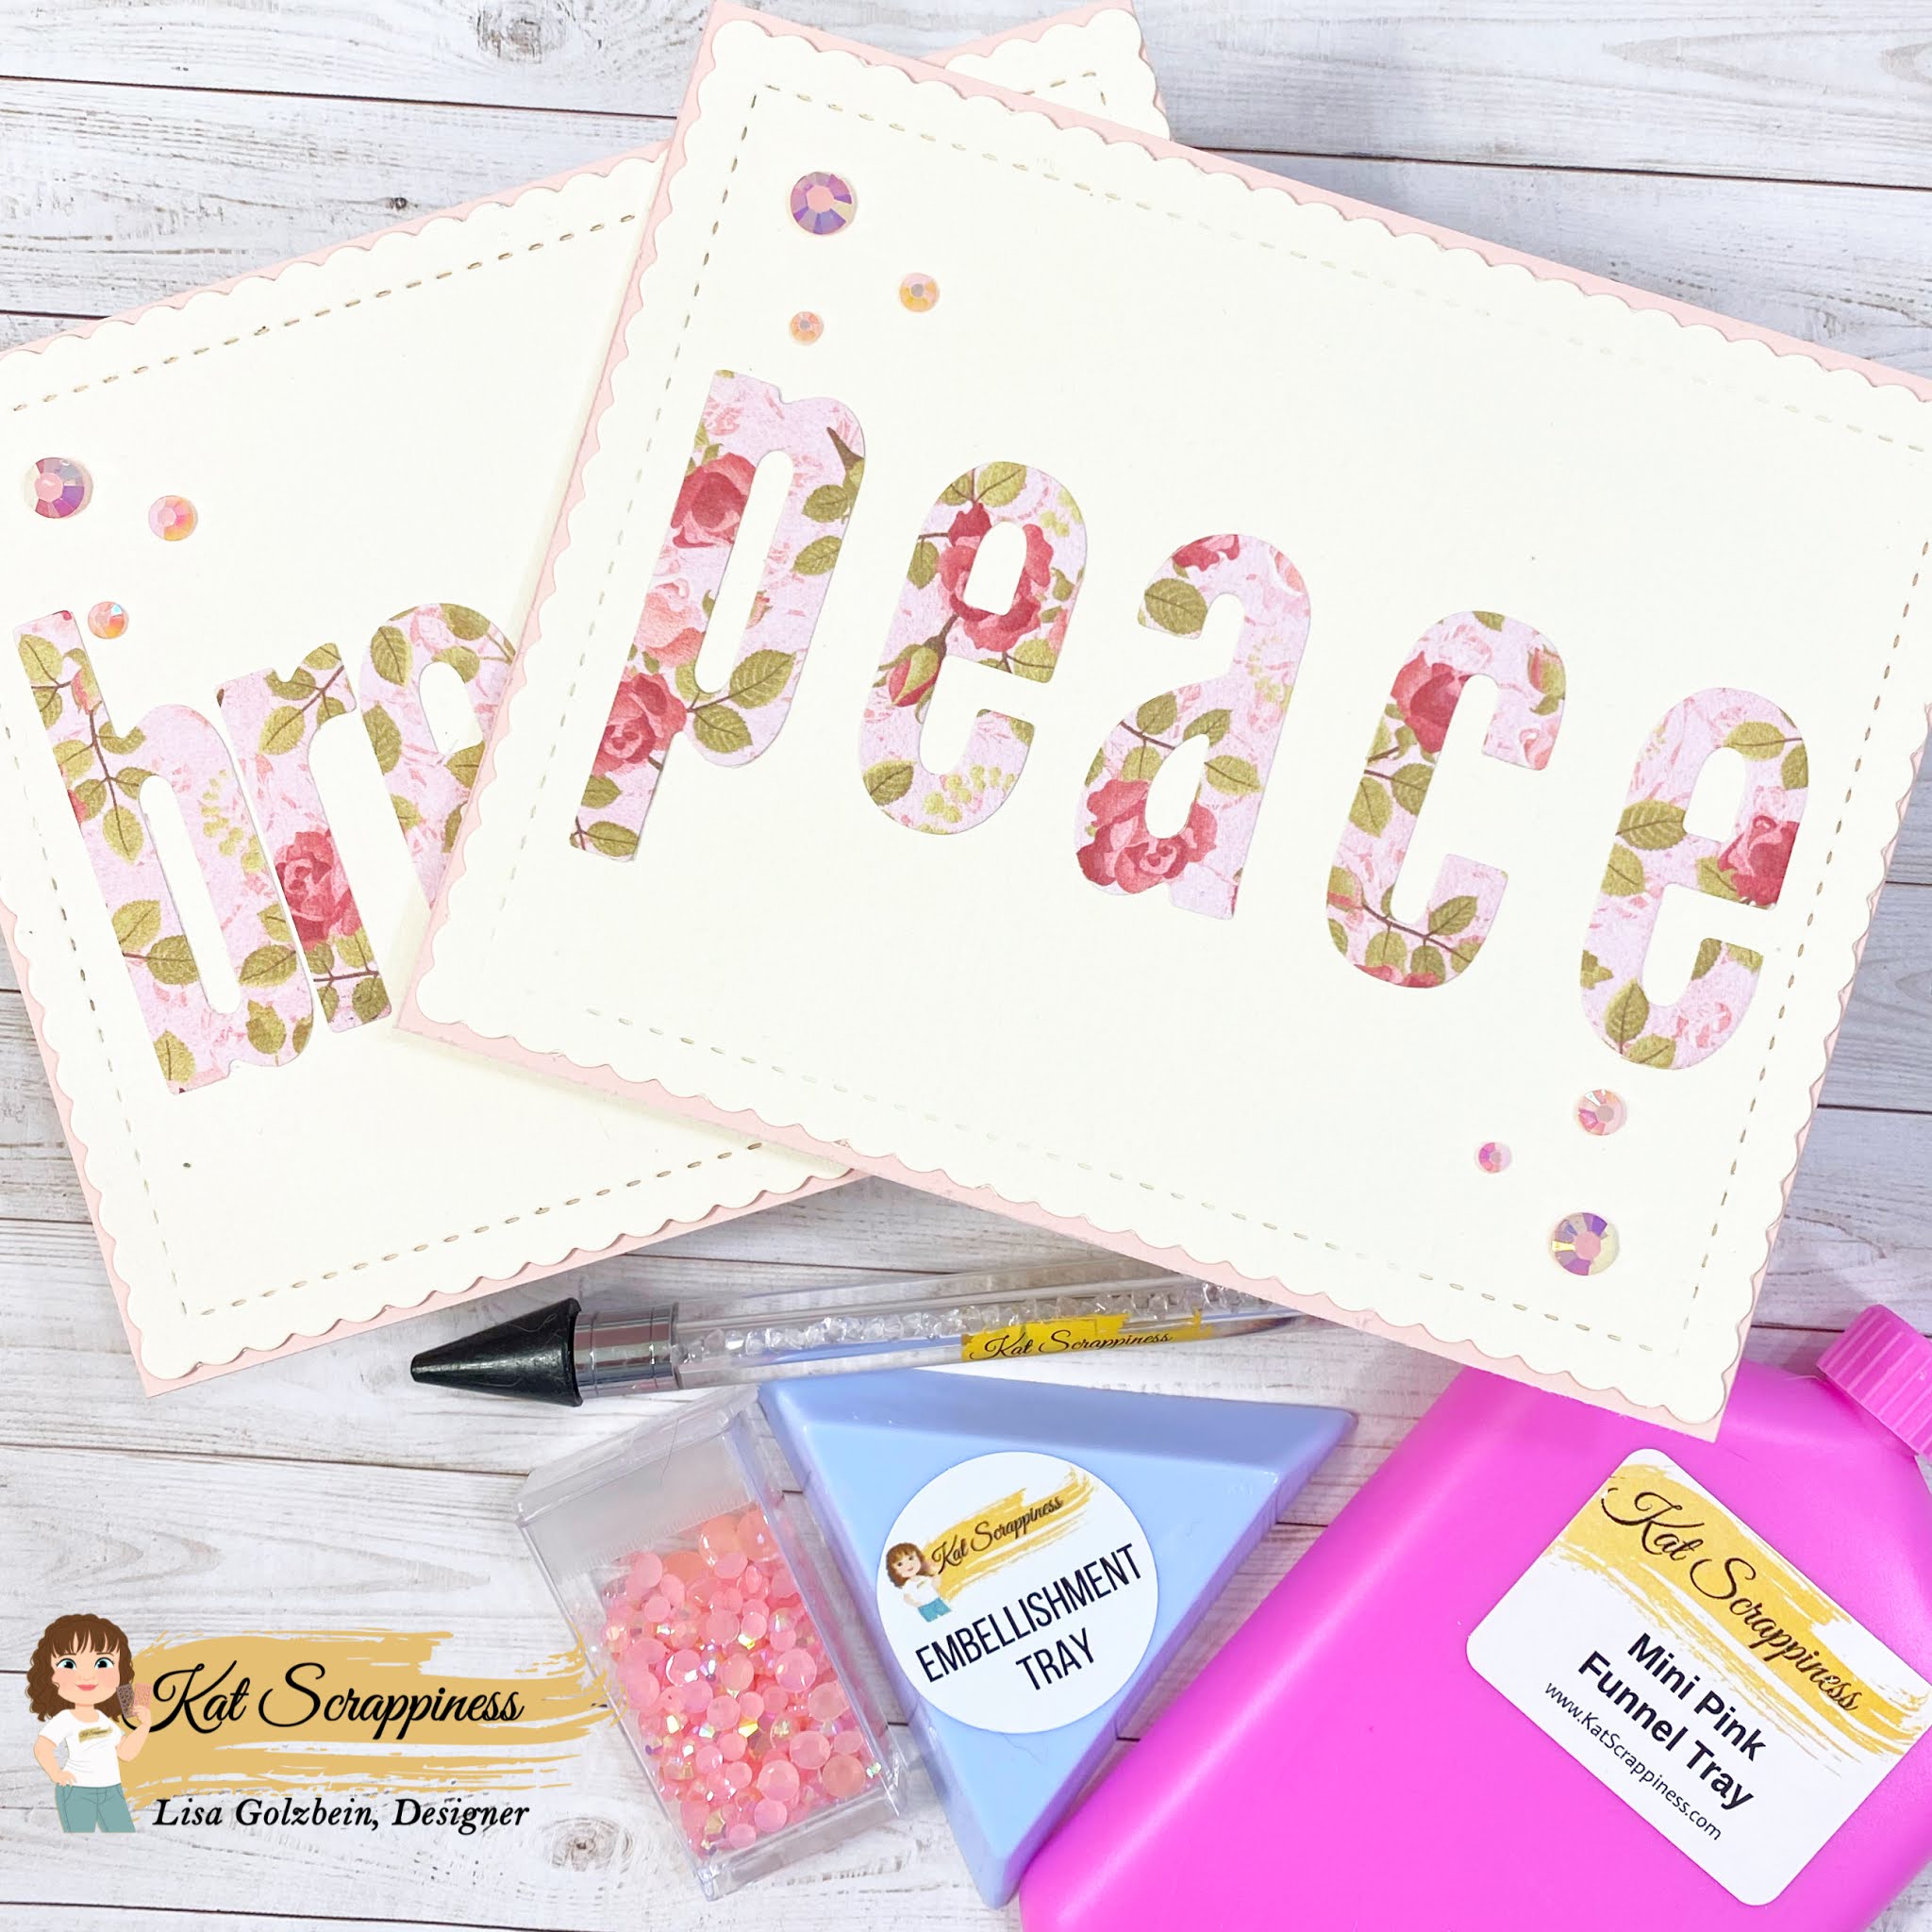
    I don’t know who needs to hear this today but keep taking deep breaths and surround yourself with people who bring you peace! My 2 cards today are centered on the words PEACE and BREATHE.

    I created these 2 cards using minimal supplies but I think they came out so pretty!

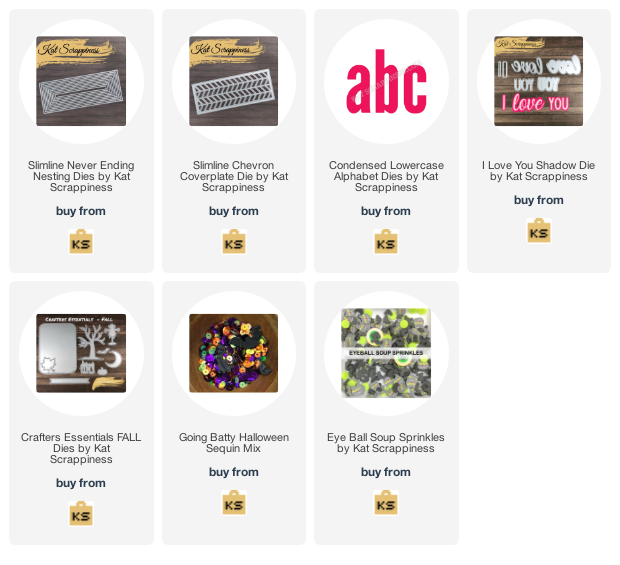
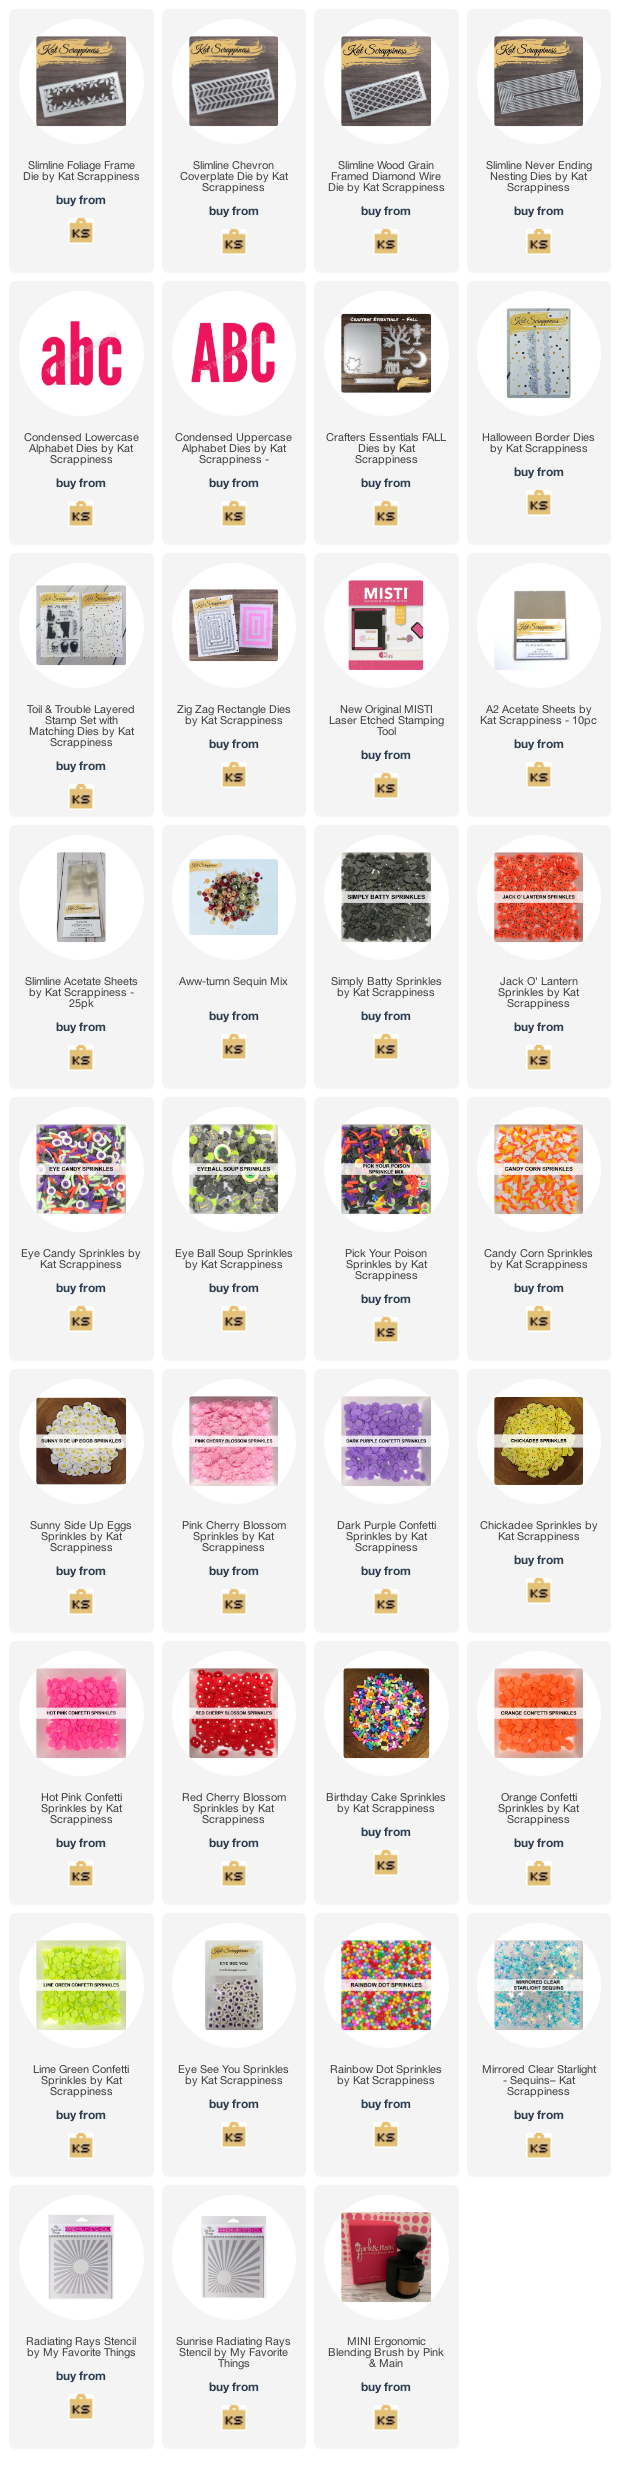
    I started by taking some of my favorite floral patterned paper from my stash.  I’ve had this paper forever and it is my go to when I want some pretty dainty florals. I cut out all the letters for both cards using the Condensed Lowercase Alphabet Dies  by Kat Scrappiness and put them aside. Next I took some beautiful linen paper and cut out 2 panels using the largest die from the Stitched Scalloped Rectangle die set.

    I wanted to place the letters down evenly so I used my Wendy Vecchi MAKE ART Stay-tion to line them up. I laid out my letters evenly and placed a thin piece of purple tape over them that extended beyond the letters. I took the strip of letters still on the tape and flipped them over to apply my Nuvo adhesive to the back side of the letters. Having them on the tape made it easier to lay them down on the card panel. Once I laid them down I carefully peeled off the purple tape and pressed the letters down one by one allowing the glue to seep in.

    After I adhered both panels to a soft pink piece of card stock the only thing left to do was add some sparkly Pretty Pink Jewels around the letters.

    When I apply my jewels and embellishments I like to use the Kat Scrappiness Jewel Picker tool and a Triangle Sorting Tray. It makes the application and clean up so much easier. I pour my embellishments into a sorting tray and pick them up with the jewel picker and place them on a small dot of glue on my card. The process is super easy and very efficient.  After I’m done the triangle tray makes it so easy to pour the jewels back into their bag.

    There is even a Kat Scrappiness Mini Pink Funnel Tray to keep your embellishments confined and make it easy for you to funnel them back into whatever is holding them.

    Kat has also just released a brand new item that is a MUST HAVE for anyone with multiple packs of sequins and embellishments. It is called the Embellishment Organizer Solution and it is FABULOUS! This awesome case has 64 individual containers to hold all of your beads, sequins, jewels and other such embellishments. It also comes with 196 label stickers so you can remember the names of all of your pretty embellishments.

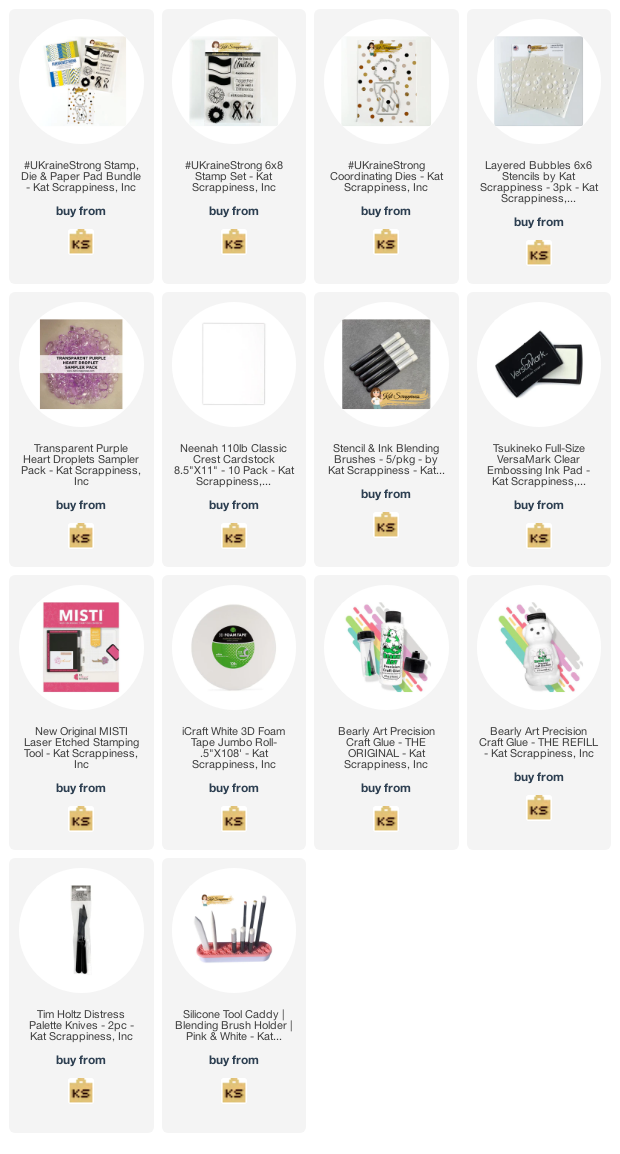
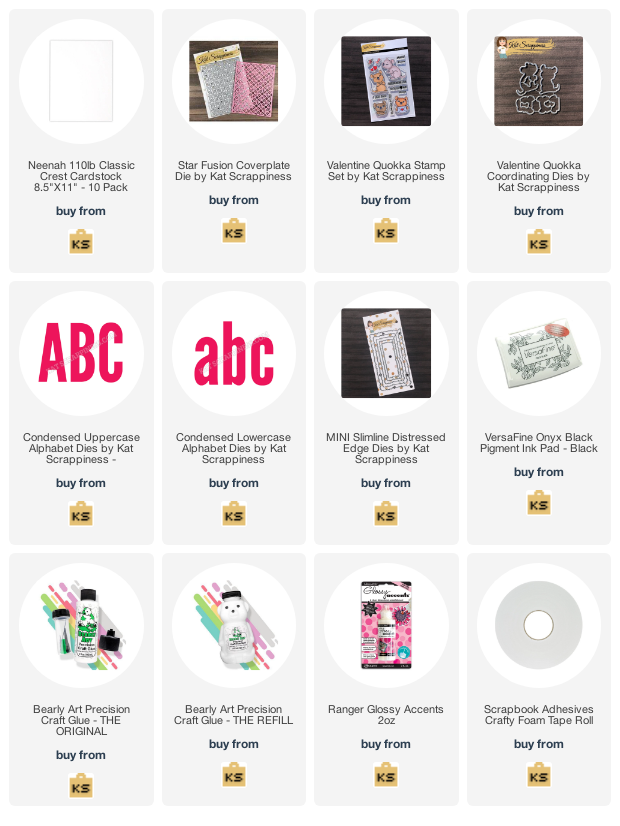
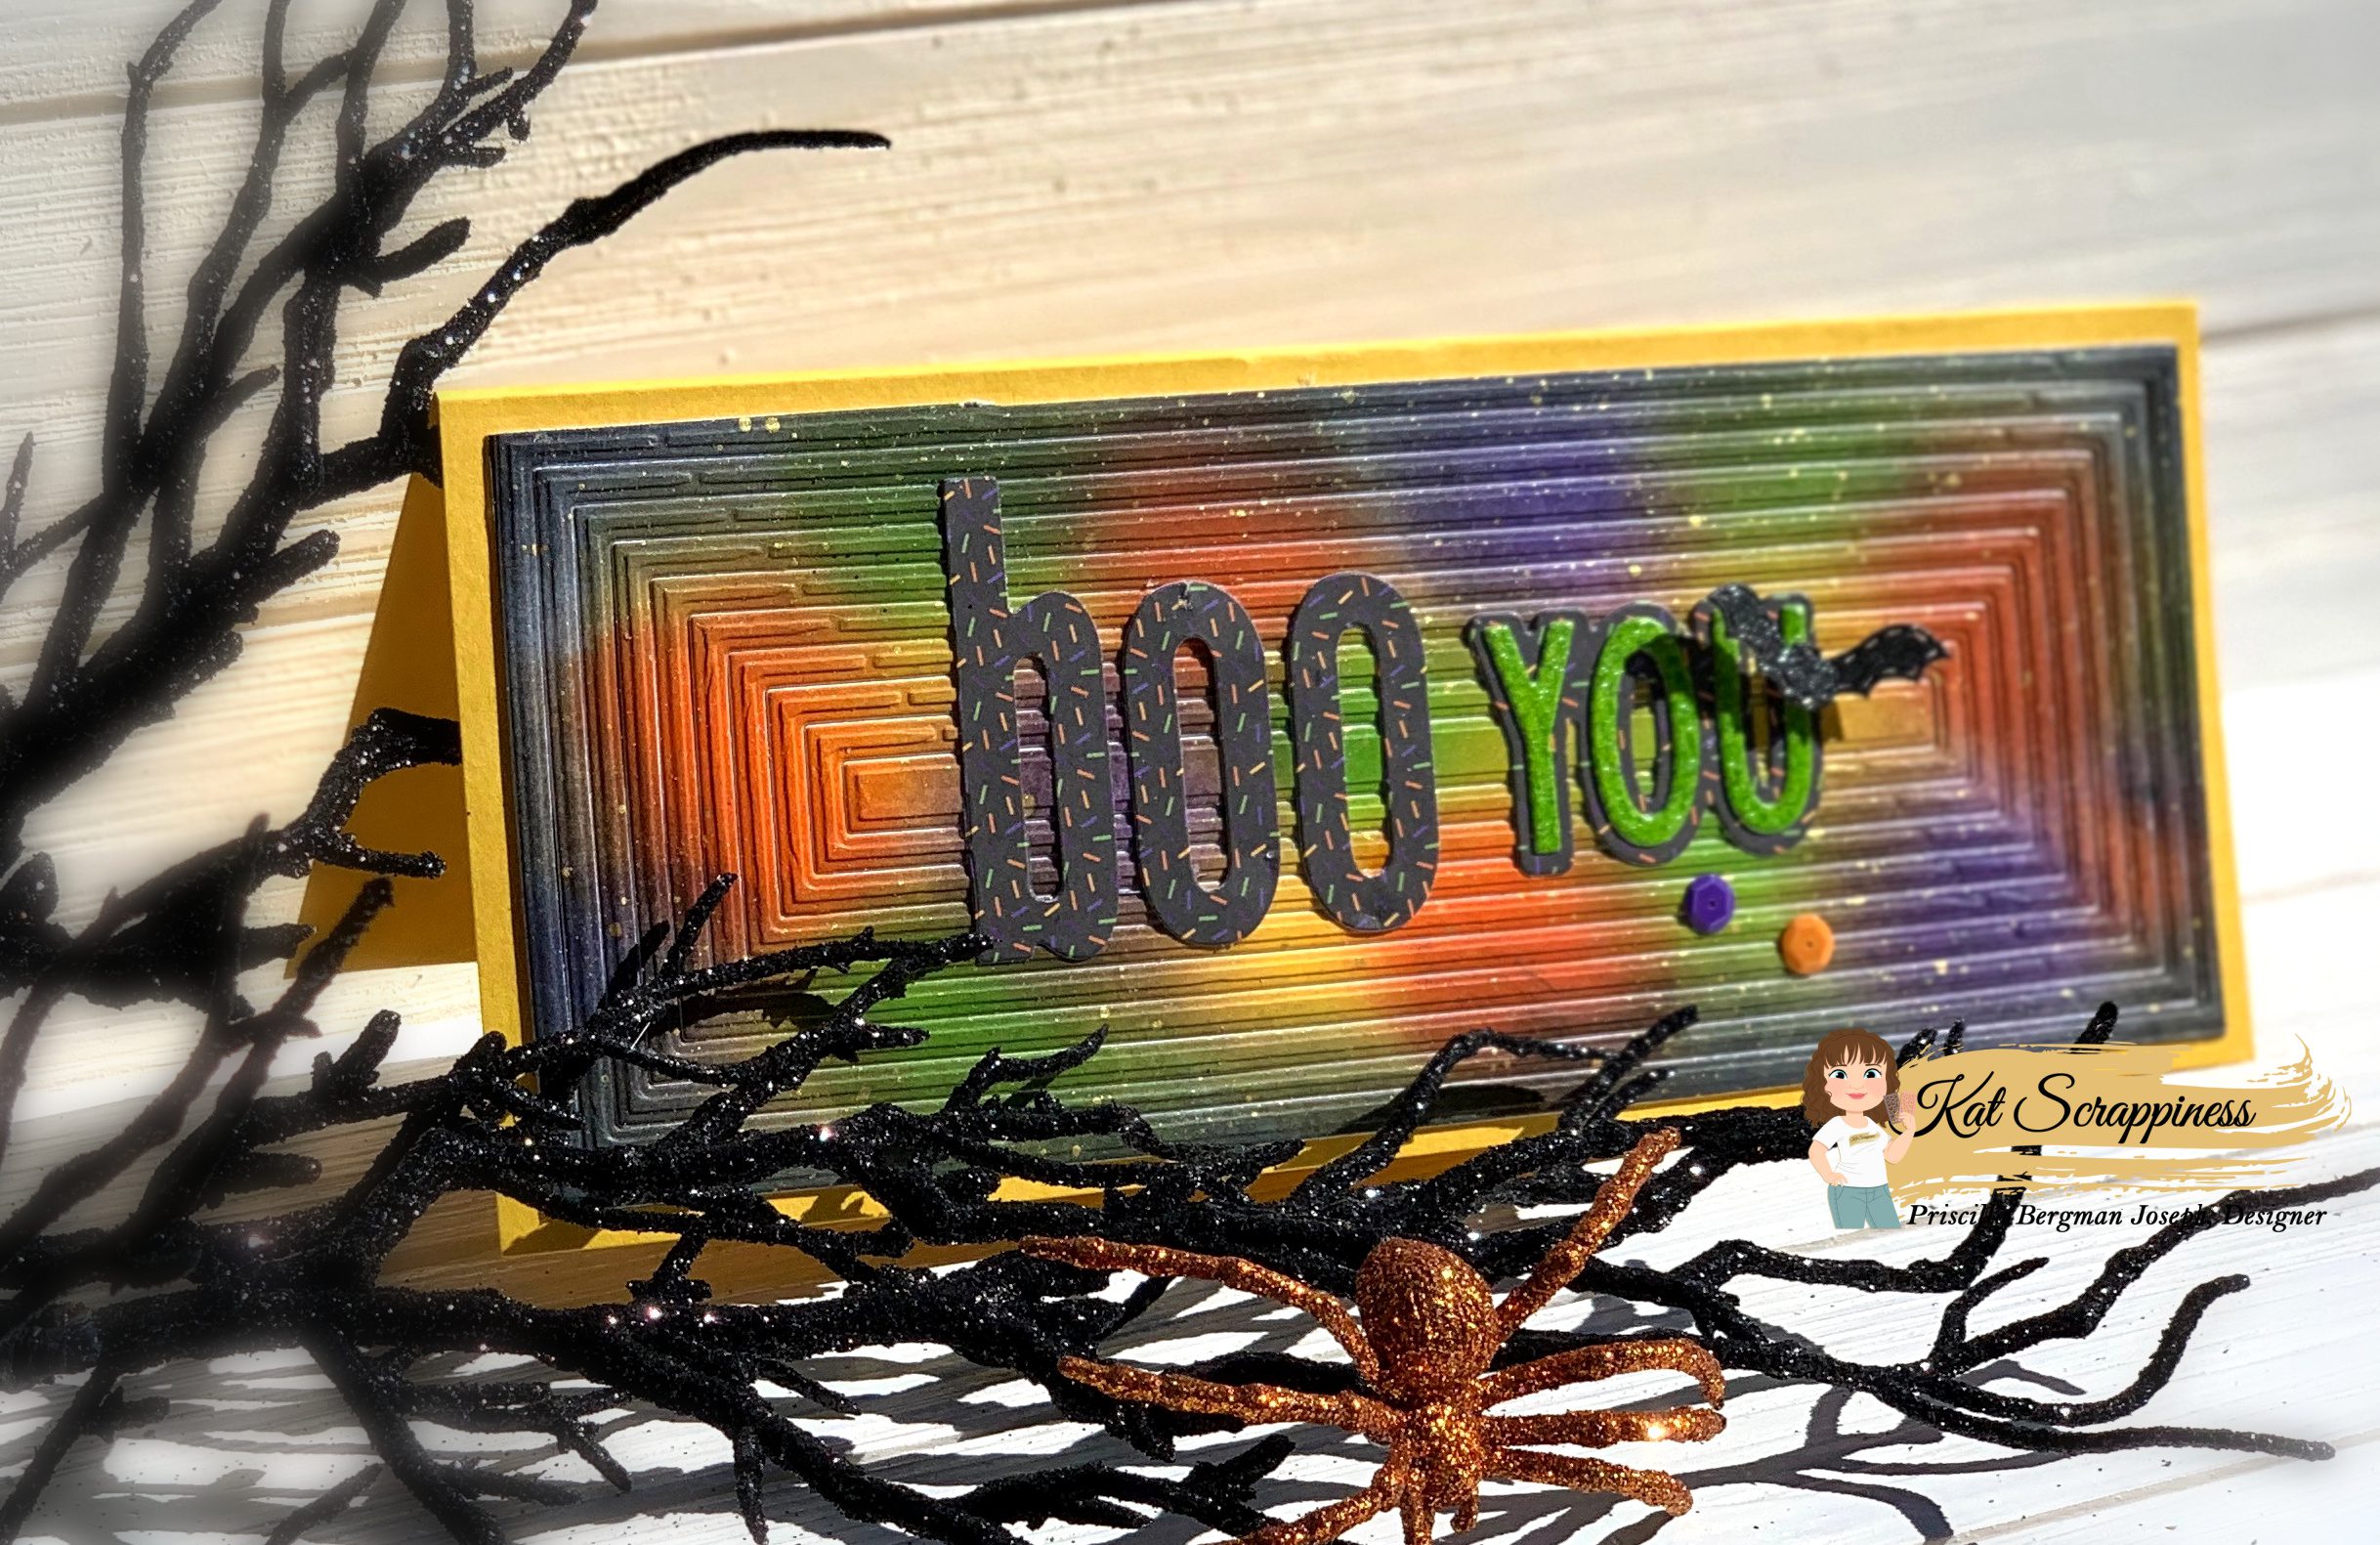
    Here is one more look at my cards with all of the products I used.
    You really don’t need a lot of supplies to make beautiful cards!

    Thank you so much for joining me today, I hope I brought a little PEACE into your life and encouraged you to BREATHE deeply and go make some pretty art!
    Stay tuned to all things Kat Scrappiness because the new release is coming out November 7th and 8th, just a couple of days away and you don’t want to miss it! There will be lots of holiday themed Dies and brand new Sprinkles!
    Don’t forget to follow
    Kat Scrappiness on all
    social media platforms to be alerted to new releases, sales and giveaways!
    Thanks for stopping by and enjoy your day, I already am!
    🌸 Lisa  🌸
  • Boo You!

    Boo You!

    Hi Everyone, it’s Priscilla here. Today I have two Halloween-themed cards that feature two new slimline dies from Kat Scrappiness

    To create Card #1, I first created a slimline base (8.5″ x 3.5″) from yellow card stock. Then I used several bright colors and ink blended a front panel. I know it looks like I had to piece all those rectangles back together, but in reality, I kept all 10 of the nested rectangles connected (did not snip them apart) and ran them through as one piece over the ink blended panel using my Big Shot. Viola!

    I adhered this panel over the card base and then added “boo you” on top. I cut the “boo” from patterned paper using the “Condensed Lower Case Alpha Dies” and the “YOU” from the “I Love You Shadow Die”.

    To finish the card, I added a bat from the “Crafters Essentials-Fall” die collection and some sequins from the “Going Batty Halloween Sequin Mix

    My second card today showcases Kat’s new “Slimline Chevron Coverplate Die“.

    Over a lime green slimline card base, I adhered the “Slimline Chevron Coverplate” die cut that I had layered over a background created with Nuvo “Black Mousse” embellishment paste. I had stained the Coverplate itself with purple ink.

    Again I used the “Condensed Lower Case Alpha Dies” for the “boo” and the “I Love You Shadow Die” for the “YOU.” Sprinkles from the “Eyeball Soup” collection added the finishing touch.

    Thank you so much for stopping by! Don’t forget to check out what’s NEW in Kat’s Shop, and follow my blog and Instagram for more “Kat Scrappiness Amazingness”!

    Priscilla 

    The supplies I used are listed and linked below.

    SUPPLIES

  • KS September Release Day 2 – Foliage & Chevron Slimline

    KS September Release Day 2 – Foliage & Chevron Slimline

    Hello Kat Scrappiness fans!  Welcome to Day 2 of the September release and we are so excited to show you our newest slimline dies –>  the Foliage Slimline and the Chevron Slimline die.   We also have a GIVEAWAY so please scroll through at the end of the blog post to find out how you can WIN.


    Foliage Slimline


    Chevron Slimline


    As mentioned yesterday, our design team members will share how they made their cards on future blog posts and videos so far now, I will just share the samples.  Are you ready?


    ADAM KARLE


    CAREN BARTHOLOMEW


    YT DT MEMBER – JO THOMPSON


    KATHY SCHWEINFURTH


    LISA GOLZBEIN


    MARIA RUSSELL


    YT DT MEMBER – MARLA HARRIS


    MEGHAN KENNIHAN


    PRISCILLA JOSEPH


    TINA DORNBAUM


    SANDRA BEUS


    WALESKA GALINDO


    The entire design team worked so hard to create these samples for you today.  Which one is your favorite?
    Would you like to win the Foliage Slimline or the Chevron Slimline Die?   We will choose one lucky winner for each prize!
    Here’s how to win:
    Leave a comment on this blog post and tell us what project/s inspired you to the most today.  You have until Friday, September 18th to leave a comment.  Winner will be announced on Saturday, September 19.   To claim your prize, winner should send an email to: winners@katscrappiness.com (indicating what you’ve won) within 48 hours.
    ————SUPPLIES———–


  • New Slimline Dies!

    New Slimline Dies!

    Hi, I hope everyone is staying safe and healthy!

    Did you notice the Kat released two new slimline nesting die sets earlier this week?  One is Embossed Edged and the other is Stitched Scalloped.  Here is a look at them.


    Today, I’m sharing two cards I created using the new slimline dies.  My card bases measure 8.5 x 3.5 inches.  I cut my pieces of heavy weight card stock 8.5×7 and then scored at 3.5 on the 7 inch side.

    My first card uses the largest Embossed Edged slimline die from the set.  I die cut this with white card stock.  I then used a stencil, a blender brush, and blue distress ink to create the clouds.  The hills were created using a die from the Crafters Essentials Easter die set and the white cloud die cuts are from the He is Risen die set.  I adhered these directly to my card using wet adhesive. I layered this panel on a piece of gray card stock leaving about a 1/16th edge and adhered it to my white card base.

    I stamped and colored, using Copics,  the sloth from the Stewart the Sloth stamp set.   I then cut it out using my Silhouette machine.  I stamped the sentiment “Hang in There” from the same stamp set in black on gray card stock that I had die cut using the Stitched Fishtail banner dies.  I added these to the card using dimensional adhesive.

    My second card uses the largest Stitched Scalloped slimline die from the set and a piece of pink polka dot patterned paper.  I adhered this to a piece of dark gray card stock that is slightly larger and glued this panel to my light gray card base.  From that same dark card stock, I die cut the congrats letters three times from the Condensed Lowercase Alphabet dies.  I glued the layers together.  This gives a little bit of dimension to the letters on the card. I adhered these to the card base and added a few sparkling clear droplets.

    Thanks for stopping by and I can’t wait to see what everyone creates with these new dies.

    – – –– – –– – –– – –– – –– – –– – –– – –– – –– – –– – –– – –– – –– – –– – –– – –– – –– – –– – –– – –– – –– –

    Here is a link to the Kat Scrappiness shop and direct links for products I used on today’s card are below.

    – – – SUPPLIES for today’s project– – – – – – – – – – – – – – – – – – – – – – – – – – – – – – – – – – – – – – –

  • So many sprinkles, so little time!

    So many sprinkles, so little time!

    Hi crafters!  Did you see all the new sprinkles and awesome acetate sheets that were released this month?  So much cuteness.  Today, I’m sharing three cards I made with three of the new sprinkle mixes.

    For my first card, I made a small shaker window using the penguin sprinkles, acetate sheets, stitched scalloped square dies, and the stitched square dies from Kat Scrappiness.  I used one of the Stitched Fishtail Banner dies for my sentiment.  To make this the size I wanted, I die cut the paper twice using the same die.

    My next card uses the Fun Christmas Icon sprinkles, acetate sheets, and the Condensed Lowercase Alphabet dies from Kat Scrappiness.  I added a few teal jewels on the corners of the card and a fuchsia jewel to dot the I in bright.

    For my last card, I wanted to show that you could use the sprinkles  without making a shaker card. I used the Multicolor Paw Print sprinkles on this cute puppy card.  I picked out the brown paw prints to match the card.

    Here is a look at all the new sprinkles and the acetate sheets that are now available in the Kat Scrappiness shop.


    Thanks for stopping by and happy stamping!  Here is a link to the Kat Scrappiness shop and direct links for products used on this card are below.

    – – – Kat Scrappiness products – – – – – – – – – – – – – – – – – – – – – – – – – – – – – – – – –

    Acetate Sheets – A2 size:

    Penguin Card:

    Merry & Bright Card:

    Paw Print Card:

  • Owlsome Card and Video Tutorial by Jess Crafts

    Hello crafty friends! I was excited to use one of the new stamp sets available at Kat Scrappiness from Heffy Doodle call Hootiful. I thought it would pair wonderfully with some of my Kat Scrappiness favorites including the Peacock backdrop die.  I have a full video tutorial for the card that you can watch below or on YouTube.

    [youtube https://www.youtube.com/watch?v=Tks5H6dBHJM]

    When I couldn’t find just the right color of cardstock in my stash I reached for my Distress Oxide inks. If you haven’t yet completed your set Kat has the latest set. The Lowercase Condensed Alphabets were perfect to add a large focal point to my card. I finished the whole thing off with some stars from the Mint Sprinkles sequin mix. If you haven’t yet, check out the details for joining the Kat Scrappiness Coffee Oasis Charity Blog Hop.


    https://linkdeli.com/widget.js?1540275216575