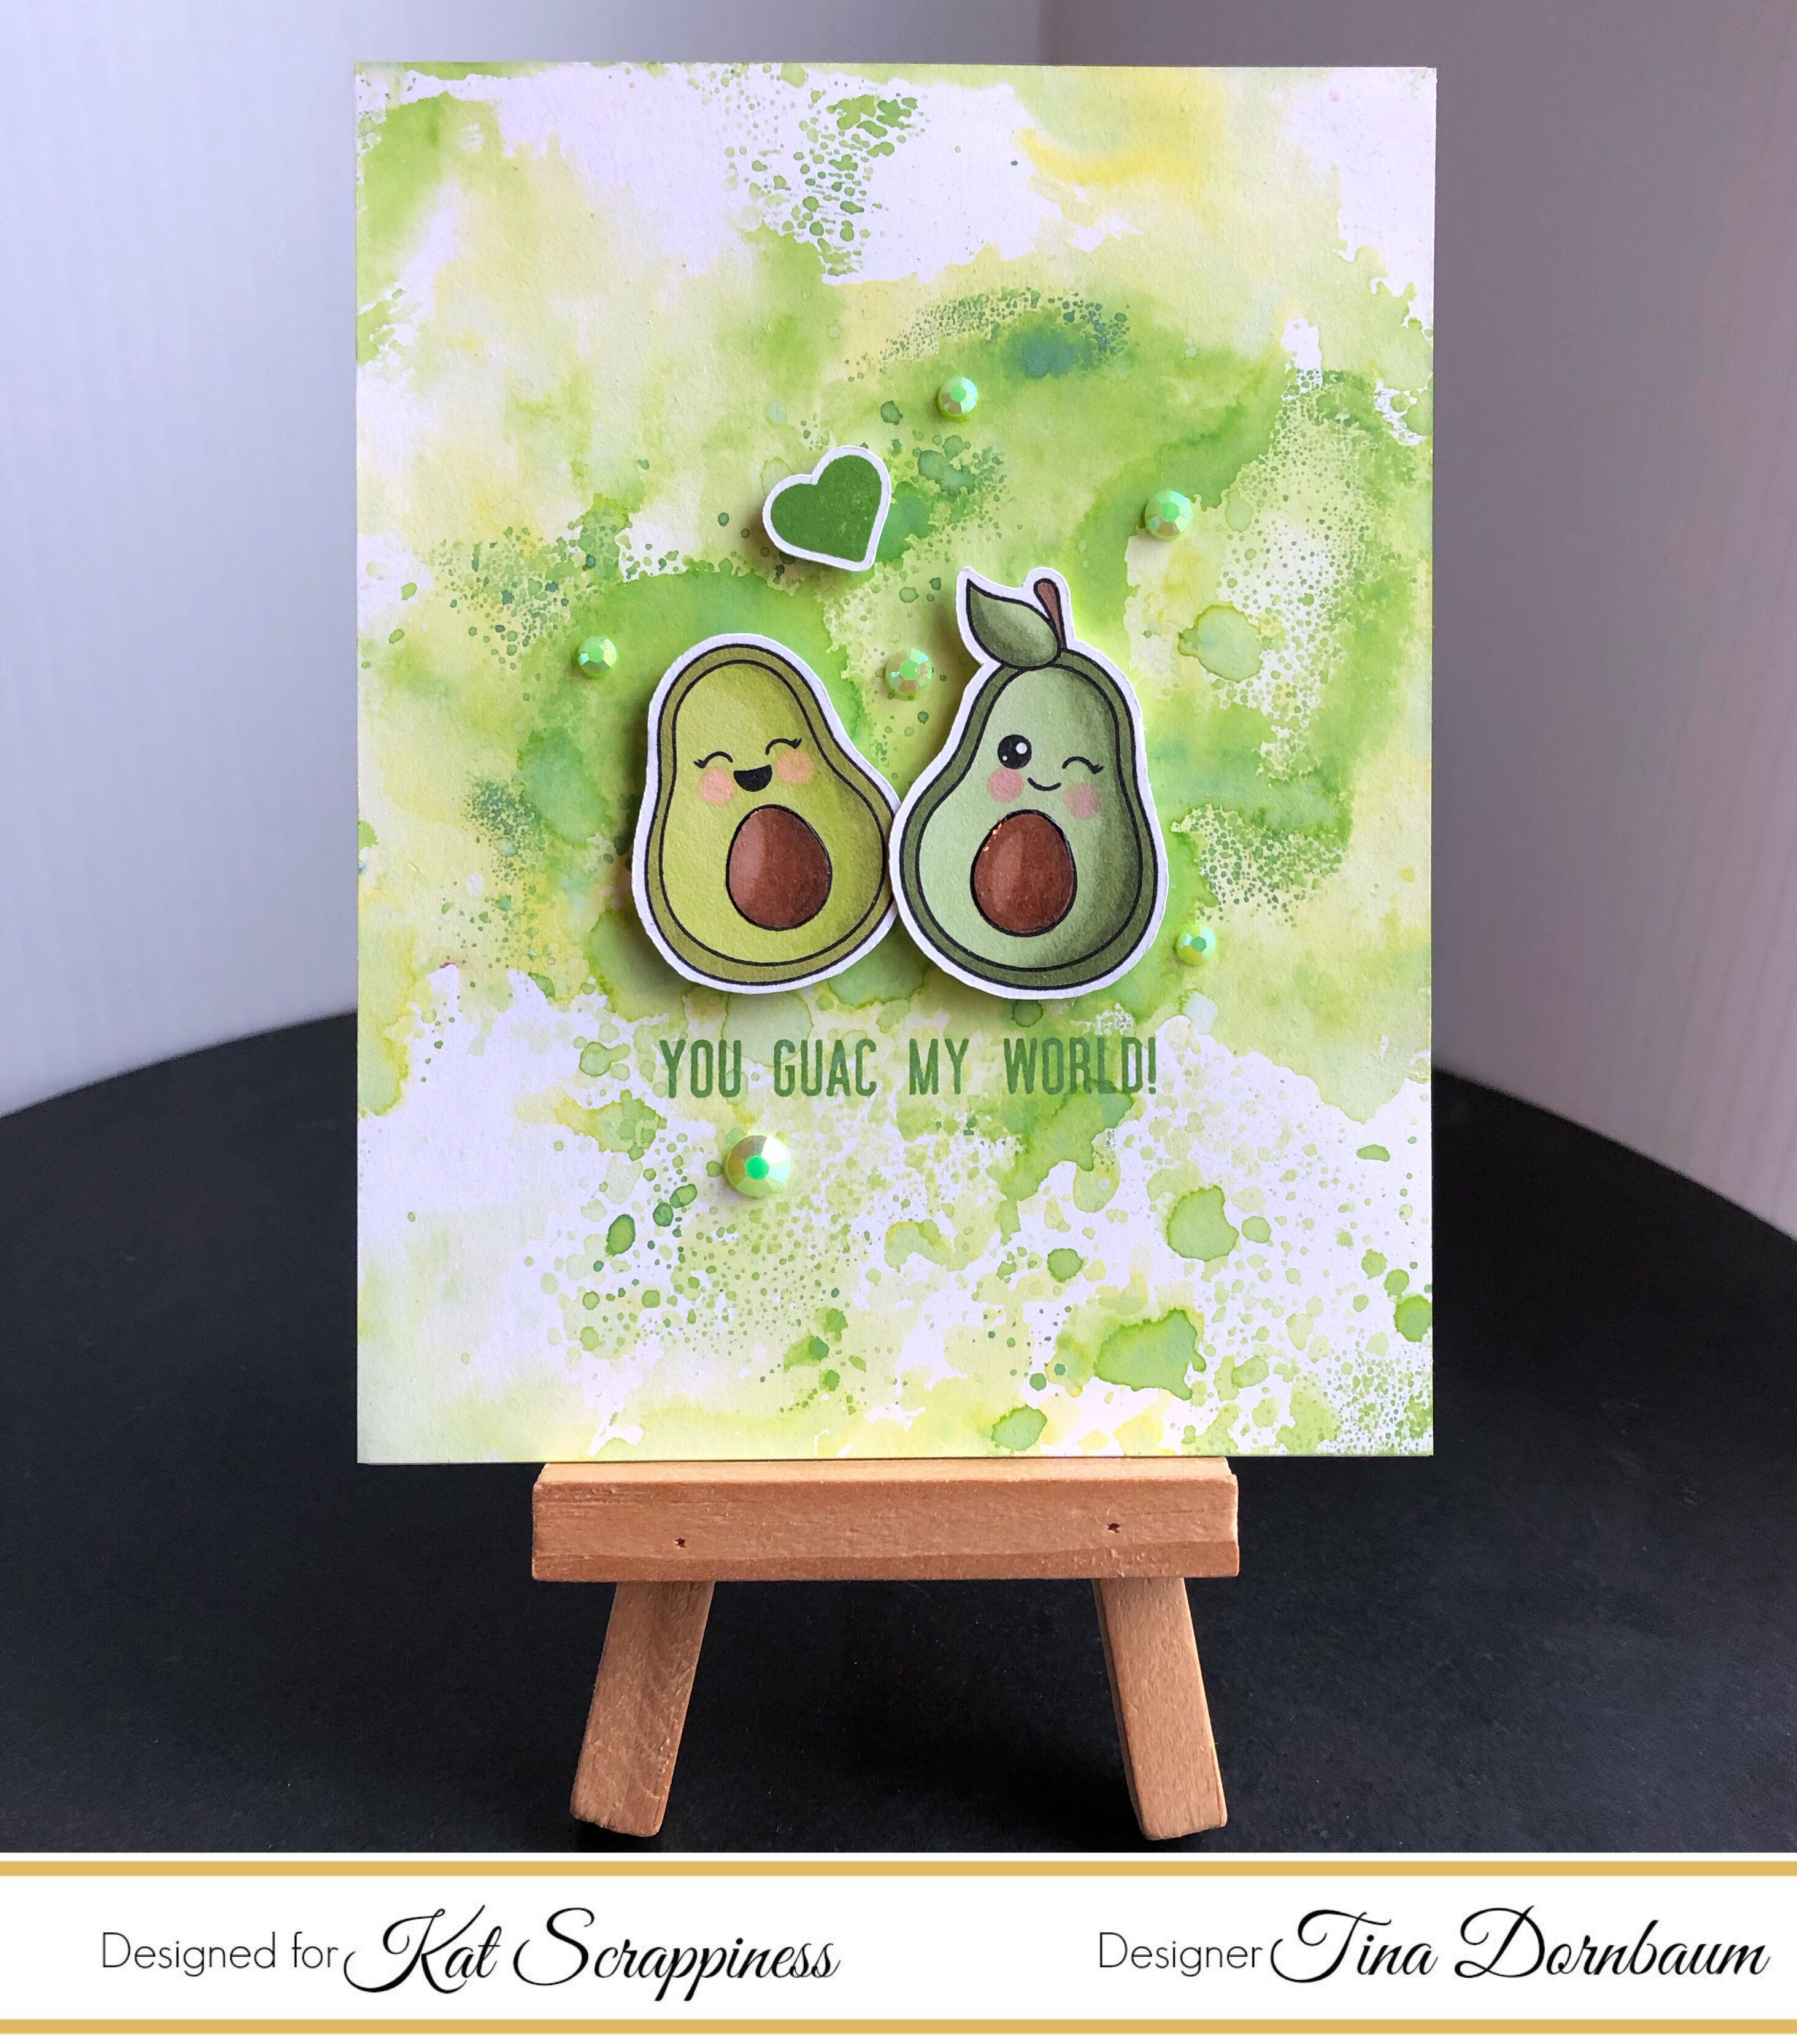
Hi Everyone, it’s Tina here. Today I am excited to share with you 2 cards using the new Foliage Frame Die which I designed. I wanted to thank Kat for having faith in my design. Below you will finds the steps used to create these cards.
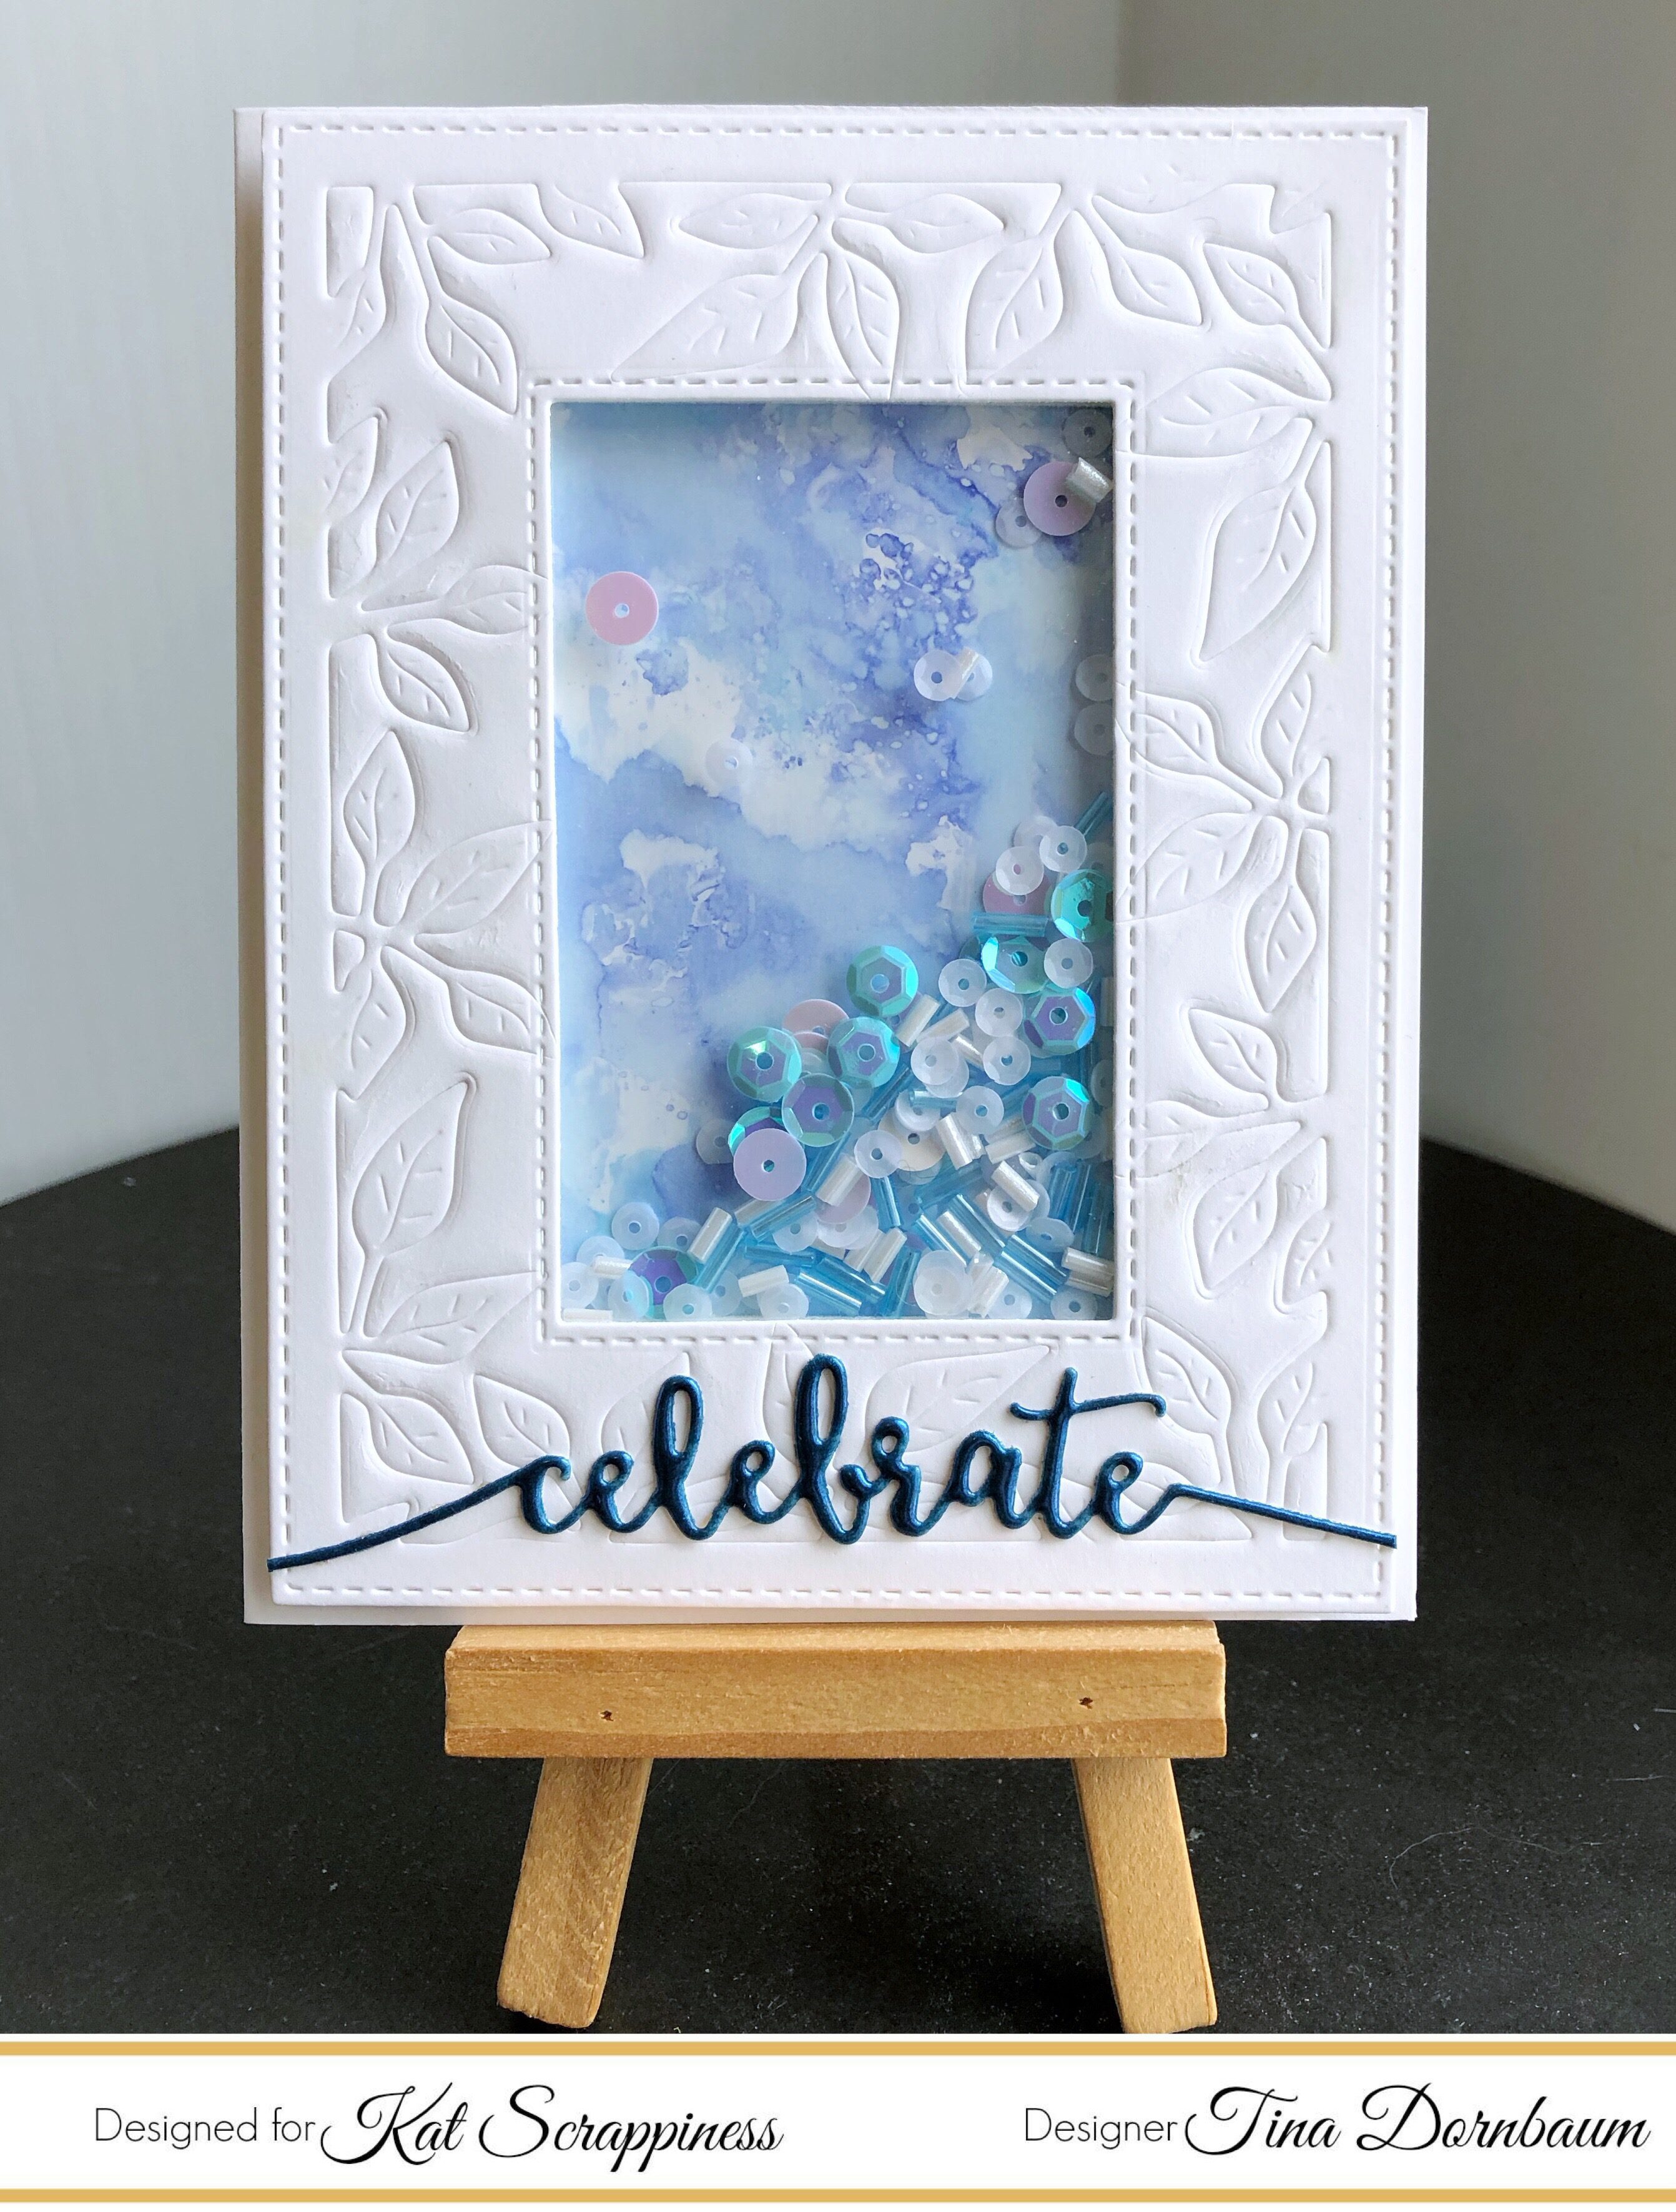
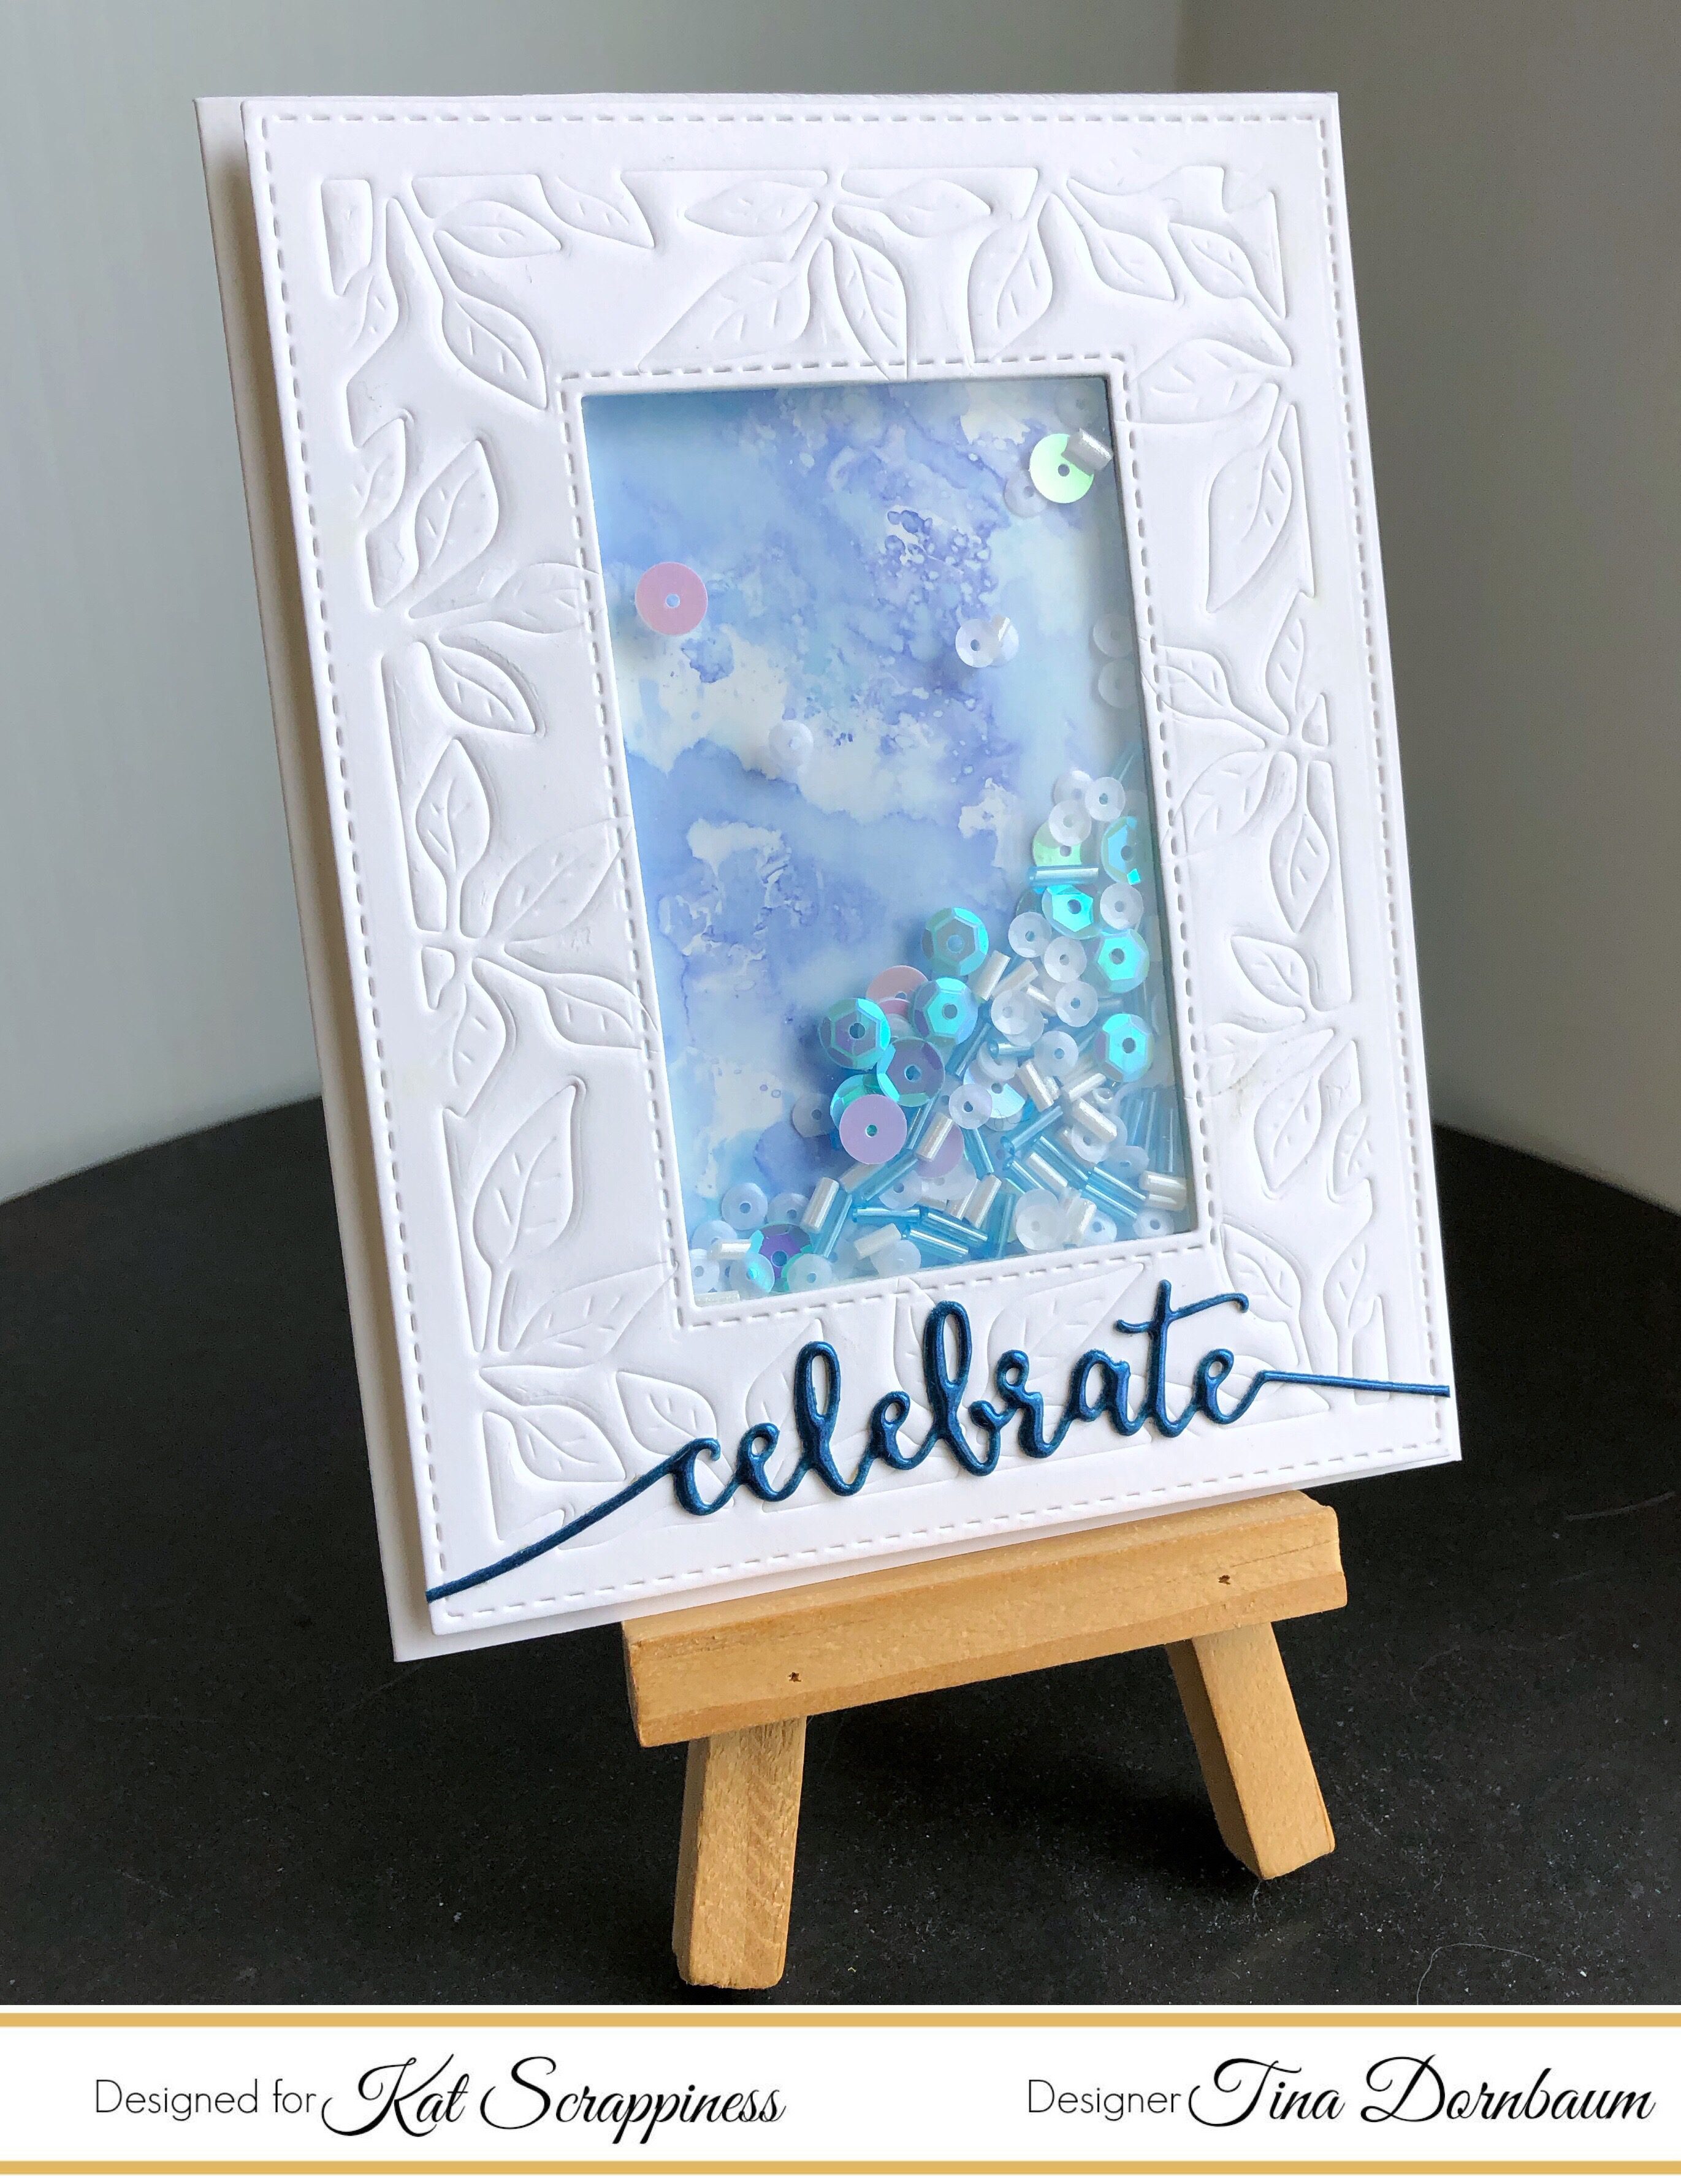
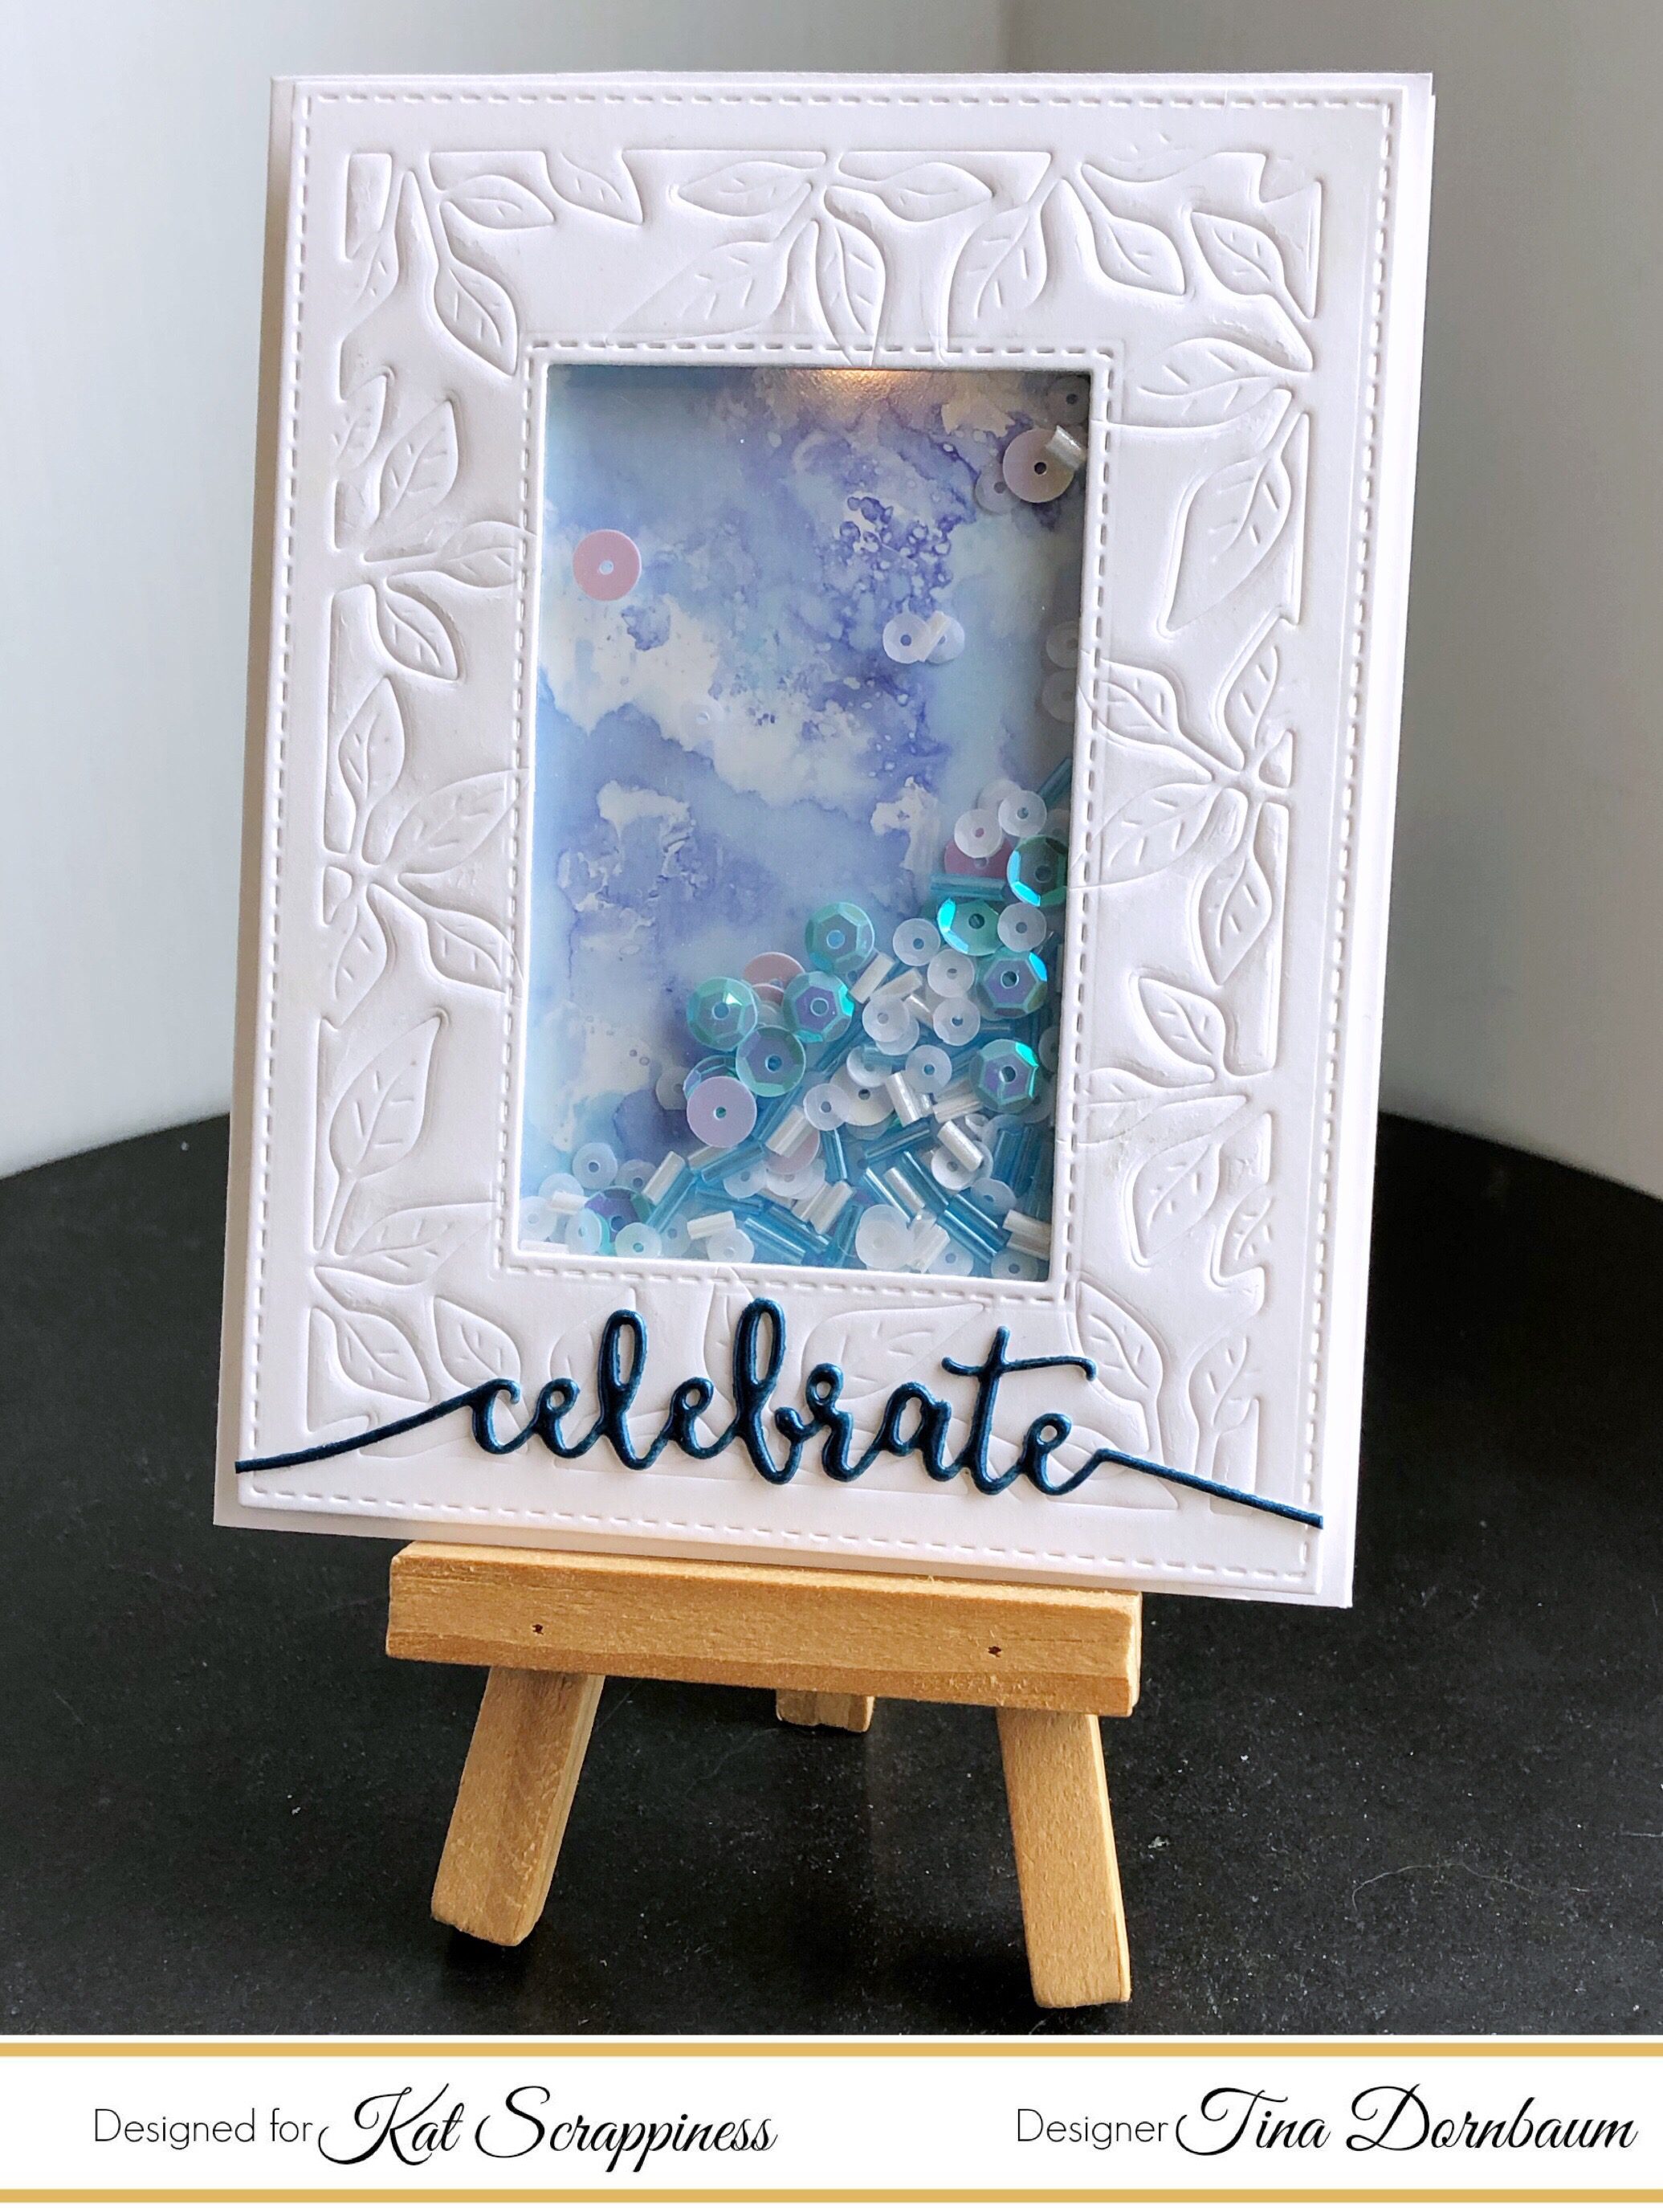
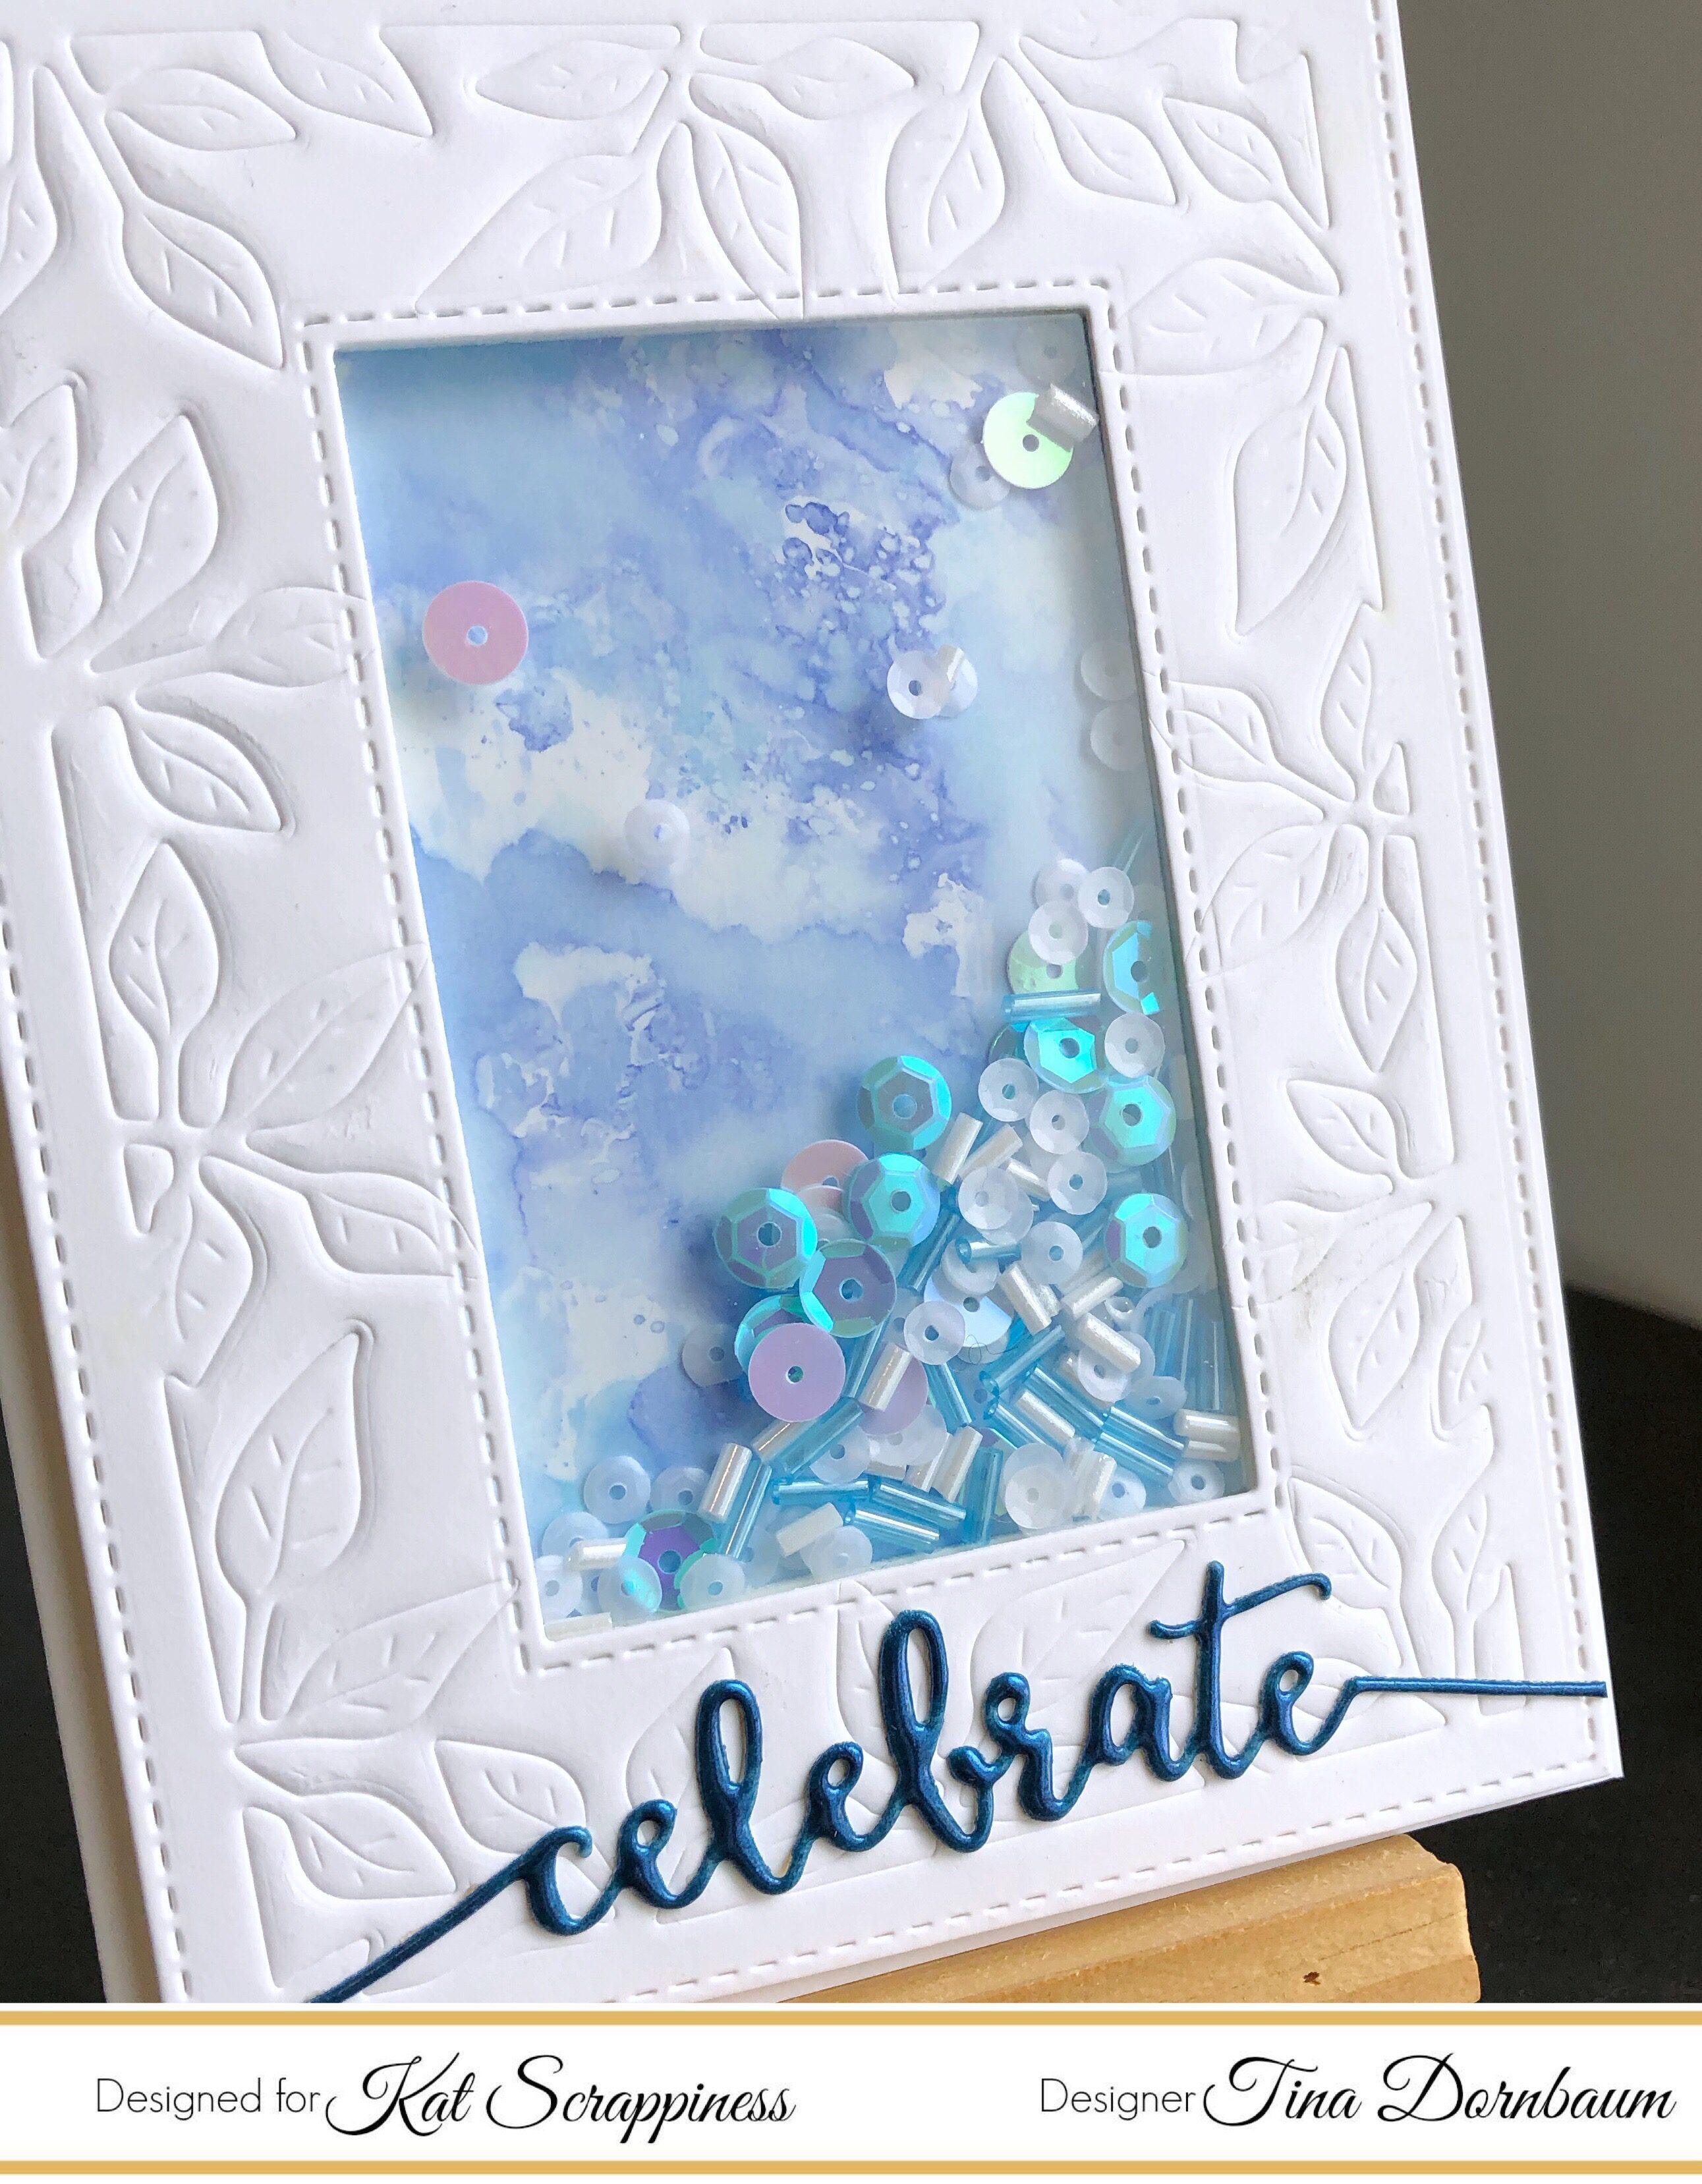
Card #1

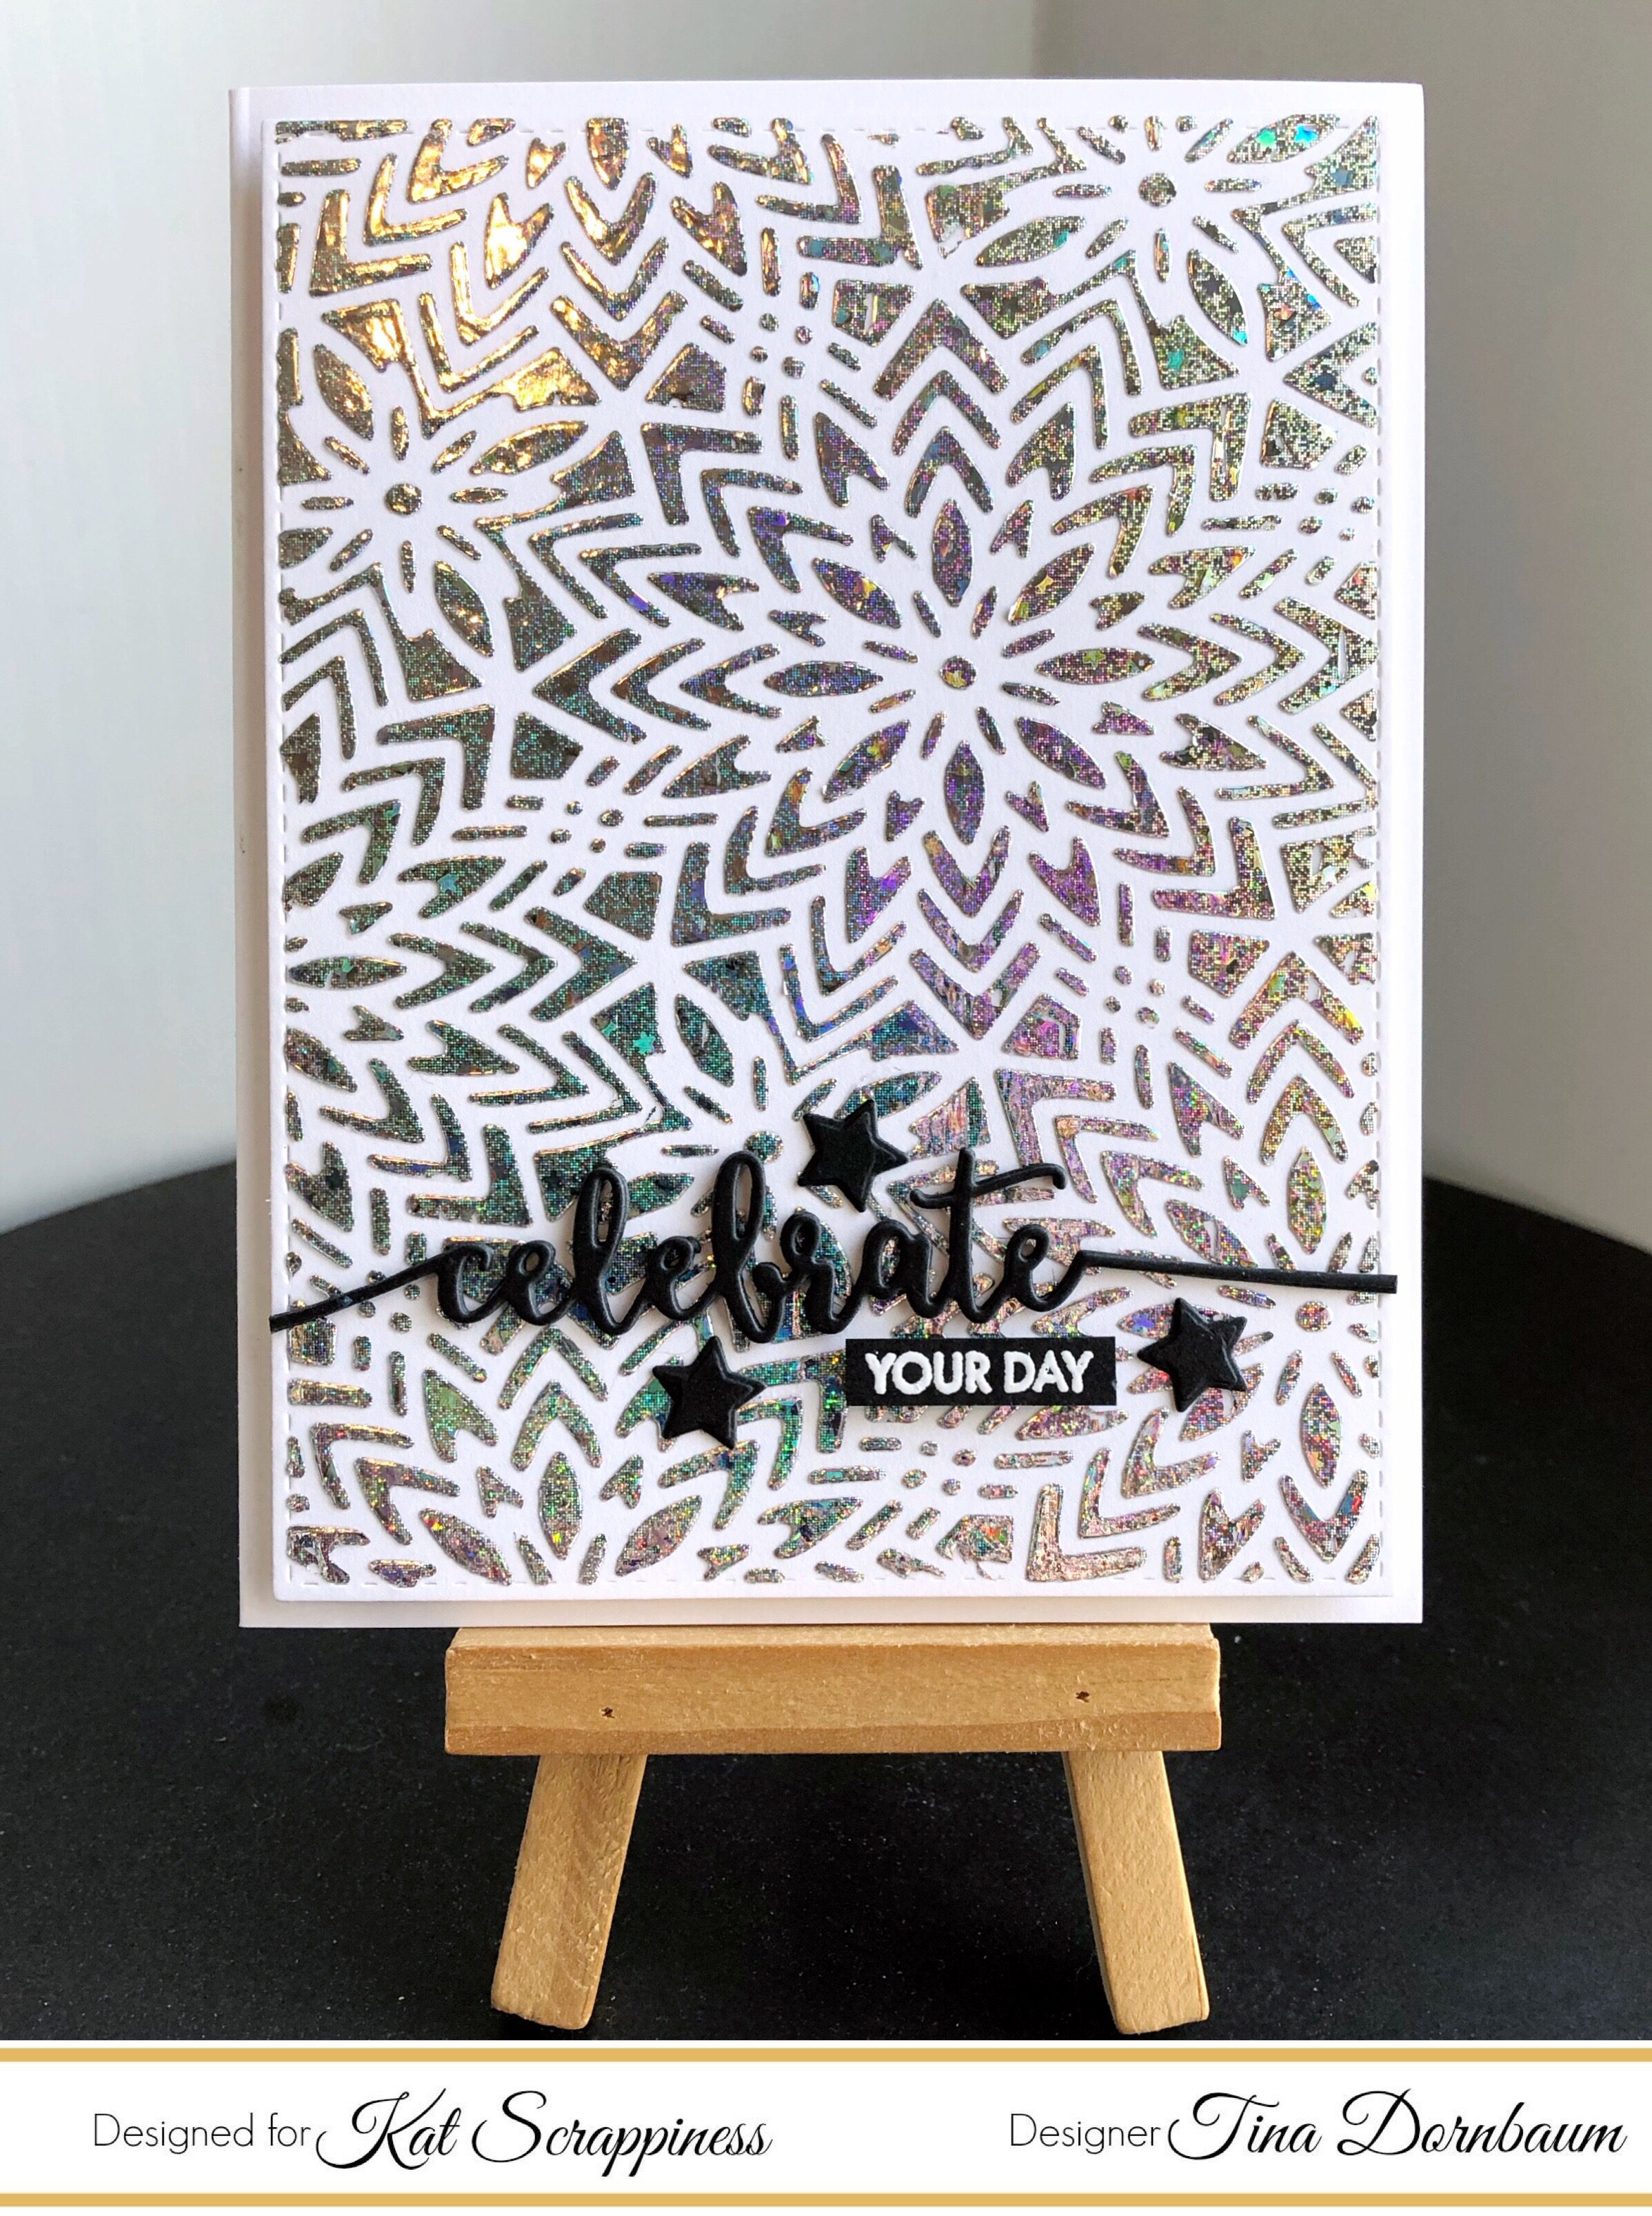
Step 1 – Trim White Cardstock to 8 1/2″ x 5 1/2″, score at 4 1/4″ and fold in half for a vertical side fold card. (A2)
Step 2 – Trim White Cardstock to 4 1/4″ x 5 1/2″. Lightly spray the cardstock, as this will prevent cracks when you emboss. Dry Emboss Foliage Frame using the slightly sprayed cardstock through your diecutting machine. Diecut Double Stitched Rectangles for the edge and another for a window.
Step 3 – Trim Acetate slightly larger than the window and adhere to the inside of panel using double sided adhesive glue. Apply foam tape around the window (2 layers). Add Fluffy Clouds Sequins Mix inside the window. Seal it with a slightly larger background panel using patterned paper or a DIY background. I created the background using Distress Oxide Inks Faded Jeans and Broken China by applying the inks on a craft mat. I sprayed it with water and dipped the cardstock, heat set it and repeated until I was happy with the design. Adhere the entire panel to the front of the card.
Step 4 – Diecut word sentiment using White Cardstock. Add versamark directly on the sentiment and sprinkle Brutus Monroe Mermaid Tail. Heat set it with a heat tool. Repeat this step 2 more times. Adhere to card using collage medium.
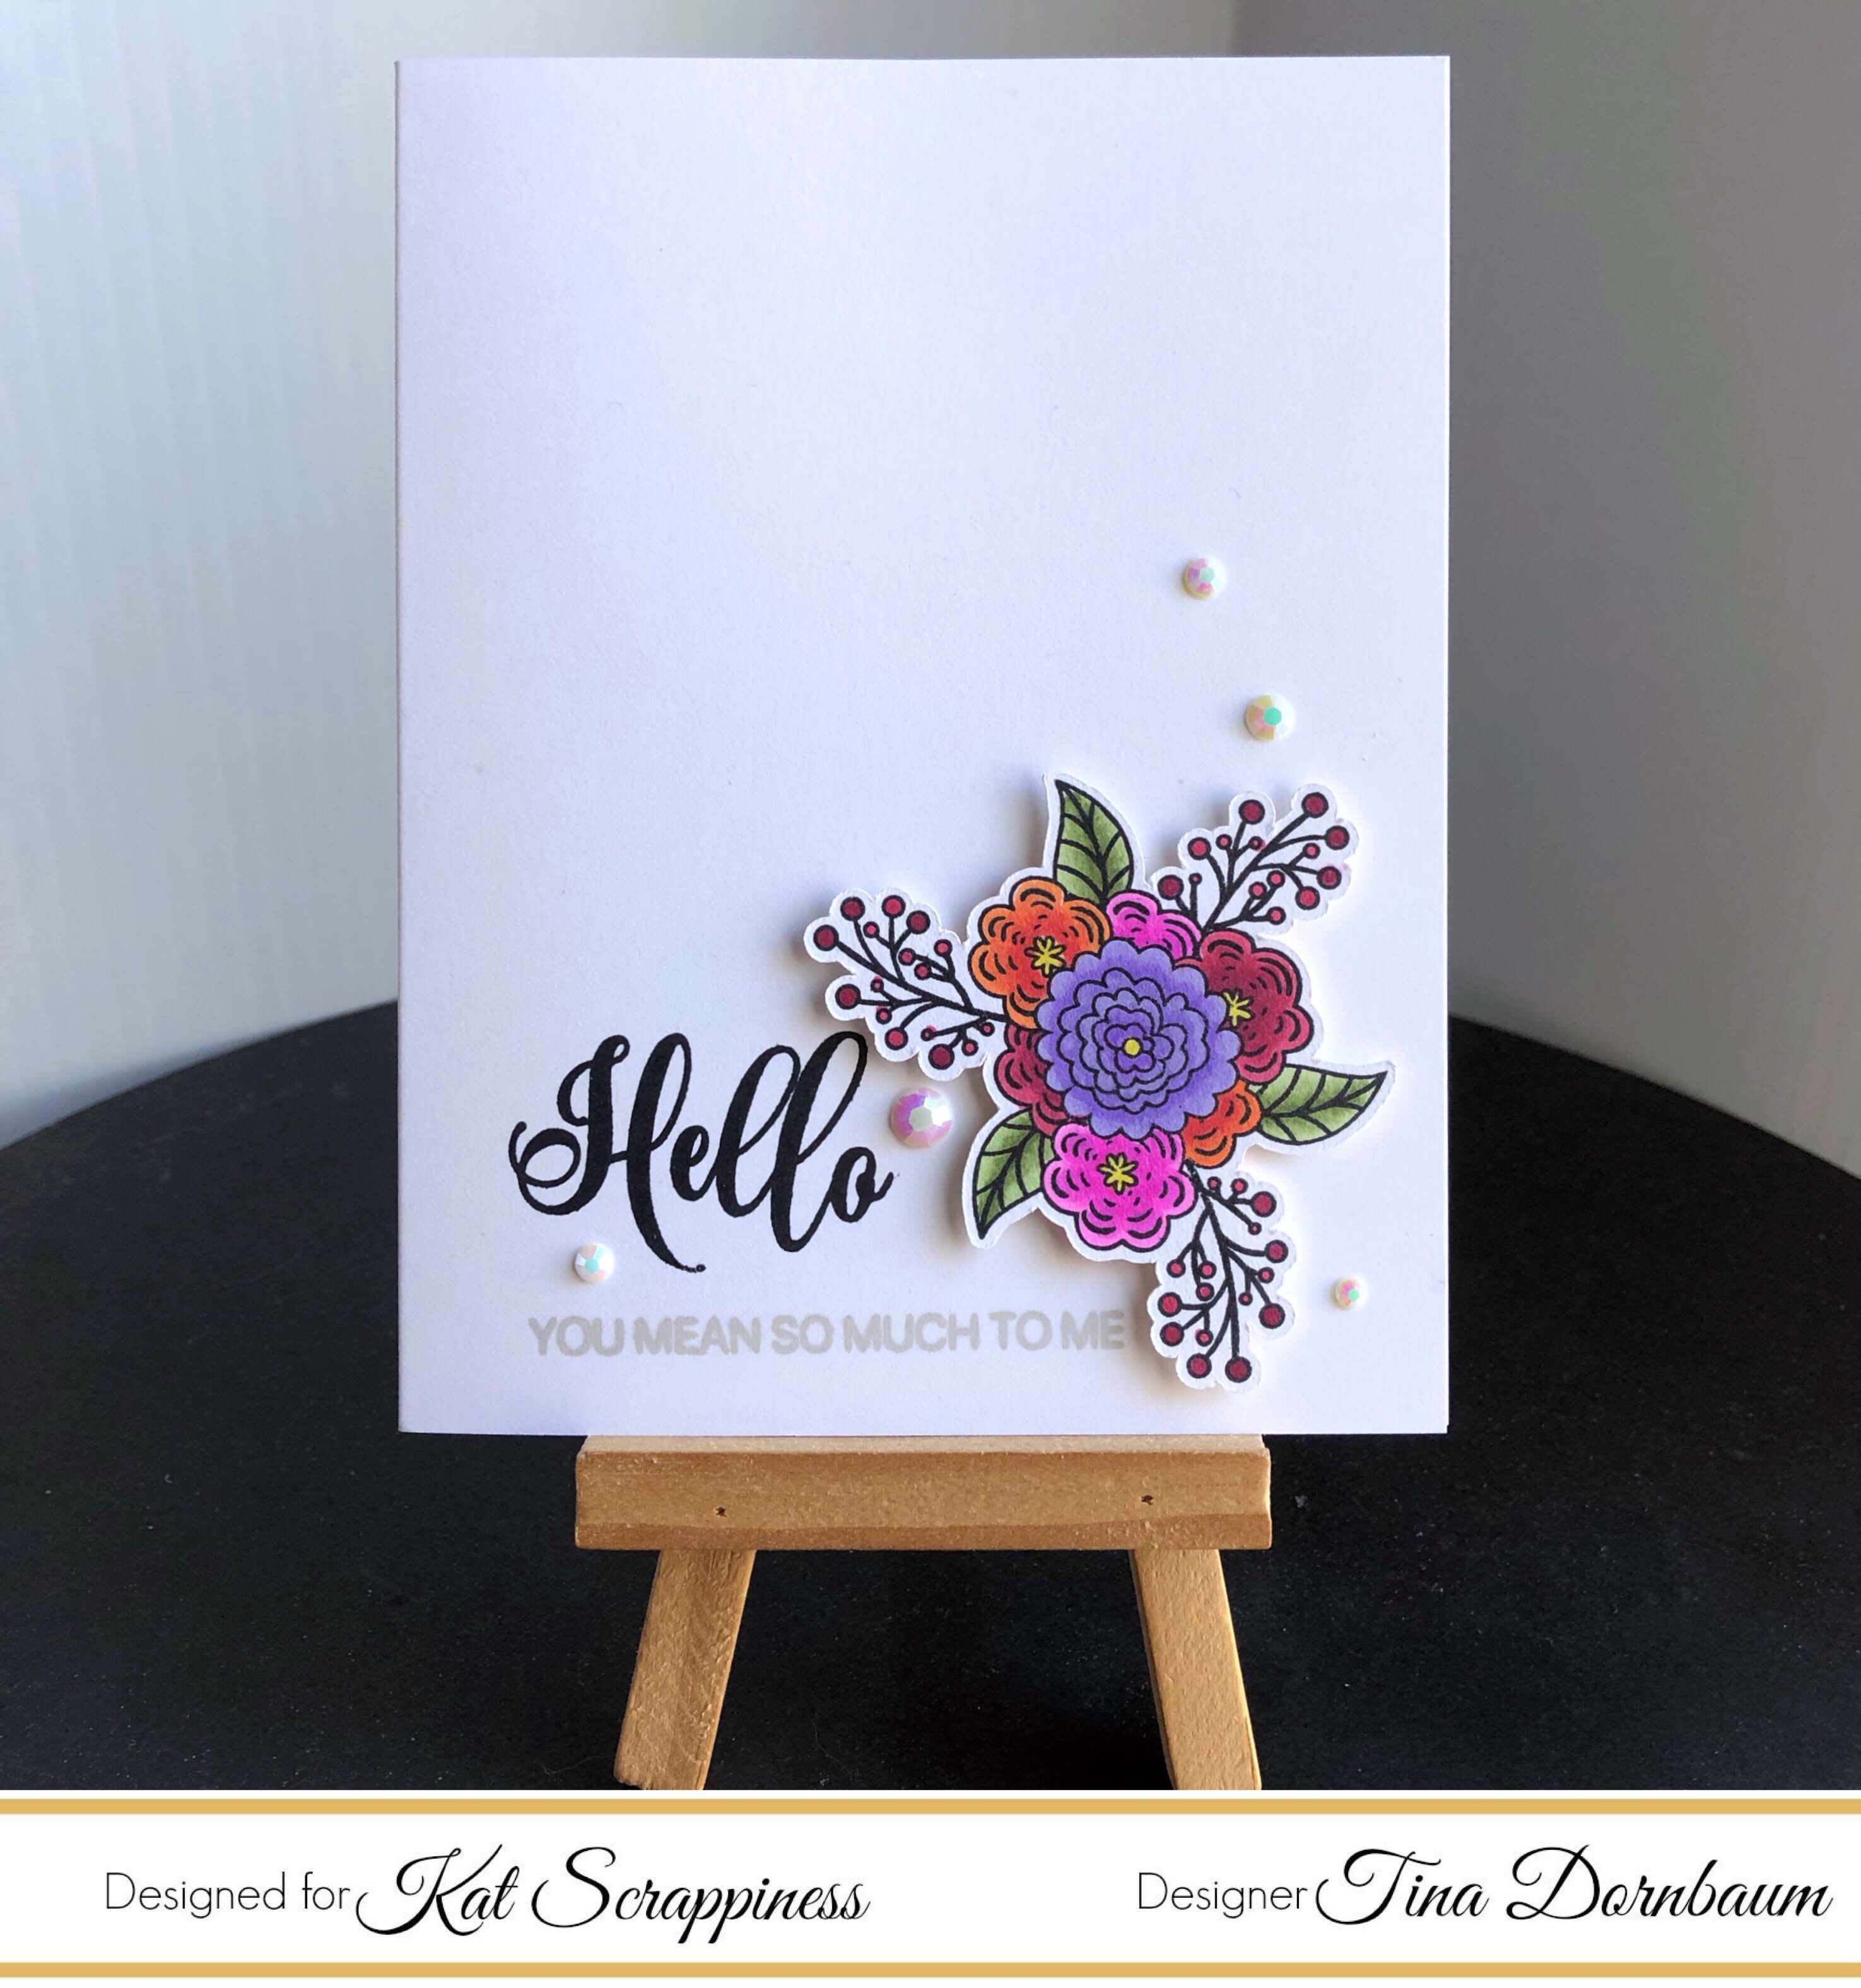
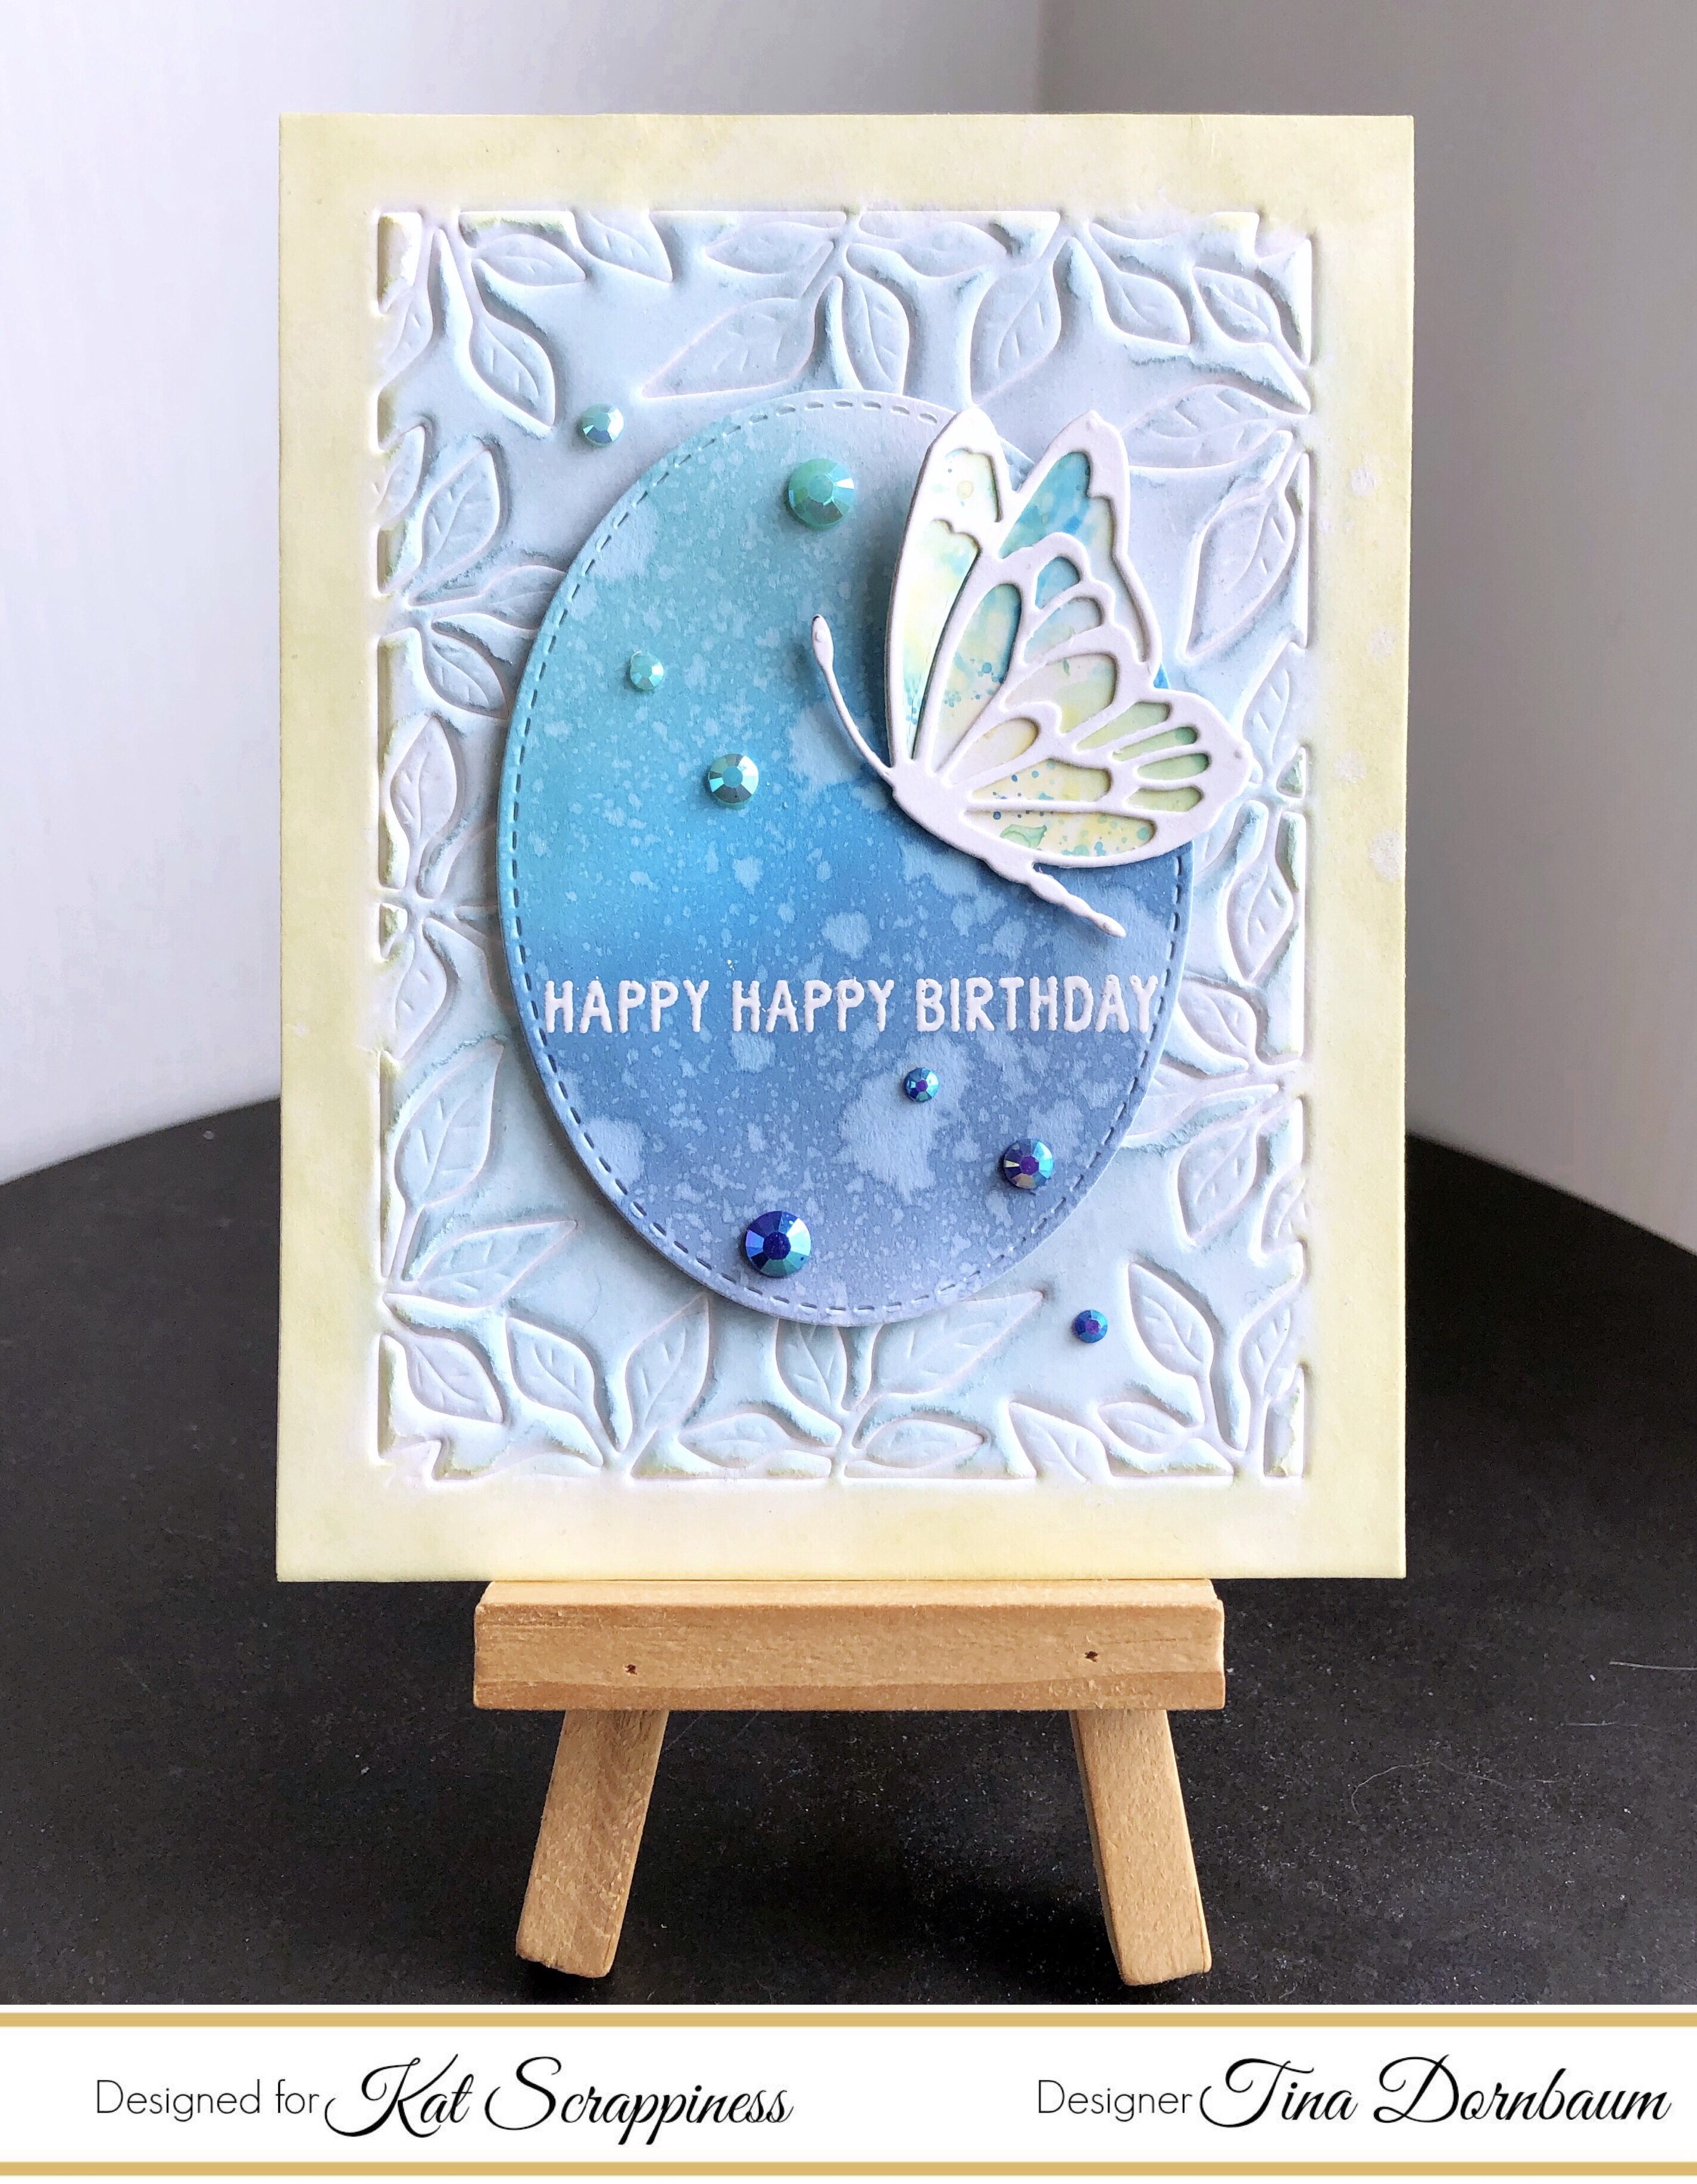
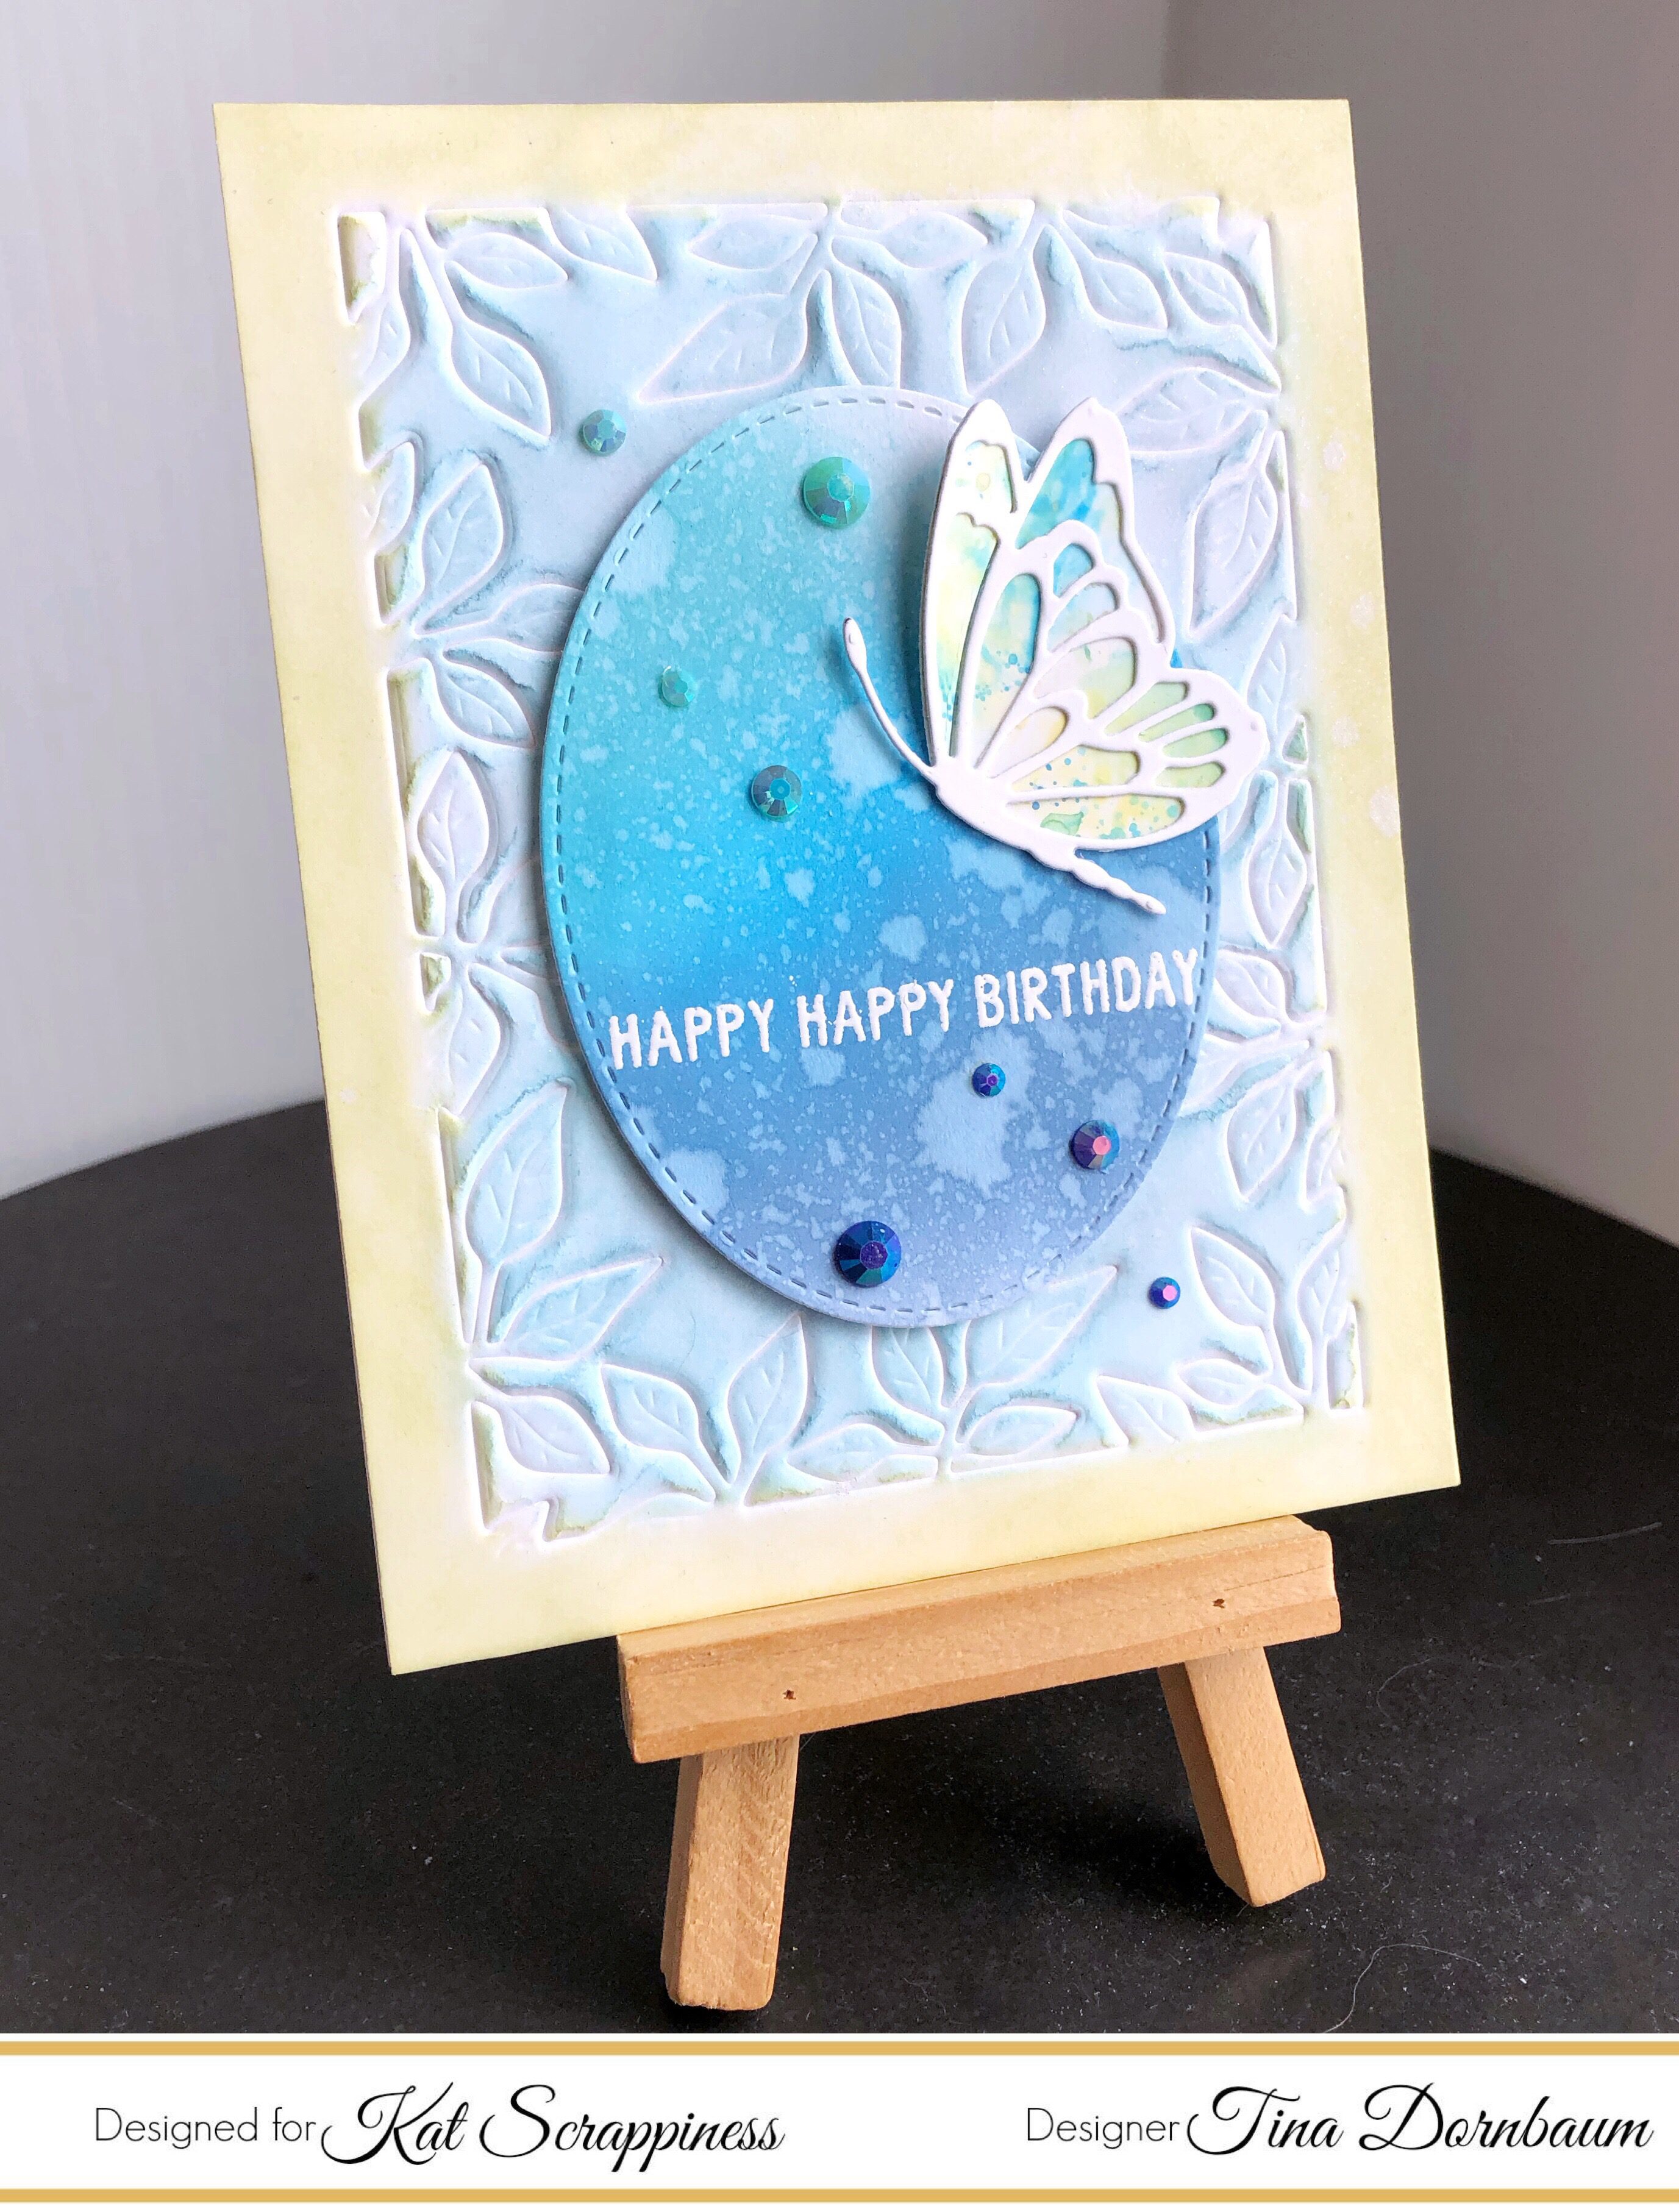
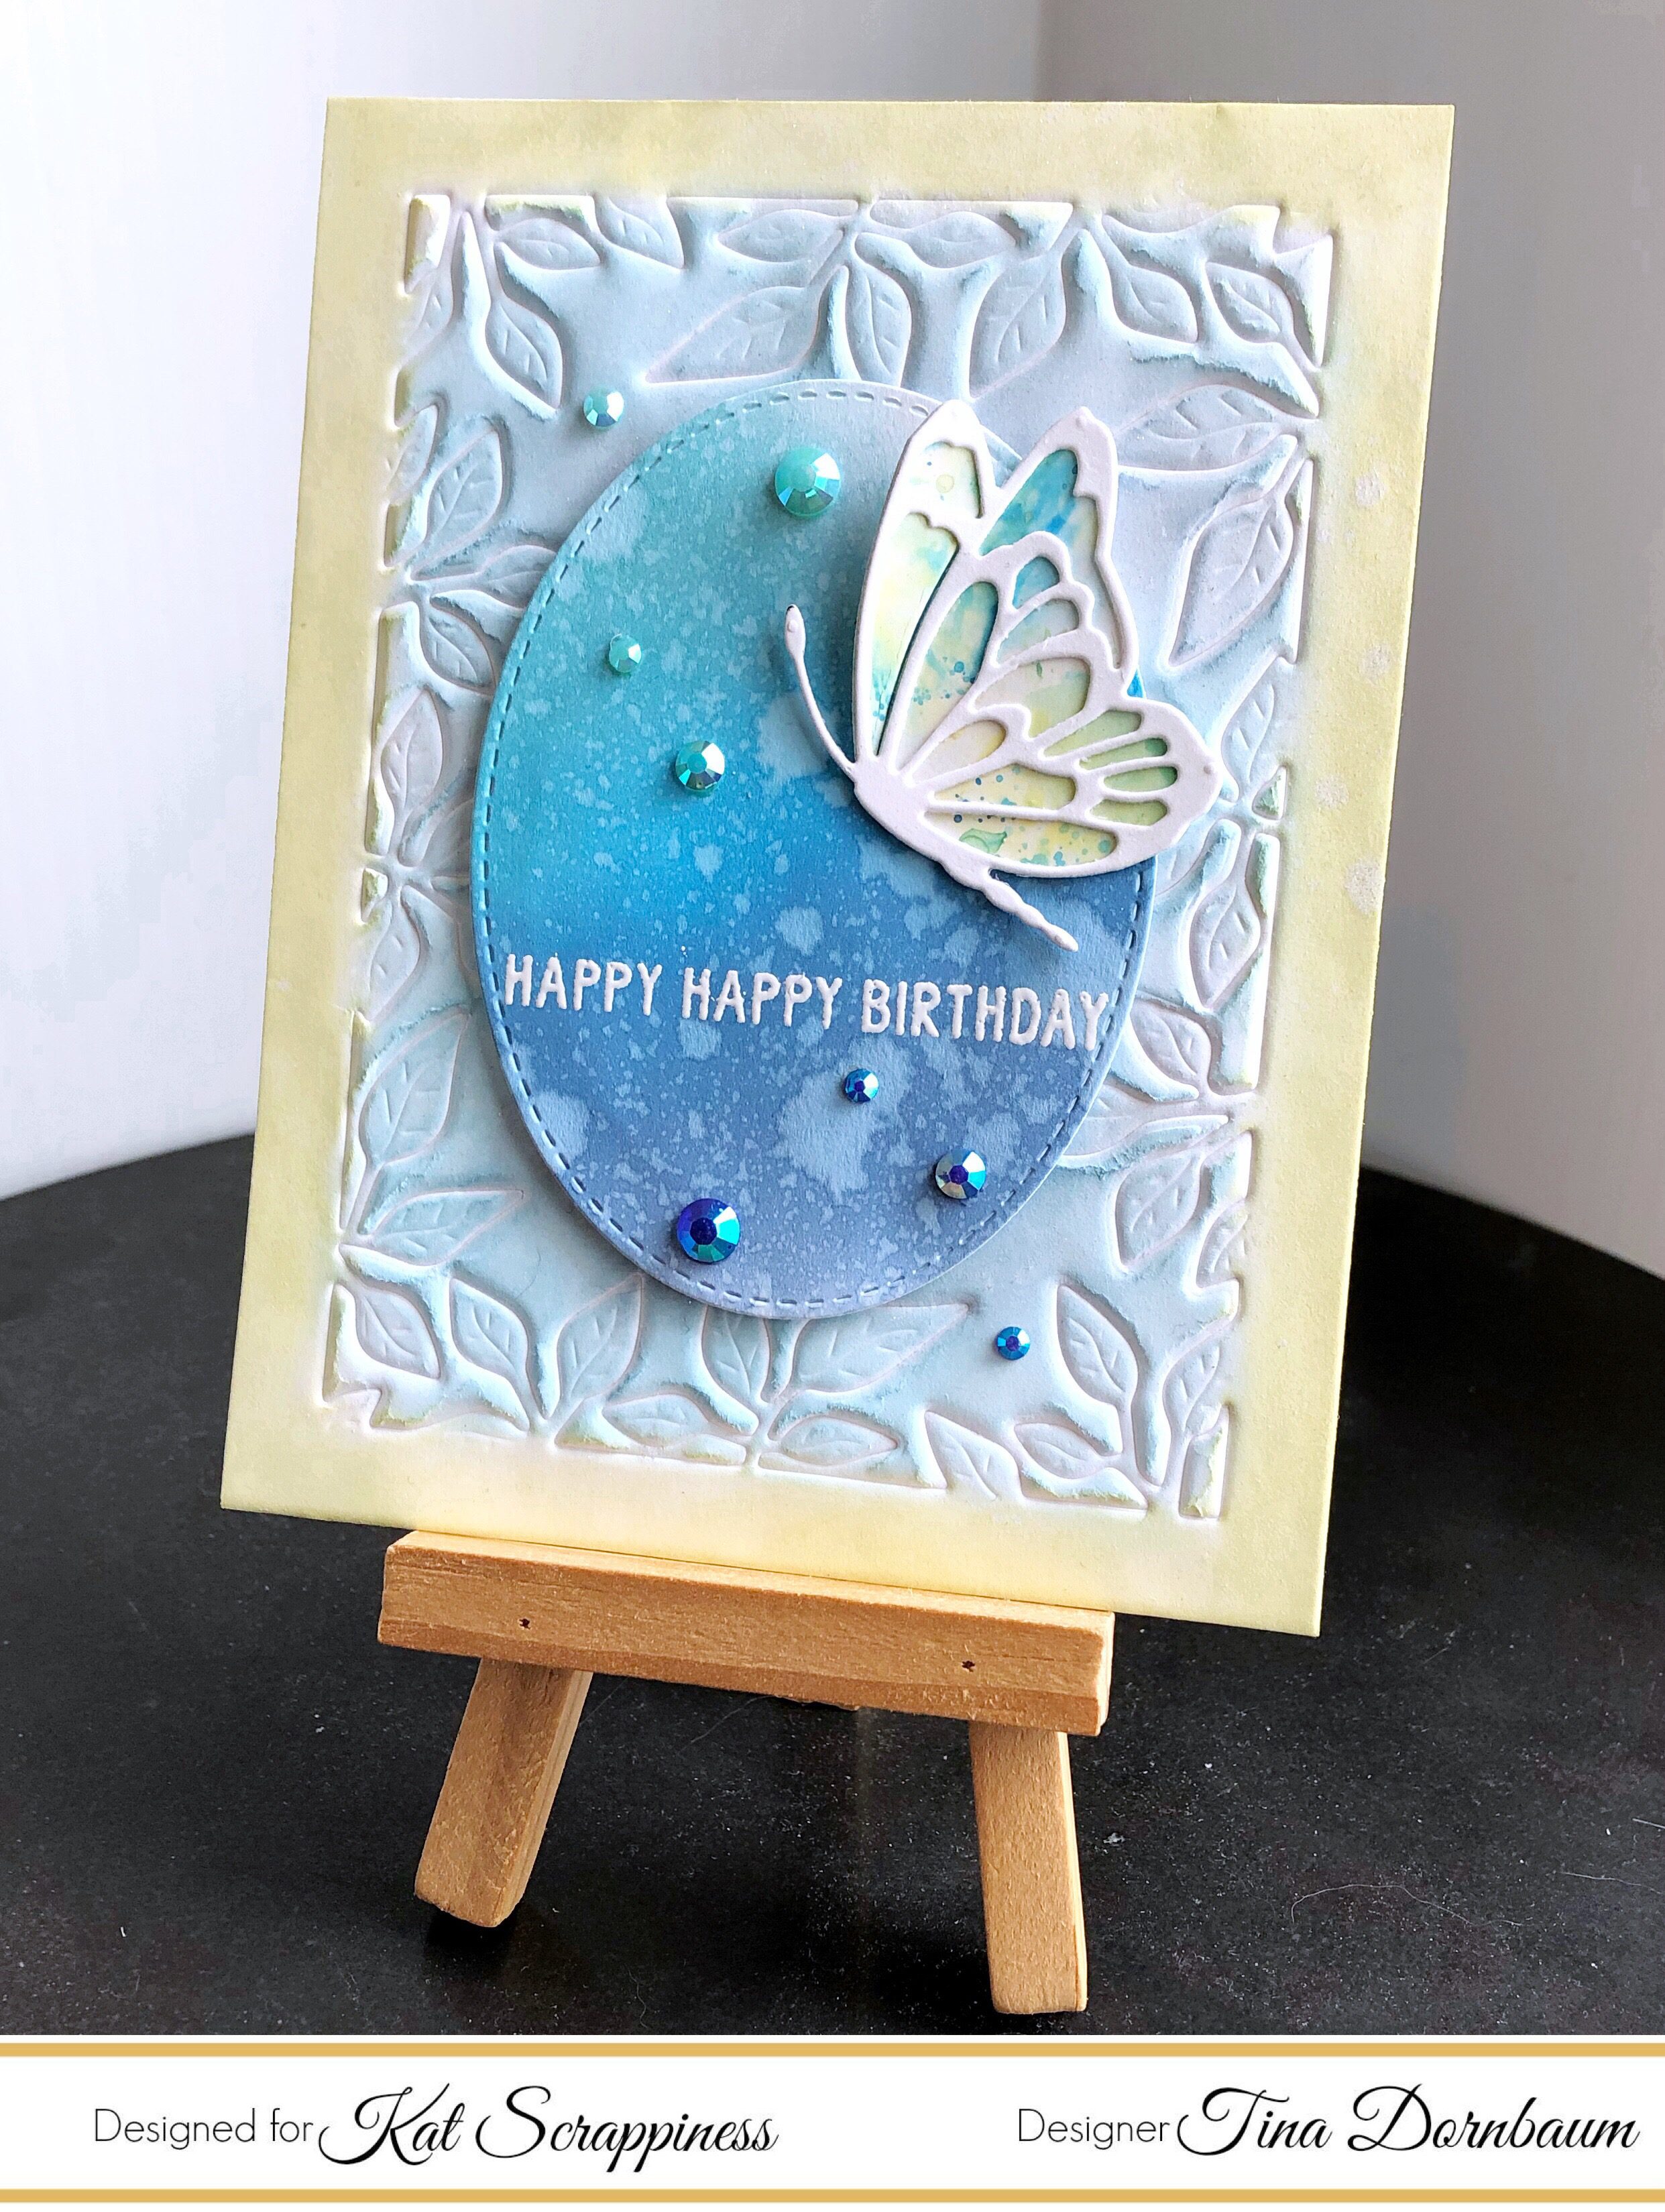
Card #2
Step 1 – Trim White Cardstock to 8 1/2″ x 5 1/2″, score at 4 1/4″ and fold in half for a vertical side fold card. (A2)
Step 2 – Trim White Cardstock to 4 1/4″ x 5 1/2″. Lightly spray the cardstock, as this will prevent cracks when you emboss. Dry Emboss Foliage Frame using the slightly sprayed cardstock through your diecutting machine. Apply Distress Oxide Ink using an ink applicator. I used Squeezed Lemonade for the edge and worked in Tumbled Glass to the center. For added interest and sparkle I sprayed Shimmer Spritz. Let dry.
Step 3 – Create a background on scrap piece of White Cardstock. I applied Distress Oxide Inks Faded Jeans, Broken China and Cracked Pistachio on a craft mat. I sprayed it with water. I dipped the cardstock into the ink and heat set. I repeated this step until I was happy with the background.
Step 4 – Diecut Double Stitched Ovals using the background created from Step 3. Stamp sentiment using Versamark towards the bottom of the diecut background. Sprinkle White Embossing Powder. Heat set it with a heat tool. Adhere the panel to the front of the card using foam tape.
Step 5 – Diecut Flitter Side Butterfly using White Cardstock to the Detail die and Patterned Paper or DIY background to the Solid die. Assemble the butterfly using collage medium and adhere to card.
Step 6 – For added interest and sparkle adhere Teal and Dark Blue Jewels using a Crystal Katana and adhering it with collage medium.
These cards can be used for any occasion by changing the colors, diecut images and sentiment. Below is a link to all the products used. To receive 10% off your next order use code: TINA10 at checkout. Thank you for stopping by and have a wonderful day.
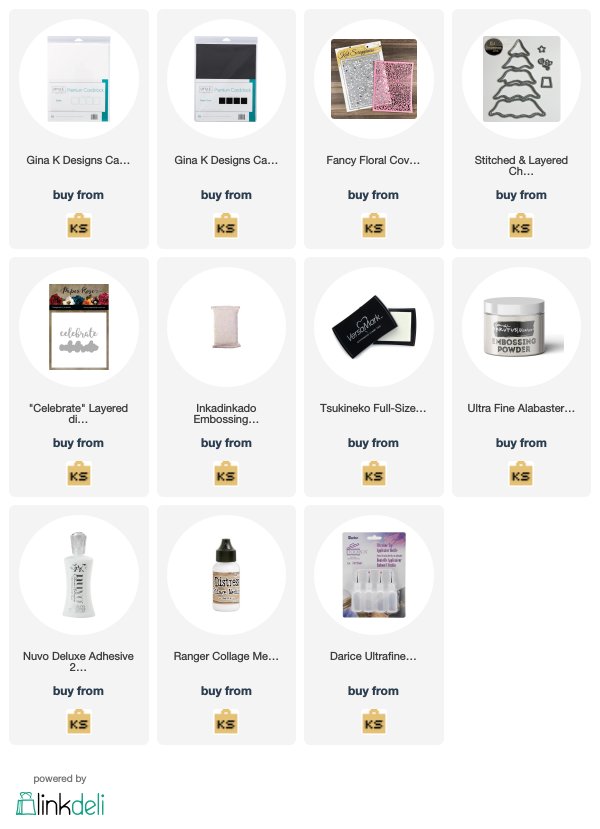
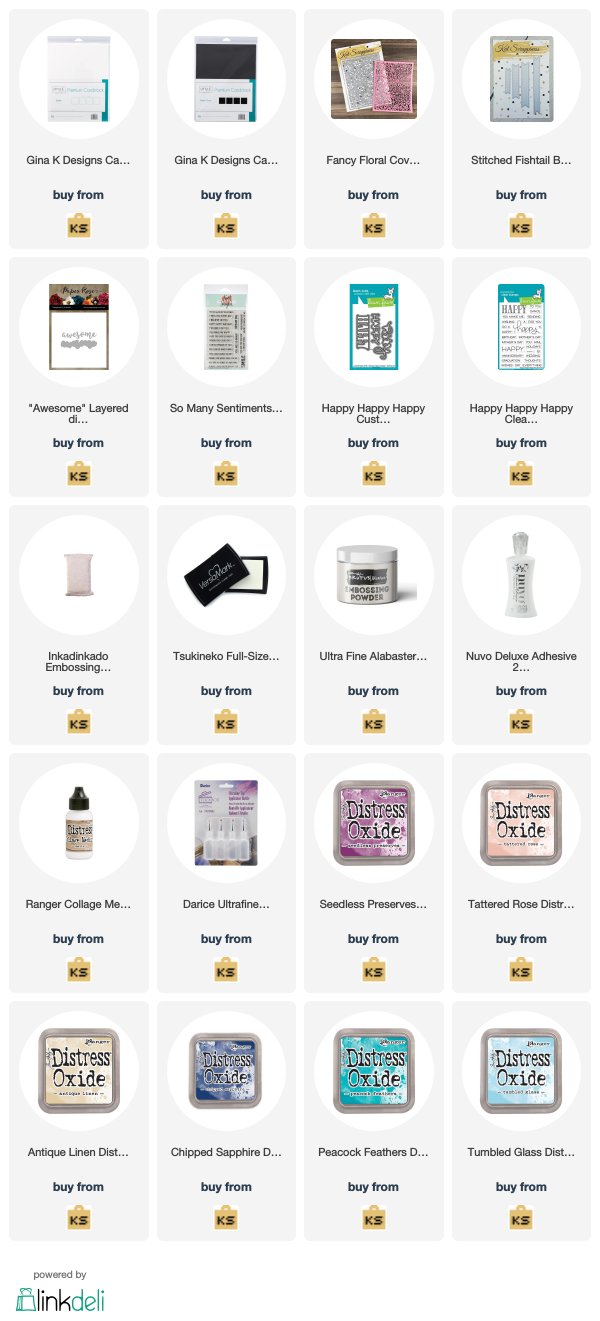
Products Used:
https://linkdeli.com/widget.js?1542972592847