Tag: birthday quokkas

  • Easy Cardmaking – Make a Happy Birthday Shaker Card using Die Cuts!

    Easy Cardmaking – Make a Happy Birthday Shaker Card using Die Cuts!

    Hello my Crafty Friends!

    Angelique Vuur here, one of Kat’s creative makers! From now on, you will see me here monthly with a new card. I hope you all will like what I show you! I always love to read your comments, and please let me know if you’d like to see a particular project.

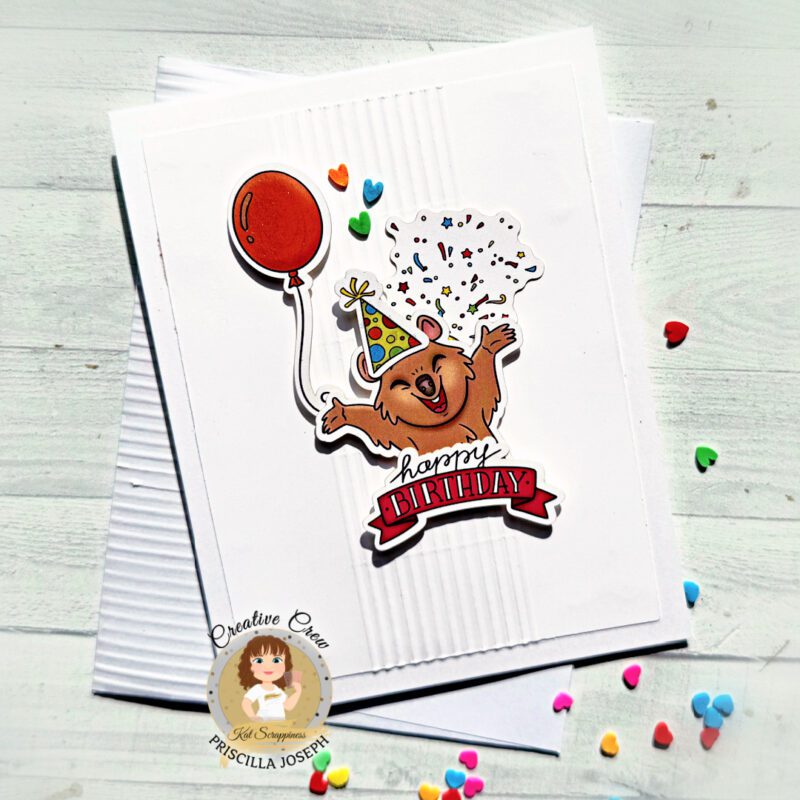
    Now back to the card! We all have those moments, when you need a birthday card but don’t have one in your stash. well, I’ve got you covered with an easy card, made with the new Kat Scrappiness Card Builder Dies

    🧰 Kat Scrappiness Supplies Used

    • Card Builder craft dies 1
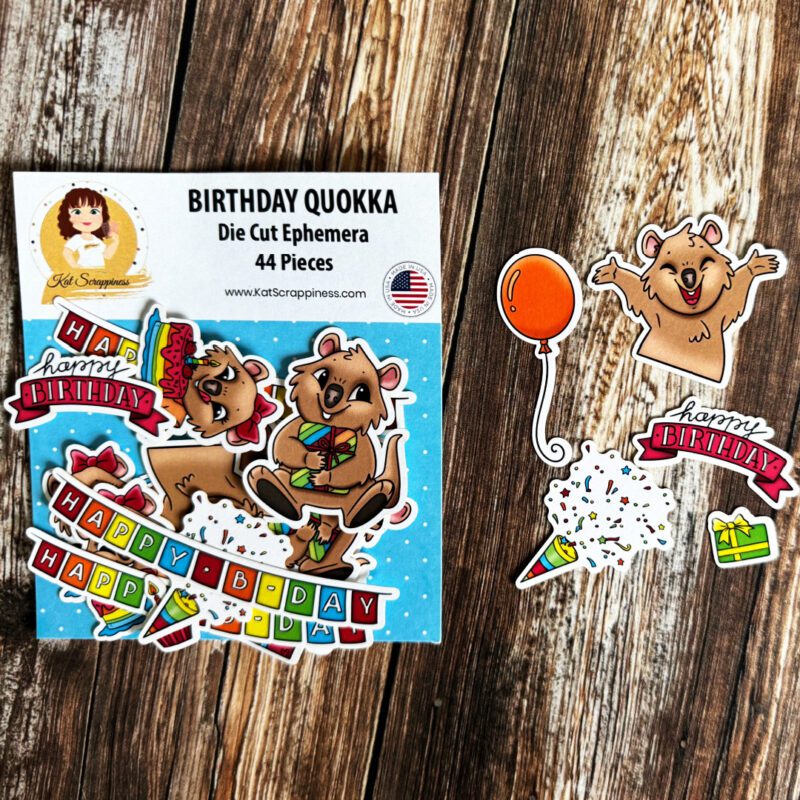
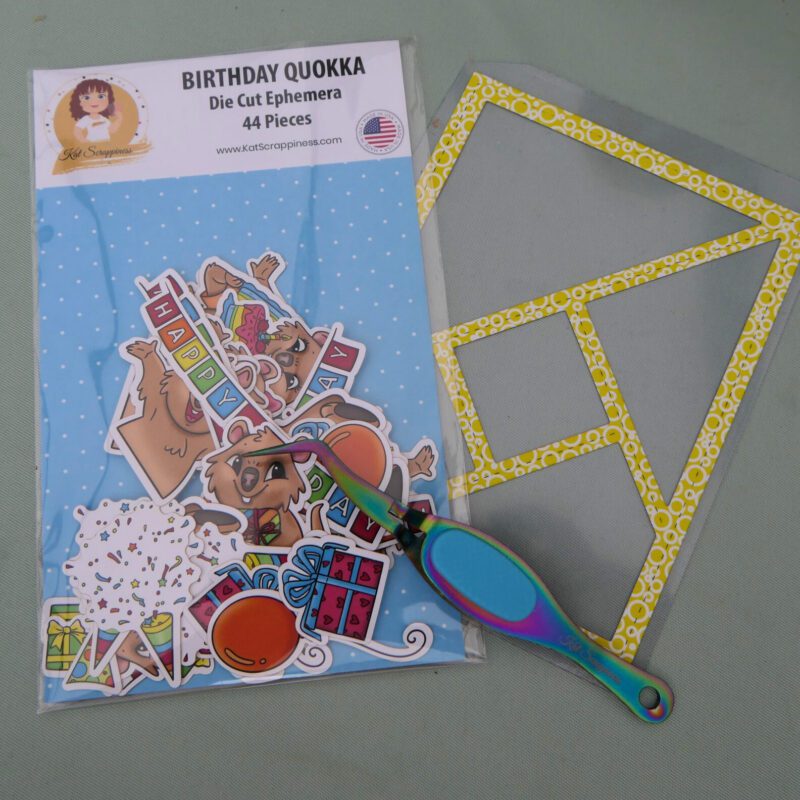
    • Birthday Quokka 6×6 paperpad
    • Birthday Quokka Ephemera Pack
    • Glitter Sequin Mix – Peacock Blue
    • Silver Bullet Shaker Dots

    📋 Card Details:

    • I mostly make 5×7 inch cards, because I like the extra border around. So a 5×7 side-folding cream card, but you also can use an A2 side-folding cream card base. By this last option you don’t have the extra border.
    • Using the new Kat Scrappiness Essential Card Builder Dies 1, with the yellow cardstock with bubbles from the paperpad, created a frame for the shaker front.

    • Die cut again a frame with this die on a yellow cardstock.
    • Adhered the normal yellow frame to the red cardstock out of the paper pad.

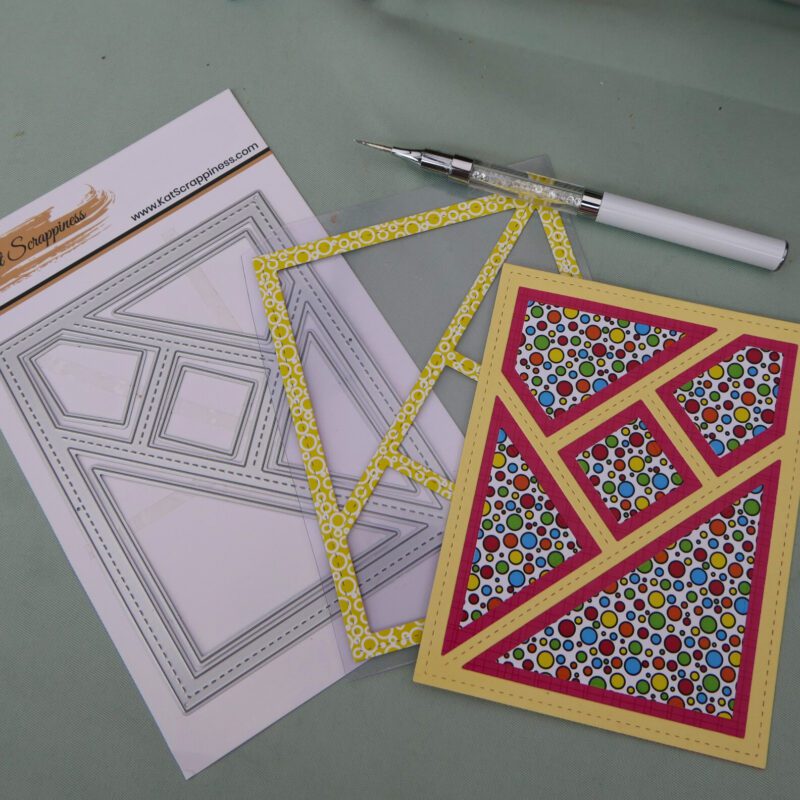
    • For an extra festive look, I die cut again on a cardstock with colored circles out the paper pad, but this time with the little pieces within the frame.
    • Adhered these pieces on the red cardstock, being the background of the shaker.
    • Furthermore, I adhered a piece of clear acetate behind the yellow frame with the bubbles, being the front of the shaker.
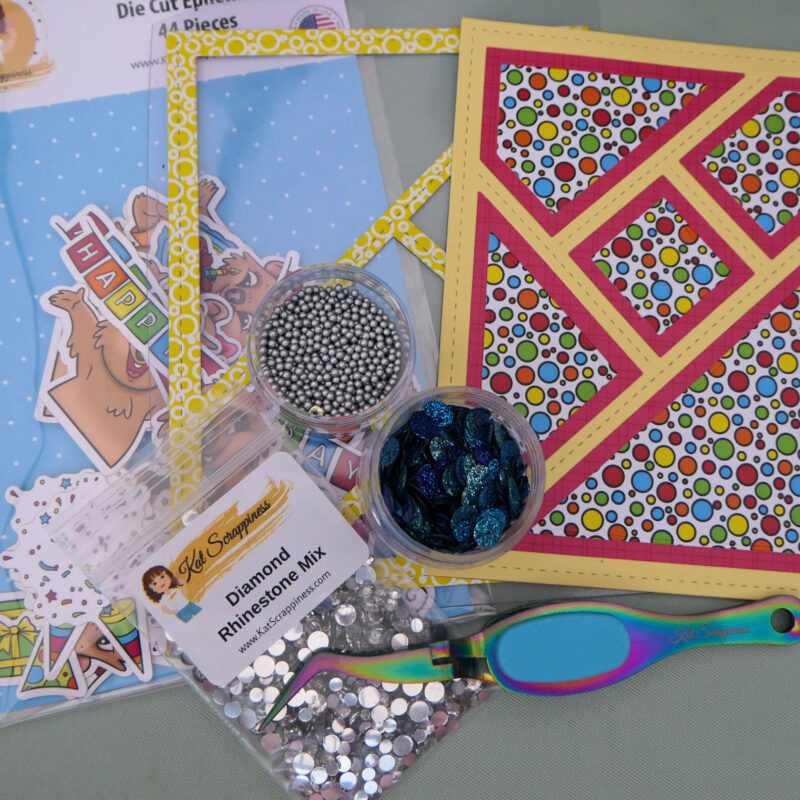
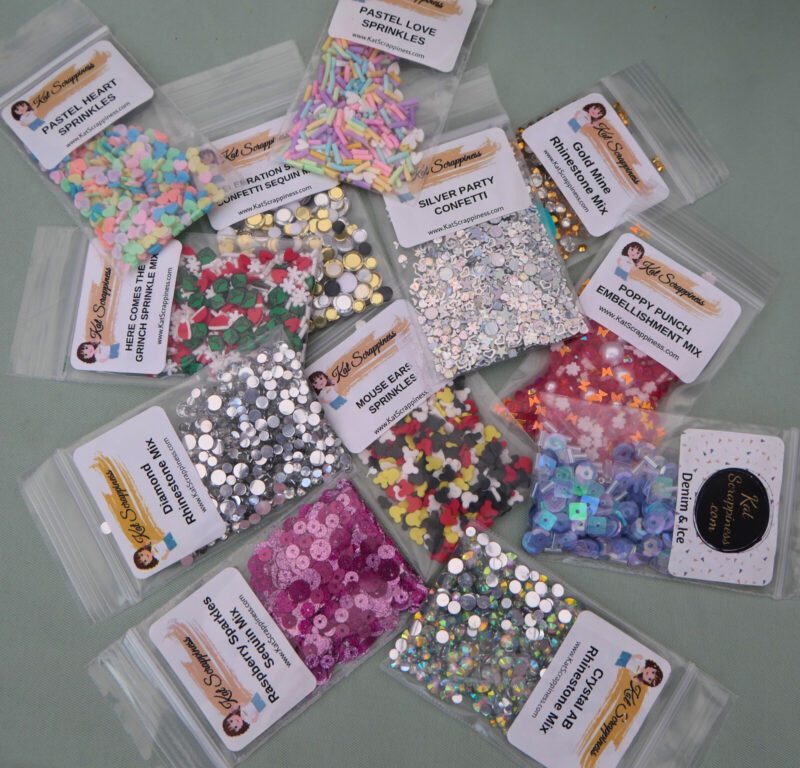
    You can fill up the shaker with shaker bits of your choice. Kat Scrappiness has a HUGE assortment with all kinds of shaker bits. Don’t forget to look on the website by Embellishments!

    • Adhered the front of the shaker to the foam tape. And the shaker part itself is done!

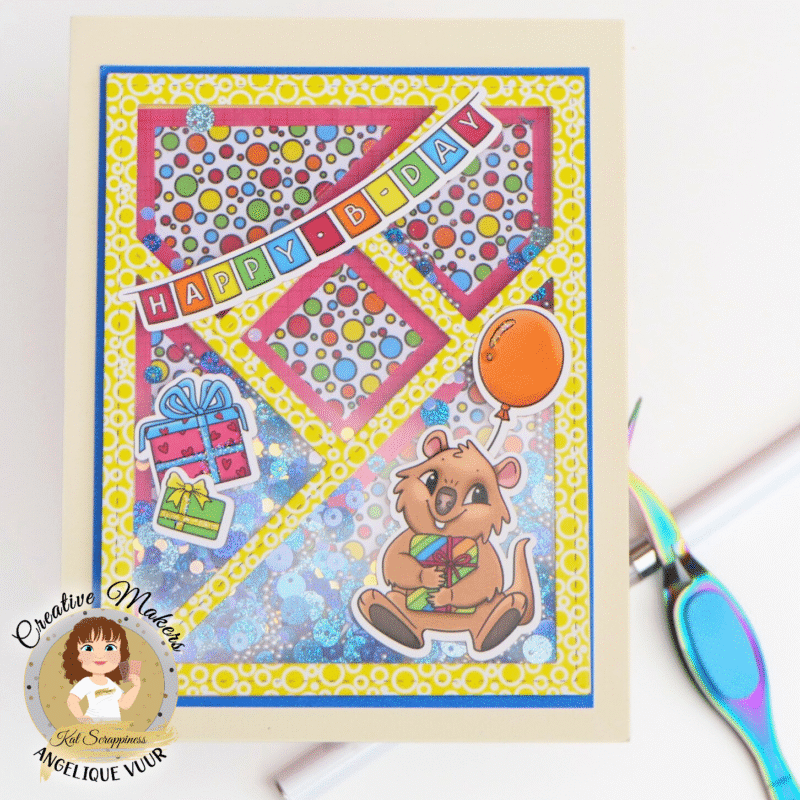
    • Now the decorating part, you can use whatever you like! Adhered some ephemera pieces to the front of the card, as you see on the picture. I wanted to keep the separate areas on top of the card intact. So I placed the presents in one area and the sweet quokka with balloon in another. Some with glue and some with some foam tape. For a sentiment, I used the “Happy b-day” from the ephemera pack.
    • If chosen for an A2 card: adhere the whole shaker part to your A2 side-folding card and your card is finished.
    • If you choose a 5×7 card: adhere the whole shaker part to a slightly bigger dark blue piece of cardstock and next adhere this to your 5×7 card. I cut off a bit of the card so the border is evenly wide. And the card is finished!

    Thanks so much for stopping by!

    Don’t forget to check out what’s NEW in Kat’s Shop, and follow my blog and Instagram for more “Kat Scrappiness Amazingness”!

    Hugs,

    Angelique 🪷

  • Using Die Cut Ephemera to Make a Quick and Easy Birthday Card

    Using Die Cut Ephemera to Make a Quick and Easy Birthday Card

    Hello Crafty Friends! Priscilla here from Nubble Light Designs. Today I am sharing a birthday card that is not only “clean & simple” in its design, but even better . . . so quick to make! Need a last minute card? Ready-to-go die cut ephemera (no coloring needed) is your best friend!

    To create this card, I used the Kat Scrappiness “Birthday Quokka” die cut ephemera as the focal point. And to add a bit of texture to the plain white backdrop, I scored some vertical lines down the center for a cool, minimalistic look.

    Check out all the die cut ephemera in the Kat Scrappiness shop HERE!

    Card Details:

    • Created an A2 top-folding white card base.
    • Scored a smaller layer of white cardstock using a scoreboard and teflon scoring tool to create clean and simple texture in the center of the card.
    • Adhered the top layer to the card base.


    Kat has added a new bone folder to the store. Check it out HERE!


    • For the finishing touch, I scored the envelope flap using the same scoring technique as I did for the front of the card.


    Thank you so much for stopping by! Don’t forget to check out what’s NEW in Kat’s Shop, and follow my blog,Instagram, and Facebook for more “Kat Scrappiness Amazingness”!

    Priscilla 🎈

    I would be so grateful if you use my affiliate links in this post to grab your Kat Scrappiness Goodies! No extra cost to you!

  • Birthday Quokkas Giveaway Hops

    We have two amazing HOPs following our Birthday Quokka Release!  The first one is on IG, with a chance to win a $15 Gift Card! Start in our Kat Scrappiness IG account! 


    The other chance to win $15 GC is following our YouTube Hop, which you can follow by clicking on this PLAYLIST.

    Don’t forget to enter your cards on our XMAS IN JULY PICK 3 CHALLENGE! 

    We would never give you a challenge and not a SALE to get goodies for the challenge!

    View Synonyms and Definitions
  • The Quokkas are Back!

    The Quokkas are BACK! They are ready for a party! They are the perfect critters to be at a birthday party with their cute smiles and happy attitude! This new collection has a new stamp set with coordinating dies. The set includes 3 birthday Quokkas (my favorite one, the one jumping, maybe even from a cake? Perfect to mix with the Build a Cake Craft Dies or with the Birthday Essential Craft Dies too!) We have a 6×6 Premium Cardstock that coordinates perfectly with these cute quokkas, our NEW Ephemera packages! The new Ephemera is our super cute stamped images colored, printed, and cut out just for you! And the cherry on top of that big cupcake is our new Confetti Stencil!

    Check out the store to get the new collection.