Happy Tuesday Crafty Friends! Priscilla here from the Kat Scrappiness Design Team. Today I am sharing a two-page art journal spread using several new coffee-related products from Kat Scrappiness. I can’t fully function in the morning until after I’ve downed my first of many MUGS of coffee. I am sure many of you can relate? (more…)
Tag: art journal tutorial
-

Dreams do come true!
Hi everyone, this is Mona with another fun journal page. I hope you enjoy this mini tutorial featuring the Dream Catcher Stamp set by Mudra and most of my supplies from my favourite store Kat Scrappiness.
I started by using my Dylusions Art Journal that can be purchased at Kat Scrappiness and added gesso to both pages. After it was dry I used my brown Archival ink pad my wood plank background stamp and added it all over both pages ,carefully aligning it to keep the planks lined up.
Once my brown ink was dry I used Blue Lagoon Distress Ink, along with my mini distress tool from Ranger to add a bit of colour to my background.
Now that the background is finished, I stamped the middle part of the dream catcher with VersaMark Embossing Ink and then added Wow White Embossing Powder . I used my heat tool to melt the embossing powder and make it really nice and bright. I embossed three of those to fill up my pages.
Next I used two circles from my stitched circle dies and lined them up so I could make a ring. I die cut three of the rings and glued them around the embossed inner part of the dream catcher using the Nuvo Adhesive Pen.
Now for the fun part! I stamped a bunch of feathers from Dream Catcher Stamp Set by Mudra, using different ink colours to make them nice and bright. Each leaf is made with a two step stamp where I used the lighter colour first and darkest on top. I also used my blending tool to add a bit of black soot distress ink around the feathers.
For the finishing touches I adhered my feathers, again using the Nuvo Adhesive Pen. I used a black marker to make the lines that hold the feathers and the pretend chain holding the dream catchers. I also traced the stitched lines with my marker and stamped the sentiment from the same stamp set using Ranger Jet Black Archival Ink. I added a few dark blue enamel dots to finish off my journal page. Hope you enjoyed this tutorial, see you soon.
-
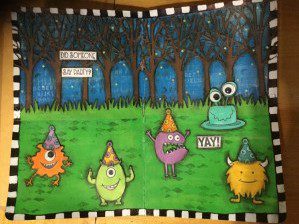
Mixed Media Monster Party
Hello everyone , Mona here with a fun project. I have decided after seeing this gorgeous stamp set that I needed to create a journal page … I will walk you thru the steps for creating this fun page.
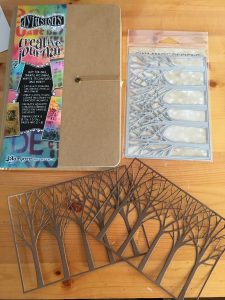
I am working in my mini Dylusions creative journal which you can special order at Kat Scrappiness . I have chosen this journal because I love the thickness of the pages, they will absorb pretty much any mediums.
I have started by die cutting a Gina Marie tree frame background die
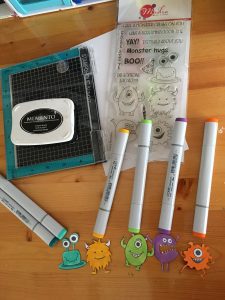
My next step was to get all my elements stamped, coloured and fussy cut. I used my Nano stamping tool from Stampoholic to stamp my images from this fun stamp set called Crazy Monsters by Mudra, using my black tuxedo memento ink pad. Then I coloured in my cute little monsters using my copic markers.
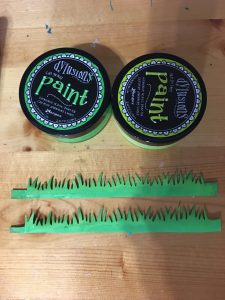
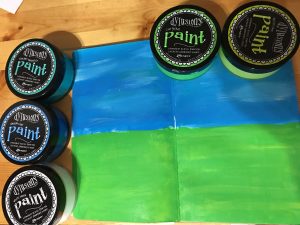
Here I have simply die cut two strips of grass using a die that I had in my stash. Used my Dylusions paints. I love using a few shades of the same colour to make it look streaky.
Now for the fun part, getting your background ready. I did the top part in blue to represent the sky and the bottom in green for the grass. Again I used a few shades of the same colours to have it not so uniform , more streaky.
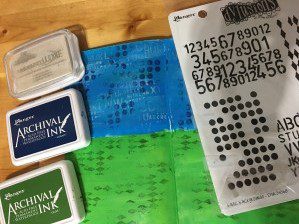
Adding texture is also one of my favourite parts of the project. I used one of my to go to stamp sets by Dylusions called basic background . For the inks I used Cobalt and Olive by Ranger and to add a little highlight in my sky, I used Wedding Dress by Memento Luxe.
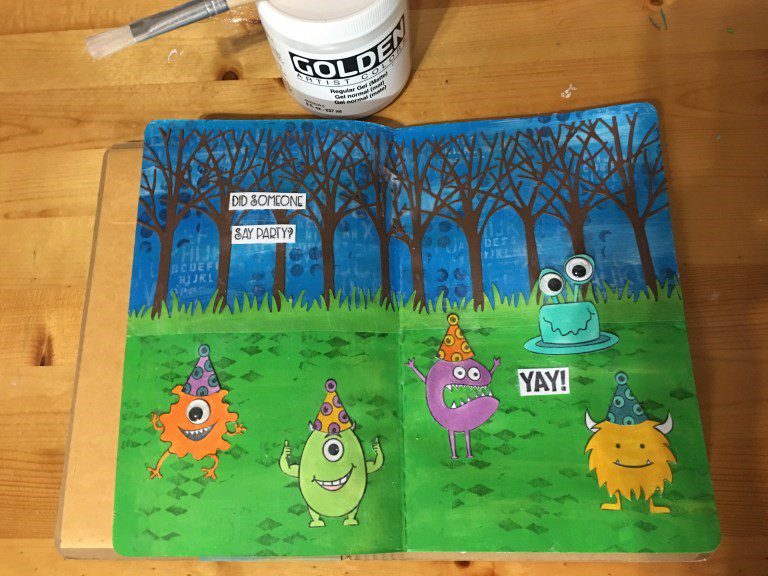
Now that my background and all my elements are ready it’s time to assemble everything. I used Matte Medium by Golden to adhere everything on my background and once everything was glued down I added a layer over everything to seal my page which makes it easier to add shading and the finishing touches to my layout.
Here I started with my Faber Castell Pitt marker in black to outline and smudge it all along my elements. I then took a black sharpie marker and a white paint sharpie in white to make the frame around my page. For my final touch I had to add a bit of sparkle I used 3mm green star confetti sequins using my Crystal Katana tool.