
Hi crafty friends!
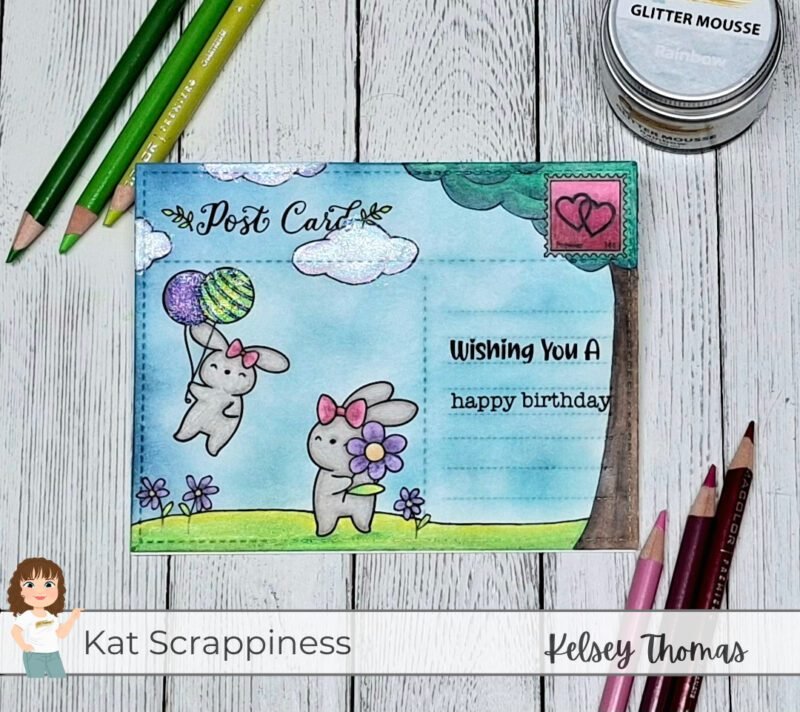
I am back with another Sketchy Sunday, this time using the Hippity Hoppity Bunnies stamp set from Kat Scrappiness as the focal point for my scene.
 Card Details:
- Card size: 4.25″ x 5.5″ (A2 size)
- Colored panel: 4.25″ x 5.5″
Step-by-Step Tutorial:
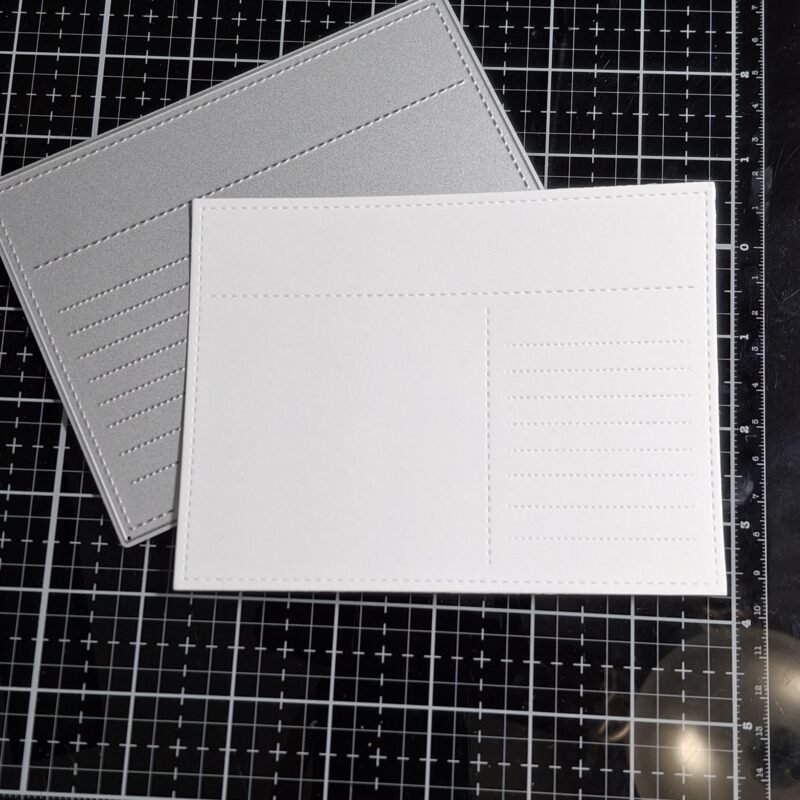
Step 1:
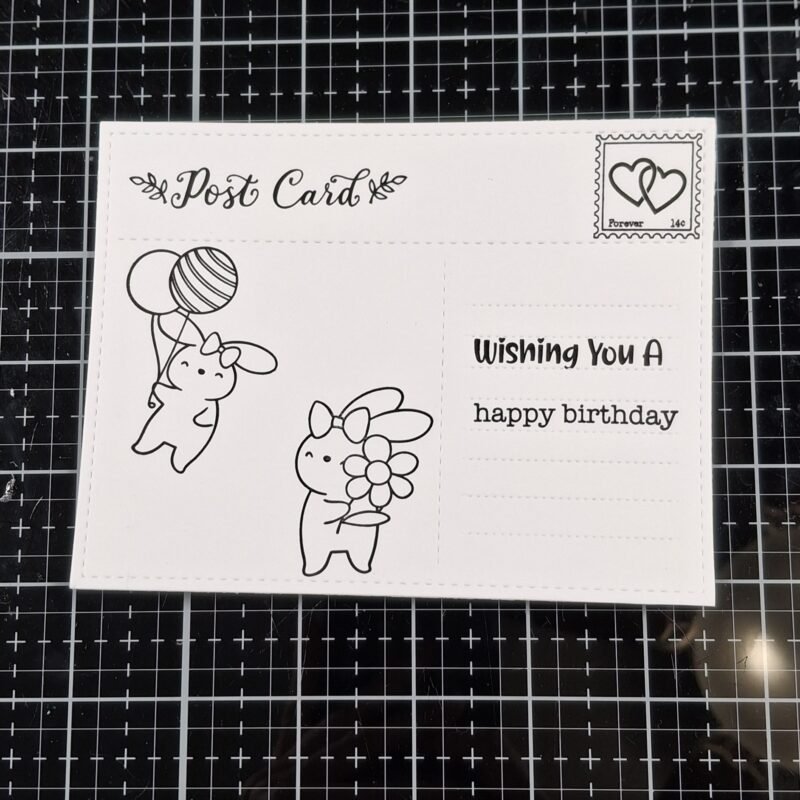
I started by die cutting a piece of white cardstock using the A2 Postcard Die.
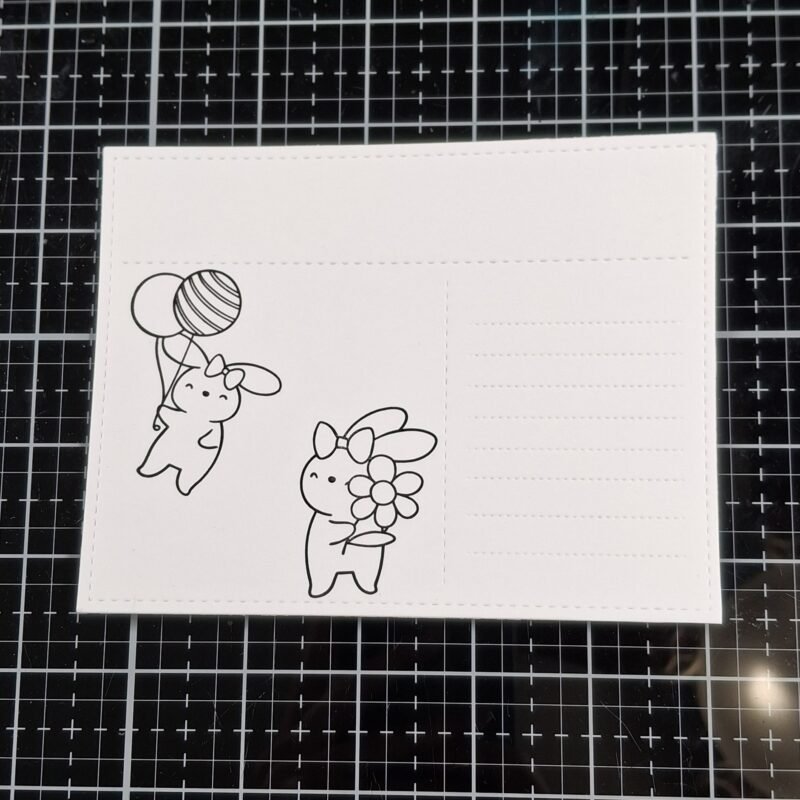
Step 2:
Next, I stamped two of the bunnies from the Hippity Hoppity Bunnies stamp set on the panel using black ink. I chose the one with the flower and stamped it on the ground. I also chose the one with the balloons and stamped it so that it looked like the balloons were lifting the bunny into the air.
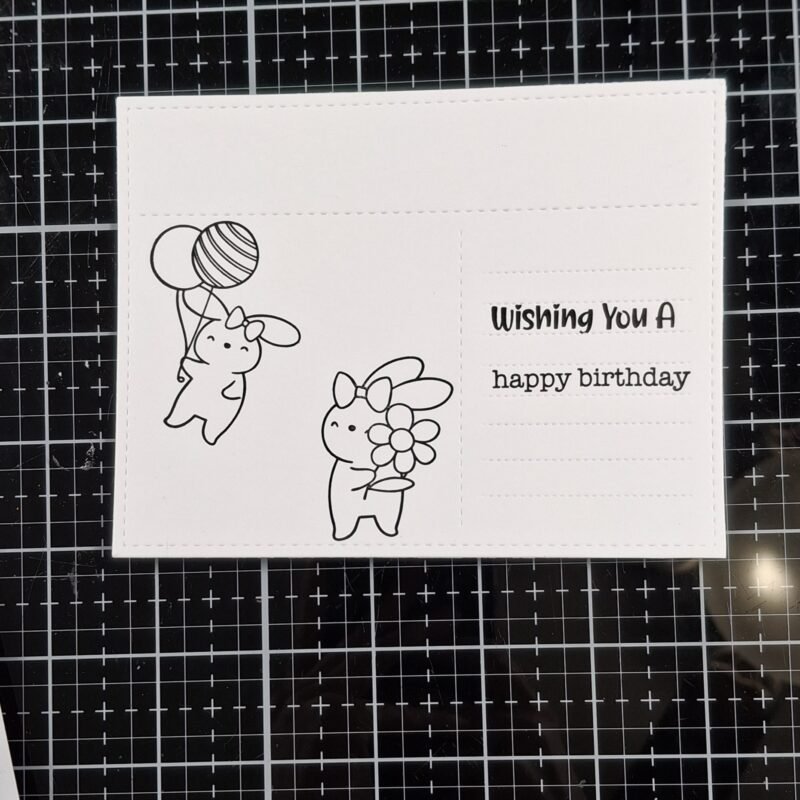
Step 3:
Next, I stamped a sentiment to the right side of the card where the stitched lines are placed. I used the Hippity Hoppity Sentiments stamp set and stamped “Wishing you a” for the top line of my sentiment. I then used the Everyday Brushstrokes set to stamp “happy birthday” underneath. I love mixing and matching my stamp sets to create my own sentiments and stretch my supplies.
Step 4:
Next, I stamped supporting elements to finish giving the scene a post card look. I used the Be My Valentine stamp set and stamped the word “post card” across the top as well as a stamp in the upper right corner.
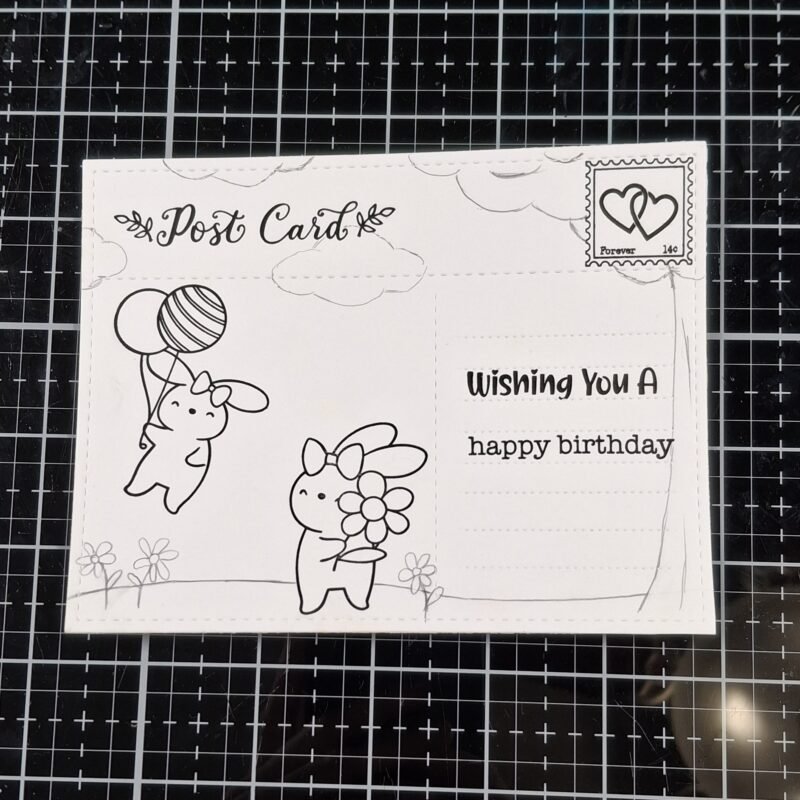
Step 5:
Next, I used a pencil to sketch in my scene for the card. I added some clouds, a tree to the right of the panel, a grassy hill, and some flowers. I like to take an element that is already in the stamped image and add it to the scene to really tie everything together. When I was satisfied with my sketched scene, I traced over the pencil lines using a black fine line marker and erased the pencil lines.
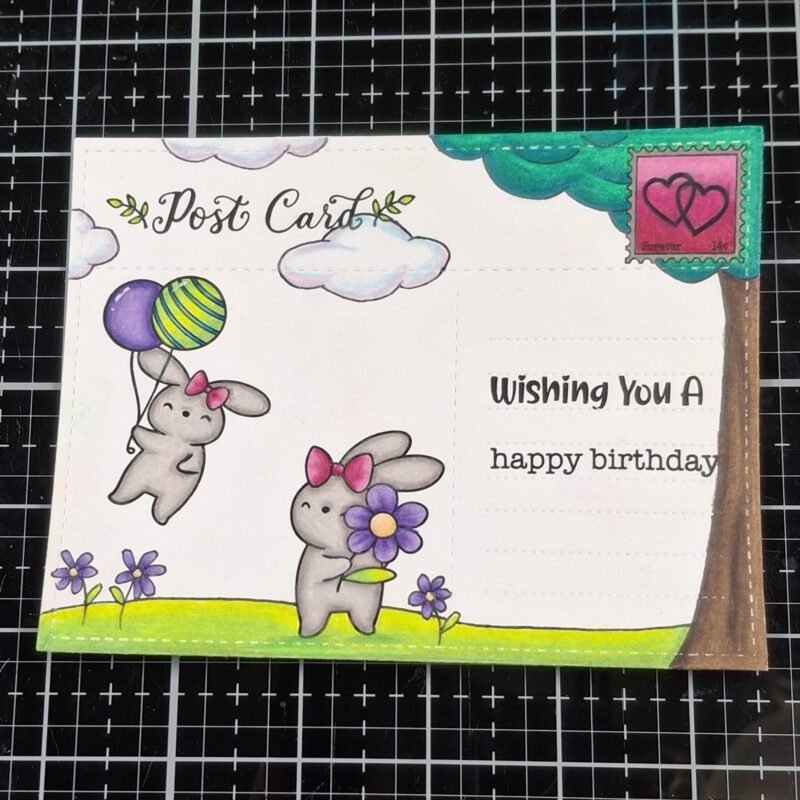
Step 6:
Now it is time to color the scene. I used Prismacolor colored pencils. Specific colors are listed below:
- Bunnies and stamp edge: 50% French Grey, 30% French Grey, and 20% French Grey
- Bows and stamp: Pomegranate, Process Red, and Hot Pink
- Striped balloon: Apple Green, Spring Green, Chartreuse, Copenhagen Blue, Cerulean Blue, and Non-Photo Blue
- Solid balloon: Violet, Parma Violet, and Lilac
- Flowers: Violet, Parma Violet, Lilac, Yellow Ochre, Sand, and Eggshell
- Grass and flower leaves: Apple Green, Spring Green, and Chartreuse
- Tree trunk: Dark Umber, Dark Brown, and Light Umber
- Tree leaves: Cobalt Turquoise, Peacock Green, and Grass Green
- Clouds: Lilac, Hot Pink, Non-Photo Blue, and White
I also used a white gel pen on the balloons.
Step 7:
I then used a blending brush and Tumbled Glass Distress Ink to add blue for my sky. I forgot to clean my brush before ink blending, so there are darker blue spots, but I think it worked out well and added more character to the sky. I blended right over the top of some of the colored images and had no problem with the ink blending interfering with my coloring. If you are worried about messing up your coloring, you can try masking your scene or coming in with a very small brush to get up close to the images.
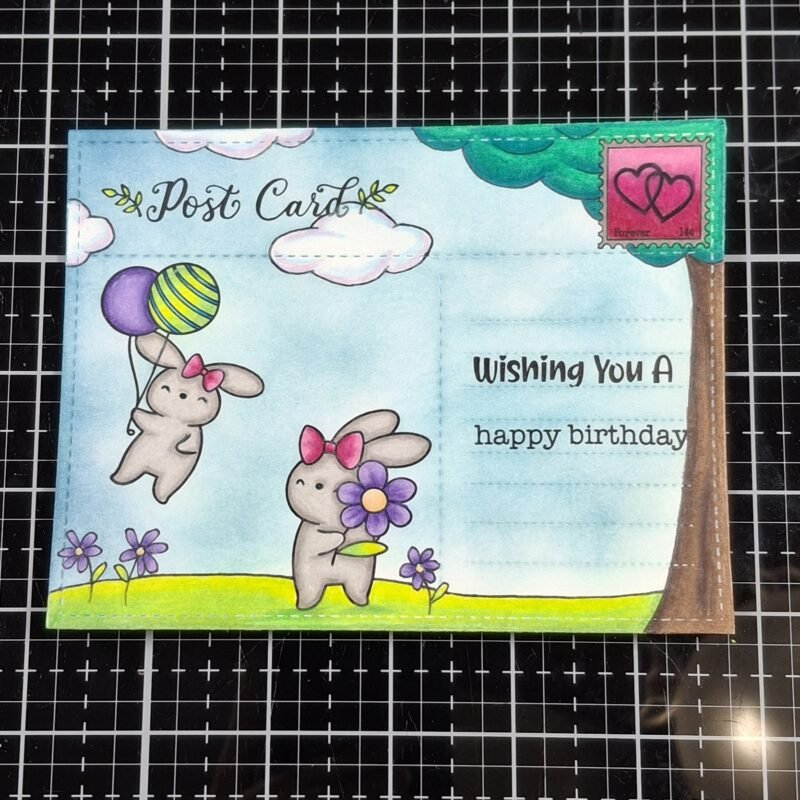
Step 8:
To finish the card, I glued the colored panel to a white A2 card base and then used my finger to add some Rainbow Glitter Mousse to the balloons and clouds for some fun sparkle.
Kat Scrappiness Products Used:
- A2 Postcard die
- Hippity Hoppity Bunnies stamp set
- Everyday Brushstrokes stamp set
- Hippity Hoppity Sentiments stamp set
- Be My Valentine stamp set
- Blending Brush
- Rainbow Glitter Mousse
- Score Board
I hope you enjoyed this card process and feel inspired to try your hand at sketching your own elements into your card scenes.
Thank you so much for stopping by, and don’t forget to check out What’s New at Kat Scrappiness for even more crafty inspiration!
Please subscribe to the Kat Scrappiness newsletter! Each Friday there is a Secret Subscriber Special in the newsletter that you don’t want to miss!

See you next Sunday!
Kelsey
No Comments