
Hi crafty friends!
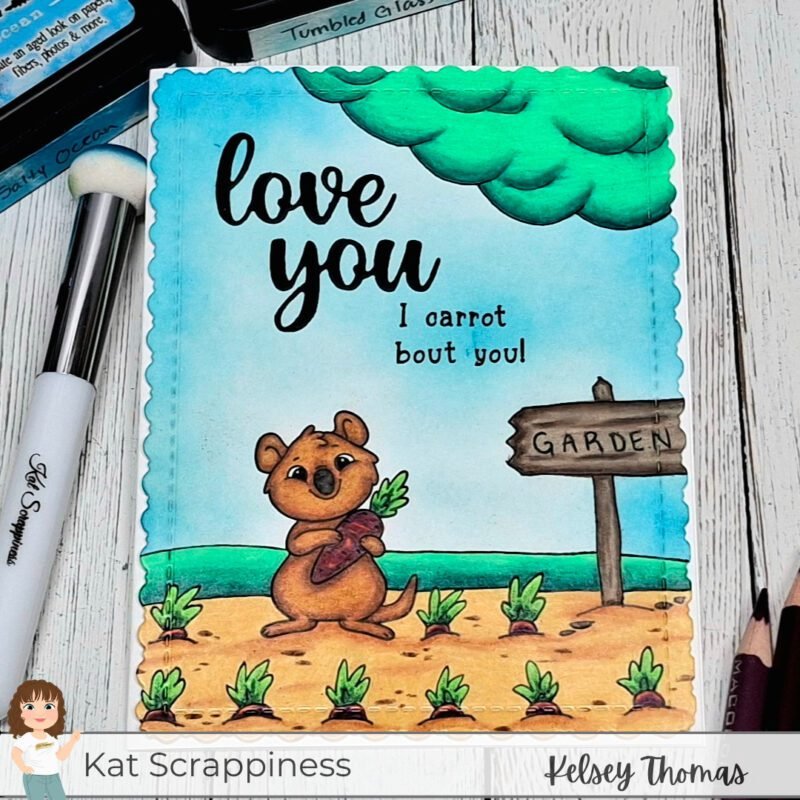
I hope you enjoyed my first Sketchy Sundays post last week and are excited for another card today. I used several Kat Scrappiness products for this card, using the Easter Quokkas stamp set as my focal point.
Card Details:
- Card size: 4.25″ x 5.5″ (A2 size)
- Stamped/colored panel (before die cutting): 4.25″ x 5.5″
Step-by-Step Tutorial:
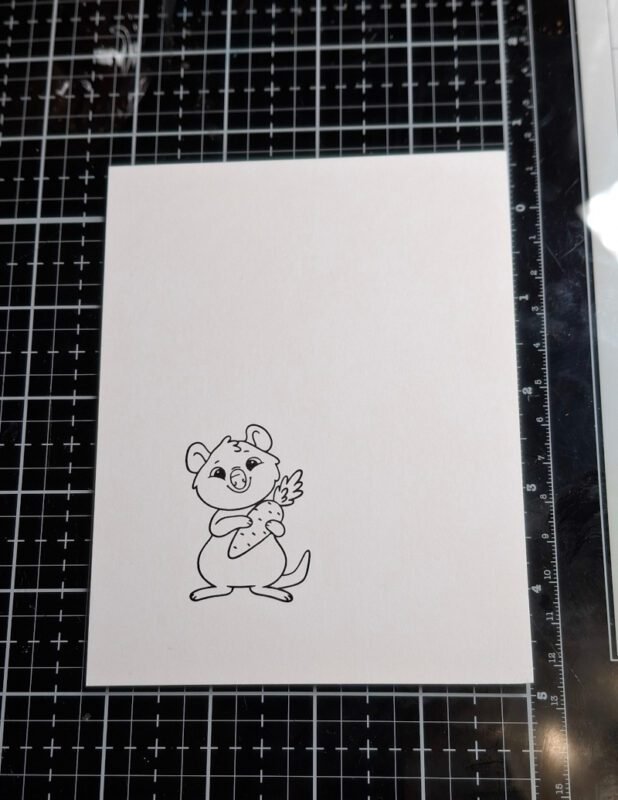
Step 1:
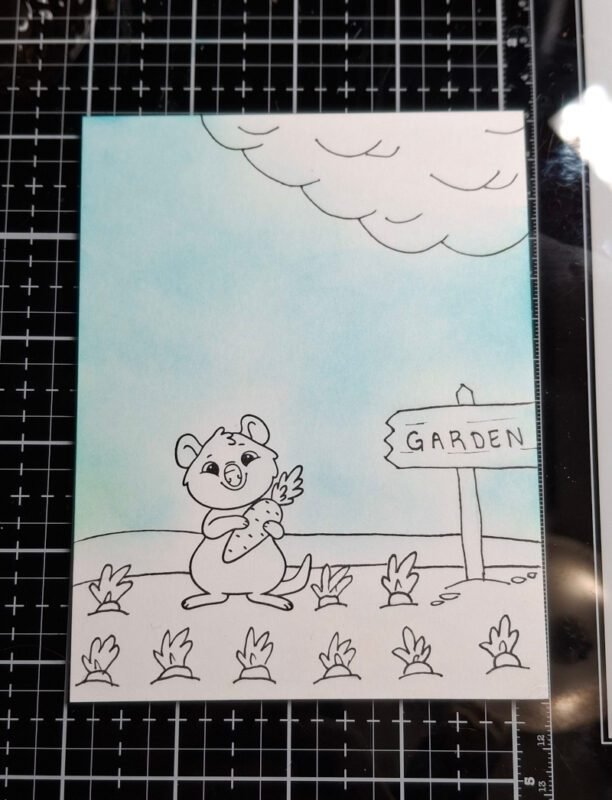
I stared by trimming a piece of white cardstock to 4.25″ x 5.5″ in size. I then stamped the quokka holding the carrot from the Easter Quokkas stamp set down toward the bottom left of the panel using black ink.
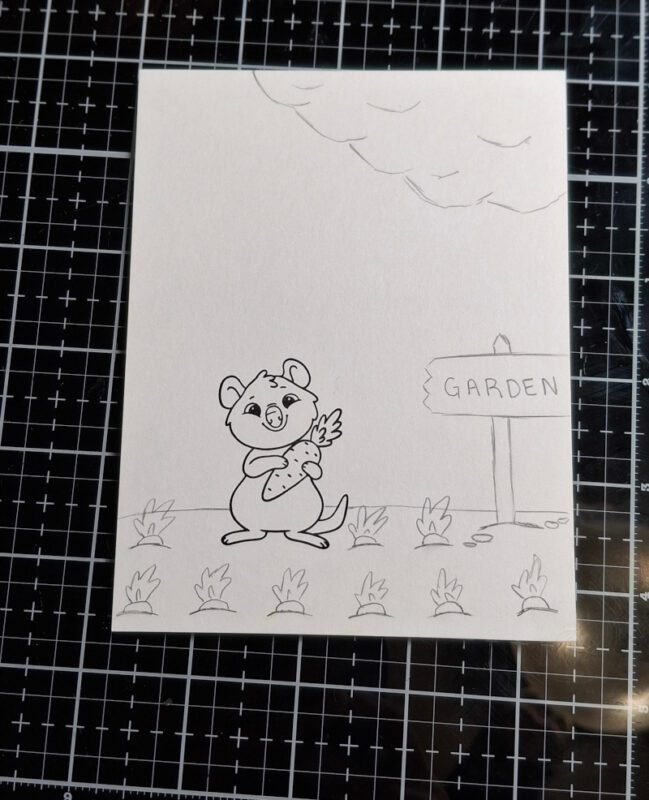
Step 2:
Next, I sketched in my garden scene using a pencil. I added a ground layer and roughly sketched in some carrots sticking up out of the ground. I also added in a sign that says “garden” and placed some leaves in the upper right corner to look like a tree branch was sticking into the scene.
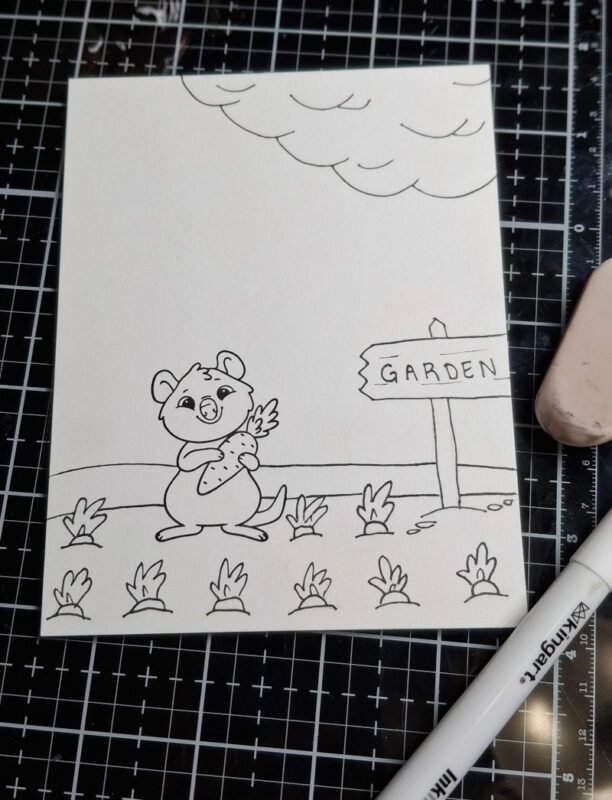
Step 3:
When I was satisfied with my sketched scene, I traced over the lines using a black fine line marker and erased the pencil lines. I also decided to add a hill behind my garden to add some grass to the scene.
Step 4:
To add some color to the sky, I used a blending brush and Tumbled Glass Distress Ink to add some light blue to the panel. I wasn’t worried about overlapping the stamped/sketched images since the color was so light and I was going to be coloring over it.
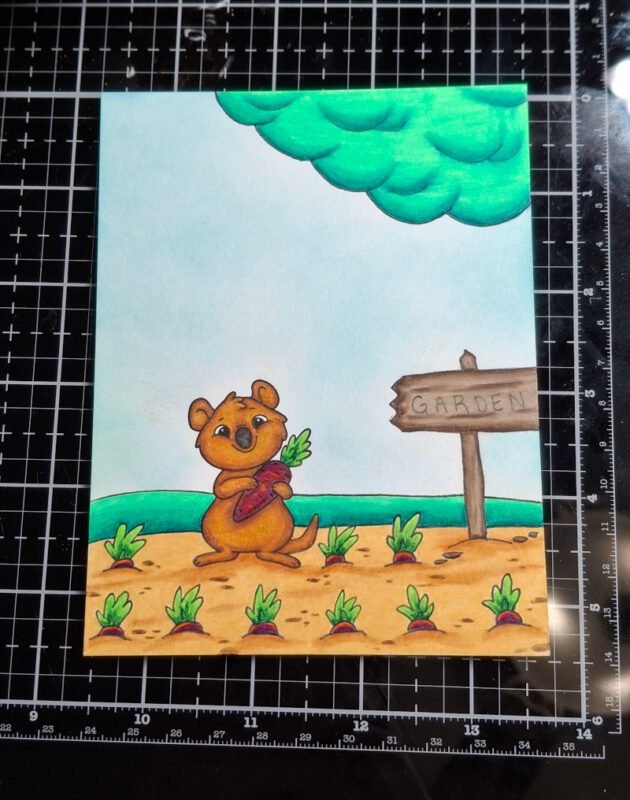
Step 5:
It is now time to color our scene. I used Prismacolor colored pencils for my coloring and will list the specific colors below.
- Quokka: Sienna Brown, Mineral Orange, Goldenrod, Black, 90% French Grey, and 70% French Grey
- Carrot tops: Dark Green, Apple Green, and Spring Green
- Carrots: Black Cherry, Dark Purple, Dahlia Purple, and Orange
- Dirt: Mineral Orange, Goldenrod, and Sand
- Sign/rocks: Dark Brown, Light Umber, and Beige Sienna – I also traced over the letters with the black pencil
- Tree/grass: Peacock Green, Grass Green, and True Green
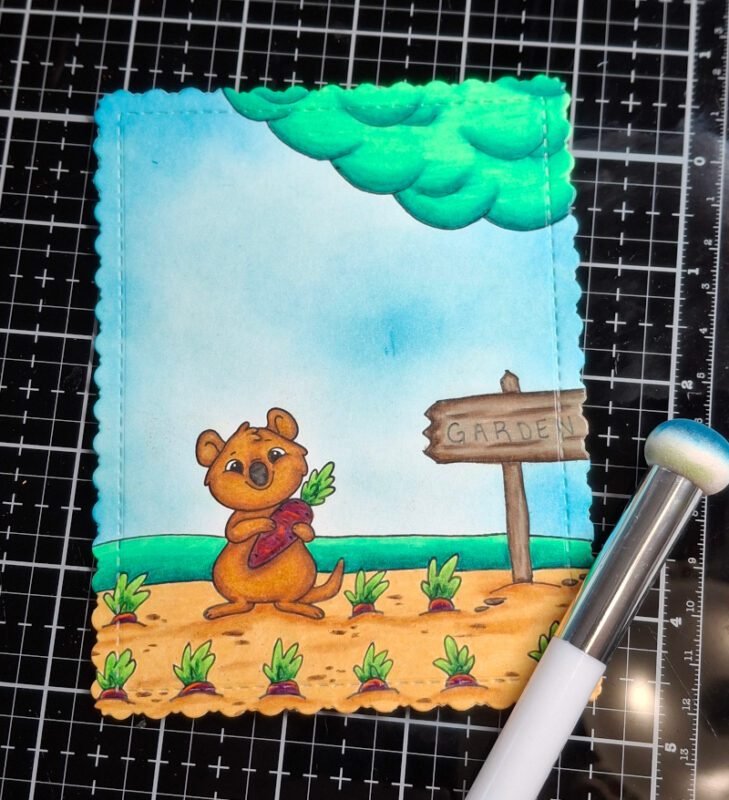
Step 6:
I then die cut my panel using the Kat Scrappiness Stitched Fancy Scalloped Rectangle dies (currently out of stock). I used the largest die in the set. To add some more interest to my sky, I came in with Salty Ocean Distress Ink and a Kat’s Crafty Dabber to darken the edges and add some darker patches in the sky.
Step 7:
To create the sentiment, I stamped “I carrot bout you” from the Easter Quokkas stamp set directly on the card base using black ink. I then die cut the words “love you” using the Love You Shadow Sentiment craft dies and glued them to the card.
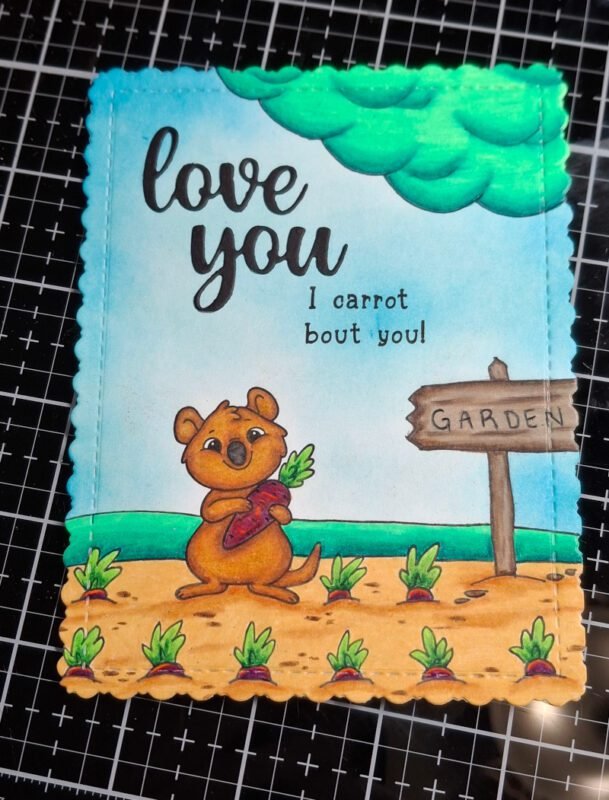
I then glued the whole panel to a white A2 card base to finish off the card.
Kat Scrappiness Products Used:
- Easter Quokkas stamp set
- Love You Shadow Sentiment craft dies
- Kat’s Crafty Dabber
- Blending Brush
- Stitched Fancy Scalloped Rectangle dies (currently out of stock)
I hope you enjoyed this card process and feel inspired to try your hand at sketching your own elements into your card scenes.
Thank you so much for stopping by, and don’t forget to check out What’s New at Kat Scrappiness for even more crafty inspiration!
Please subscribe to the Kat Scrappiness newsletter! Each Friday there is a Secret Subscriber Special in the newsletter that you don’t want to miss!

See you next Sunday!
Kelsey
No Comments