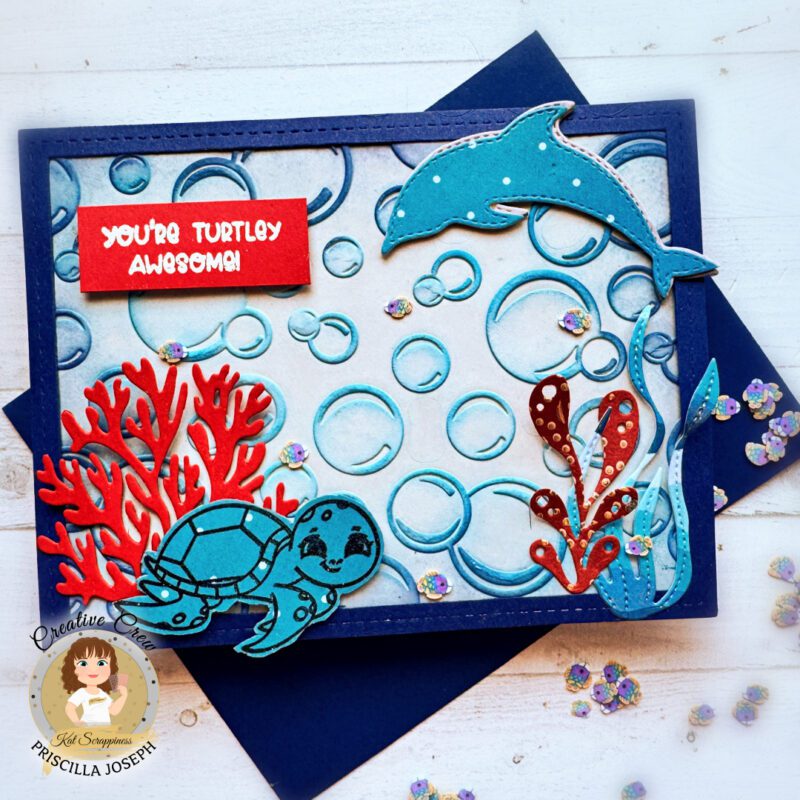
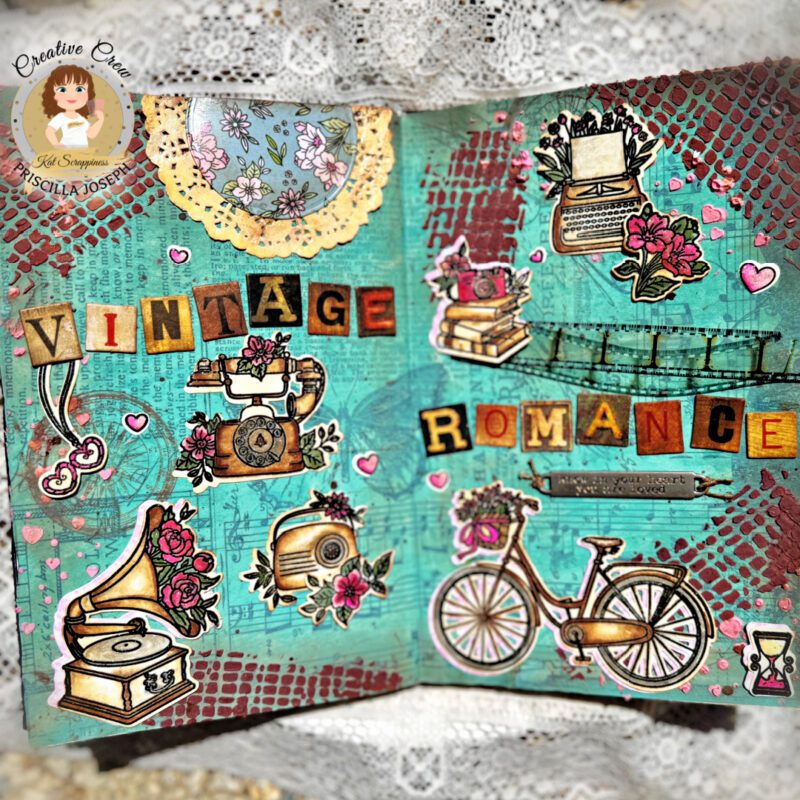
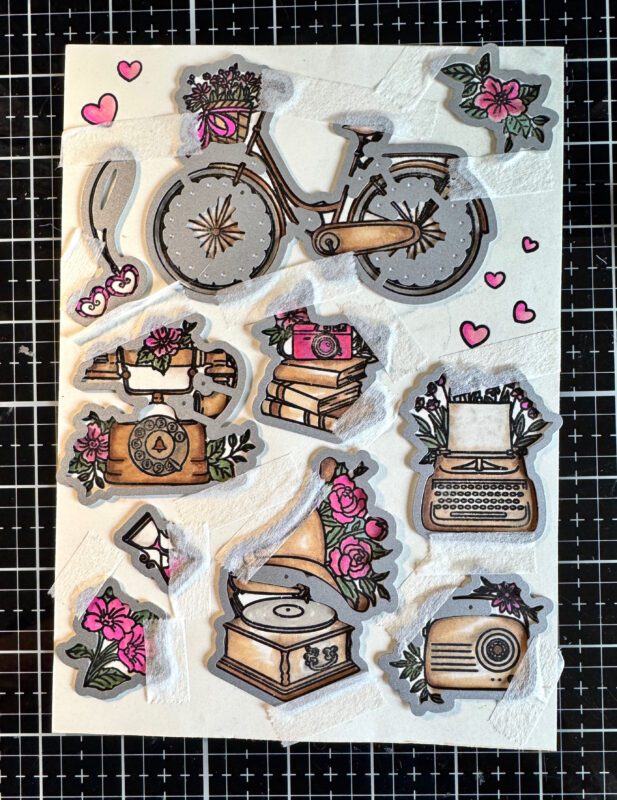
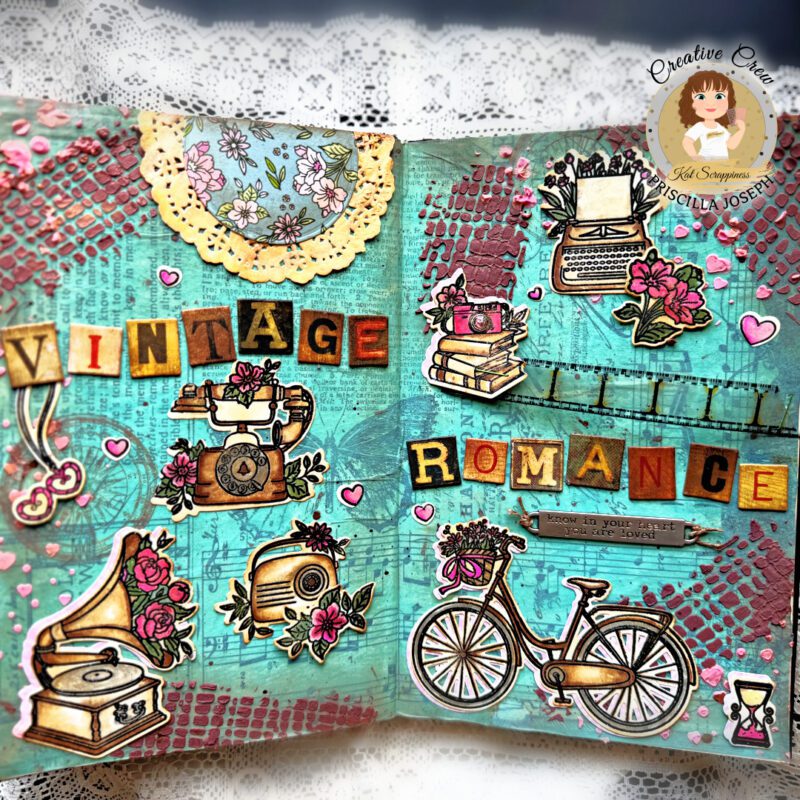
Hello Crafty Friends! Priscilla here from Nubble Light Designs. Today I am sharing a two-page “Junk Journal” spread with a “vintage vibe” using several products from the Kat Scrappiness “Vintage Romance” collection of stamps, dies, and patterned papers. Sometimes it’s just fun to take a break from clean and simple card making and get messy! And with junk journaling, there are no rules! Enjoy!

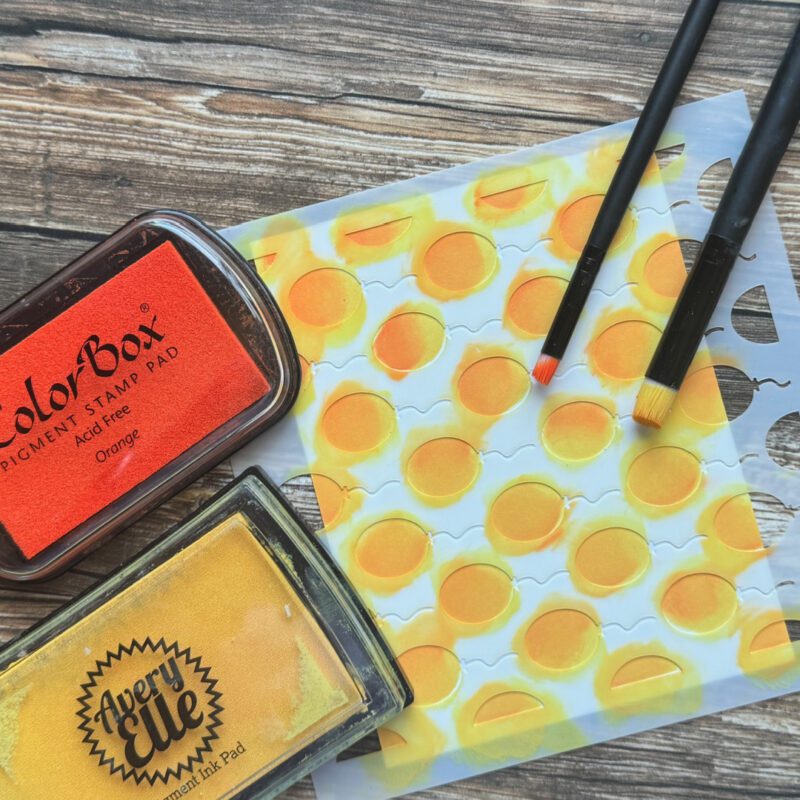
Along with the Kat Scrappiness Vintage Romance Stamps/dies and Vintage Romance paper pad, I used Kat’s Love is in the Air stencil and Burlap Background stencil to create this junk journal.
Journal Creation Details:
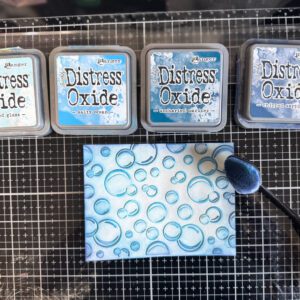
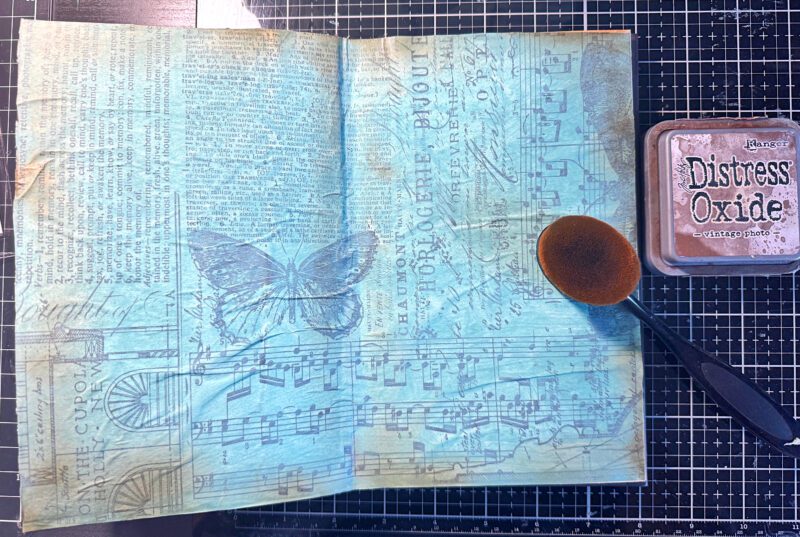
- Adhered a vintage feel tissue paper across a two-page spread and sponged turquoise acrylic paint over it.
- Brushed “Vintage Photo” Distress Oxide ink along the edges.
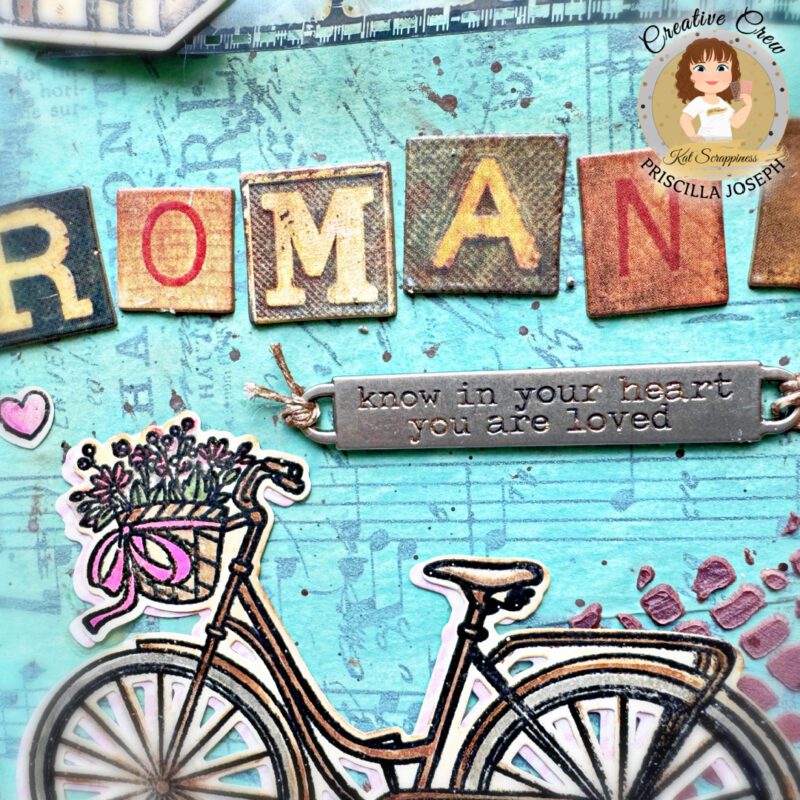
- Added the title “Vintage Romance” using tiles from my stash.
- Adhered a metal embellishment also from my stash for added interest.
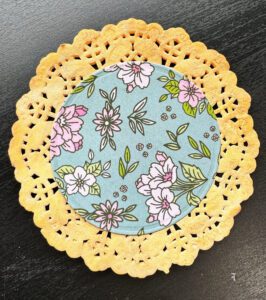
- Created a medallion element by staining a white doily with tea colored ink and then adhering a a circle of patterned paper from the Vintage Romance paper pad over it.
- Adhered the medallion to the top of the left page, cutting off the excess.
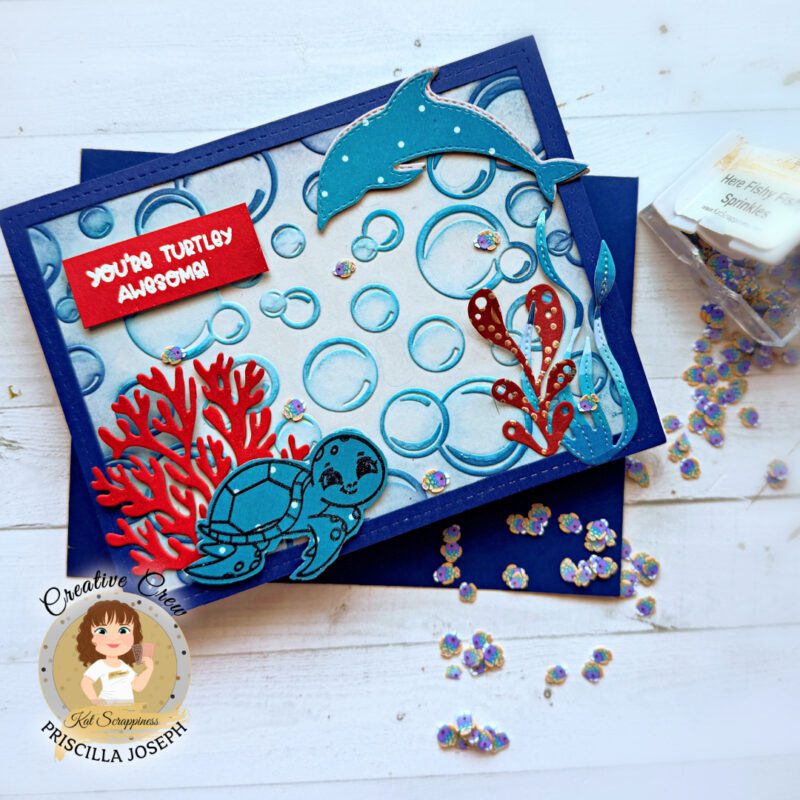
- Sprinkled several heart images from the Vintage Romance stamp/die set across the spread.
- Completed the junk journal by stapling a fun film strip embellishment to the camera image.
Thank you so much for stopping by! Don’t forget to check out what’s NEW in Kat’s Shop, and follow my blog,Instagram, and Facebook for more “Kat Scrappiness Amazingness”!
I would be so grateful if you use my affiliate links in this post to grab your Kat Scrappiness Goodies! No extra cost to you!