Follow:
    Design Team Projects

    Happy Easter

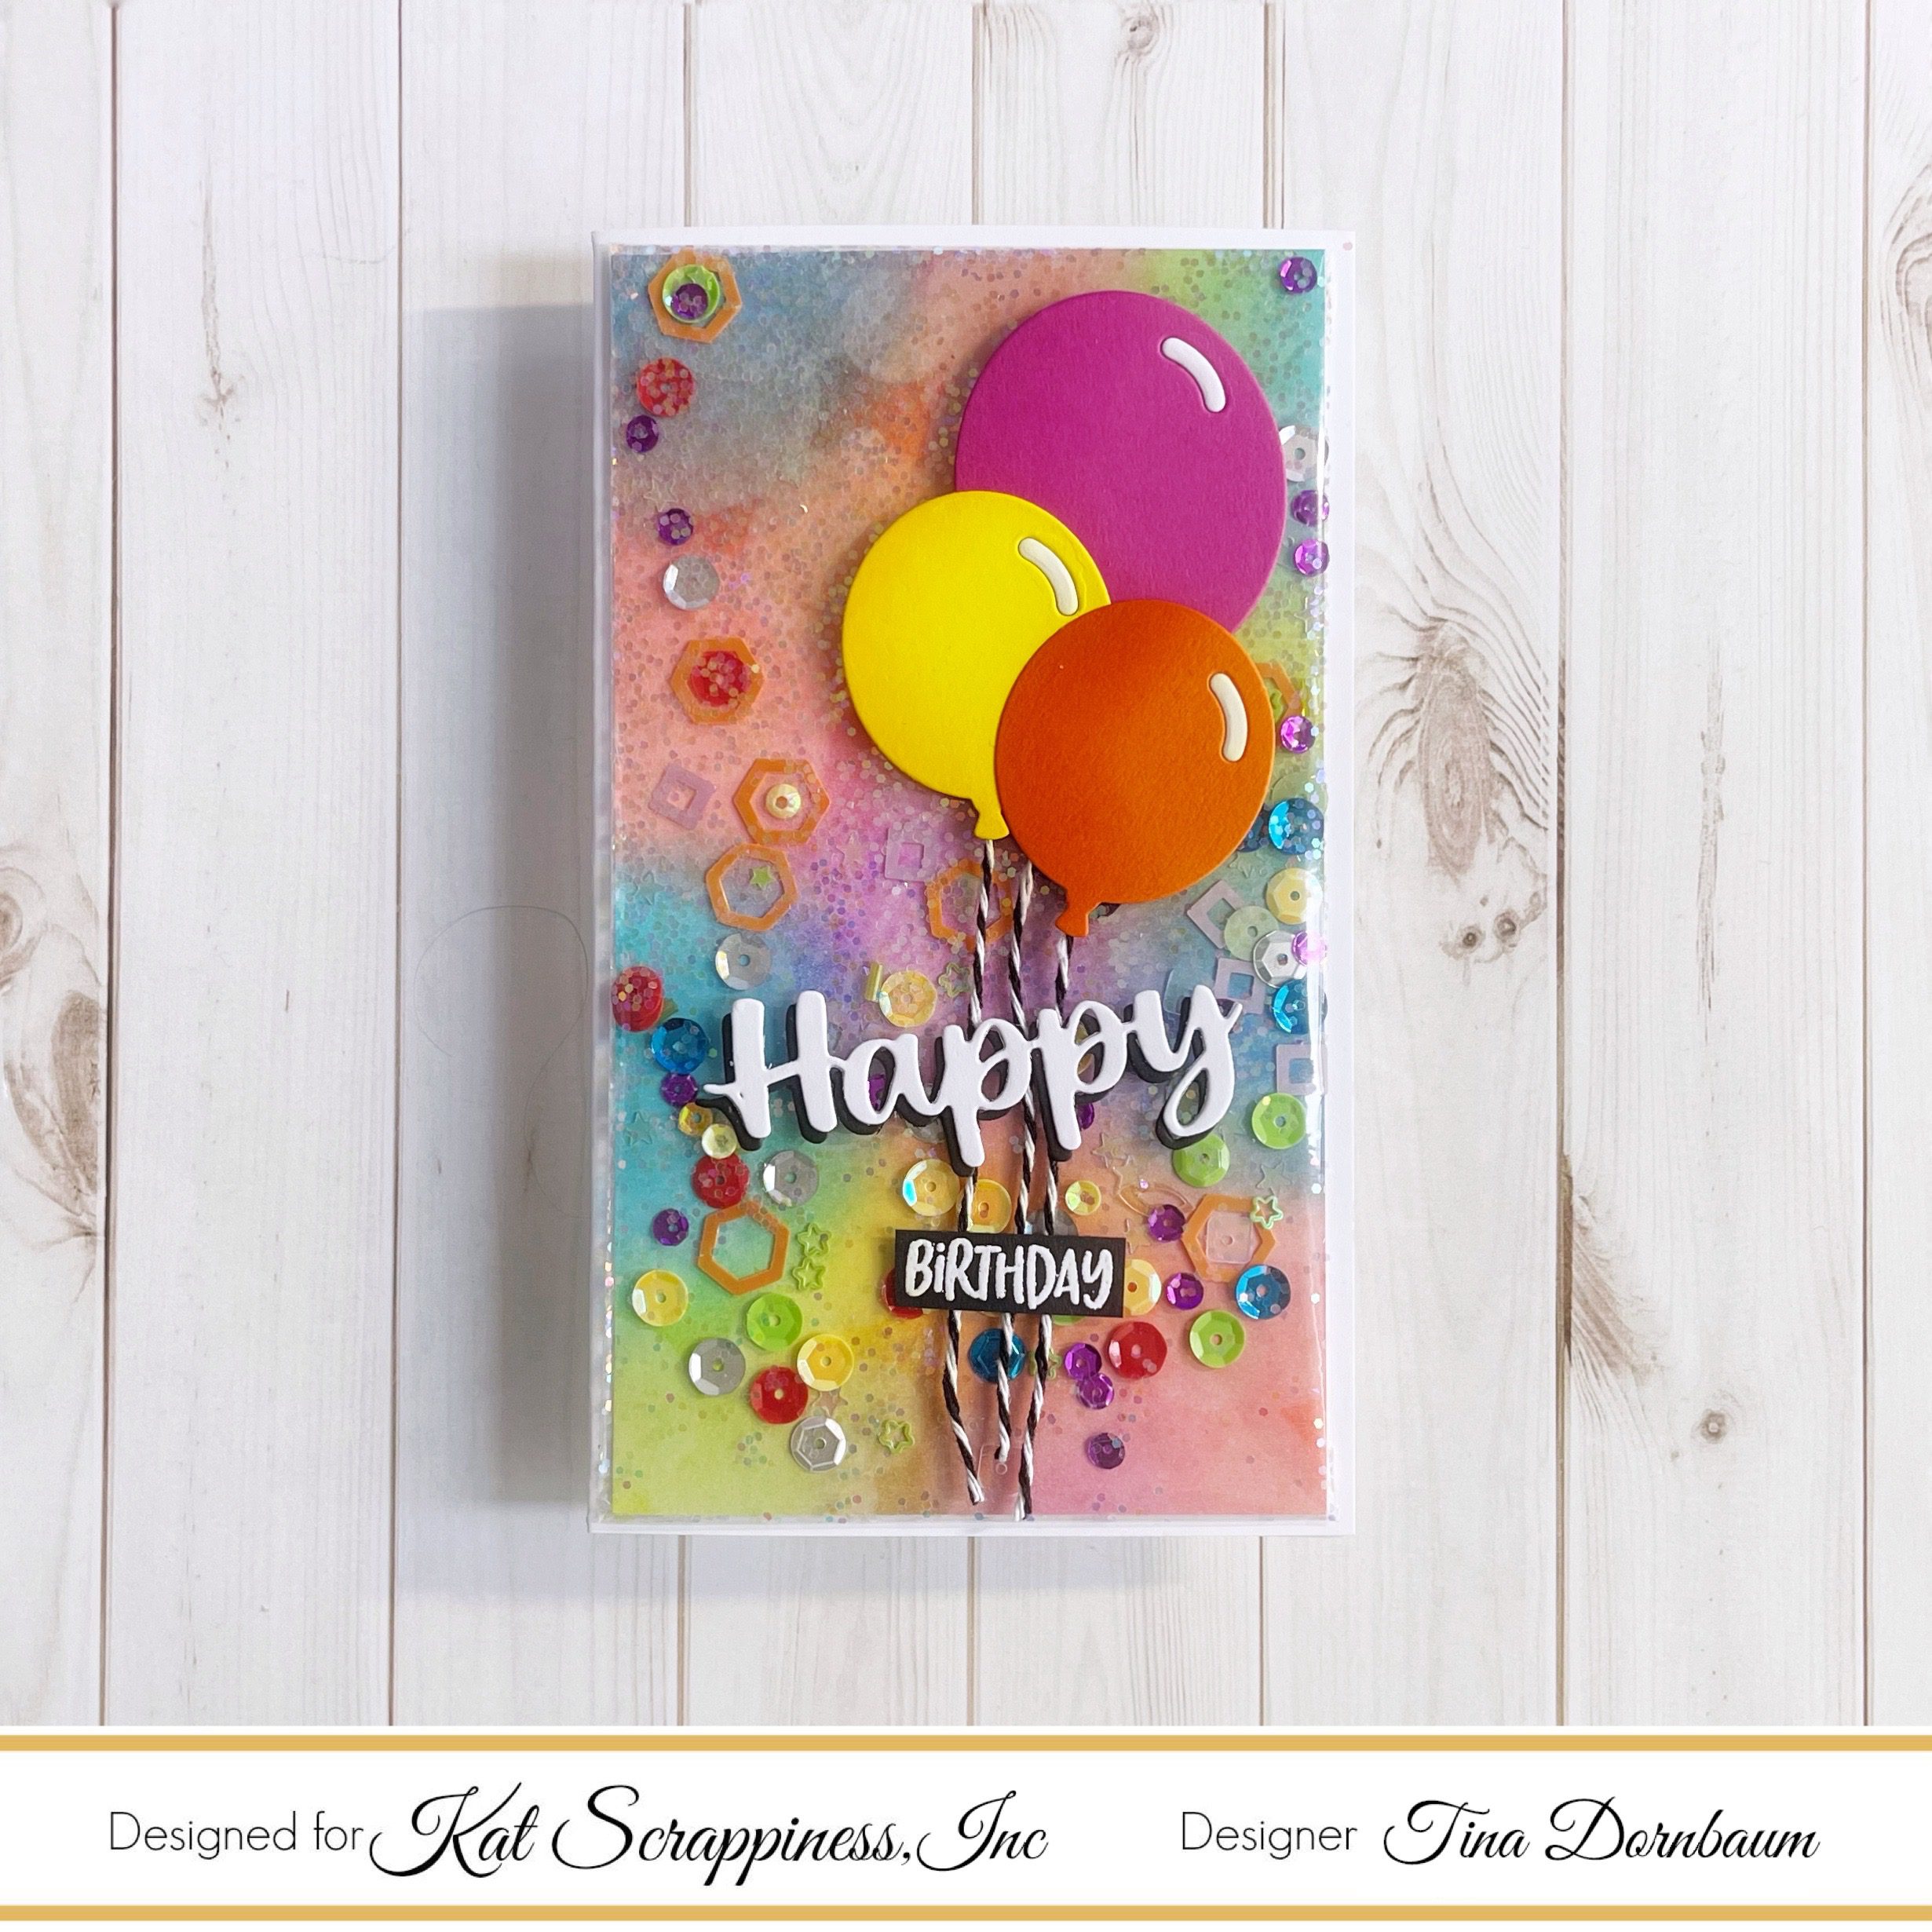
    Happy Monday everyone, it’s Caren on the blog here today with a fun Easter card using great products from the Kat Scrappiness shop!

    I used the Easter Border coverplate die and the Easter on Parade slimline paper to cut out the Easter border panel.  I die cut the Happy Easter sentiment 3 times from white card stock.  I then used blending brushes and Worn Lipstick distress ink to add color to one of the Happy Easter sentiment.  I layered the three sentiments using liquid adhesive.  I tied a bow using coordinating yellow floss.  I added dimensional adhesive to the back of the panel and adhered it to a white card base.  To finish off the card, I added a few of the Rose Garden Dual Color pearl mix.  They matched perfectly with the paper!

    Thanks for stopping by!

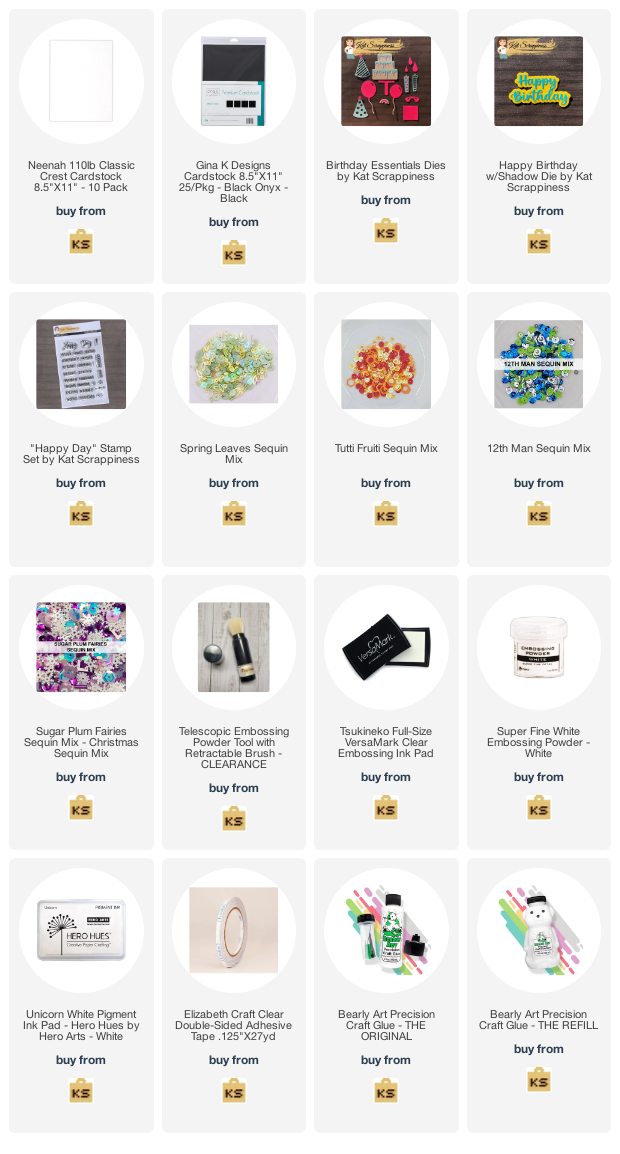
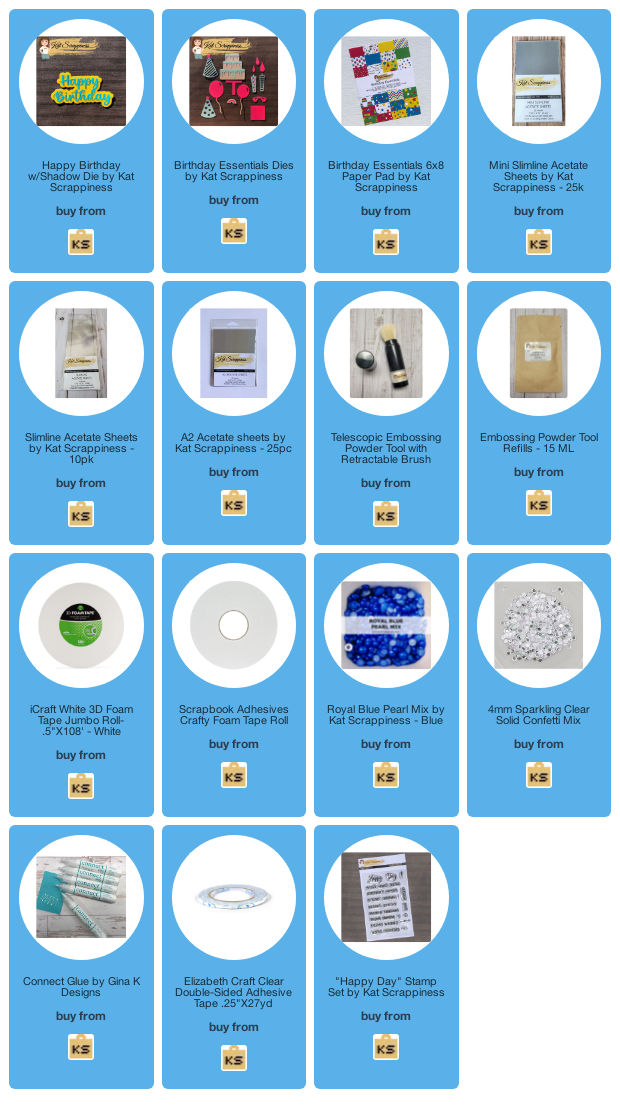
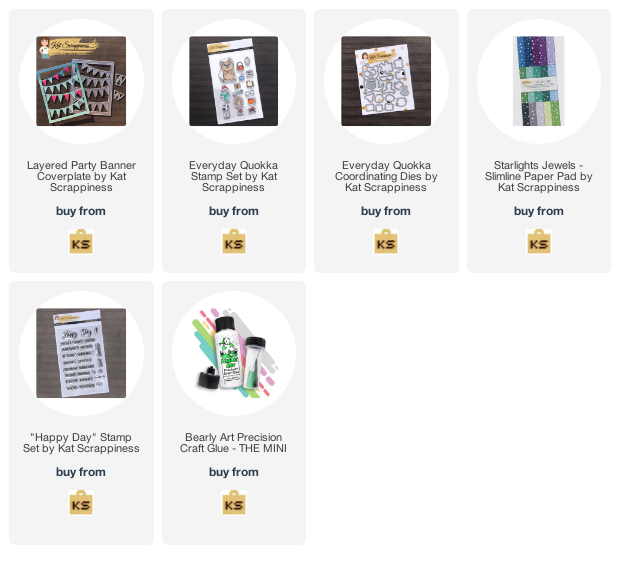
    – – – SUPPLIES for today’s project– – – – – – – – – – – – – – – – – – – – – – – – – – – – – – – – – – – – – – –

    Design Team Projects

    Happy Birthday Mini Slimline Flat Shaker Card

    Hi everyone, it’s Tina here. I have a fun card to share using the Birthday Essentials dies and turned it into a flat shaker. Below you will find the steps to create your own card.

    Step 1 – Trim White Cardstock to 7” x 6”, score at 3 1/2” and fold in half for a vertical side fold card. (Mini Slimline)

    Step 2 – Trim White Cardstock to 3 1/4″ x 5 3/4″. Apply Ink’s in various colors using a Blending Tool. I used Distress Oxide Inks. Optional – for a Bokeh Effect Background randomly apply White Ink in various sizes of circles. (Because I added Confetti to my shaker card the Bokeh design is harder to see so if you want Bokeh don’t add the Confetti)


    Step 3 – Place a cellophane sheet on top of the panel created from Step 2. Turn it over and adhere Clear Double Sided Adhesive Tape to all sides. Remove the release strips from three sides and fold the cellophane on top. Sprinkle Sequins of your choice. I used Spring Leaves, Tutti Fruiti, 12th Man and Sugar Plum Fairies. Remove the last release strip and secure the cellophane. You now have a flat shaker panel. Adhere to card front using Double Sided Adhesive Tape.

    Step 4 – Diecut Birthday Essentials (balloons 2 small and 1 big) using various colors of cardstock. For added interest I adding some shading to the left side of the balloons. Add some baker’s yarn to the backside of the balloons. Adhere to card using Bearly Art Precision Glue.

    Step 5 – Diecut Happy Birthday w/Shadow (word Happy only) in White and Black Cardstock. Trim a little off the Y because the B intertwines. Adhere the White diecut to the Black and off set to create a shadow and then adhere to the card using Bearly Art Precision Glue.

    Step 6 – Stamp Happy Day (Birthday) using Versamark on Black Cardstock. Sprinkle White Embossing Powder and remove the excess. Heat Set it with a Heat Tool. A reminder to prep your cardstock first with the Telescopic Powder Tool. Trim the sentiment and adhere to card using Bearly Art Precision Glue.

    This card can be used for several occasions by changing the sentiment and the colors. Below is a link to all the products used. Thank you for stopping by and Happy Crafting!

    Products Used:
    https://linkdeli.com/widget.js?id=f5e8378456858c916708

    Design Team Projects

    Happy Easter Layered Tulips

    Hello Crafty Friends!  Donna W. here and I’m featuring an Easter Card created with the Layered Tulip Bouquet Die Set.

    To start my card, I’ve inked scraps of card using pigments inks in the colors I wanted the flowers, leaves and bow to be.  I wanted a full bouquet so I’ve die cut the florals and leaves twice then paper pieced all the elements using liquid adhesive.

    I wanted to keep the card design as Clean and Simple as possible to allow the pastel colors to POP.   The card base measures 5.5″ square and is tent (top) folding. Using the Brush Script Happy Easter Word Sentiment Die, I cut the sentiment from a snippet of ink-smooshed watercolor card left over from a previous project.  To give the illusion of dimension, I shadow layered the sentiment with a black die cut.  To finish off the design, I applied Morning Dew Nuvo Crystal Drops for the appearance of water droplets on the tulips and leaves.
    That’s all I have for you today!  Thanks for stopping by and until next time – Happy Crafting!
    Donna W.
    Design Team Projects

    Stretch Your Stash: Create Gift Bags With Your Rectangle Dies

    I always love sharing ways to stretch your stash.  Anytime that you use your supplies in a new way, you are stretching your stash.  When you stretch your stash, you stretch your crafty dollars and make them work harder for you!

    I have 2 gift bags to share today using two sets of dies that I love from my stash.


    As we approach spring, I like to have a stash of small gift bags ready to tuck a nice treat in for friends and coworkers.  I like to create my own gift bags and boxes and it is so easy to do with the rectangle dies that I have in my stash!

    I created a quick and easy bag using the Stitched Heart Tags die set.  I die cut two of the larger tags from the Spectrum of Love paper. I actually got both die cuts from one sheet of the paper!

    I created some strips of cardstock cut at 1 x 4-1/4″ and scored them at 1/4″ intervals.  These were folded in an accordian fashion and used for the sides and bottom of the bags.

    You can see all the details in the video below!


    I decorated the first bag using the Valentine’s Quokka set.  The sweet little flower came from that set as well.  The sentiments for both cards came from the Friendship Greetings Stamp Set as well.  Here you can also see the beautiful Midnight Fandango peals that I used to complete the decoration!

    This gift bag uses the Fancy Scalloped Stitched Rectangle dies and the Friendship Greetings stamp set. The pearls are the peach pearls to complete the decoration.


    Video Tutorial:

    [youtube https://www.youtube.com/watch?v=vt7gxtFvihY]

    Supply List:


    https://linkdeli.com/widget.js?id=f5e8378456858c916708

    Thank you for stopping by!  You can find more of my tips and inspiration at Stamping Imperfection!

    Design Team Projects

    2 for 1 Card Design

    Hello Crafty Friends!! Nora here today with two cards using the same basic supplies. Unlike how I ordinarily make cards, I created both these cards at the same time. I usually make my cards separately but I wanted to use the Kat Scrappiness Butterfly Backdrop Die for one of my designs, and I knew that I could create a second card using some of the butterfly die cuts.

    Below is the card process I used to design my cards.

    • I started out by blending orange ink on a piece of 5 1/2″ by 4 1/4″ piece of white cardstock. I used the same ink for the whole sheet, lightly blending the orange at the top and using more ink at the bottom. I watered down some of the orange ink and some white pigment ink and flicked it across the front. When the ink was dry, I die cut the panel using the KS Butterfly Backdrop Die.
    • Next I stamped the largest flower from the Friendship Greetings Stamp Set with the orange ink in a diagonal across a white, A2, top folding card front. I also used the same stamp to randomly stamp across the die cut panel. I adhered my orange panel on top of the stamped, white card base.

    • My last step was to use the die cut butterflies across both of my cards. Some of the butterflies were adhered using foam adhesive and others were just glued on flat.

    These cards may look complicated but creating both at the same time really cut down on the time it makes to create just one! I want to thank you for taking the time to stop by today!!! Please pop on over to the blog again this week to see more fabulous creations from the Design Team!!

    Supplies Used for the Cards: (all links are affiliate links used at no extra cost to you)

    Design Team Projects

    2 for 1 Card

    birthday essentials, slimline, shaker card, die cut card, heat embossing, Nicki Hearts Cards

    Hi, I’m Nicki with the Design Team. Today, we are going to look at not wasting your die cuts. I will take you through the card process for 2 different cards with a way to use the negative space and the die cut piece. All of the details will be in the YouTube video so make sure to check it out.

    First, let’s start with the Birthday Essentials paper pack and die set.

    birthday essentials paper pack


    birthday essentials die

    I used the cake die from the set and several coordinating pieces of paper. First, I cut the cake shape from an A2 sized piece of patterned paper. I saved the cake and will work with the negative space first. I added acetate to the back of the negative space. Next, I added foam tape to make a shaker window.

    foam tape, shaker card, Nicki Hearts Cards

    Now, it was time to add a little pizzaz to the cake frosting with some glitter paste. I cut the icing pieces out and attached them to the front of the shaker window.

    icing on the cake

    All that is left for this card is to add the shaker pieces and attach a sentiment.

    happy birthday, birthday essentials, Nicki Hearts Cards


    For the next card, I chose to make a slimline with the birthday essentials pack. I now need to decorate the icing for the cake that we previously cut out. I used Nuvo Drops in a bright blue. Once I have the cake together, I decided to make the sentiment a shaker piece.

    Using a shadow die for a shaker window is so fun! For the sentiment, I colored the white card stock with a blue Copic marker and added Nuvo drops in blue.

    birthday essentials, happy birthday


    Make sure to click on the links in the supply list if you are interested in any of the products! This doesn’t cost you anything but provides a small commission to me. I appreciate your support so much!!


    https://linkdeli.com/widget.js?id=f5e8378456858c916708

    Design Team Projects

    Easy Birthday Shaker Card!

    Hi Kat Scrappiness Friends!

    Tasha here sharing a fun shaker birthday card tutorial featuring the New Rainbow Mouse Sprinkles!

    To begin the project, I stamped the sweet quokka image and the little cake slice from the Everyday Quokka Stamp Set. I used the coordinating dies to quickly cut the images out and attached them to the card with foam tape. I love his smile!

    The banner frame was cut with the new Layered Banner Coverplate Die Set. The set includes one framed banner die and two little dies to cut the banners. This allows you total control over the banner colors, I think it would also look great with pattern paper!

    See my full tutorial on the Kat Scrappiness YouTube Channel!

    [youtube https://www.youtube.com/watch?v=qZmwtC14gI0]

    After I glued a piece of plastic behind the banner frame, I added some of the new Rainbow Mouse Sprinkles. These sprinkles are so bright and festive!

    Lastly, I attached a piece of star pattern paper from the Starlights Jewels Slimline Paper Pad and a layer of navy paper to complete the card.

    Thank you for checking out today’s project and I hope you have a wonderful weekend!

    -Tasha


    https://linkdeli.com/widget.js?id=f5e8378456858c916708