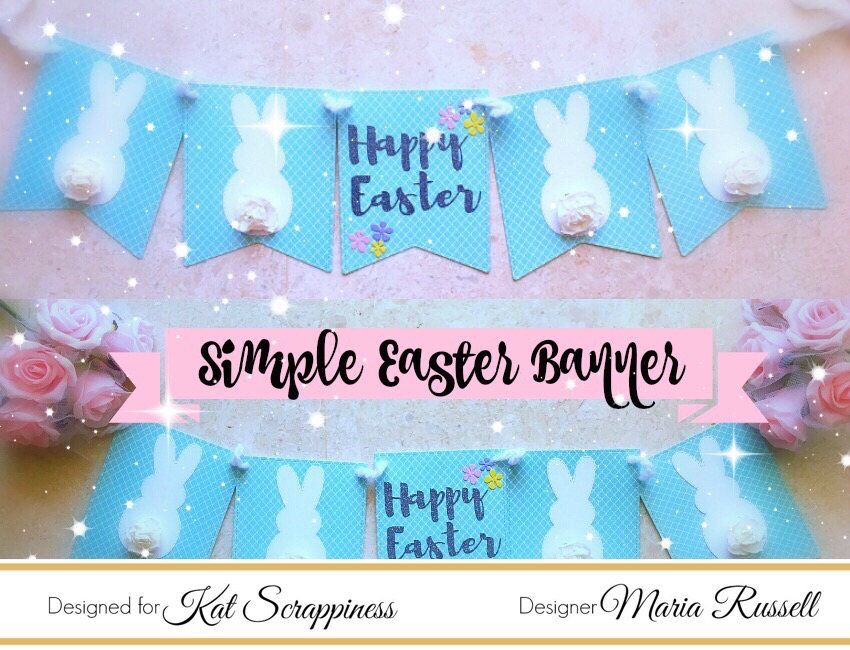
Hello crafters and stampers! I am super excited to share with you today this simple D.I.Y. Easter Banner to decorate your home. This is very easy to put together and you can create multiples to decorate your mantle or any room in your house.
I am showcasing the Easter peeps dies and Happy Easter Script sentiment dies by Kat Scrappiness and the Dogwood Flower Wreath die by Gina Marie Designs. They are all available at the shop. Here’s the photo:
I will keep this blog post short because I have a process video for you below. I have also listed and linked the supplies I have used. I hope you like it and got inspired. Happy crafting!
————SUPPLIES————–
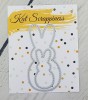


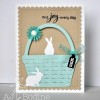
Hi everyone this is Mona. I was playing around with my Stitched Easter Peeps Dies from Kat Scrappiness and came up with this fun card.

I started my card by cutting my white cardstock to 4.1/4″ x 11″with my Cutterpillar-Pro paper trimmer. I scored it at 5 1/2″ . I chose a patterned paper from my stash and cut it to 4″x 5 1/4″ and adhered it to the card base. I then took my film strip die from sizzix and die cut it using my Vagabond. I added a white strip of paper behind top and bottom of the film strip.
Then came the fun part! Die cutting my Stitched Easter Peeps die. I cut two of the larger one and used my copics to colour them. I used a stamp set from my stash to stamp the eyes and glasses on the Peeps. I also used the Happy Easter Word Die by Kat Scrappiness and coloured it purple to match my Peep. I stamped the speech bubbles using a Lawn Fawn stamp set. Both sentiments are from a mama elephant stamp set.
I hope you enjoyed this mini tutorial. Thank you very much for stopping by, see you soon!

Hello Everyone!
Can you believe it’s almost time for Easter?
For today’s project I’ve paired this amazing Gina Marie Designs Cross Die with yummy Spring paper and what’s actually a sentiment from a Christmas stamp set.
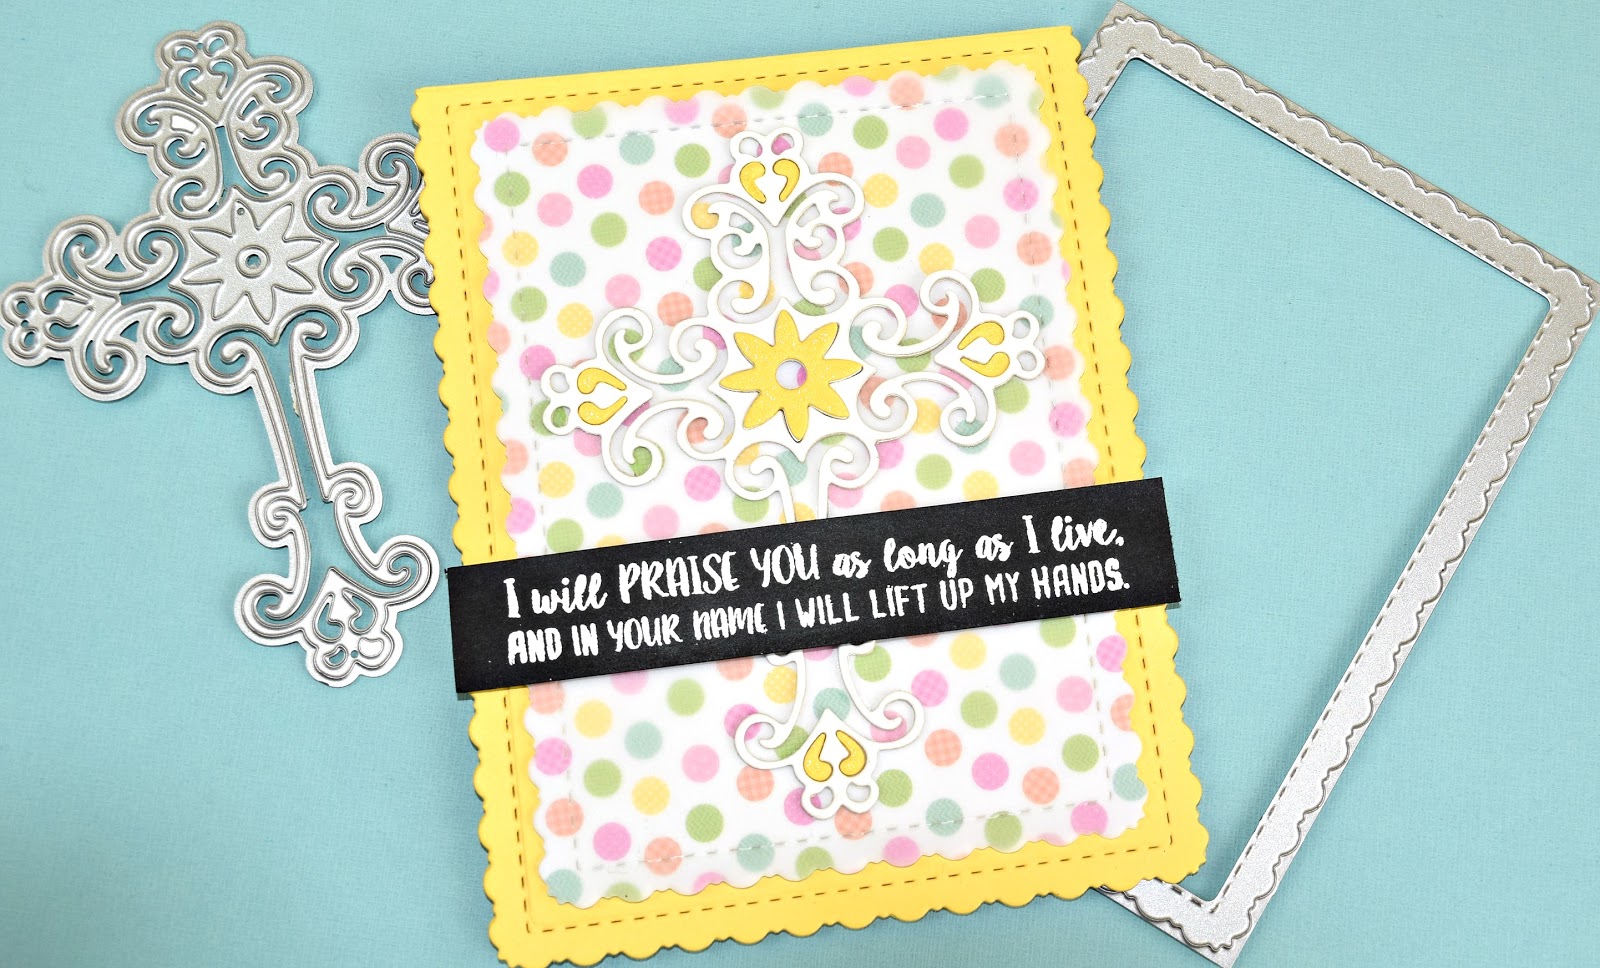
The first thing I did was all my die cutting. I folded my yellow card base and positioned my Fancy Stitched Scalloped Rectangle Die where it would only cut the sides and bottom. I wanted to leave the fold line intact on the top, so I used washi tape to hold the die in place while running it through my die cut machine. The largest die in this set is barely smaller than A2 card size, which is 5.5 x 4.25 inches. I used the largest for the card base and the next size smaller for the patterned paper.
It’s hard to tell from the pictures, but the patterned paper has a layer of vellum over the top. I cut the vellum with the same sized die as the patterned paper and used this to mute or soften the patterned paper. It gives a soft and elegant texture, which is perfect for Easter.
Next, I cut 2 crosses with the Gina Marie Designs Scroll Cross Die. I love that you can cut as many colors and patterned papers as you like and inlay them into the scrolls of the cross.

Here you can see the beautiful detail of the Fancy Stitched Scalloped Rectangle Dies, and the delicate scrolls and inlays inside the Gina Marie Designs Cross.
I added the verse Psalm 63:4 onto a strip of black card stock. Using the Stampaholic Stamping Tool, I positioned my card stock and my stamp. I used an anti-static powder tool to treat the paper and then stamped with Versamark sticky ink and covered with white embossing powder. After heating the powder until smooth, I trimmed the ends of the paper and added the verse to the front of the card.
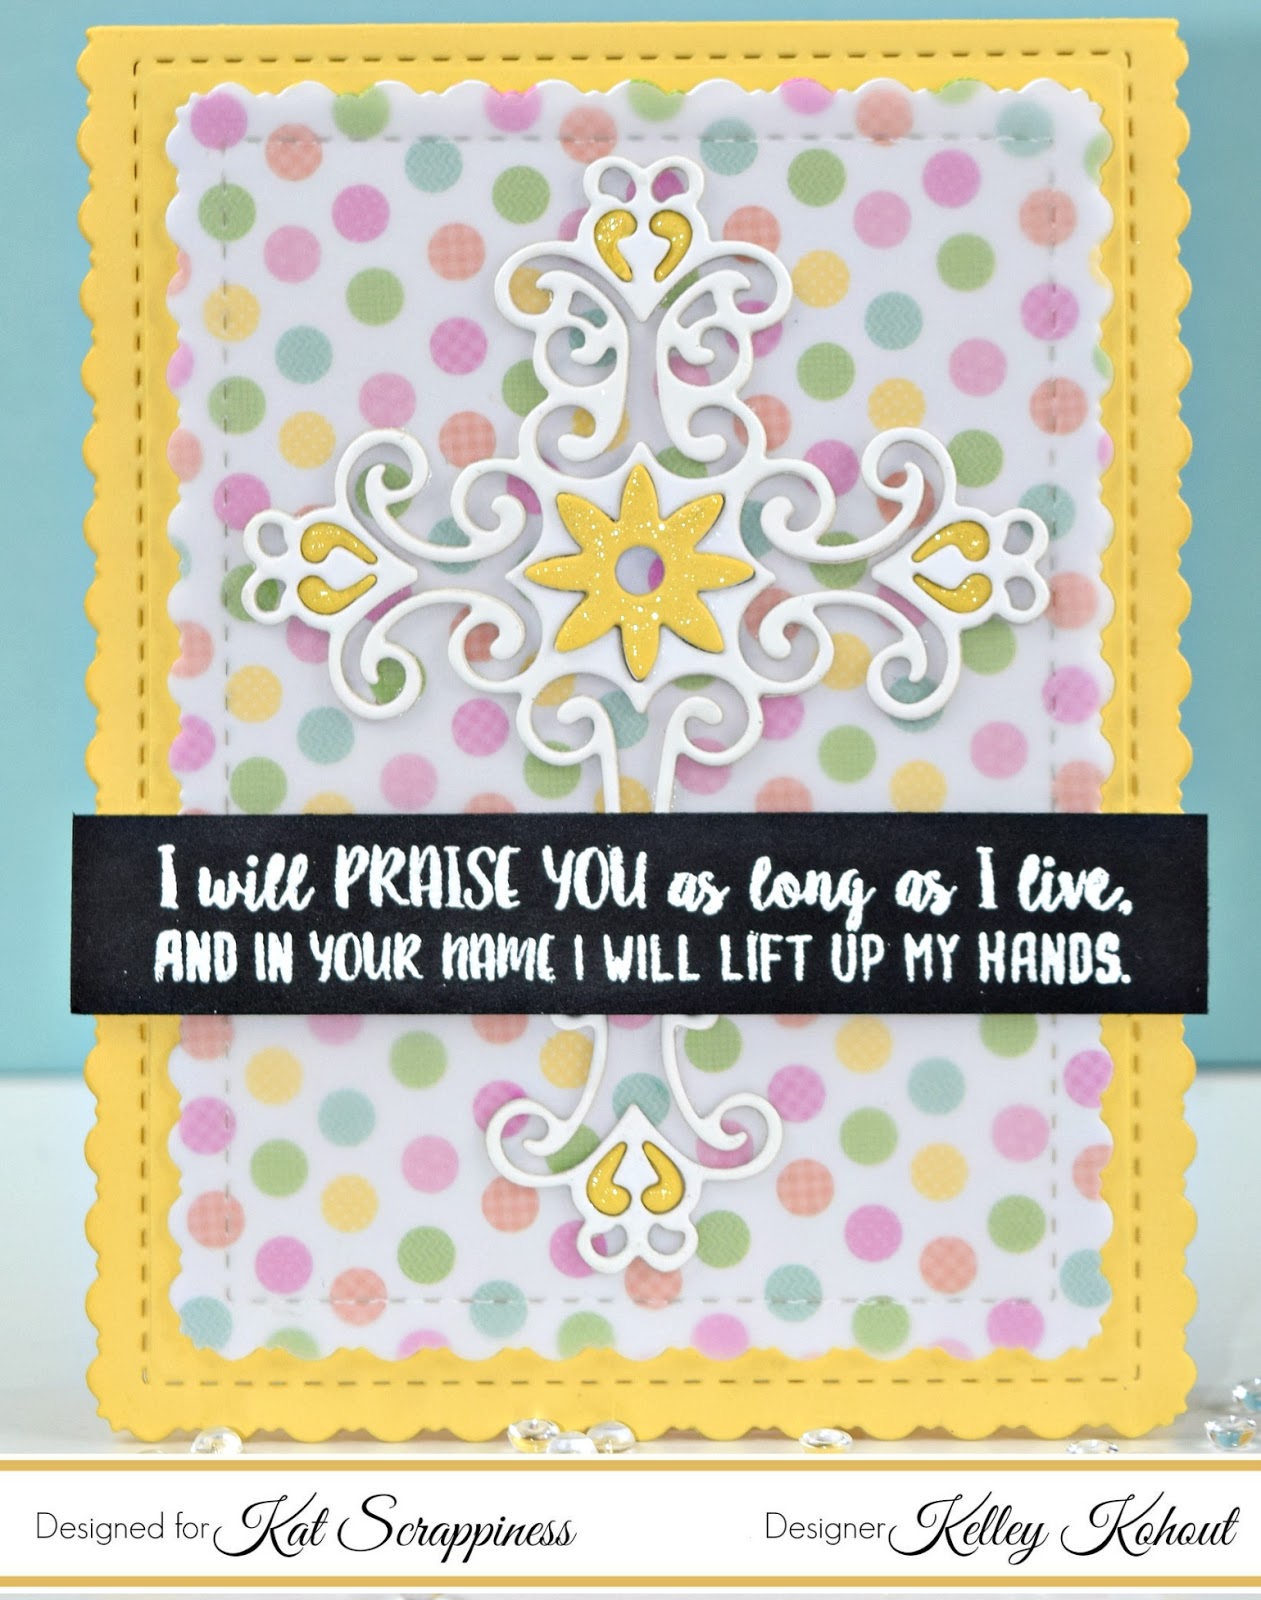
The finishing touch was a small bit of Wink of Stella on the inlaid yellow card stock. This added just a bit of shimmer without overpowering the beautiful cross.
Supplies:

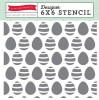
Hello my crafty peeps! I am back today to share with you two Easter cards showcasing the Easter peeps dies, Stitched Fancy Scalloped Die, Easter egg stencil by Echo Park, and a bunch of other products available at the shop.
Here are the two cards. They are very simple and can be easily mass-produced. I will keep this blog post short as I am sharing a process video below. I have listed and linked the supplies that I have used. Thanks for stopping by and have an amazing day!


Here’s the process video:
———SUPPLIES———–


https://static.inlinkz.com/ppr.js
Hey everyone, Cheryl here with a new Design Team post. Thanks for coming by.
For this project, I pulled out some watercolor paper and my Zig Clean Color Real Brush Markers. I stamped all the different vases from a Newton’s Nook stamp set called Versatile Vases. I chose some super fun, bright colors…I’m ready for Spring! I adhered the full piece to an A2 card base. I then used a scrap piece of paper and made a watercolored area big enough for my word die and cut it out.
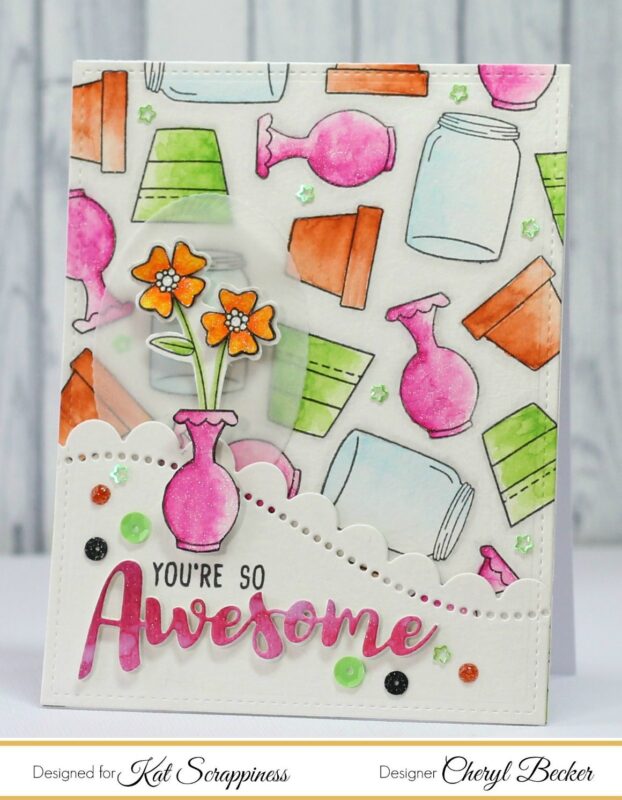
I stamped out one of the floral stems and colored it bright orange and another vase in bright pink. I fussy cut them out. To add a bit of a backer behind the flowers, I cut an oval from vellum using a KS Embossed Large Rope Nested Die. I then added the elements with a bit of foam tape.
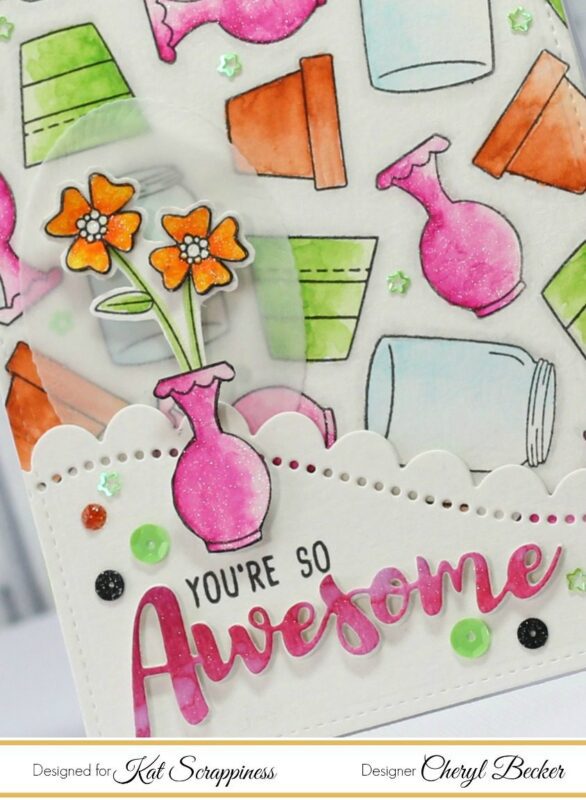
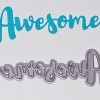
I added some KS Sequins and brushed on a bit of shimmer pen over the vase and flowers. I stamped “You’re So” from Kindness stamp set by Honey Bee Stamps and added several layers of the die cut word Awesome…to add dimension.
I hope you enjoyed my card and got a bit of inspiration. Happy Crafting!

https://static.inlinkz.com/ppr.js
Save
Save
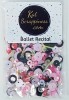
Hello friends! Katty here to share a 12×12 Scrapbook Layout. Todays layout is all about triangle and diamond shapes. I am scrapbooking a photo of me and my boyfriend. The photo was taken at an angle so it was perfect for cutting it into a square and tilting it to be a diamond.

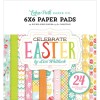
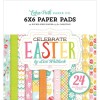
I began with the Kat Scrappiness Square Stitched Dies. I am still working with the Echo Park Celebrate Easter 6×6 Paper Pad. I used several sheets of paper from the pad and cut out several squares in several sizes. I also cut out some open squares which I will turn into fun shakers using some Heat Resistant Acetate.

I used the Easter Egg Hunt Sequin Mix to fill my little shaker diamonds. I filled each of the three with coordinating sequins.

I used a stencil and some Shimmerz Dazzlers Texture Paste from my stash in three matching colors and created big diamonds going across the center of a white 12×12 piece of cardstock. I then arranged my photo and squares over and around the three big diamonds.

I created my own embellishments by using the Happy Hoppy Stamp Set by Gerda Steiner. I stamped out three of the words from the set using Tim Holtz Distress inks.

I also stamped out several small hearts as well as three ballon hearts. I filled the ballon hearts with sequins from the Easter Egg Hunt Sequin Mix. I used Glossy Accents to adhere them down. I added some string to the ballons. I also stamped the ballons side by side, overlapping one another. That also became a fun embellishment.
I love how this turned out. Thanks so much for stopping by! XOXO -Katty
There is a process video on the Kat Scrappiness Youtube channel.
Thanks for stopping by! XOXO -Katty
Supplies Used: