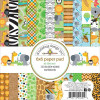
Whether you are a card maker, scrapbooker or mixed media artist, now is the perfect time to stock up on craft supplies. Between Friday, July 28th and Sunday, July 30th, everything in stock at Kat Scrappiness is 20% off using coupon code SUMMER. Check out our custom dies, stamps and sequins while you are there!
Today I’m sharing a bouquet card or embellishment using the Kat Scrappiness Flowerpot Dies. I used the largest die in this set to create the base for my bouquet. After cutting the pot from white card stock, I ran it through my die machine in the woven embossing folder. This gave the pot just a little extra texture and dimension.
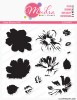
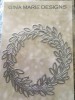
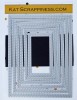
Here’s a look at the die set and examples. As you can see you have 4 sizes which gives you lots of versatility to create floral designs with the stamps and dies you may already have. I used both the Mudra Botanical Blooms Stamp set and the Mudra Daisy Blooms Set. These are layered stamp sets, so it was super easy to add the details in the colors of my choice. I cut all the blooms by hand and used the Gina Marie Designs Leaf Wreath Die and Fern Die for all of the greenery and leaves.
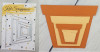
I chose the Kat Scrappiness Brushed Hello die to finish off my bouquet. Kat has many word dies for lots of different occasions! A little Wink of Stella over the Hello and in the center of the blooms was just enough sparkle to finish the bouquet. This type of card or embellishment would be a little tough to mail, but would be awesome on a gift bag as shown here, or added to the top of a wrapped package!
Do you like paper crafting and love the Kat Scrappiness products? You might be the perfect fit as a member of the Kat Scrappiness Design Team! Check out all the information HERE!
Thank you for visiting! All the products are listed below
YAY! It is almost the weekend. Angeline here to share with you a one layer card I made using the Hero Arts Thank You Messages stamp set. Sometimes, all you need is a quick card and since this set has so many beautiful Thank You sentiments, I thought — why not stamp all of them on my card and create a rainbow?
So, that is just what I did using a stamping platform. Kat has the Tim Holtz stamping platform in the store, which is perfect for this kinda card. What’s great about having a stamping platform is, you can place your stamps first before inking them up, to see where each stamp will go. Then, grab your inks (I am using Altenew dye inks) and ink away! Missed a spot? No problem! You can stamp over and over again with a stamping platform.
And to add some bling to the card, I used a mix of Kat Scrappiness Sequins. Kat has sooooo many colors in her store, you can grab a few, mix it up and create your own shades of sequins!
Here is the list of supplies I used to make this card. For all the supplies linked, you can get it from Kat Scrappinessstore. Do remember to use my code “Angeline10” to get 10% off your order! Happy shopping.
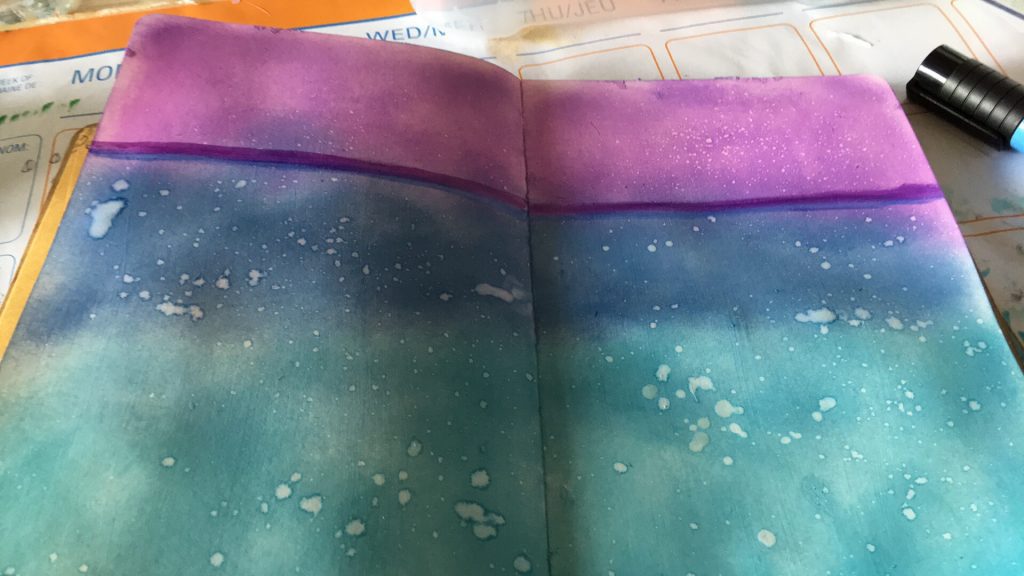
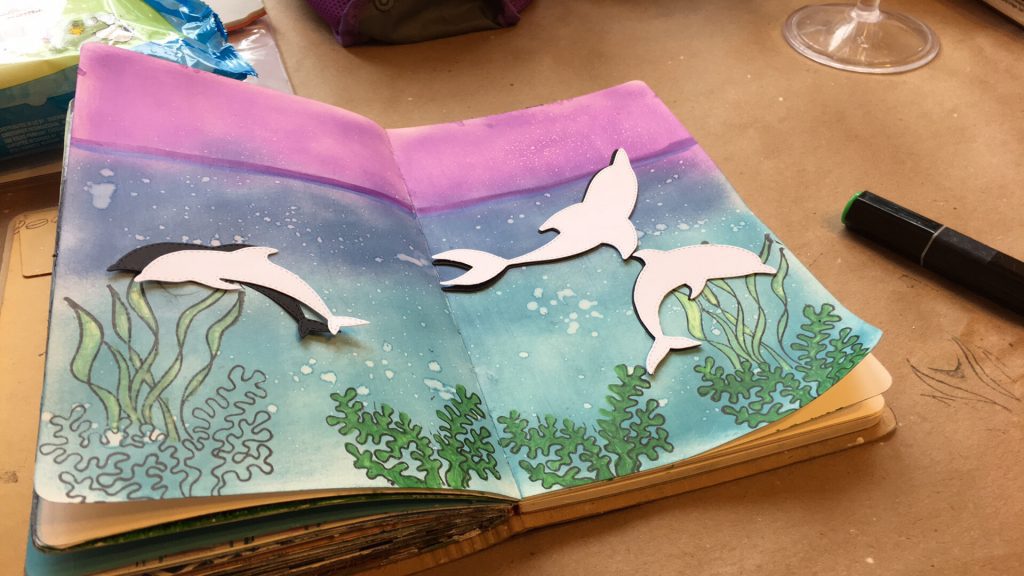
Once all three colours were to my satisfaction, I took a old paint brush dipped it in water, and added some splatters, and took my big brush markers to make a horizontal line to differentiate the ocean from the sky.
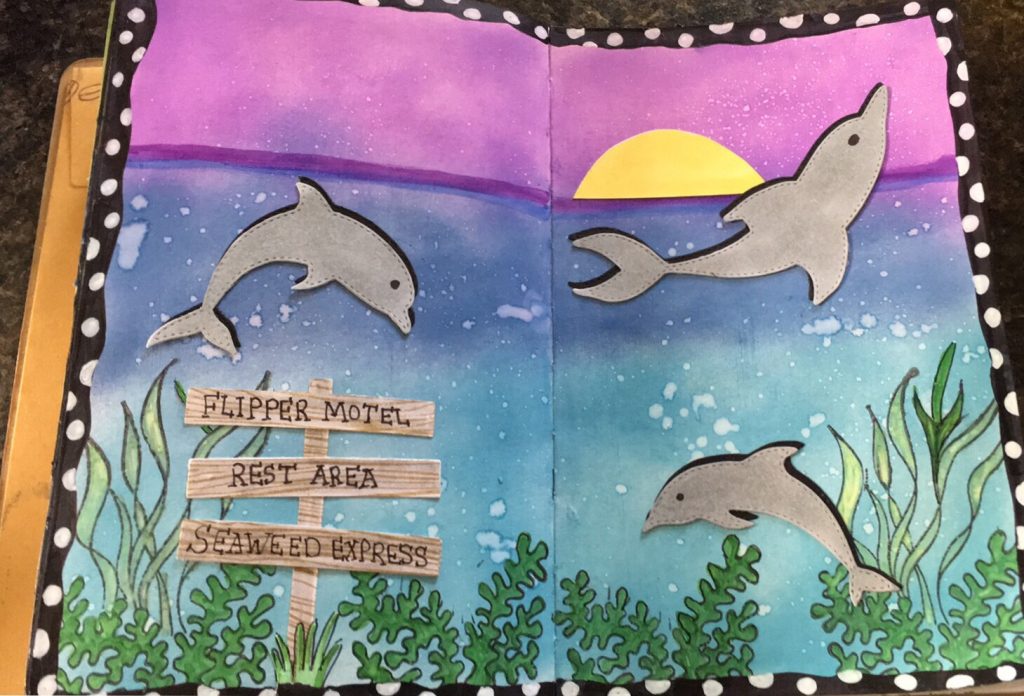
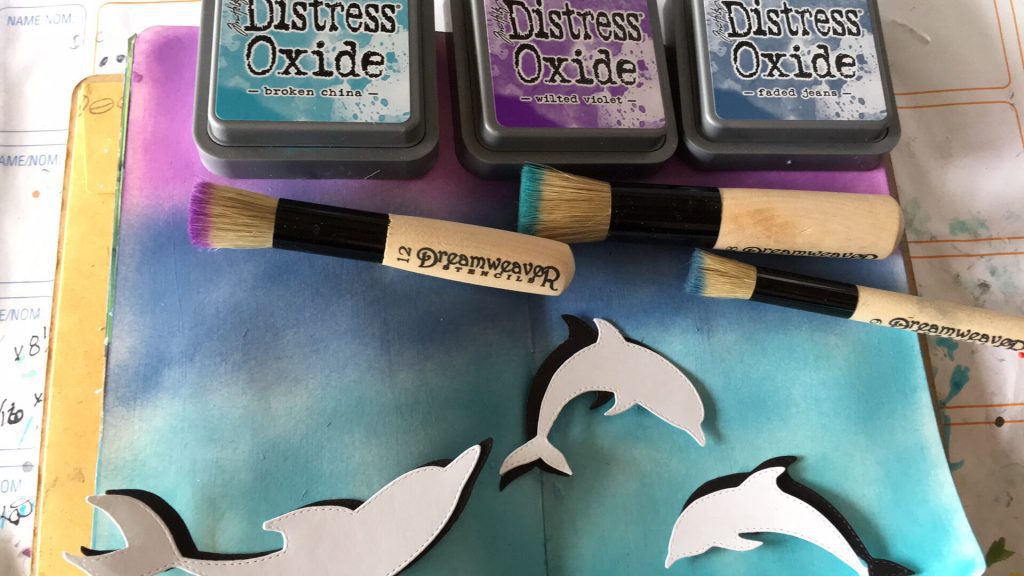
I added some Stamping at the bottom using my Jet Black Lawn Fawn Ink and a stamp set from my stash. Coloured in the seaweeds using some alcohol markers. I also die cut the 3 dolphins twice once in black to create the shadow and in white to be able to colour them in gray.
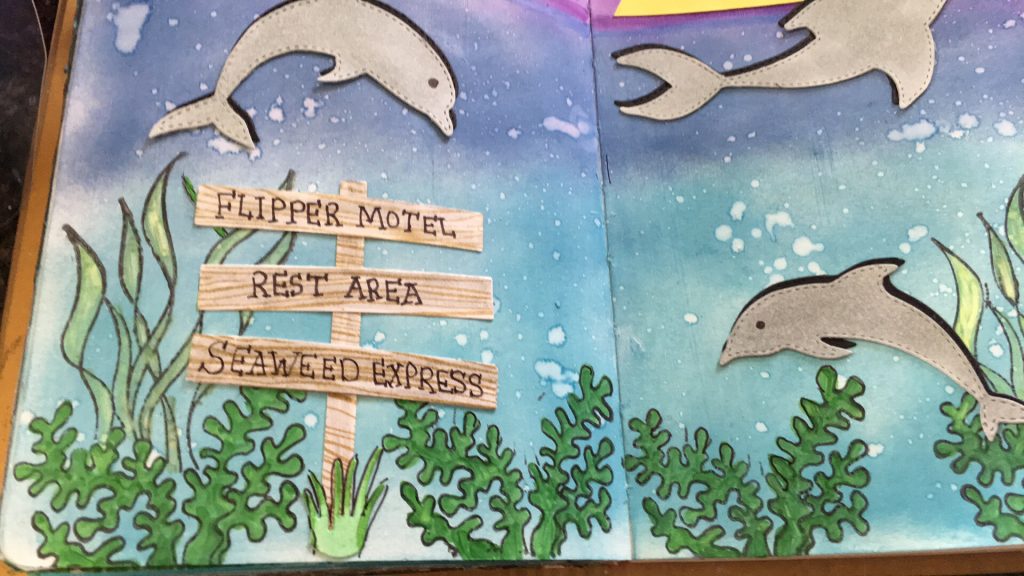
Here is where I die cut my sign post, coloured it a very light beige, then added a wood grain stamp over it using a light brown ink to imitate the wood. I took my sharpie and wrote random things on my posts. I also added a moon. This concludes my mini tutorial for today. Hope you enjoyed it.
Thanks for for stopping by and hope to see you again soon. Don’t forget to stop by Kat Scrappiness store at https://www.katscrappiness.com/ for your shopping convenience.
ATTENTION: IF YOU SUBMITTED AN APPLICATION PRIOR TO 7/18/2017 YOU NEED TO RESUBMIT YOUR APPLICATION. WE ARE VERY SORRY BUT THERE WAS AN ISSUE WITH OUR EMAIL THAT HAS BEEN FIXED NOW.
Kat Scrappiness is looking for a few new design team members! If you meet the following requirements, you could be our next new designer!
Complete three projects per month with one project including a process video. Also, film a haul video each month when your design team kits come in.
Create a blog post for each project with photos and tutorials showing how you made your project and how you used Kat Scrappiness products.
Promote Kat Scrappiness regularly on Social Media (Facebook, YouTube, Instagram, Twitter, Pinterest, Message Boards, etc.)
Participate in occasional blog hops and/or challenges.
Participate in Design Team Facebook Group
Term:
This call is for a six month term beginning September 1, 2017. Term may be renewed if both designer and Kat Scrappiness agree.
Compensation:
Each month you will receive one of each of Kat Scrappiness’ new releases. This includes stamps, dies and/or sequins. You will also receive a 30% discount on everything in the Kat Scrappiness store for any additional products you would like to use in your projects.
Application:
Please send an email with answering the questions below to designteam@KatScrappinessblog.com. The deadline for submitting your application is August 7, 2017 at midnight PST. The design team call is open to all applicants, however, if you reside outside of the United States, you must agree to pay 50% of the shipping fees each month for your kits.
Hello again, Cheryl here today. I had a lot of fun playing with another of KatScrappiness dies that was just released. I hope you’ll like what I came up with. So here we go!
I started by picking out the green patterned paper. I pulled out a stencil from Echo Park called Birthday Candles Stencil. I have a jar of translucent embossing paste. I laid down the stencil on the paper and used low tack tape to secure, then spread on the paste. Gives a super fun shine and dimension to the paper. I love it! I then cut it using one of KS Stitched Fancy Scalloped Circle dies. I layered that on a circle cut with a KS Double Stitched Circle die. Next I cut the KS Seal from KS Seal with Ball Scene Die Set in grey cardstock and inked the edges. I used clear embossing powder and did several layers over top to give the seal a wet look. Love how it turned out!
Next I cut the beach ball from the same die set and used a few different colors. I brushed on a bit of sparkle with my Clear Overlay Sparkle Marker. I layered it onto a grey circle. Added a sticker for the seals eye and tied on some cute twine. I also used a stamp from KS Interactive Card Instructions stamp set, trimmed it out, and added to the edge of the beach ball. Attached a Mini Action Wobbler to the bottom. Scattered a few sequins from KS Neon Summer Sequin Mix and stars from Rose Sparkle Glitter Sequin Mix and then set this element aside.
I picked out a patterned paper from Lawn Fawn’s Perfectly Plaid Rainbow Paper Pad and cut it with a KS Double Stitched Rectangle Die. I added that to an A2 sized card base. I pulled out two Lawn Fawn stamp sets. Wild For You and Elphie Selfie stamp sets to stamp my sentiment. I did part on a turquoise strip and part on velum. I wrapped the edges of the velum around and taped on the backside. And I added the turquoise strip with foam tape. I then finished off the card by adding on the main element right to the front with liquid glue. It hung over a bit and I trimmed off the overhang.
And that’s it. I think it turned out nice. I love how the beach ball “wobbles” on top of the seals nose. Like he’s playing with it and having fun. I hope you got a bit of inspiration today and will pull out your supplies. And should you need any new things or want to purchase what I’ve used, head to the Kat Scrappiness Store and check out her inventory. A great place to shop, for sure!
Today I have a quick and easy peasy card to share with you! Sometimes I just need a simple and quick card to put together as a Thank you or Happy Birthday. With the help of several Kat Scrappiness Dies and some totally awesome Doodlebug Design products, simple cards are easy to whip up!
I’ve included a quick video detailing the process of making this card. I hope that you’ll check it out!
Video:
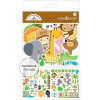
Don’t you just love working with Doodlebug products! They have everything figured out and coordinated. All you have to do is come up with your design and put it together. The dies I chose for this card are all from Kat Scrappiness! The background was cut with the Double Stitched Rectangle Die Set. I used the die that would be slightly smaller than my Neenah Desert Storm card base. Next, I cut the brown patten with the Stitched Fancy Scalloped Circle Dies. Last but not least, I used the Brushed Thank You greeting and cut it in coordinating orange card stock.
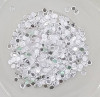
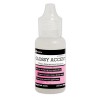
I could have stopped there and would have had a sweet little card, but I decided to step it up just a tiny notch by adding a little shine and shimmer! Kat Scrappiness recently released these beautiful Clear Flat Confetti Sequins. They are pretty cool because they don’t have the sequin hole in the center! To make the Thank You greeting stand out, I added Glossy Accents over the top. This adds just a tiny bit of dimension plus lots and lots of shine!
All of the supplies are listed below! Check out these and much more over at the Kat Scrappiness shop.