Follow:
    Design Team Projects

    Love What You Do

    1. Hi Everyone!

    Today I have a card that I think is fitting for what we all enjoy doing–creating art!  Kat’s new Everyday Brush Strokes stamp set and Lawn Fawn’s Fairy Friends stamp set make a whimsical combination.  This card is perfect for a crafty friend or as a reminder to ourselves as to why we love this great hobby of paper crafting.


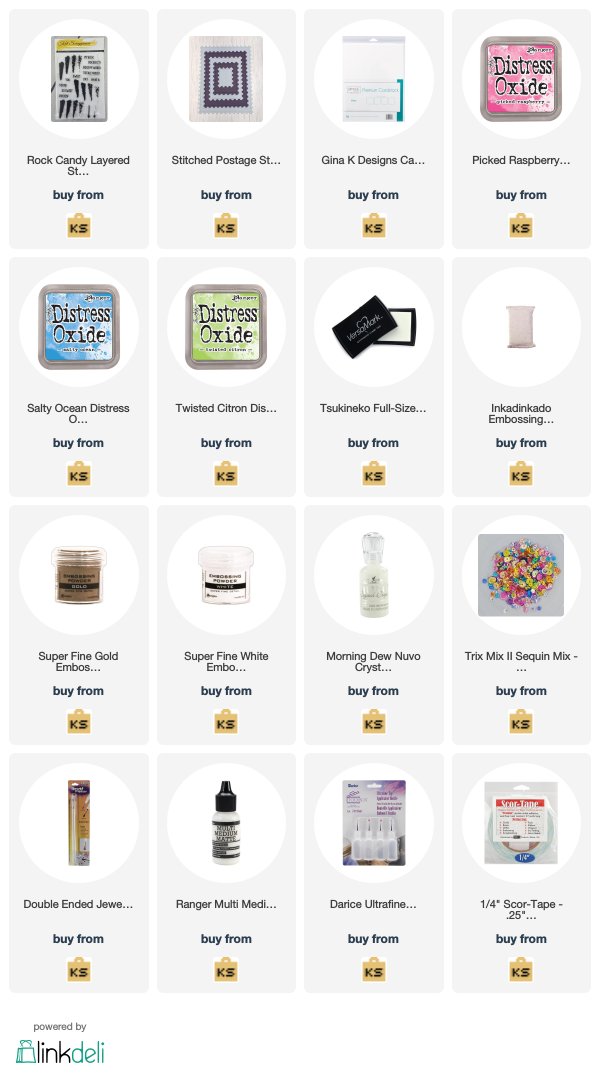
    I started off by blending some Salty Ocean Distress Oxide ink onto the front of a white notecard.  The perfect shade of light blue to create a dreamy look.  I also cut out a heart from Kat’s Double Stitched Heart Dies.  I used Tim Holtz/Ranger Distress Watercolor Cardstock for this since I would be stamping a rainbow of brush strokes on top.  I wanted to give the look of a little painting that the fairies created :).

    I used my stamp platform to stamp a rainbow of colors down the heart die cut.

     I stamped the fairies and wands and colored them in with a variety of Copic markers,  then cut them out with their matching dies.  I colored their little wings in with a Clear Overlay Sparkle Marker from Spectrum Noir.

    I backed the heart with a square I cut out using the Wonky Wavy Stitched Square die and some kraft cardstock.  I popped everything else up with foam squares and added some sequins from the Fluffy Clouds sequin mix.

    Thanks so much for joining me today.  I have all the supplies I used from the Kat Scrappiness shop linked below.  Be sure to use my coupon code, Heidi10 to receive 10% off your purchase in the shop.

    Heidi


    –SUPPLIES–

    Everyday Brush Strokes stamp set

    Lawn Fawn’s Fairy Friends stamp set

    Lawn Fawn’s Fairy Friends die set

    Double Stitched Heart Dies

    Wonky Wavy Stitched Square die

    Salty Ocean Distress Oxide ink

    Versamafine Onyx Black Ink

    Tim Holtz Tonic Stamp Platform

    Clear Overlay Sparkle Marker from Spectrum Noir

    Tim Holtz/Ranger Distress Watercolor Cardstock

    Fluffy Clouds sequin mix

    Design Team Projects

    Clean and Simple Cards with Punny Snacks by Maria

    Last week, I talked to a crafty friend and she told me that she was so sad because the card she gave to a co-worker was thrown out.  She said that she has put so much work and effort on making the card and she was expecting the co-worker to appreciate it and at least keep it!  I know how she feels!  This is the reason why sometimes, you just need to work on clean and simple cards to give out to other people.  I only really give my “special cards”  to friends and family who I know will appreciate them a lot.


    For todays card, I am showcasing the Punny Snacks stamp set, with Wonky Wavy Stitched Rectangle Dies and a bunch of other supplies available at the shop.


    The Punny Snacks stamp set is perfect to create some clean and simple cards.  Don’t get me wrong, I also used this stamp set to make some very elaborate (special) cards but these images are so cute and simple and you can even create just a one-layer card.  It’s good to have a bunch of these cards in your stash for “just-because” kind of days.


    I have a process video for you below.  I hope this inspired you to create some clean and simple cards!   I also listed and linked the supplies I used below.  Have a wonderful day!

    Here’s the process video:

    Here are the cards:

    KatScrapPunny5

    KatScrapPunny6

    KatScrapPunny7

    ——————-SUPPLIES—————–


    Design Team Projects

    “You’re Too Sweet” Card

    Hello, crafters!  Today I will be sharing a card with you that I made using the new “Punny Snacks” stamp set.  This stamp set is full of adorable food images and funny sentiments to go with them.  I chose to use the ice cream cone and put the You’re Too Sweet sentiment with it.  I am a big fan of creating my own custom backgrounds, and the ice cream stamp is the perfect size to use for this.  I cut a panel of white card stock to 4×5.25″ and stamped the images repeatedly in a random pattern, using VersaFine Onyx Black ink.  This is my favorite black ink to use, and it lends itself beautifully to heat embossing (I used Ranger Clear powder for this project.)

    There are many different ways to color your card projects, but I decided to do a little watercoloring with my aqua brush and some Zig markers.  With only 2 shades of brown and 1 pink, I was able to get some pretty shading because of the water added with my brush.

    Once my background panel was done, I used the Kat Scrappiness Double Stitched Circle Dies to create a focal piece.  The great part about these dies is that you get a stitched detail on the piece you cut out (in this case my polka dot paper), and stitched detailing around the edge of the cut-out (my custom background.)  To give the background just a bit more pizzazz I decided to dry emboss it with one of my embossing folders (I used polka dots, but any uniform pattern would do.)

    For my focal piece, I stamped the ice cream cone and put the sentiment beneath it, again using VersaFine ink and Clear embossing powder.  I added a watercolored ice cream cone with some foam tape so that it would really stand out against the polka dot paper.  These images are really easy to cut out by hand!

    Finally, I popped up the focal piece with some foam tape and placed it over the circle opening of my background panel.  And there it is, my finished card!  I hope that you enjoyed this project and will give it a try for yourself.  If you’d like to watch a video of the full creation of this card, I’ve included a link below.  See you all soon!


    “You’re Too Sweet” process video


    Design Team Projects, New Releases

    Sweet Rockin’ Day!

    Hi Everyone, it’s Tina here today. By now you have seen the new stamp release for March! Today I am showcasing Rock Candy Stamps. Rock Candy is a build it stamp to help you create a realistic Rock Candy. I did search for Rock Candy to see the colors they come in and below is an inspiration photo which inspired my card. Below you will find the steps to replicate this card.

    • Step 1 – Cut White Cardstock to 8 1/2″ x 5 1/2″. Score and fold in half to form a vertical side-fold card base. Finished size: 4 1/4″ x 5 1/2″ (A2)
    • Step 2 – Trim White Cardstock to 4″ x 5 1/4″. Apply Distress Oxide using an ink applicator. I used Picked Raspberry, Twisted Citron & Salty Ocean. Spray water to oxidize the inks and create splatters. Let dry. Adhere to the front of card using clear double sided tape. See below photo for finished panel.

    This card is super fun for Children and can be used for any occasion by changing the colors and sentiment.

    Below is a link to all products used for this card. If you would like to receive 10% off your order use coupon code Tina10. Thanks for stopping by and have a wonderful day.

    Kat Scrappiness Products Used


    https://linkdeli.com/widget.js?1519981290002

    Design Team Projects

    You make the world a beautiful place…

    Hello everybody! It’s Jana and I am happy to be posting and sharing another Design Team project for the Kat Scrappiness Blog. Today’s post features the Everyday Brush Strokes Stamp Set . I just can’t get over this stamp set.  Again, it was just released this month and is truly amazing. This set comes with a total of 18 stamps which include: 11 sentiments, 2 paint splatters and 5 brush strokes all varying in size. For today’s project, I have used the set, along with some other fun goodies from the shop to create a beautiful shaker card.


    To begin, I first die cut a piece of orange vellum I had found in my stash using the Kat Scrappiness Stitched Postage Stamp Edge Rectangle Dies. I used the largest die in the set, which fits perfectly on an A2 sized card.

    I cut a second card mat using white cardstock down to 3-3/4″ wide by 5″ high.  I then die cut a circle out of the middle of the card mat using Lawn Fawns Small Stitched Circle Stackable Dies. I decided that for this particular card I wanted to create a sun and used the smallest brushstroke from the stamp set. I started off stamping my brush stroke around the base of the circle using the Fossilized Amber Distress Oxide Ink Pad by Tim Holtz.

    I then wanted to add another tone to my bright shining sun to make it stand out just a bit more, so using the same small brush stroke stamp, I used the Wild Honey Distress Oxide and stamped around the circle once more, this time stamping in between the brush strokes that have already been stamped. This method makes not only a great sun, but could also be an amazing  sunflower too (I might have to try that next!!)

    After my sun was created, I decided that I wanted more color around the outer edges of the cardstock to help my sun “pop”, so I added some more color using Peacock Feathers Distress Oxide.

    Once that step was completed, I cut a piece of acetate and adhered it onto the back of my card mat over the circle using Ranger Multi Medium Matte to create my shaker window.

    Now for the fun part…..adding these amazing sequins.  Kat Scrappiness has so many gorgeous sequins and the Turquoise Sunrise sequin mix was perfect for this shaker card. I added a bit into the center of my card before I placed my sun over it to seal.

    I added foam tape to the back panel of the card mat and around the edge of the circle to create my shaker area and then adhered it to the card base. How beautiful is that ?!?!

    To finish off the card, I stamped the sentiment “you make the world a beautiful place” also from the Everyday Brush Strokes Stamp Set using Memento Tuxedo Black Ink on the lower left corner of the card. I then took a few more sequins from the mix and added them to the top right and lower left corners to add a bit of interest.

    I hope that you enjoyed today’s project and it has helped to inspire you.  All products used in the project are listed below and can be found at the Kat Scrappiness Store. Remember to use the Code: JANA10 to receive 10% off of your order.

    Supplies Used:

    Kat Scrappiness Everyday Brush Strokes Stamp Set

    Kat Scrappiness Stitched Postage Stamp Edge Rectangle Dies

    Wild Honey Distress Oxides Ink Pad by Tim Holtz

    Fossilized Amber Distress Oxides Ink Pad by Tim Holtz

    Ranger Multi Medium Matte

    Kat Scrappiness Turquoise Sunset Sequin Mix

    Memento Tuxedo Black Dye Ink Pad

    Lawn Fawn Small Stitched Circle Stackables Dies

    Scotch Foam Mounting Tape


    Design Team Projects

    Punny Snacks Shaker Card


    Hi Friends! kel here today to share a yummy shaker card using the new Punny Snacks stamp set!!

    This set is so cute and fun and YUMMY! I absolutely love that it comes with an assortment of faces that you can decorate your food with… something I am definitely going to have to play with next.

    I colored up the images with my Copics and then used my Scan n Cut to die-cut all these little images. I arranged them as a frame for my shaker box, and then added some clear acetate on top of it to create my window. Then I dumped in some Sparkling Manhattan Sequin Mix into the window before closing it up with some scrap paper for a backing and some 3d squares to pop it all up so my shaker had enough shaking room! I really couldn’t figure out what bright colors would look nice with this food frame, and then settled on browns because just about every-other piece of food on here had brown in it!

    I also stamped all over the background paper with the Walnut brown ink cube from the Lawn Fawn Candy Store Ink Cube Pack and then added some red hearts in the gaps using the Lobster red ink cube from the same Candy Store Ink Cube Pack. I then added the sentiment and heart with my Versamark Ink Pad before heat embossing it so that it stood out nicely. I used white embossing powder for the sentiment and red embossing powder for the heart. 

    Again, SO FUN. Love this set and looking forward to adding some faces to my food lol!! Thanks for stopping by, see you again soon!

    lovies, =o) kel

    Supplies Used (use code kel10 for 10% off your order!):

    Design Team Projects

    Mini card set using Everyday Brush Strokes

    Hi everyone – Happy St. Patrick’s Day!

    Today I’m sharing a set of mini cards I made using Kat Scrappiness Everyday Brush Strokes stamp set and the Stitched Postage Stamp Edge Rectangle dies.  I love making sets of mini cards to give away as gifts to friends and family.  I make these when I lose my crafting mojo.  They are small, cute and help me get that mojo back on track!  I usually  make them 3×3 inches, but today I wanted show how you can use the stitched postage die (or really and other shaped die) to make these.

    I did two designs in two different colors for this set of four.  Here is a video showing how I made these cards.


    Head over to the Kat Scrappiness store to check out this stamp set and the other two new stamp sets released this month.  Other products are listed below with links to the store.  Also, be sure to use code caren10 for a ten percent discount in the store!

    Thanks for stopping by and Happy Stamping!

    Supplies Used: