Follow:
    Design Team Projects

    Rainbow Polka Dot Flags Card

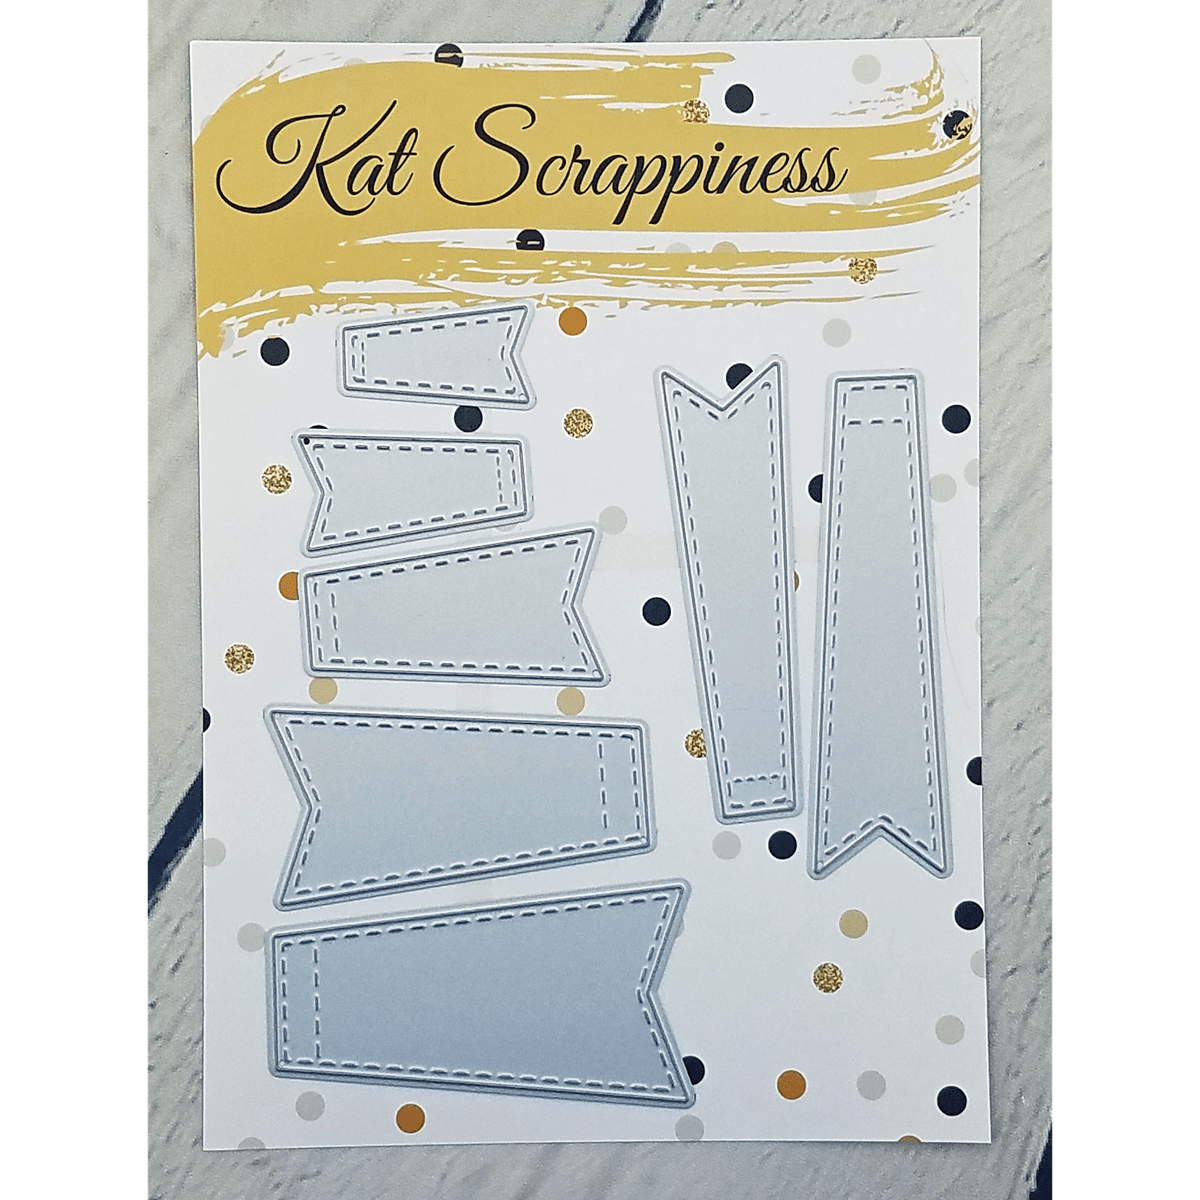
    Hi Everyone, it’s Tina here today. The new Stitched Flags dies from Kat Scrappiness are so much fun to play with. Once I selected my rainbow colors for my Stitched Flags I created a simple matching rainbow background using the Distress Oxide Inks. My card is also using the Wonky Wavy Stitched Rectangles Die and Everyday Brush Strokes stamp set for the sentiment. Below you will find the easy steps to replicate this card.

    • Step 1 – Trim White Cardstock to 8 1/2″ x 5 1/2″, score at 4 1/4″, fold in half for a horizontal side fold card (A2)
    • Step 2 – Trim White Cardstock to 4 1/4″ x 5 1/2″. Apply Distress Oxide ink directly to cardstock using a mini blending tool. I applied 5 colors to create a rainbow. The colors I used are Squeezed Lemonade, Twisted Citron, Salty Ocean, Picked Raspberry & Wilted Violet. I sprayed some water to create an oxidized effect. Once dry Diecut Wonky Wavy Stitched Rectangles to the background.
    • Step 3 – Apply anti static powder to the bottom left of the Distress Oxide Ink background. Stamp Everyday Brush Stroke sentiment stamp using Versamark Ink. Sprinkle White Embossing Powder, remove the excess then heat set it with a heat tool. Adhere the background to card using Scor-Tape.
    • Step 4 – Diecut Stitched Flags using Polka Dot Patterned Paper in five colors and 3 sizes each color. Adhere the largest Stitched Flag first using Scor-Tape, then middle size and then small size on top. You may want to layer them first before adhering to figure out the placement.

    I hope you enjoyed today’s card. This card can be used for any occasion by changing the colors and/or sentiment. All products used are linked below. Thanks for stopping by and have a wonderful day!

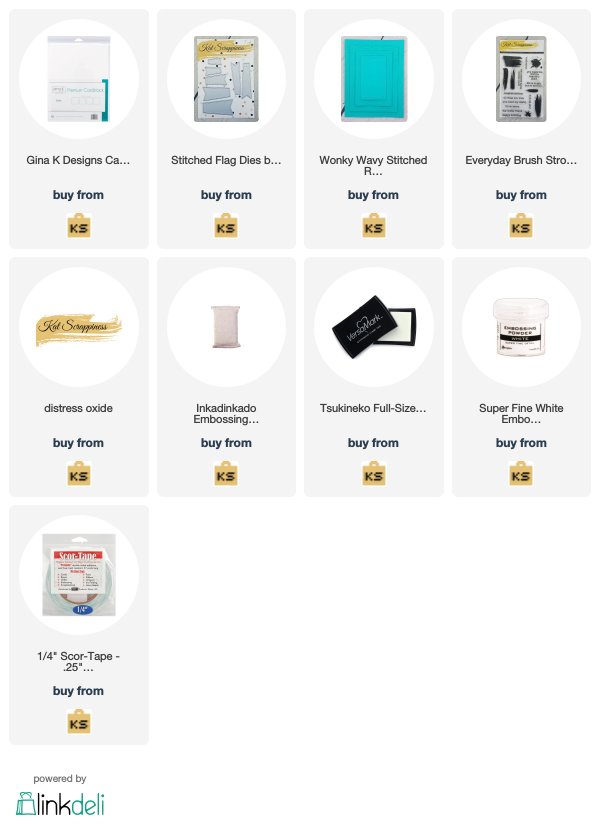
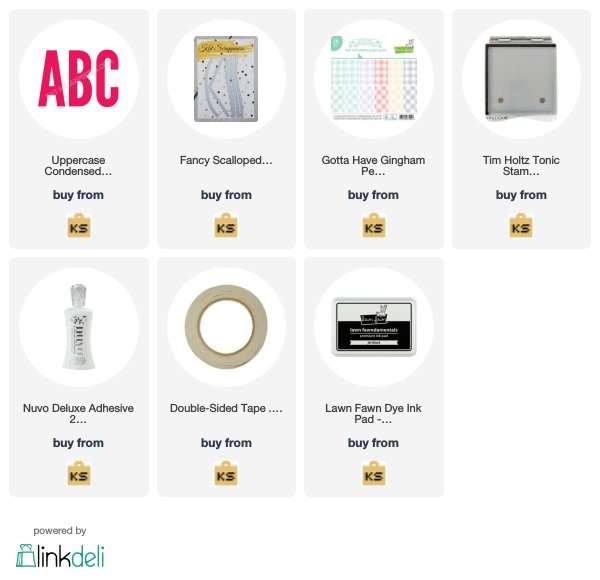
    Kat Scrappiness Products Used:


    https://linkdeli.com/widget.js?1525438185447

    Design Team Projects

    “Happy Birthday” Flag Banner Card

    Hello, crafters!  I hope that you’re all having a lovely day today.  Today’s blog entry will focus on the birthday card I created using the new Kat Scrappiness Stitched Flags Die set.  This die set is extremely versatile, and I encourage you to look through this month’s blog entries from the entire team – you’re sure to get inspired by everyone’s creations!


    Since you can never have enough birthday cards on hand, I knew right away that I wanted to make one.  I went to the cut files in my Silhouette Cameo and found this cute grouping of presents.  I decided to print & cut them because I liked the colors so much, then laid them out in a pattern that I liked.  Aren’t they cute?  I wonder what’s inside…..


    I decided that I wanted to add my letters on top of my banner flags, so I cut out a bunch of little circles from white card stock.  Using a nice chocolate brown ink, I stamped each letter out with one of my alphabet stamp sets.  This particular set is Harold’s ABCs from Lawn Fawn.  They offer multiple styles and sizes of fonts, and I love how easy they are to place on my stamping block.  When I add them to my flags, I will pop up each circle on a bit of foam tape for added dimension.


    I turned to my vast patterned paper horde and found a 6×6 pad that contained all the colors that were in the little presents.  I selected three different papers and cut out my flags, enough of them for each of my thirteen letters.  I just love that stitched detailing, don’t you?


    Before I secured anything permanently, I took a little time to carefully lay out my flags so that they were centered and had a slight curve as if they truly were “hanging” from a line.  I’ll admit that I was pushing my limits a bit with the word “birthday,” but I think it worked out in the end.


    Now that all my flags are taped down to my card front, I cut a few pieces of neutral twine to “hold” my banners.  It looked too bulky when I tried to run it behind the flags, so I simply glued them down on top and tied little knots at the ends.  I just used a nice, thick, white glue that dries clear for this.  If you have a jar of the Ranger Multi Media Matte it would work perfectly.


    To finish off this card, I sponged the edges of my white panel with some of the same chocolate brown ink I used for the letters.  This is an easy way to add the look of dimension to a project while still keeping things flat and gives it a little extra “pop.”  I then added a rectangle of some beautiful aqua blue card stock to the back for a pretty mat.  This pop of color really helps liven things up and tie everything together.


    And that’s the finished card!  I hope that you had fun following along with me this time, and that you’ll try making some banners of your own.  If you are a scrapbooker, adding an adorable banner for your title is an AWESOME way to incorporate them to your layout.  To get these flags for yourself, be sure to check out the Kat Scrappiness store for these dies and many more.  Have an awesome day!

    Design Team Projects

    Happy Father’s Day

    Hello everybody! I am excited to stop by and share with you all, a card that I have created for Father’s Day using some amazing products from Kat Scrappiness.

    I started off by creating my A2 sized card base using 110lb. White Neenah Card Stock. I then cut down a piece of blue Bazzill Cardstock to measure 4-3/8″W x 5-3/8″H and adhered that onto my card base as my card mat.

    One of my favorite dies from Kat Scrappiness is the Condensed Uppercase Alphabet Dies. I used these to die cut the word “DAD” using some gold foiled card stock that I had left over in my stash from a previous project.

    I also die cut three different sized ovals using the Cross Stitched Oval Dies by Kat Scrappiness.

    Have you seen the newly released Dad’s Tools – 6″x 8″ Layered Stamp Set by Kat Scrappiness? This stamp set is amazing! There are a total of 34 stamps in this set. The tools, which include a hammer, screw driver, nails and screws are all layering stamps and there are 12 sentiment/word stamps, making it that much easier to be able to create that perfect masculine card for any occasion. I decided that I was going to use the hammer for my card creation. I started by stamping the hammers handle using Tim Holtz Distress Oxide Inks in Antique Linen, Frayed Burlap and Vintage Photo. For the hammer head, I used Hickory Smoke, Iced Spruce and Black Soot.

    I also decided that I wanted to use one of the sentiments from the Dad’s Tools – 6″ x 8″ Layered Stamp Set as well. I went with the “Happy Father’s Day” stamp, which I stamped with Versamark Ink and heat embossed using Hero Arts Gold Embossing Powder onto the smallest blue oval that I had die cut previously.

    To complete my Father’s Day card, I layered my die cut ovals and centered them at the lower portion of my card. I added foam tape to the “DAD” letters to make them pop up a bit and to make it fun, I wanted to put the hammer through the first “D”. Once all of my card elements were in place and adhered down, I added some small adhesive gems at the top left and bottom right corners to add a bit of interest and complete my card.

    I am happy with how my card has turned out and I hope that you enjoyed my quick tutorial as well.  All of the supplies I have used for this card are listed below and can be found at the Kat Scrappiness Shop. Remember to use Code: Jana10 at checkout to receive 10% off of your order. Thank you again for stopping by and have an amazing day!!!

    Supplies List:

    110lb. Neenah White Card Stock

    65lb. Blue Bazzill Card Stock

    Patterned Paper & Gold Foiled Card Stock

    Condensed Uppercase Alphabet Dies by Kat Scrappiness

    Cross Stitched Oval Dies by Kat Scrappiness

    Dad’s Tools – 6″ x 8″ Layered Stamp Set by Kat Scrappiness

    Antique Linen Distress Oxide Ink Pad by Tim Holtz

    Frayed Burlap Distress Oxide Ink Pad by Tim Holtz

    Vintage Photo Distress Oxide Ink Pad by Tim Holtz

    Hickory Smoke Distress Oxide Ink Pad by Tim Holtz

    Iced Spruce Distress Oxide Ink Pad by Tim Holtz

    Black Soot Distress Oxide Ink Pad by Tim Holtz

    Tsukineko Full-Size Versamark Clear Embossing Ink Pad

    Hero Arts Gold Embossing Powder

    Adhesive Gems

    Design Team Projects

    Mermaid “scales”

    Hi Friends! kel here today to share a fun card for a special mermaid!! And I totally took inspiration from a fellow KS teamie Caren… She made a beautiful rainbow flag card the other day and it made me think mermaid!!

    I’m using the new Stitched Flag Dies to make this card. There are SEVEN different flags in this set… I used the 2nd smallest one to make my card. I knew I didn’t want to cover the whole card with my mermaid “scales” but didn’t want to go so big that there wouldn’t be a lot of layers on it.


    This card was SO MUCH FUN. I wasn’t really looking forward to having to individually die cut all the flags but it ended up being pretty quick! I’ve had this shiny paper in my stash for at least a decade (sooooo not even kidding about that lol!) and thought it was the perfect pair for mermaid colors! I stamped out the sentiment using the Merman color from the Gazebo pack of the Lawn Fawn ink cube sets, and then added a splattering of sequins from the Mint Sparkles Sequin Mix to the top left corner. I wasn’t sure how the pink in the sequin mix would work with the purple in the card but I think it goes perfectly together. And I wanted it to look like a random sprinkle of sequins so I just kinda dumped it out on the card and then tried my best to just glue it down individually so I could keep the placement. Not easy to do using my fingers lol!! I think any of the pick-up tools from the Kat Scrappiness store would have made things a little bit easier for me!! Maybe next time lol!

    I’m SOOOOOOO happy with how this card came out… it totally has that mermaid vibe going! Thanks for stopping by, see you again soon! Don’t forget to take part in our awesome monthly challenge for your chance to win a $25 Gift Card!!

    lovies, =o) kel

    Supplies Used (use code kel10 for 10% off your order!):

    Design Team Projects

    Fun Card using Stitched Flag Dies

    • Hi everyone, it’s Caren.  Today, I have a fun card using the Kat Scrappiness Stitched Flag dies.  I immediately had this idea when I first saw the dies.  I love the way these cards turned out.

    It was a lot of die cutting, but putting them together was quick.  Here is a video showing how I created these cards.


    Use code caren10 for a 10% discount in the Kat Scrappiness shop.

    Thanks for stopping by and happy stamping!

    – – – SUPPLIES – – –

    Design Team Projects

    I Love You Card ft. Patterned Paper

    Hello, everyone. Happy Wednesday! Being right in the middle of the week, I hope today card with cheerful rainbow colors will brighten your busy day. So let’s dive right in.

    I’ve always been hoarding patterned paper packs but don’t ever get around using them. So I’ve been looking into using them more often. And when it comes to a patterned paper pack with a rainbow theme? It’s just so easy to do.

    I chose two designs from the Lawn Fawn Really Rainbow paper pack. I I cut a piece out of the brighter color one down to 5.5″ by 4″, and adhere it down towards the top of an A2 size, landscape side-folding notecard. I then trimmed a thin strip of the white and color strips paper and adhere it along with a wide strip of black cardstock towards the bottom.

    The card is really simple and easy. I white heat-embossed the sentiment “i love you” from Neat & Tangled Floral Heart directly on my card as shown, and also the floral heart wreath on some black cardstock then cut it out. I adhered the floral wreath on my card with some foam tape to add dimension. I also added some White Diamond sequins from Kat Scrappiness here and there for some finishing touches.

    I hope you like this card and remember to use use the discount code: Siqi10 to get 10% off you order! Have a great week!

    Supply List:

    Floral Heart – 3″x4″ Clear Stamps by Neat & Tangled

    White Diamond Sequin Mix – Shaker Card Fillers

    Really Rainbow Petite Paper Pack 6″X6″ by Lawn Fawn

    Gina K Designs Cardstock 8.5″X11″ 12/Pkg – White

    Gina K Designs Cardstock 8.5″X11″ 12/Pkg – Black Onyx

    Tsukineko Full-Size VersaMark Clear Embossing Ink Pad

    EK Success Embossing Powder Tool Applicator

    White Embossing Powder by Lawn Fawn

    Ranger Multi Medium Matte .5 oz

    Design Team Projects

    I Love You More Than Chocolate Dad

    Hello Kat Scrappiness fans!  Maria here with you today sharing this Father’s Day card, showcasing the Condensed Uppercase Alphabet Dies, the Layered Chocolate Bar 6×8 stamp set, the Chocolate Lover’s Sentiment stamp set and the Fancy Scalloped Stitched Border Dies.


    I struggle with Masculine cards but I like how this one turned out.  I stamped the chocolate images on Neenah solar white card stock, using 3 different brown inks.  I die-cut a piece of patterned paper using the Gotta Have Gingham 6×6 patterned paper by Lawn Fawn with the larger die from the Fancy Scalloped Stitched Border dies.


    I wanted to do a ghost die-cut technique so I die-cut my stamped background using the Condensed Uppercase Alphabet Dies.  I adhered the background onto my card base and adhered the letters with foam adhesive to give it dimension.  To finish my design, I stamped the sentiment on the foreground.  Since this is a masculine card, I didn’t really add anything else to it, which is really tough because I normally embellish my cards a lot.  Here’s what it looks like:


    I hope you like my card today.  I am sorry for being a bit M.I.A. on the blog or on YouTube.  I am in the process of moving my household stuff from overseas, back to FL and I have been crazy busy lately.  You will be seeing more posts and videos once I am settled in.  Thanks for supporting Kat Scrappiness and for liking our videos and blog posts.   The supplies I used are listed and linked below.  Have an amazing day!


    ———–SUPPLIES———–


    https://linkdeli.com/widget.js?1525438185447