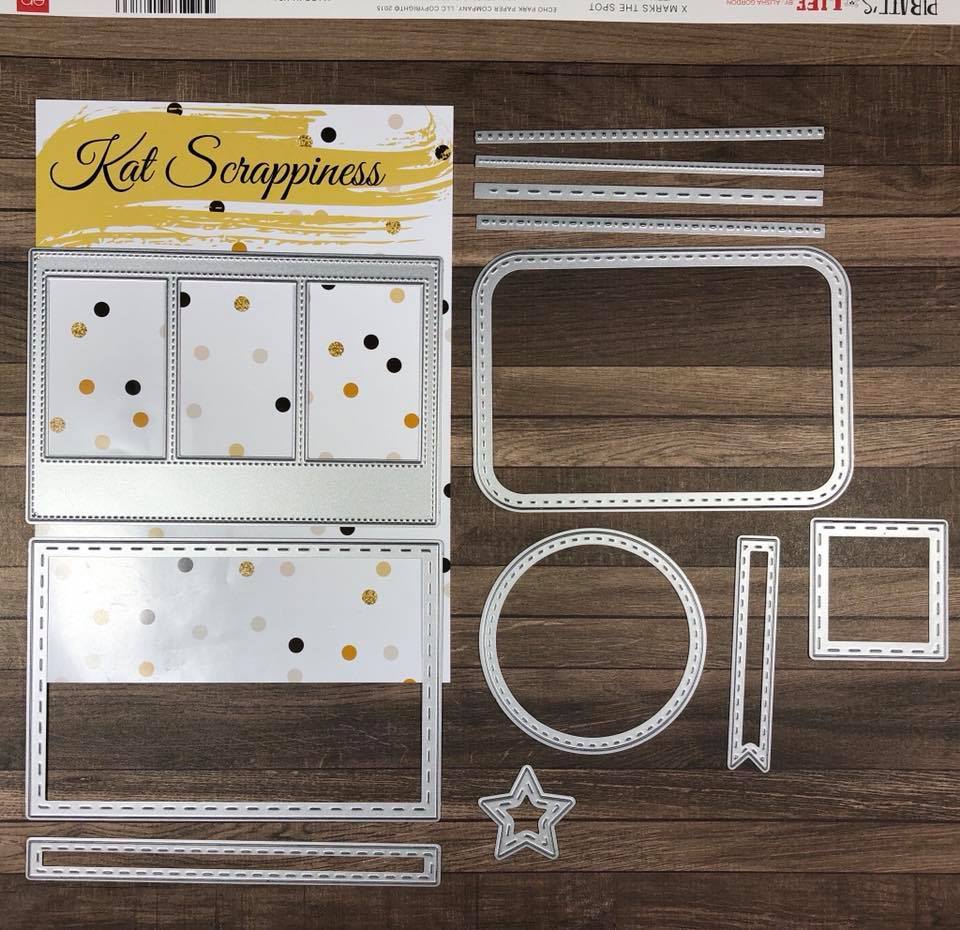
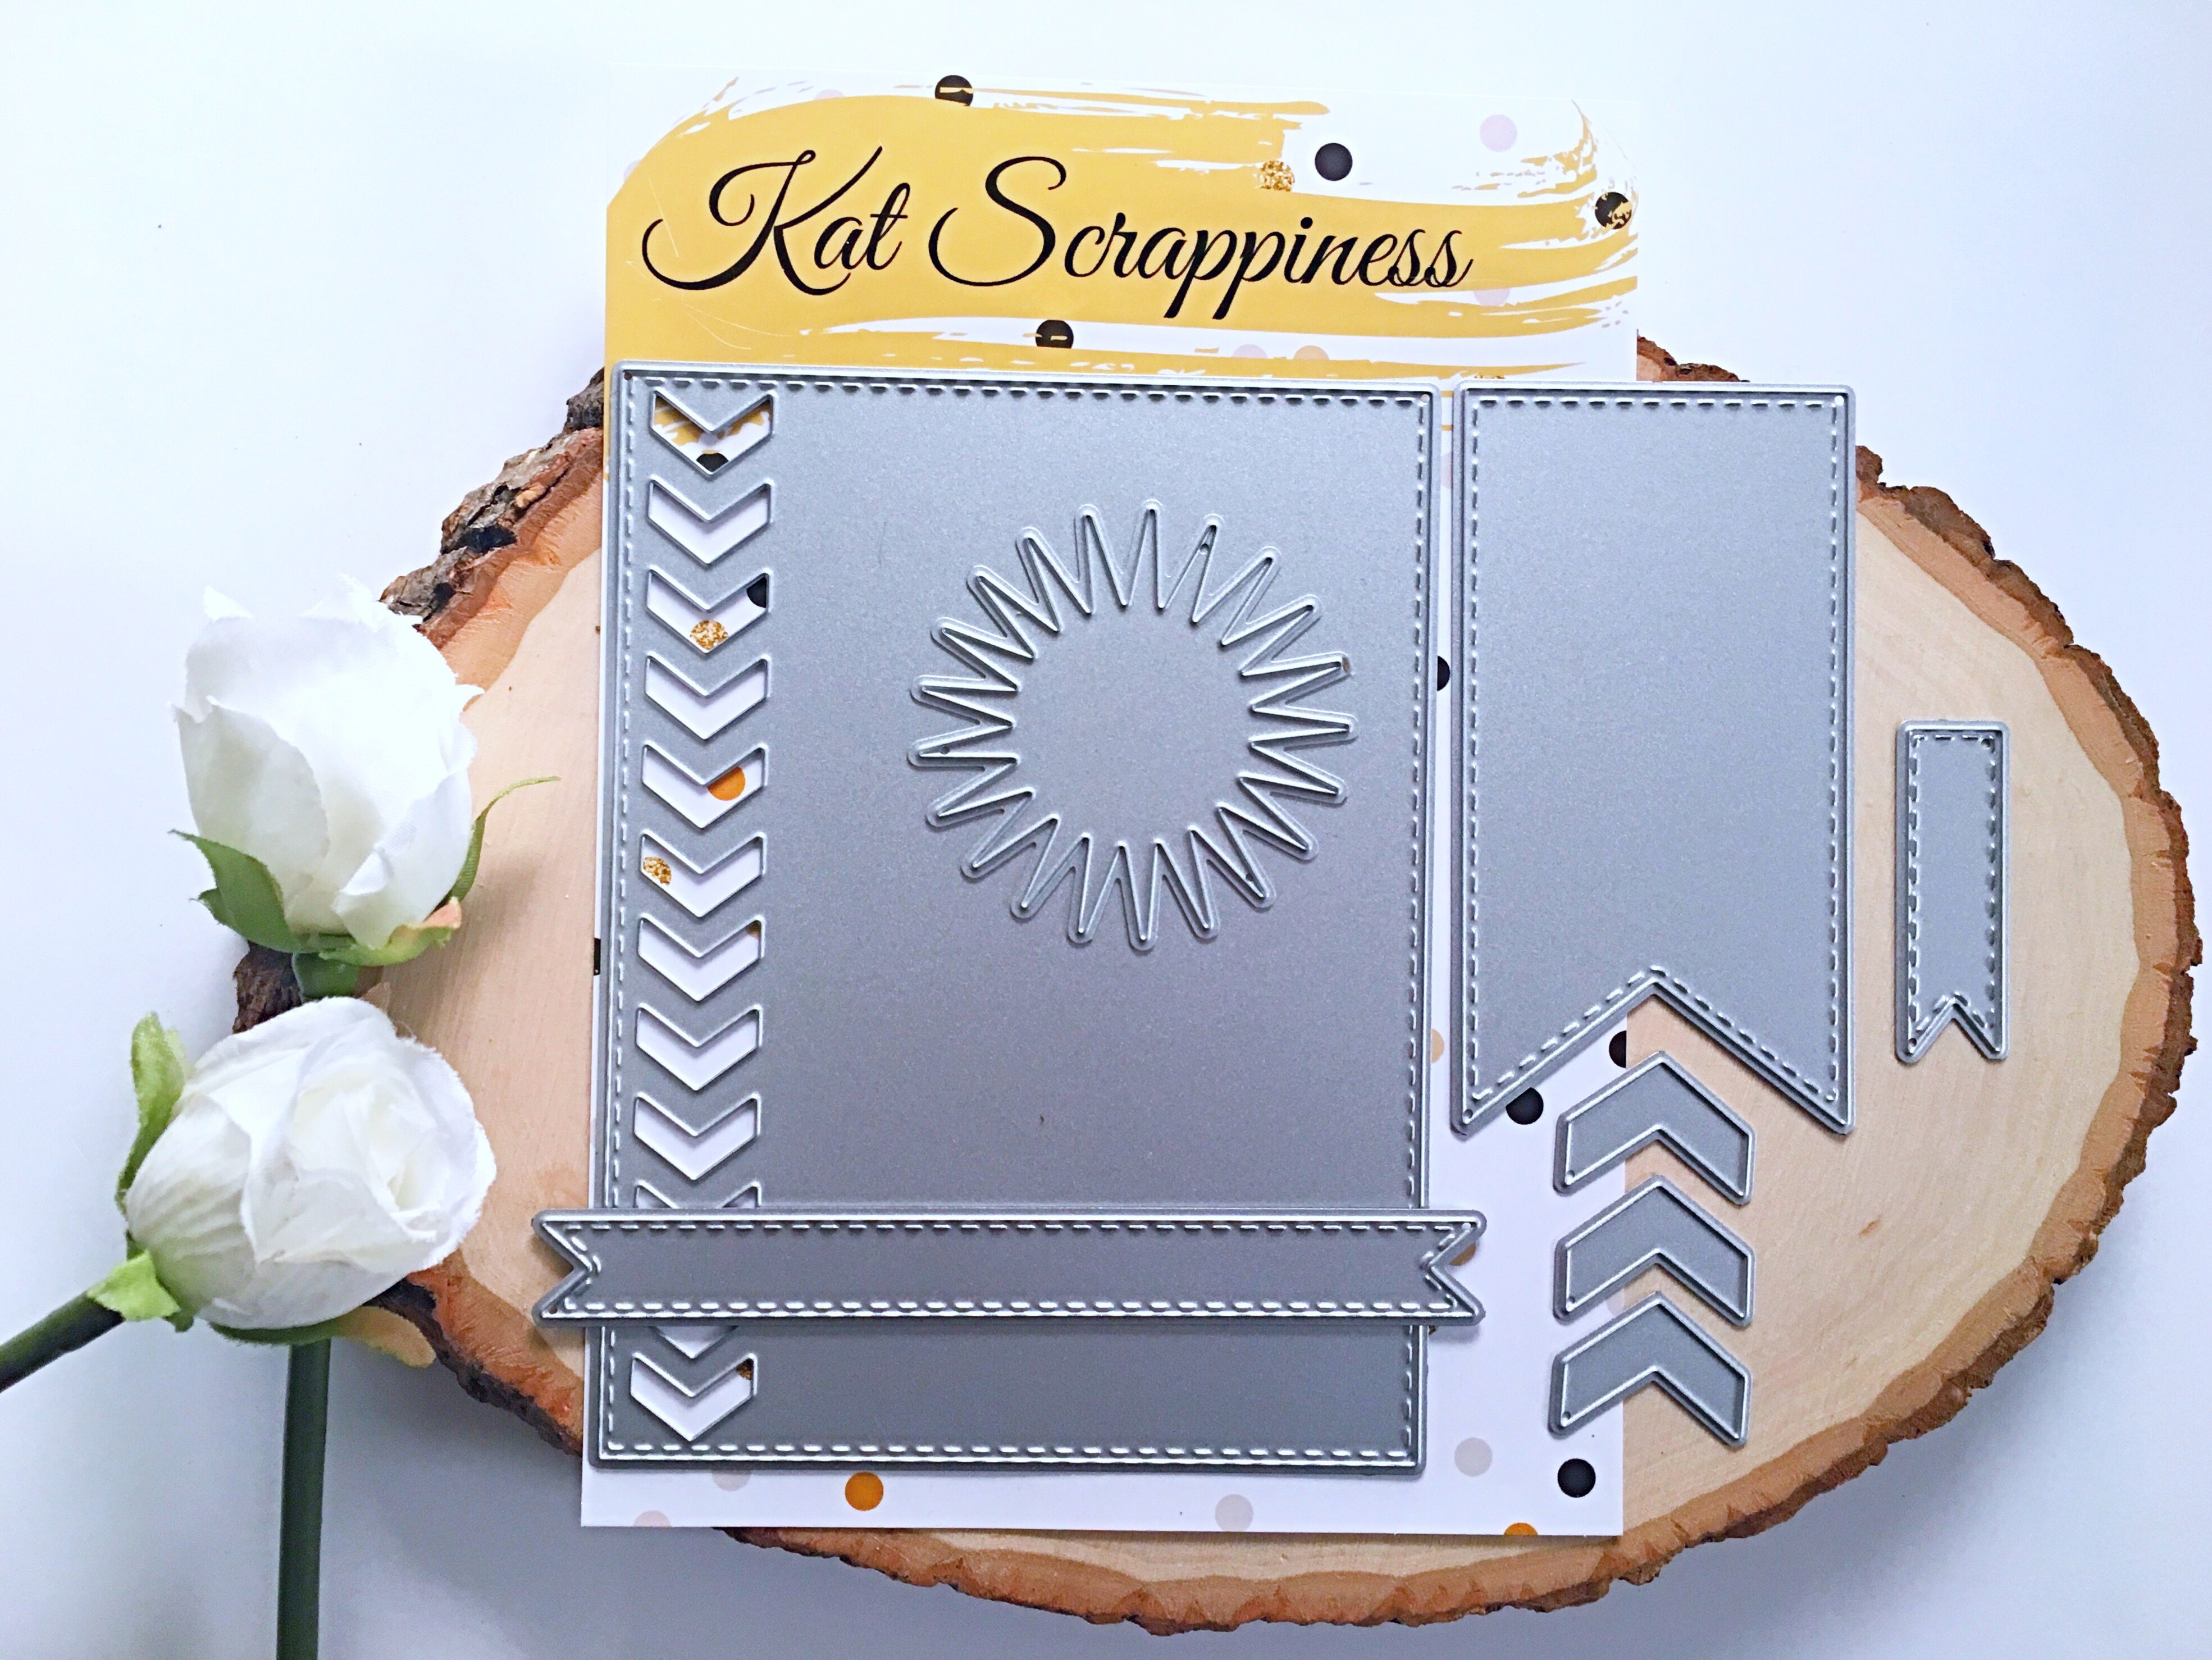
Hi everyone! Have you seen the new Crafter’s Essentials 2 die set? It is another great die set containing 8 dies. Today I have a card that uses two different dies in the set.

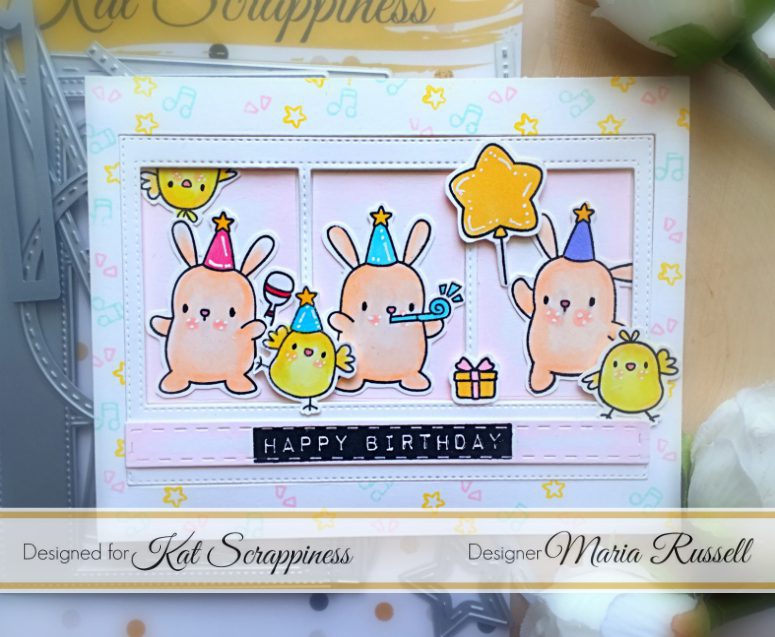
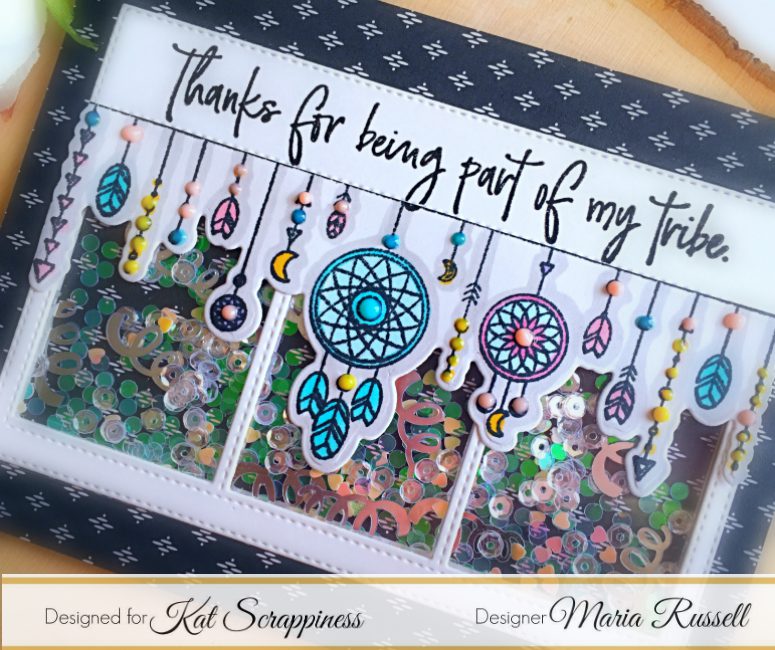
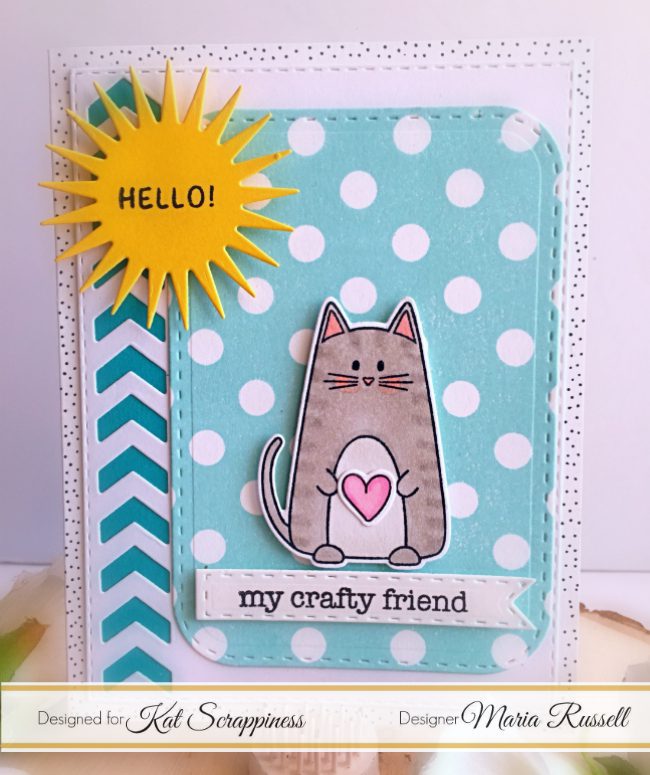
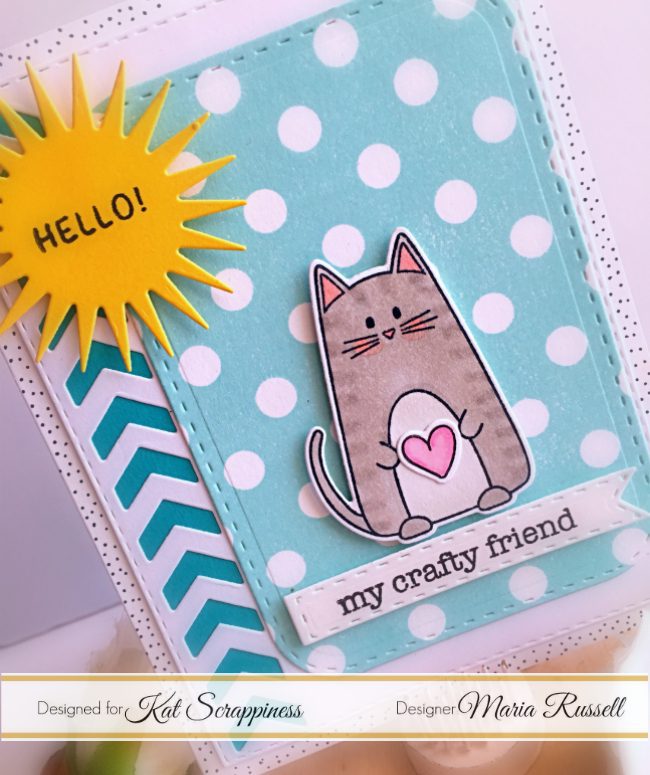
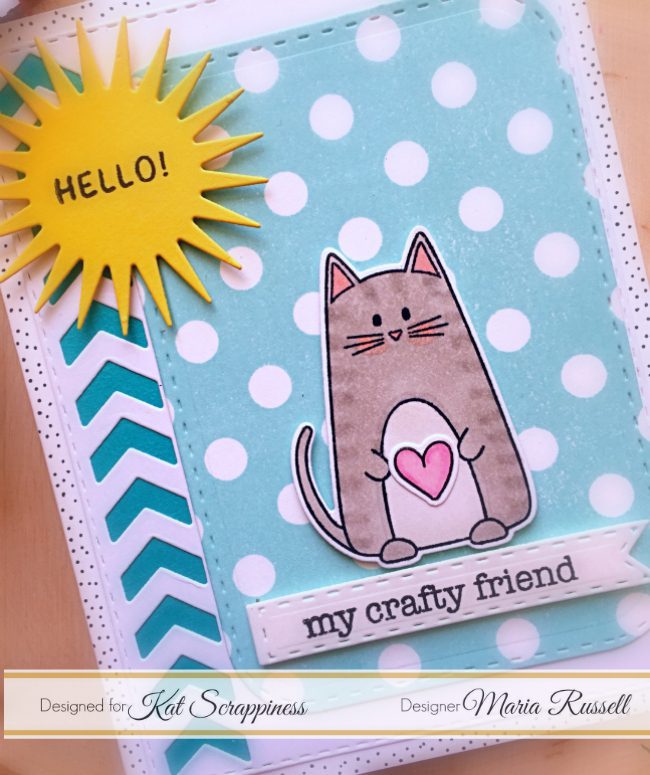
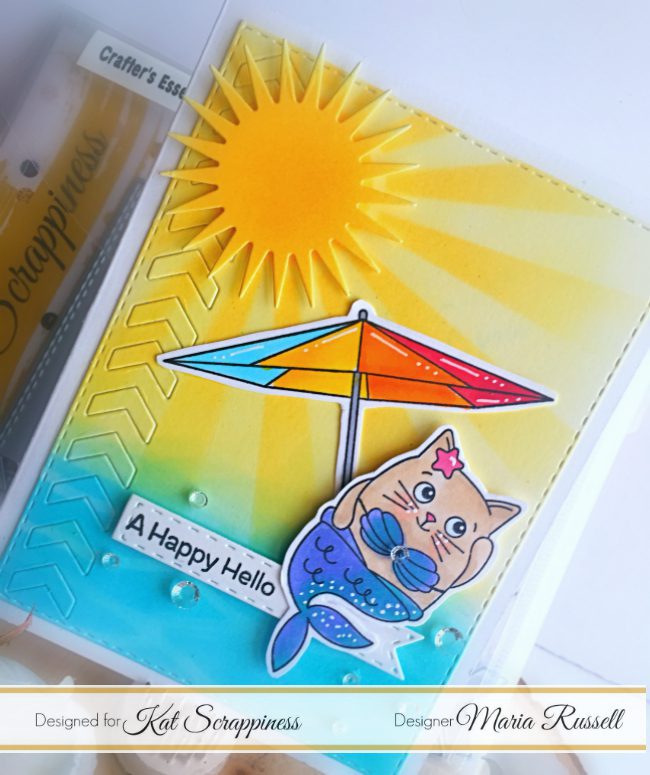
This set has a great panel die with chevron stripes along one side and is stitched along the edges. After die cutting the panel, I used Distress Oxide inks in Salty Ocean and Faded Jeans to create the background and spritzed with some water. I used Spiced Marmalade Distress Oxide ink for the chevron pieces and the fishtail banner die. I then added every other chevron piece to the panel. Speaking of Distress Oxide inks, you can pre-order the new Distress Oxide inks from Kat Scrappiness.
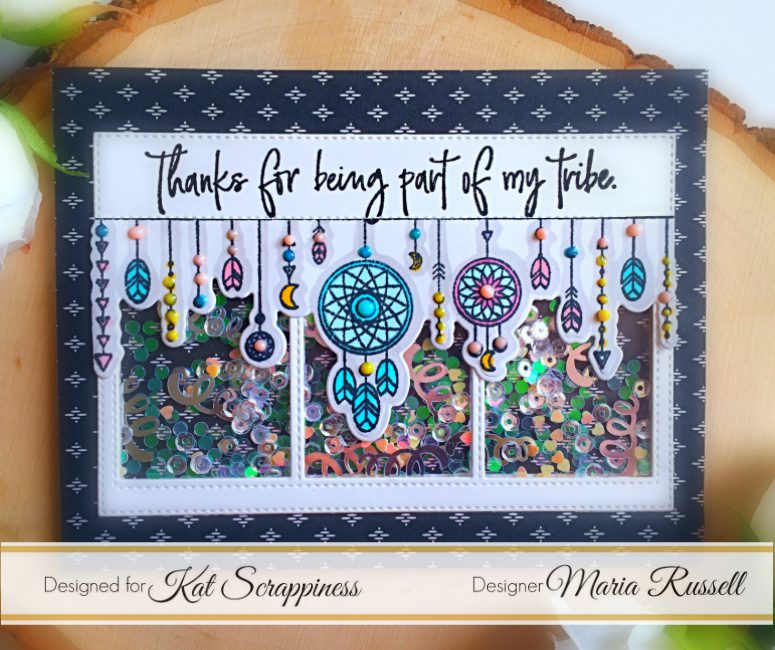
I used two different stamps set for the card. The sentiment and Copic colored images are from Lawn Fawn’s You are Sublime set and the groups of fish stamped directly on the background are from Avery Elle’s Sea-Prise set.
– – –– – –– – –– – –– – –– – –– – –– – –– – –– – –– – –– – –– – –– – –– – –– – –– – –– – –– – –– – –– – –– –
Use code caren10 for a 10% discount in the Kat Scrappiness shop.
Thanks for stopping by and happy stamping!
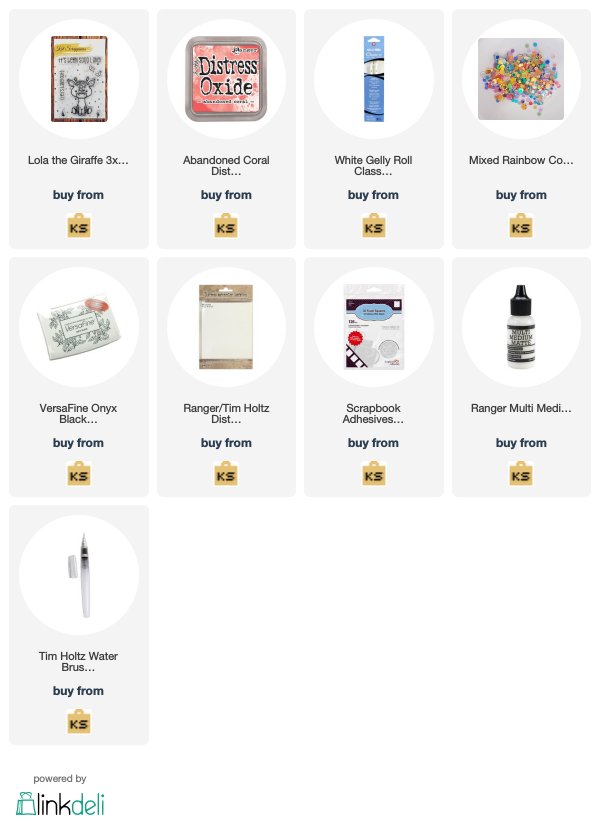
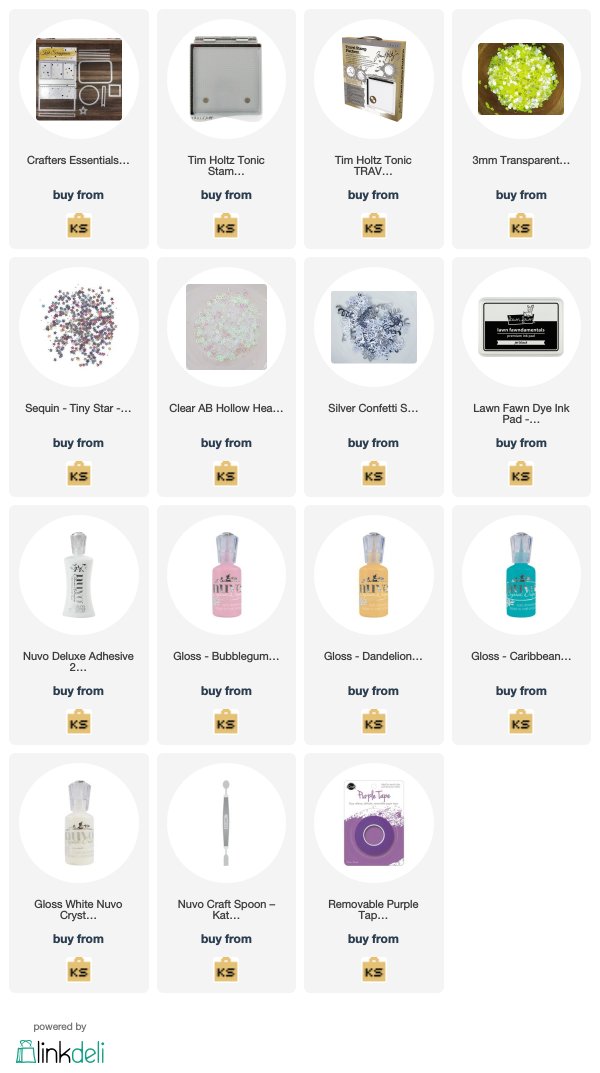
– – – SUPPLIES for today’s project– – – – – – – – – – – – – – – – – – – – – – – – – – – – – – – – – – – – – – –
- Crafter’s Essentials 2 dies from Kat Scrappiness
- Lawn Fawn’s You are Sublime stamp set
- Avery Elle’s Sea-Prise stamp set
- Salty Ocean Distress Oxide ink
- Faded Jeans Distress Oxide ink
- Spiced Marmalade Distress Oxide ink
- New Distress Oxide inks
- Memento Tuxedo Black Ink
- Nuvo Deluxe adhesive
- Scrapbook Adhesive Foam squares


 Here is how I made my card –