Follow:
    News

    Punny Snacks – Guest Designer Jo Herbert

    Hi All, I am very happy to be joining Kat Scrapiness as a Guest Designer for the month of July.  This is my second card creation for the month. I have found this cardset very enjoyable to make and I hope you enjoy the end result.

    As a bonus to being a Guest Designer my followers get a special discount code “jo10” .

    I thoroughly enjoyed making this cardset with the Kat Scrapiness Punny Snacks .

    The Really Rainbow Lawn Fawn paperpack is one of my favourite packs of  late. I continued with the vibrancy of the rainbows by using the Ranger Distress Oxide inks to coordinate with the paper pack. The paper pack has been die cut with the Kat Scrapiness Tag Dies.

    TIP: – I have coloured a white strip of cardstock with the Distress Oxide inks to make my own coloured cardstock to match the stamped images.

    Even though this is a simple card design I have added details by heat embossing the sentiment and the images plus foam tape to add layers.

    I have created a Youtube video of my card making process.

    I hope you enjoyed today’s card tutorial. I’d love for you to visit me and stay in touch.

    Facebook: https://goo.gl/8cXyWz

    Instagram: https://goo.gl/WfBn1D

    Blog: https://joherbertsite.wordpress.com/

    You Tube Channel: https://goo.gl/BUh9Kd

    Thanks Kat Scrappiness for asking for having me along for asking me to Guest Design this month.


    https://linkdeli.com/widget.js?1529497022105

    Design Team Projects, New Releases, News

    Just A Little Hello

    Howdy Kat Scrappiness fans!  Maria here on the blog today with a simple card, showcasing the Crafter’s Essentials 1 die set.  If you are waiting for this die-set, you are in luck because they are arriving back in stock next week!  If you haven’t ordered this yet, you can now reserve it so that you don’t have to wait again.


    To make things easier for me, I started out by choosing a sketch pattern from the Kat Scrappiness site (you can see this photo on the product sample).  I downloaded this sketch and inserted this piece in the envelope with the dies so I can use them for my future projects.  Sometimes, it is helpful to have it when you’re not feeling crafty!  I am having one of those days since the majority of my supplies are currently loaded in a shipping container, en-route to our home in FL.


    I die-cut some A2 size card stock with the rounded-edge rectangle die.  I used the same die to die-cut a patterned paper.


    I used the long strip die that is included in the set to die-cut another piece of some white card stock (slightly a different color from my card base).  I also used the stars die to die-cut  one pin pink, blue and yellow.


    I stamped my images on some Neenah solar white card stock and colored it in with my Copic markers.  I die-cut the image with the coordinating die.  To finish my design, I stamped the sentiment using Versafine Onyx Black ink and used my belli-roll pen to add more details to the images.  Here’s my card:


    I love the simplicity of this card.  I didn’t do a lot as you can tell, but it turned out really cute!  This sketch is also perfect to create a “Welcome Baby” card.  Here’s another look:


    This Crafter’s Essentials 1 die set is definitely a must-have for any paper crafter.  I think the little stitched star die is just the right size to add to your projects.  I love the stitching details to it as well.


    I hope you like my card today.  Please don’t forget to use my coupon code “MARIA10” for 10% off your order at the shop.  Don’t forget to check the clearance section too!  I wish you all a wonderful day!  Happy crafting!


    ———SUPPLIES————


    Design Team Projects

    Two Cards One Diecut

    Hi Everyone, it’s Tina here. Today I have two cards to share with you using one background die. The new Wood Grain Framed Diamond Wire. This is a fabulous way to get more from your die. I also used the Happy Father’s Day Die for the word Happy. Below are the steps to replicate these cards.

    • Step 1 – Trim White Cardstock to 8 1/2″ x 5 1/2″, score at 4 1/4″ and fold in half for a vertical side fold card. (A2) Do this two times.
    • Step 2 – Trim White Cardstock to 4 1/4″ x 5 1/2″. Using an ink applicator apply Distress Oxide Ink. I started in the middle using Faded Jeans, then applied Broken China on both sides, then Cracked Pistachio on both sides. See below for visual.

    • Step 3 – Diecut Wood Grain Framed Diamond Wire using the Distress Oxide Background. Carefully remove the diecut to keep it in one piece. Add a masking sheet on the top side so that all the pieces remain intact. Card #1 add collage medium to all the small pieces and adhere it to a cardstock trimmed to 4 1/4″ x 5 1/2″. Carefully lift the sheet with the masking sheet. All the small pieces have now transferred to the cardstock. Diecut Double Stitched Rectangles to the cardstock with the small pieces and adhere it to the card front using foam tape. Card #2 add collage medium to the remaining diecut and adhere to card front. See photo below for visual.


    • Step 4 – Card #1 Stamp Everyday Brush Strokes using Versamark Ink on Black Cardstock. Sprinkle White Embossing Powder, heat set it with a Heat Tool. Diecut Stitched Fishtail Banner to the embossed sentiment. Trim left side of the sentiment and adhere to card using Clear Double Sided Adhesive Tape. Diecut Happy Father’s Day (Only Happy – you need to trim a little from the last P and Y) using Black Cardstock. Add Versamark Ink directly to the diecut. Sprinkle Black Embossing Powder, heat set it with a heat tool. Repeat this step 3 times. Adhere to card using Collage Medium. Card #2 Stamp Everyday Brush Strokes using Versamark Ink on White Cardstock. Sprinkle Mermaid Tail Embossing Powder, heat set it with a Heat Tool. Diecut Stitched Fishtail Banner to the embossed sentiment. Adhere to card using Clear Double Sided Adhesive Tape. Diecut Happy Father’s Day (Only Happy – you need to trim a little from the last P and Y) using White Cardstock. Add Versamark Ink directly to the diecut. Sprinkle Mermaid Tail Embossing Powder, heat set it with a heat tool. Repeat this step 3 times. Adhere to card using Collage Medium.
    • Step 5 – Card #1 Add some Pastel Pop Sequins Mix using Collage Medium.
    • Step 6 – Card #2 (to create faux flowers) On a scrap piece of White Cardstock add Distress Oxide Ink Broken China using an ink applicator. Diecut Stitched Scallop Circles (the smallest one 3 times). On a scrap piece of White Cardstock add Distress Oxide Ink Cracked Pistachio using an ink applicator. Diecut Crafters Essentials #1 (the stitched line 3 times). Adhere the diecut Stitched Lines to the card using Collage Medium. Adhere the diecut Stitched Scallop using foam tape on top of the Stitched Lines. Optional add an accent in the center of the Stitched Scallop (example: buttons, sequins or a small flower)


    I hope you enjoyed today’s cards and the fabulous ways to get more out of your dies. These cards can be used for any occasion by changing the colors, embellishments and/or sentiment. Below is a link for all products used. To receive 10% off use code: TINA10 at checkout. Thank you for stopping by and have a wonderful day.

    Kat Scrappiness Products Used:

    https://linkdeli.com/widget.js?1531470176574

    Design Team Projects

    Floral Card with Crafters Essentials 1

    Hello again, crafters!  I hope that you are all doing well, and having a happy July.  With all the sunshine and blooming flowers around, I was inspired to make a card featuring some of my favorite colors and papers.  I’m sure you have a special paper pad that you’ve been waiting to use, and pairing it with the new Kat Scrappiness Crafters Essentials #1 die set is the perfect way to showcase it.  Let’s dive into the details!


    For my card I decided to use the large three-window die with stitched detailing.  I cut out a frame with some pink card stock, and will be keeping the three rectangle pieces from the die.  I’ll set two of them aside for future use, but decided to use one for my sentiment stamp.  It’s a nice size for a stacked sentiment like the one I used.  I stamped it with my VersaFine Onyx Black ink, then heat set it with Ranger’s Clear Embossing Powder.


    As I usually do, I made a standard A2 sized card base (4.25 x 5.5″) and attached a piece of patterned paper for my background.  I cut the floral paper so that it was just large enough to fit behind my frame piece.  The nice part is that I still have enough of the floral paper piece for a second card project (this is always important for a paper hoarder like me!)


    Since I really love the look of ribbon on cards, I decided to cut a piece of this lovely yellow grosgrain ribbon and run it along the side of my frame.  The ribbon is wide and a bit thick, so instead of tying a bow, I just used a second small piece of ribbon to tie a simple knot and clip the ends at an angle.  The backside was secured with some Scotch tape to keep things nice and flat.


    Now you guys know that a Kat Scrappiness creation can’t truly be a Kat Scrappiness creation without adding some sequins and bling, right?  I decided on some pretty, green, flat sequins from the “Spring Leaves” mix, as well as a scattering of tiny “Pink Heart Confetti” pieces.  I just attached them with some very tiny dots of Ranger’s Multi Medium Matte, which dries quickly and clear (without the glossy shine of some liquid adhesives).  The sentiment piece was attached with some foam tape for just a bit of dimension.


    And that is my completed card for today.  This can easily be mass produced with an assortment of coordinating papers if you’re making a set for someone, and customized with any number of sentiments and embellishments that you would like to use.  And the very best part of all?  This is just ONE of the dies that you get in the set of Crafters Essentials #1.  Can you imagine the huge variety of cards you can make with 13 dies at your fingertips?!  I would recommend this set to any crafter of any skill level – especially someone just starting to collect dies, or anyone looking to make the most of their craft budget.  Please be sure to use the following link to shop at the Kat Scrappiness website: http://www.katscrappiness.com?aff=121

    Don’t forget to use discount code “CYNTHIA10” to save 10% on your entire order!  Thank you so much, and Happy Crafting!


    Design Team Projects

    “Meet Me Where the Sky Can Kiss the Sea”…featuring Crafters Essentials 1 Dies by Kat Scrappiness

    Good day crafty friends! Design Team Member Jana stopping in to share a quick and easy card tutorial with you all today. I don’t know about you, but there are numerous times when I need to create a quick card at the last minute and I am usually scrambling to do so. I also don’t necessarily have time to dig out my stamps and get inky either. Well the good news is that I can now create just about any card I need with the help of the newly released “Crafters Essentials I Dies” by Kat Scrappiness. These dies have been a life saver recently and I am super excited to show you just one of the quick cards that I have whipped up using it.

    To begin, I created my card base using 110lb. ReCollections White Cardstock. My card base is an A2 sized card which measures 4 1/4″ X 5 1/2″. I then die cut some patterned cardstock from the ReCollections “Mermazing” Paper Book that I have as my card mat using the largest die from the Stitched Scalloped Rectagle Dies by Kat Scrappiness.

    I then die cut the above piece out of some plain textured cardstock, again from the ReCollections “Mermazing” Paper Book using one of the dies from the Crafters Essentials I Dies by Kat Scrappiness.

    Using some of the “cut aparts” in the ReCollections “Magic Hour” 6X6 Paper Pad, I cut out the sentiment I wanted to add to the bottom of my die cut along with another piece that I wanted to adhere to the middle of the Crafter Essential Die as my focal point. I adhered everything onto my card base using Nuvo Deluxe Adhesive. And of course, my card would not be complete without some beautiful sequins! I used a few sequins from the “Fluffy Clouds” Sequin Mix and pulled out some green sequins from the “Grandma’s Garden” Sequin Mix as it matched perfectly with the green color in the cardstock that I wanted to pull out.

    And there you have it….. a completed card in pretty much less than ten minutes….Perfect!!! I hope that this quick and simple tutorial will help you out when you might be in a pinch for creating a card at the last minute. I have listed all of the products I used in this tutorial below. Please remember to use Code: JANA10 at checkout to receive 10% off of your order at the Kat Scrappiness Store. Thank you for visiting today and as always, Have a Fabulously Crafty Day!!!

    Supply List

    -110lb. ReCollections White Cardstock

    -ReCollections “Mermazing” Paper Book

    -ReCollections “Magic Hour” 6X6 Paper Pad

    Stitched Scalloped Rectangle Dies by Kat Scrappiness

    Crafter’s Essentials I Dies by Kat Scrappiness

    Nuvo Deluxe Adhesive 200N

    Fluffy Clouds Sequin Mix – Shaker Card Fillers by Kat Scrappiness

    Grandma’s Garden Sequin Mix – Shaker Card Fillers by Kat Scrappiness

    Design Team Projects

    Coffee Card featuring Crafters Essentials 2 Die

    Hi Friends! kel here today to share a card featuring the new Crafter’s Essentials 2 dies in the Kat Scrappiness store!!!

    I used the brand new Crafter’s Essentials 2 Dies on this card. I used the biggest die, the background with the arrow cutouts, and the wide fishtail banner die. In my video you’ll see that I cut out the fishtail banner from the actual background piece I used… I’m a big believer in being thrifty with my hoard of patterned paper lol!! If it gets hidden then I usually end up die-cutting or punching it for use somewhere else on the project or even in another project. I also used the Layered Coffee Cup Die to create the focal point of this card. I stamped out the sentiment from the Coffee Chick stamp set using the Walnut ink pad on the sleeve of the coffee cup… so happy that it fit so perfectly!

    Here’s my video… apologies for the bad framing of this one. Trying out a new setup to get a tighter zoom but ended up cutting off a lot of the bottom of the frame. Sorry!! I was going to try to reshoot but this is *gasp* the last of my striped paper and I couldn’t recreate the card!! So sad!!

    Thanks for stopping by, see you again soon! Don’t forget to take part in our awesome monthly challenge for your chance to win a $25 Gift Card!!

    lovies, =o) kel

    Supplies Used (use code kel10 for 10% off your order!):

    Design Team Projects

    Crafter’s Essentials 2 – Sending my Deepest Thanks

    Hi everyone!  Have you seen the new Crafter’s Essentials 2 die set?  It is another great die set containing 8 dies.  Today I have a card that uses two different dies in the set.


    This set has a great panel die with chevron stripes along one side and is stitched along the edges.  After die cutting the panel, I used Distress Oxide inks in Salty Ocean and Faded Jeans to create the background and spritzed with some water.  I used Spiced Marmalade Distress Oxide ink for the chevron pieces and the fishtail banner die.  I then added every other chevron piece to the panel.  Speaking of Distress Oxide inks, you can pre-order the new Distress Oxide inks from Kat Scrappiness.

    I used two different stamps set for the card.  The sentiment and Copic colored images are from Lawn Fawn’s You are Sublime set and the groups of fish stamped directly on the background are from Avery Elle’s Sea-Prise set.

    – – –– – –– – –– – –– – –– – –– – –– – –– – –– – –– – –– – –– – –– – –– – –– – –– – –– – –– – –– – –– – –– –

    Use code caren10 for a 10% discount in the Kat Scrappiness shop.

    Thanks for stopping by and happy stamping!

    – – – SUPPLIES for today’s project– – – – – – – – – – – – – – – – – – – – – – – – – – – – – – – – – – – – – – –
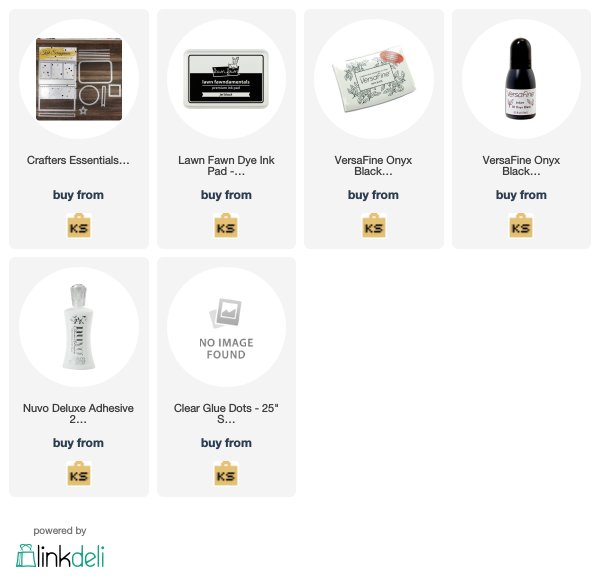
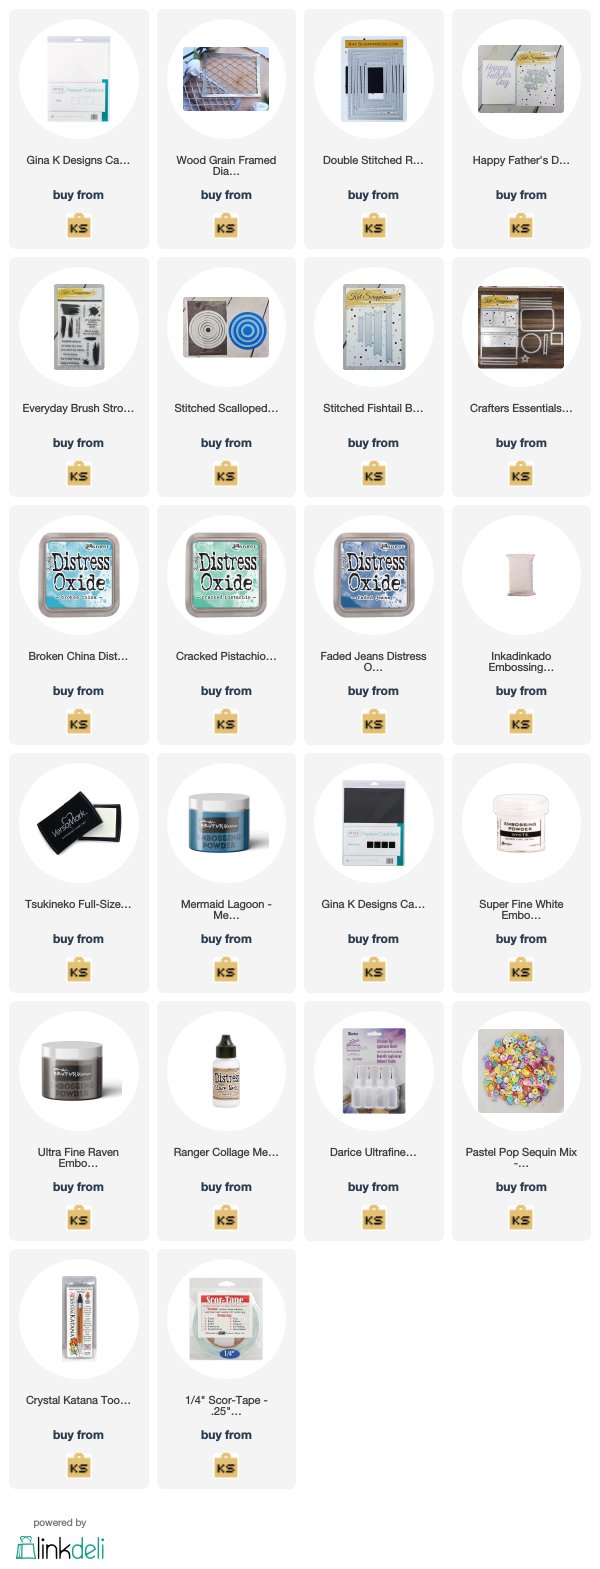