Hello Crafty Friends, Karen Bull here and am I just the luckiest girl in the world! I was delighted when I was asked to be the August guest designer for Kat Scrappiness and you are going to love this release! I have many examples to share with you today so grab your favorite beverage and settle in (there is an offer just for you at the end of this post!).

Rainbows make me happy! How about you? For this card, I used 3 Scalloped Stitched Boarder dies and cut strips of scrap paper in all the shades from the rainbow. I adhered them to a piece of cardstock cut to 4×5.25. Once the strips were glued in rainbow order, I cut the excess off and adhered the colorful panel to a top folding notecard. The sentiment is from the Crafters Gonna Craft stamp set. It was black heat embossed on a strip of white cardstock and adhered using foam tape. Scattered around the sentiment are Sparkling Lime sequins for shine!

The August release included some really stellar sparkles, sequins and other shiny bits! For this card, I again used the three scalloped dies, but instead of cutting through the paper, I repeat dry embossed with them on a white cardstock panel. Starting first with a piece of white cardstock cut to 4×5.25, I set my die cut machine up the same way I would if I were going to use an embossing folder. But instead of using an embossing folder, I will use an embossing mat and make an impression of the scalloped dies on my cardstock.

I seated the dies diagonally on my paper to offer additional interest. Once the entire panel was dry embossed, I added it to a top folding notecard with a piece of craft foam inbetween. The sentiment was from the same stamp set as above and I black heat embossed it on a piece of vellum.

For each of the larger scallops I put Pretty Pink and Silver Jewels in the smallest and largest sizes. These jewels add such interest, sparkle and shine to my project and I can’t get over the stitched detailing!

This next card employs the same technique as above – dry embossing. The Scalloped Stitched Hearts are swoon worthy and I wanted to showcase all that wonderfulness! Here, I nested two dies and made an impression on a white cardstock panel cut to 4×5.25. The panel was adhered to a piece of black cardstock and added to a top folding notecard. Using the same stamp set, I silver heat embossed the sentiment on two strips of black cardstock and used foam tape to add them to the center of my hearts. In keeping with the heart theme, I used Hearts of White to add interest to the sentiment and a pop of color.

I recently played with my alcohol inks and had a smaller piece leftover. I cut the remaining piece with the second largest heart. On a white cardstock panel cut to 4.25×5.5, I dry embossed the larger heart. Using a sentiment from the same stamp set, I white heat embossed it onto the pink die cut heart. I added it to the center of the dry embossed panel and adhered the entire panel to a top folding notecard. To finish the card off, I added more of those fantastic Hearts of White sequins.
Phewh! Those are all of my cards for this post. I hope you are inspired by what you have seen here. If so, I have a special code for you to use in the shop – use karen10 valid until September 1, 2018 and receive 10% off your order.

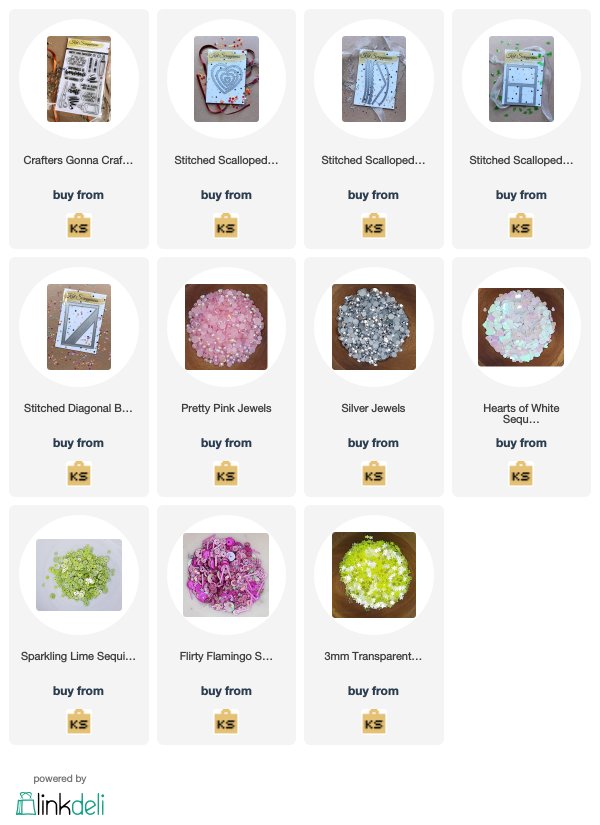
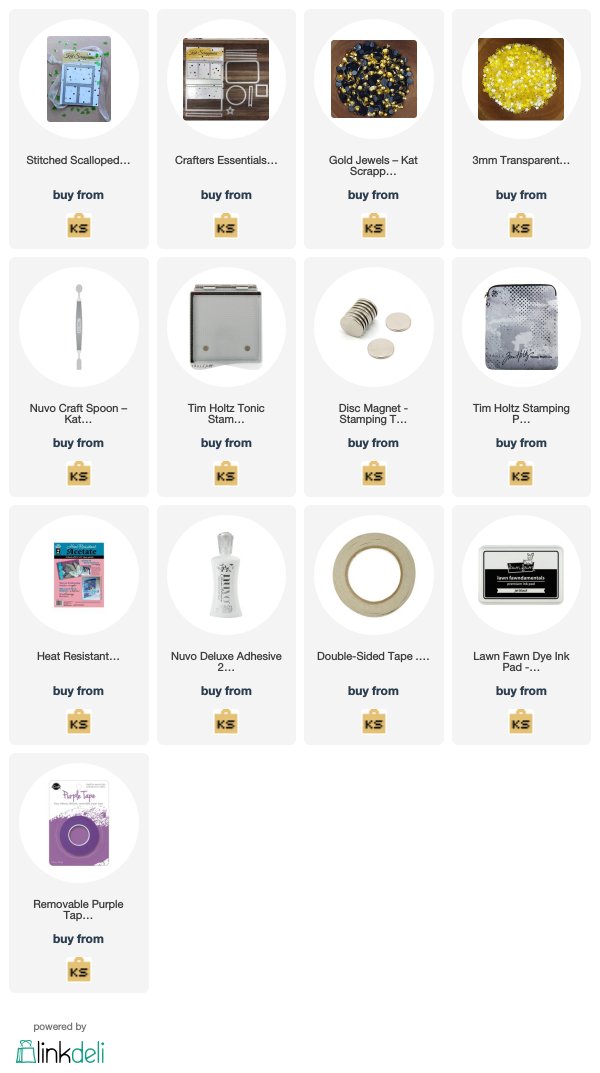
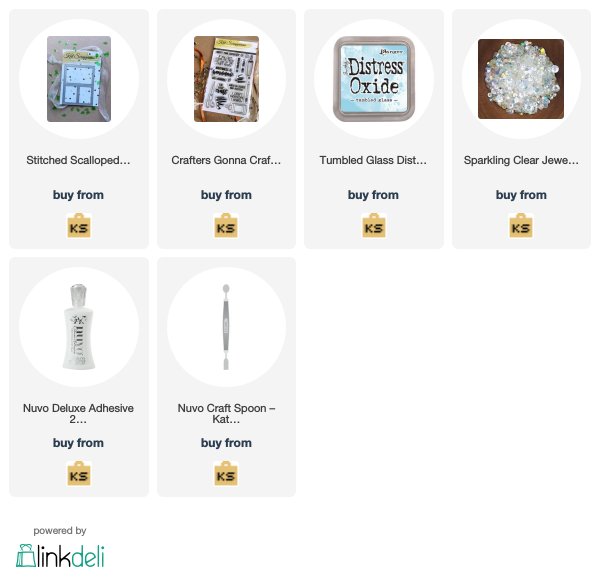
SUPPLIES
Want to find the products I used? They are listed below for ease of reference. (Affiliated links are used at no cost to you. Thank you!) Click on the icons below each product picture to go to a favorite store.