Hi Crafters!
Today, I have a fun box card I made using the new Merry Critters stamp set from Kat Scrappiness. Box cards are so fun to make and receive! They are also pretty easy to make with so many options.
I colored all the images from the Merry Critters set with my Copic markers.
 01
01
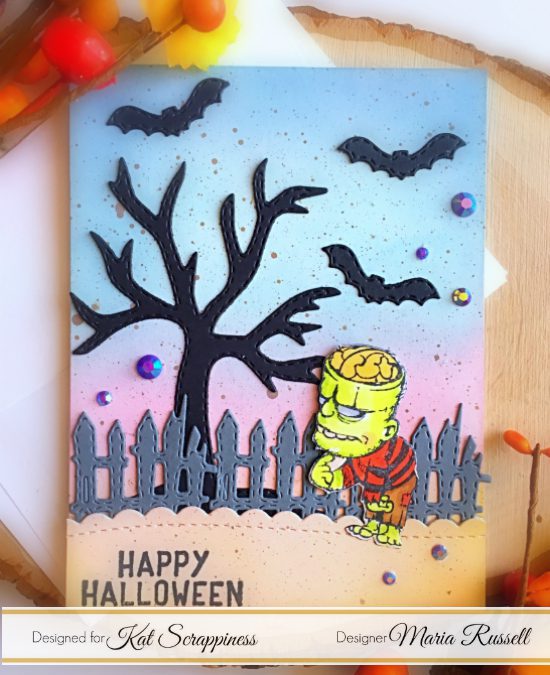
I used the box card die from Lawn Fawn. Several companies offer them. Here are a few that are available that are available at Kat Scrappiness. I used various pattern paper from Lawn fawn to the panels of the card. I then added the critters and sleigh to the inside of the box. I attached a piece of black and white bakers twine from the sleigh to the cute reindeer, so that it looks like he is pulling the sleigh. I stamped the sentiment Merry Christmas (also from the Merry Critters set) to the front panel and added the tree and gifts.

At this point, I thought I was finished with the card, but also thought it was missing something. Mona, from the design team, suggested snowflake sequins – which was perfect! I used snowflake and tree sequins from the Sugarplum Fairies and Frozen II sequin mixes from Kat Scrappiness.
– – –– – –– – –– – –– – –– – –– – –– – –– – –– – –– – –– – –– – –– – –– – –– – –– – –– – –– – –– – –– – –– –
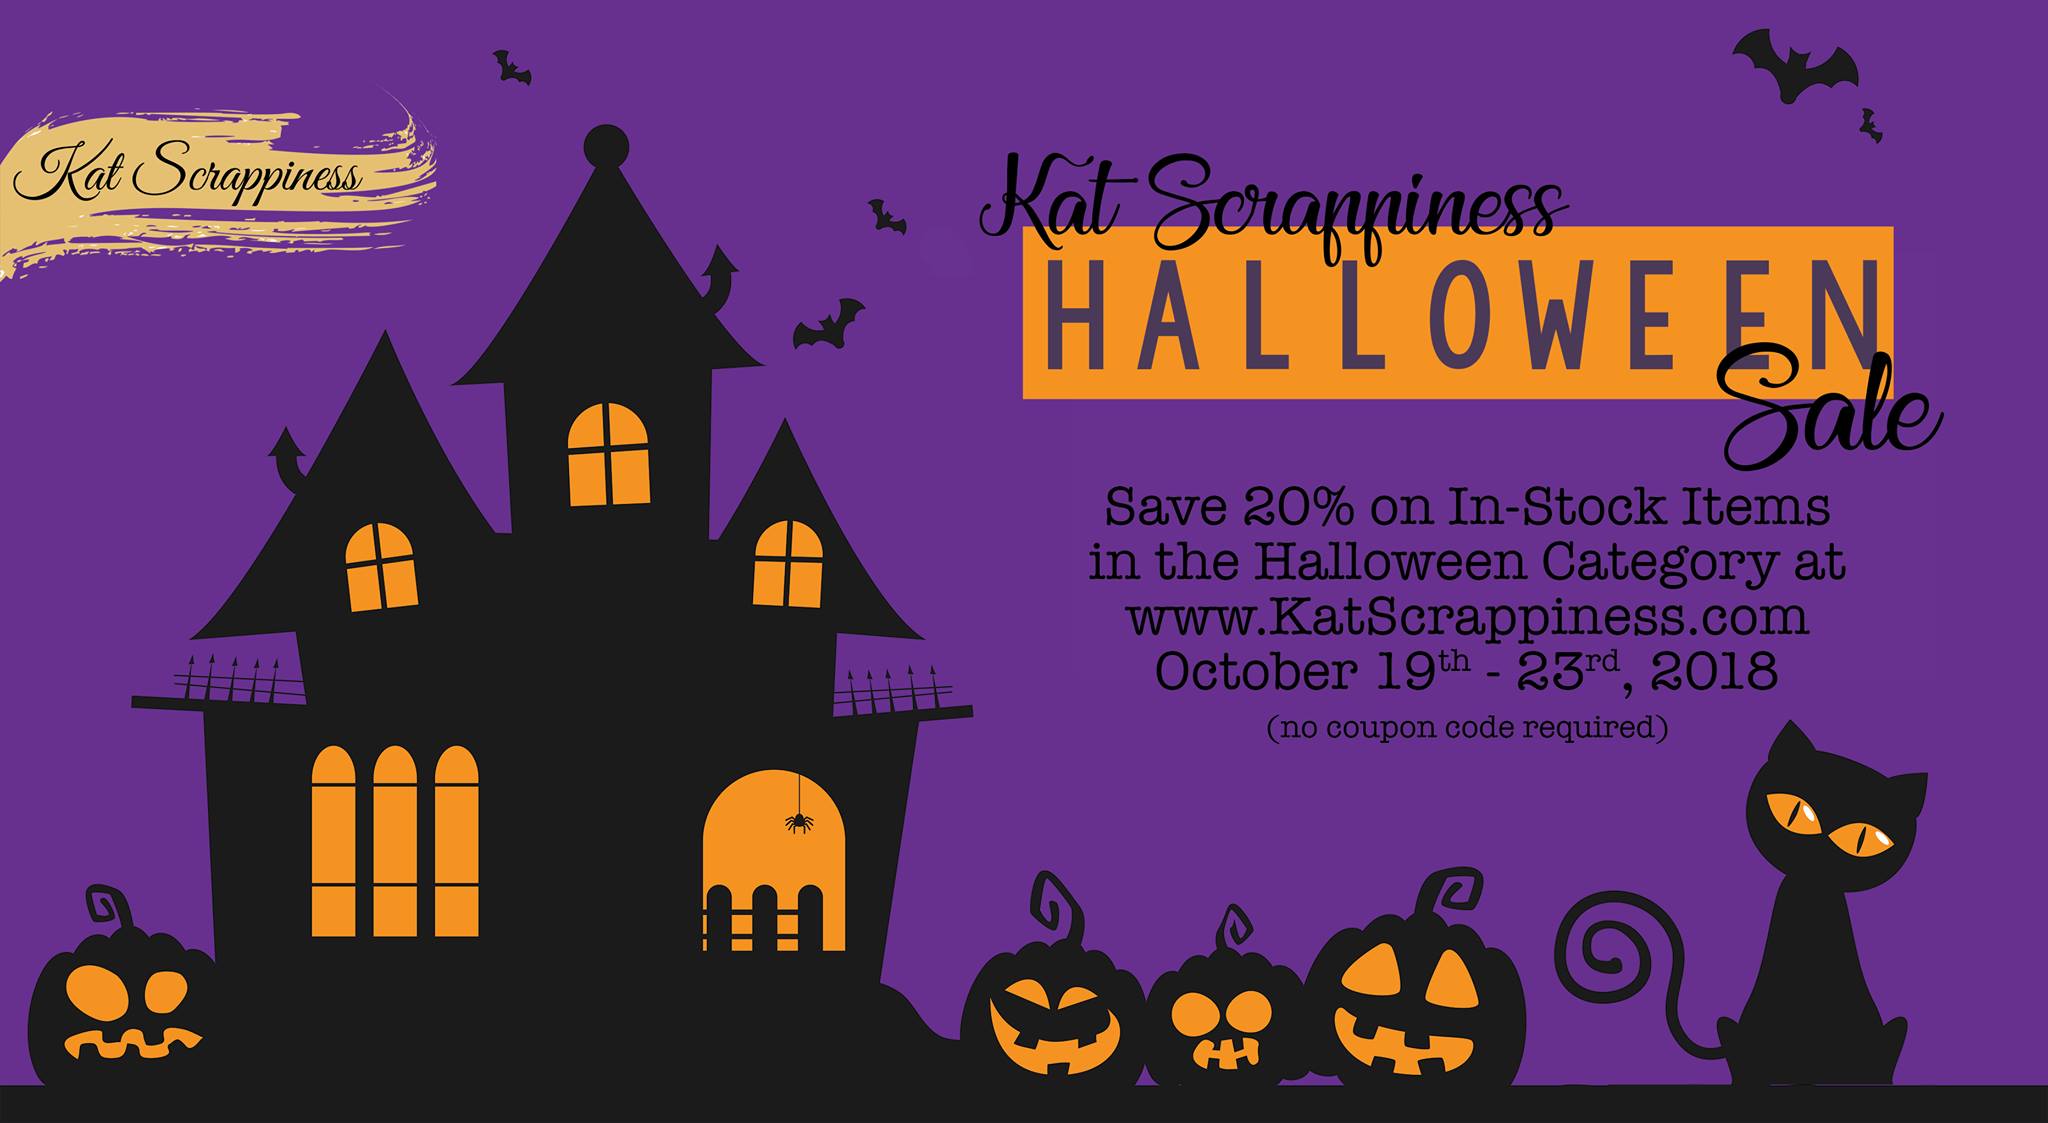
Use code caren10 for a 10% discount in the Kat Scrappiness shop.
Thanks for stopping by and happy stamping!
– – – SUPPLIES for today’s project– – – – – – – – – – – – – – – – – – – – – – – – – – – – – – – – – – – – – – –