Hey Everyone! My name is Priscilla and I am honored to be the November Guest Designer on the Kat Scrappiness blog. I am a 6th grade teacher by day, and when not grading papers, I’m crafting cards like a crazy lady at night. Hopefully, my teacher colleagues at school love receiving them! LOL!!
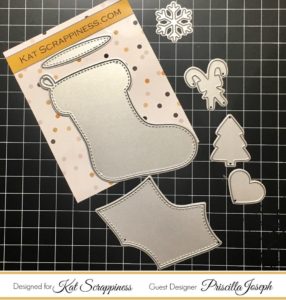
Let’s get to the cards! So many awesome products in this new release! I didn’t know where to begin creating. But I quickly settled on Kat Scrappiness’s adorable new “Build a Stocking” dies, combined with a Christmas sentiment from the new “Merry Critters” stamp set. Creating one card just wasn’t enough . . . I had to create three . . . and could have made 50 more!
When I first opened the die set, I looked at the pieces quizzically, trying to figure out what was the strange shaped die under the stocking in the picture below. Then it dawned on me it was the front of the stocking, which would allow me to create the toe and the heel in a different colored card stock or pattern. Sweet engineering, I’d say!

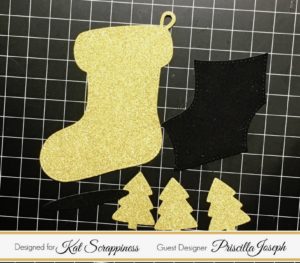
For my first card, I created an elegant gold and black stocking. Perhaps showing you the pieces die cut out will help you understand how easy it was to “build” this stocking.
It was so quick to assemble! I simply adhered the black “suede” stocking front to the gold glimmer stocking base, added the black oval opening (later on I changed it to the gold glimmer card stock), and then stacked three gold glimmer Christmas trees to create a dimensional “embellishment” on the front of the stocking. Then I got this crazy idea to add real (not really) fur trim to the top of the stocking!!! So fun!
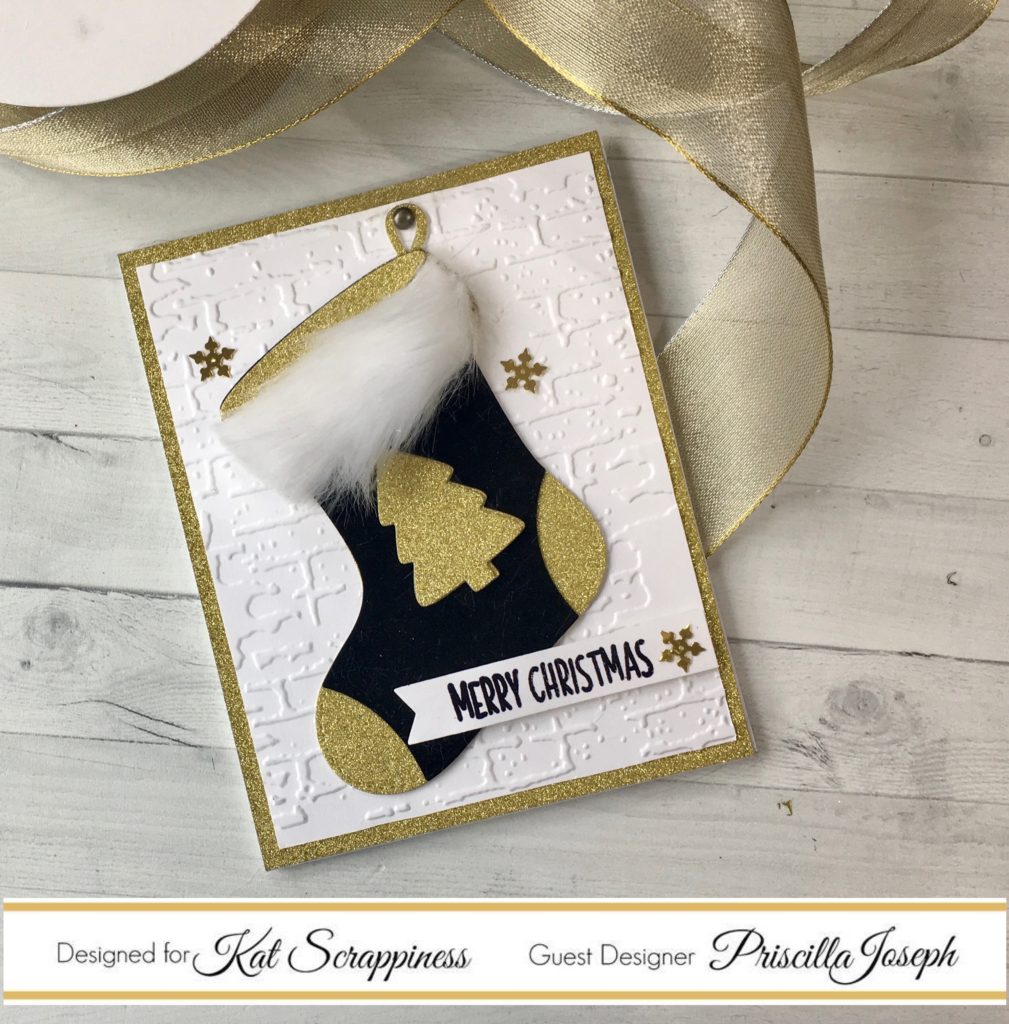
Next, I dry embossed a white card stock layer with a brick design, mounted that to the same gold glimmer card stock I used on the stocking, and adhered both layers to a white card base. I then stamped “Merry Christmas” from the Kat Scrappiness “Merry Critters” stamp set on a white banner strip, heat embossed it in black, and foam mounted it on the right side of the card. Finishing touches? I added a few gold snowflakes from the new Kat Scrappiness“Christmas Cheer” sequin mix and a metal brad to “hang” the stocking “by the chimney with care.”
I loved how stocking card #1 turned out!
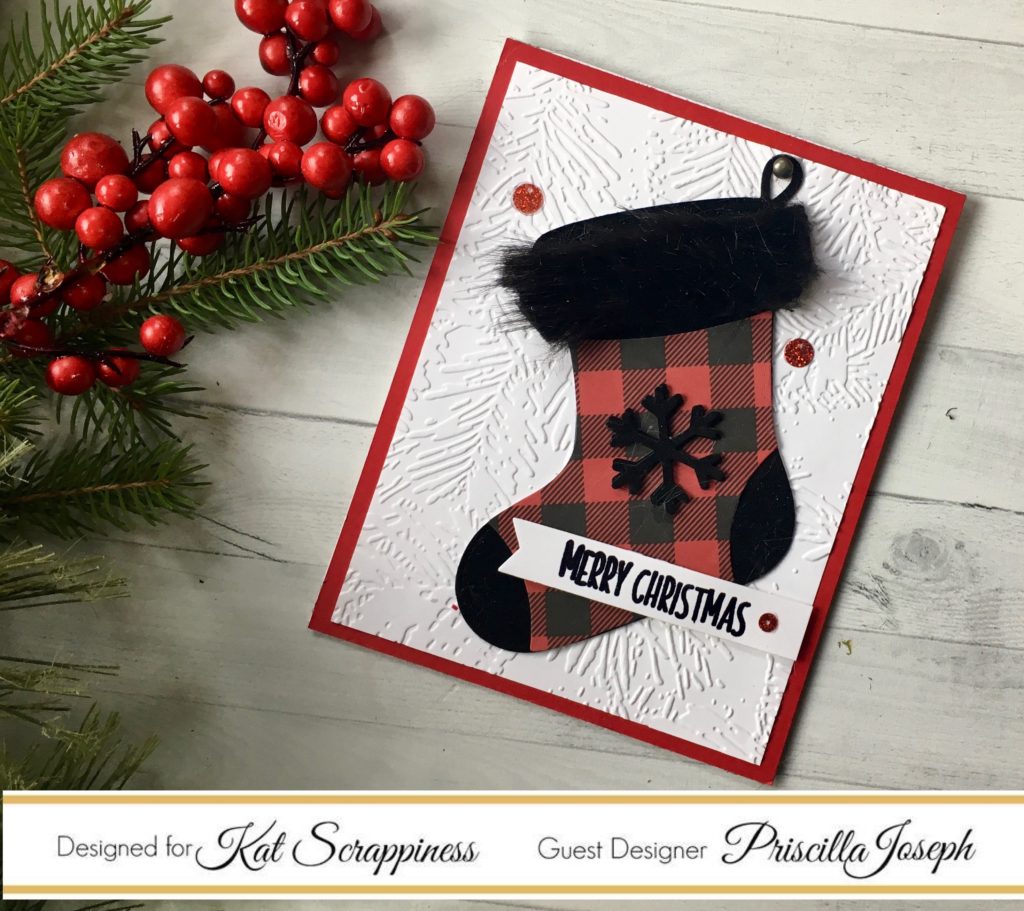
I repeated the assembly process for stocking card #2, but switching the color combo to red/black buffalo check and black, with a black die cut snowflake for the stocking front. And you guessed it! “Fur” again for the trim at the top, but this time in black. I dry embossed a background of white pine branches, mounted that on red card stock, and adhered both layers to a white card base. I sprinkled a few red “ornament” sequins from the same Kat Scrappiness “Christmas Cheer” sequin mix to finish off this card.
Here’s a close up of Card #2.
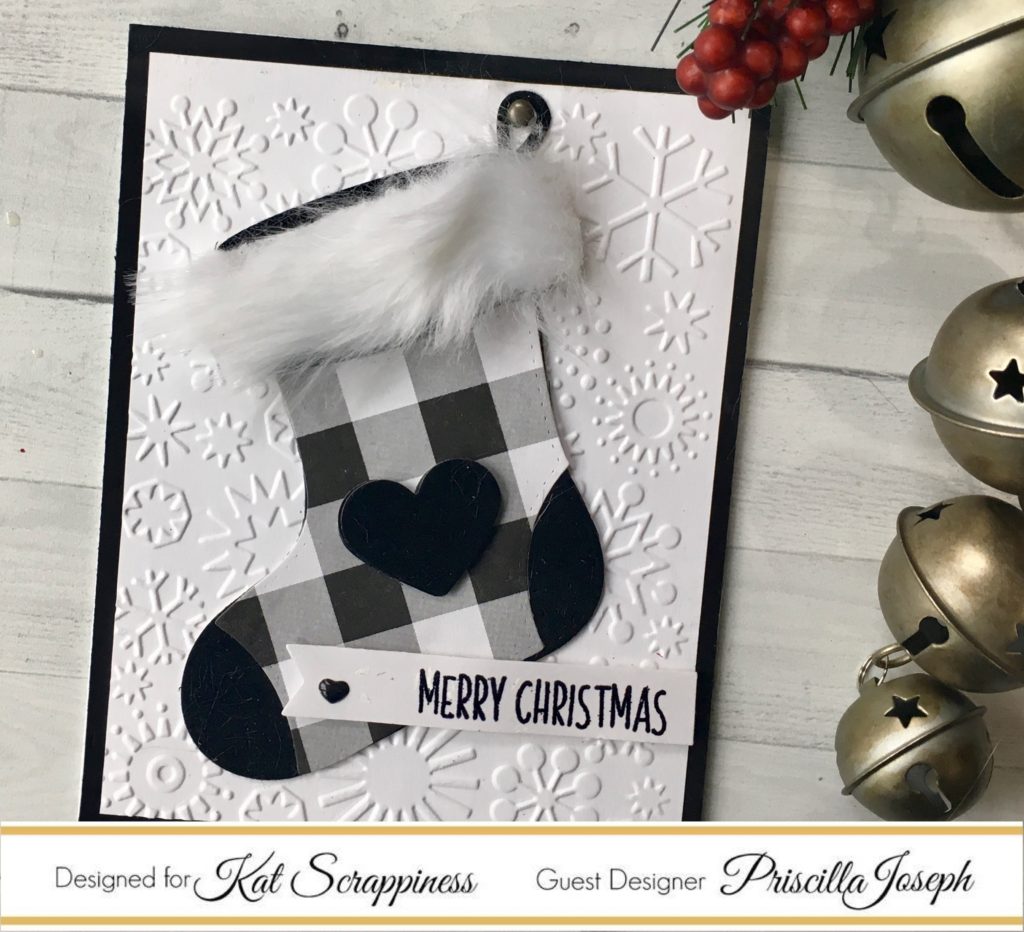
I was on a Christmas stocking roll by this time, so Card #3 came together quickly. The red/black buffalo check and black papers were replaced by black/white buffalo check and black, the stocking embellishment was now a black heart, and the white ‘fur” returned. The dry embossed background switched to a snowflake pattern with a black card stock layer behind it. I finished the card by adding a black enamel heart on the sentiment strip.
Here’s Card #3.
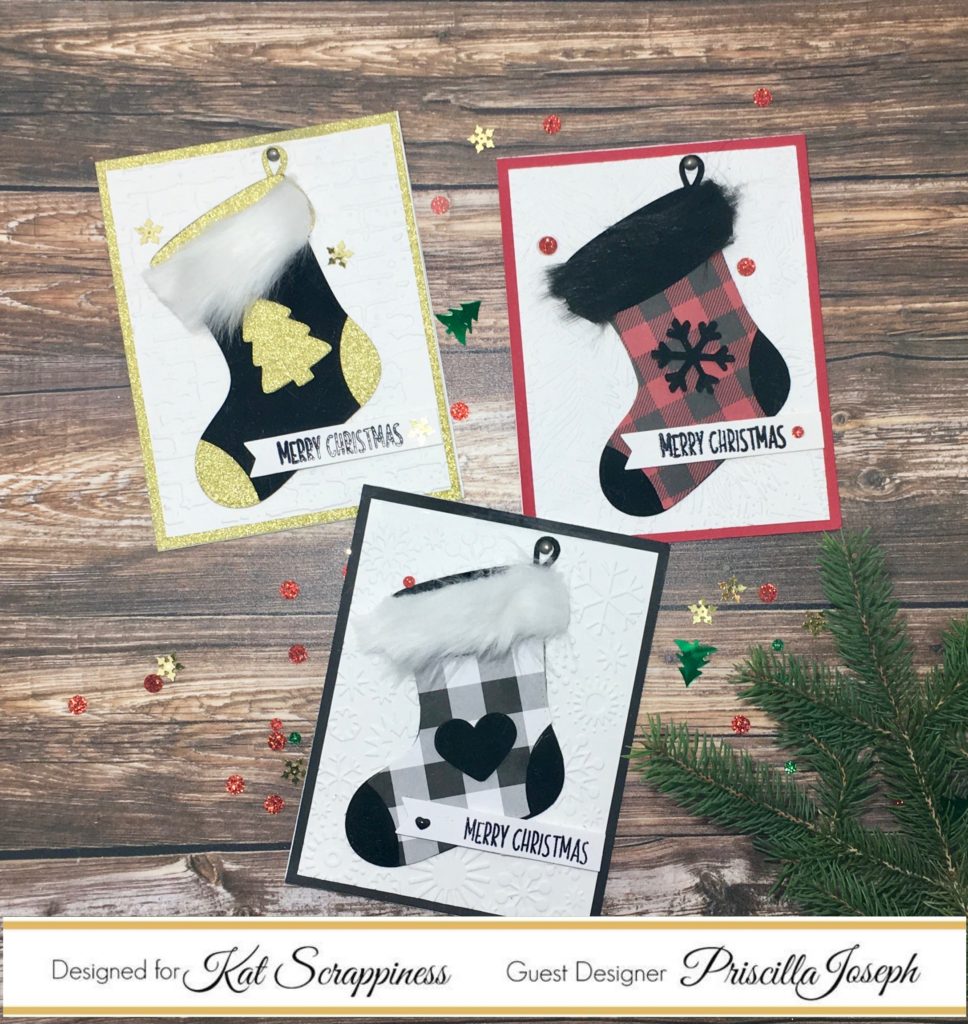
I love how these three cards came together. Not sure which one is my favorite. Let me know which one you like the best.
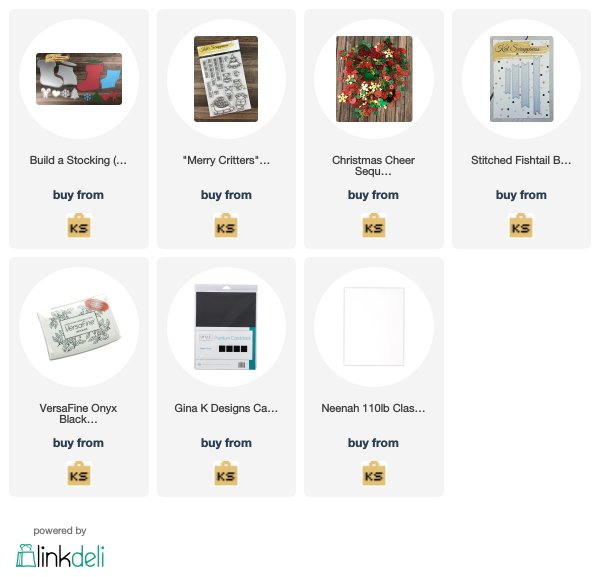
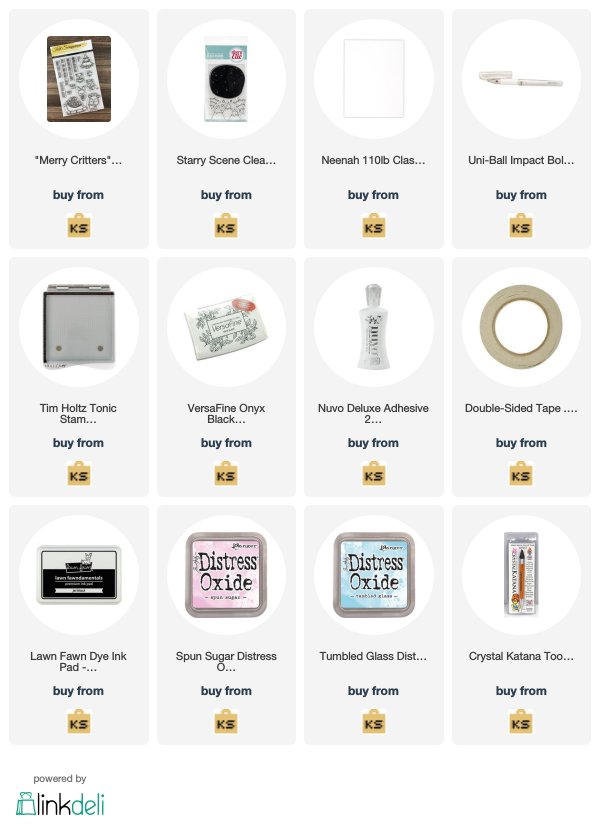
The supplies I used are listed and linked below. Please don’t forget to use my coupon code “Priscilla10” for 10% off your order at the shop.
I’ll see you later in the month with more cards from the Kat Scrappiness new release.
Happy crafting!
Priscilla
SUPPLIES USED
https://linkdeli.com/widget.js?1540275216575