Hello my crafty friends!
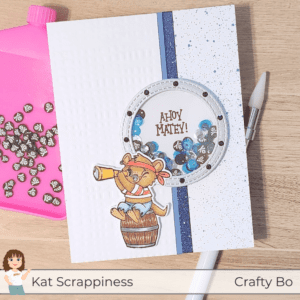
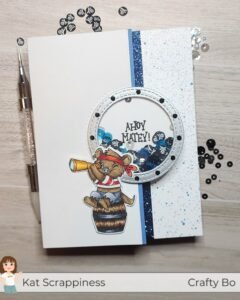
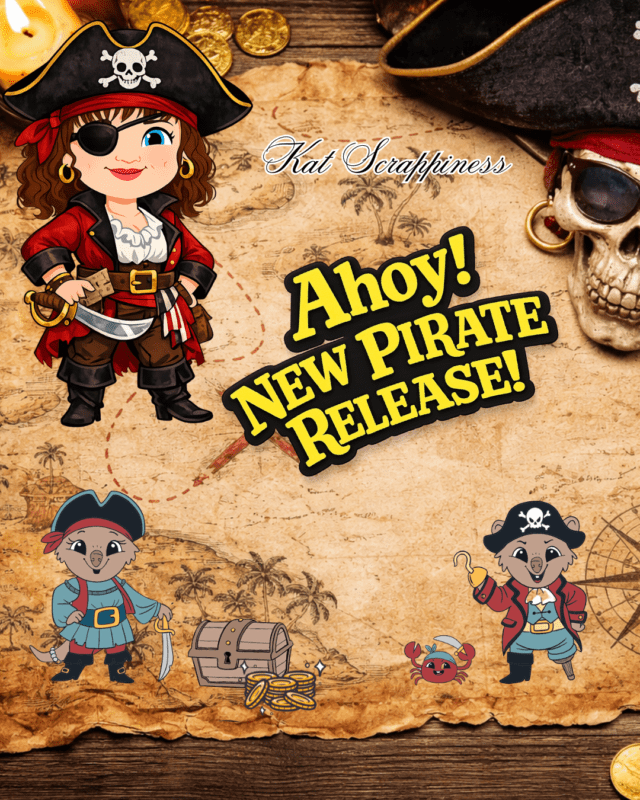
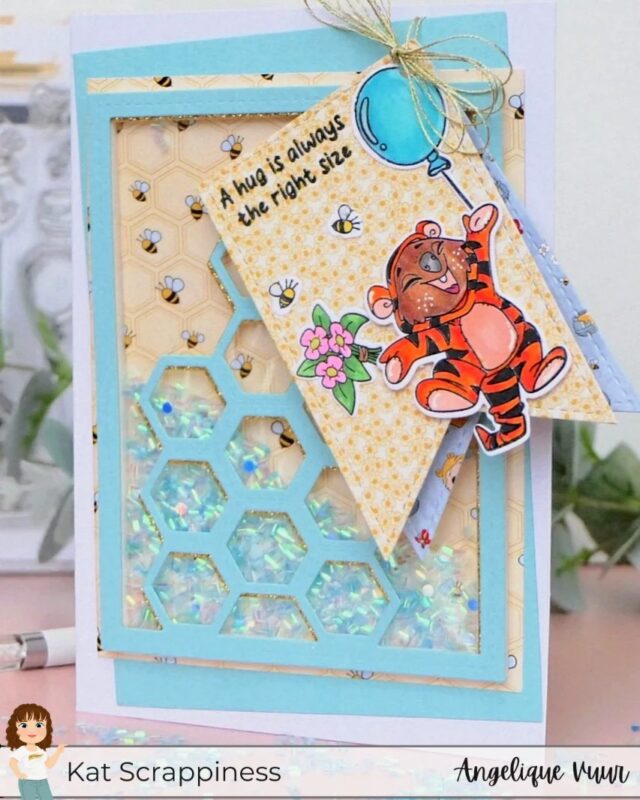
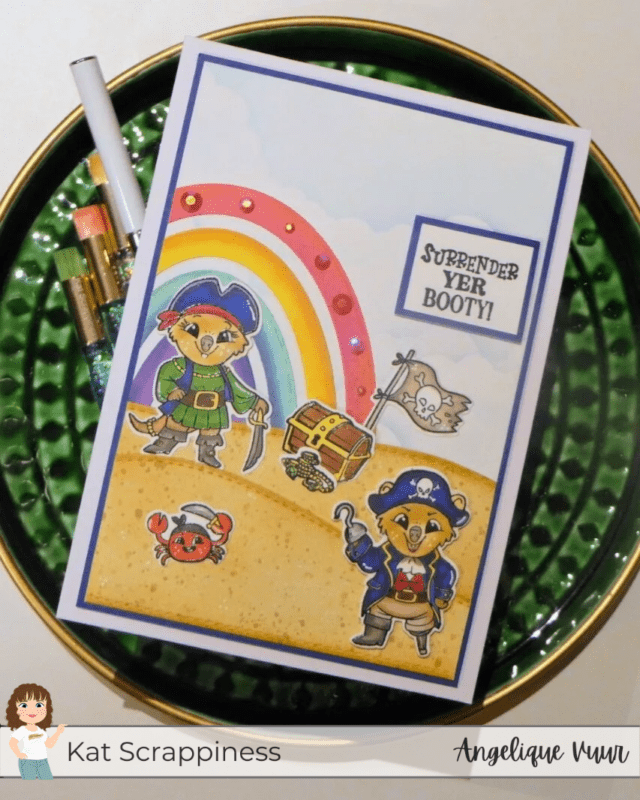
Angelique here with a new handmade card tutorial. Today I’m excited to share a fun and cheerful 5×7 card featuring products from the new Kat Scrappiness Pirate Release.
This card I created for last Saturday’s Kat Scrappiness Instagram Hop, and I’m happy to walk you through the process here step by step.
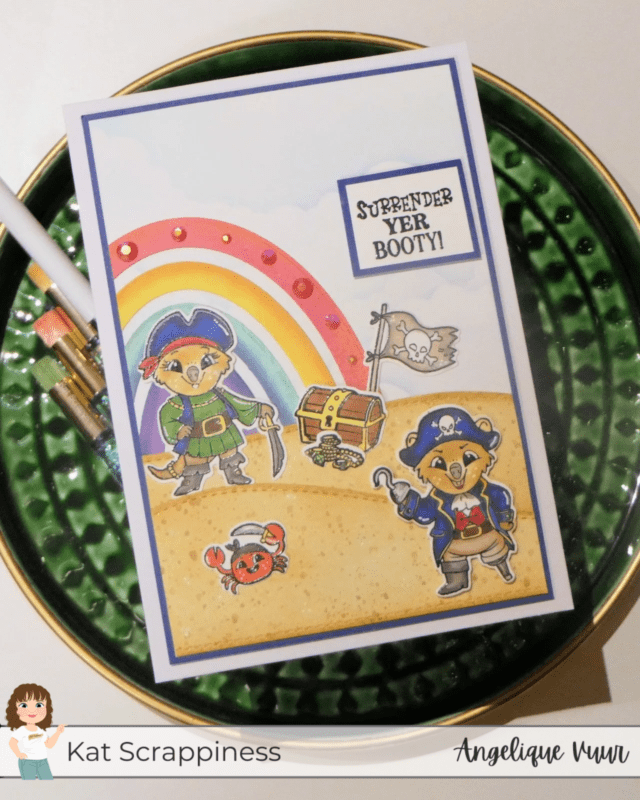
The Pirate release is packed with personality, and the Pirate Quokkas are just too cute to resist. I turned this handmade card into a playful little beach scene, full of soft clouds, sandy mountains, a colorful rainbow, and of course… a treasure!
So let’s dive in!
Card Details
-
Card size: 5 x 7 inch
-
White card base
-
Dark blue mat: 4.75 x 6.75 inch
-
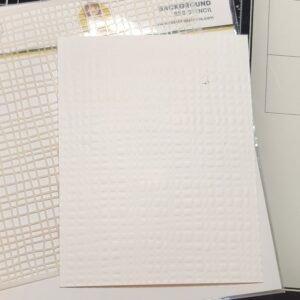
White background panel: 4.5 x 6.5 inch
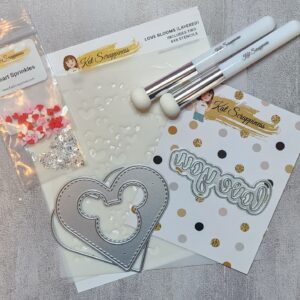
Kat Scrappiness Products Used
Step-by-Step Card Tutorial
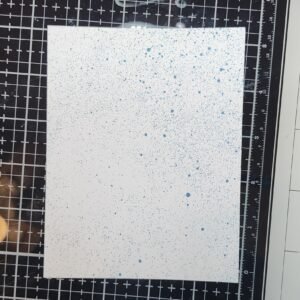
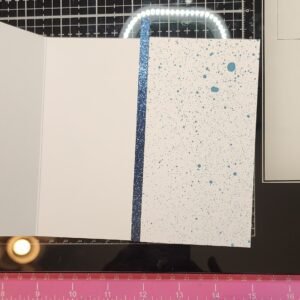
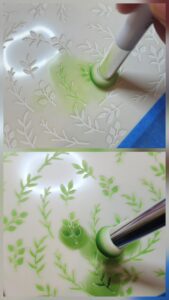
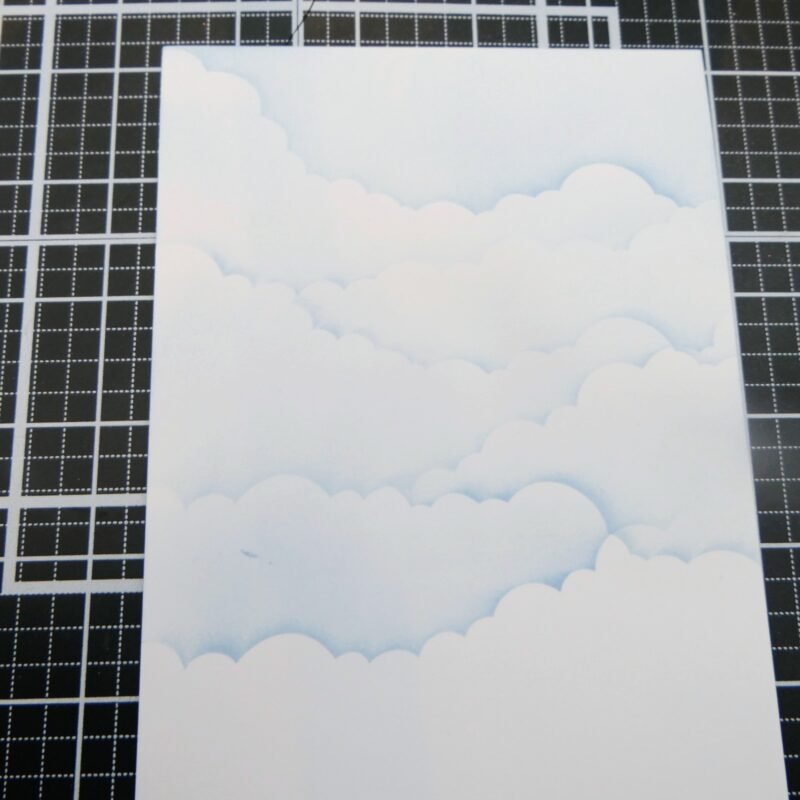
1. Creating the Background
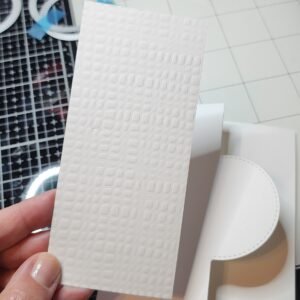
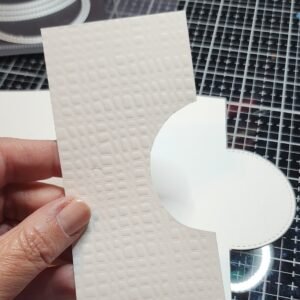
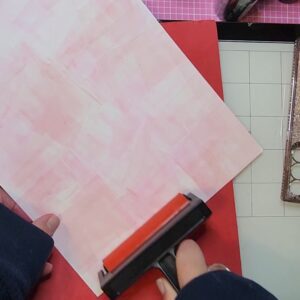
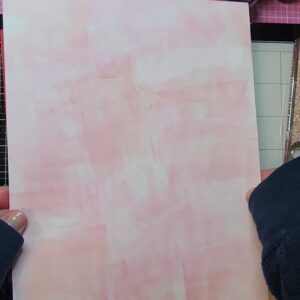
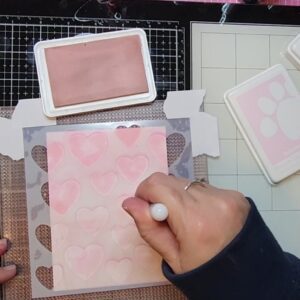
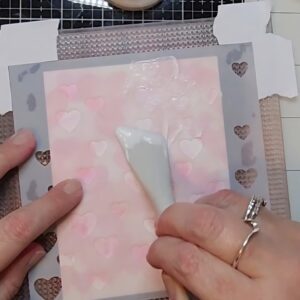
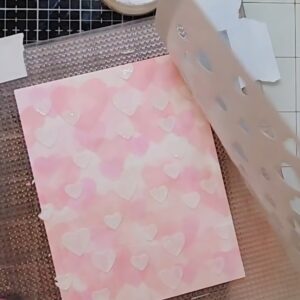
I started with a white cardstock panel (4.5 x 6.5 inch) and used the Scene Builder 6×6 Stencil to create a soft, cloudy sky.
I kept the ink blending very light and airy, building up the clouds slowly so the background stays subtle and dreamy.
(See photo for reference.)

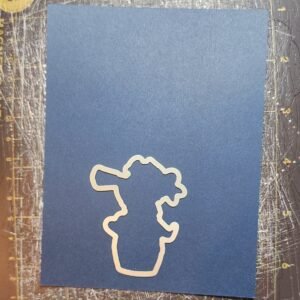
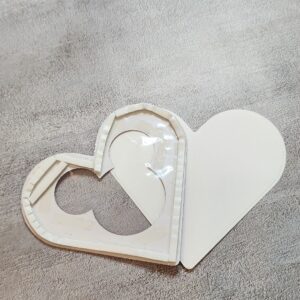
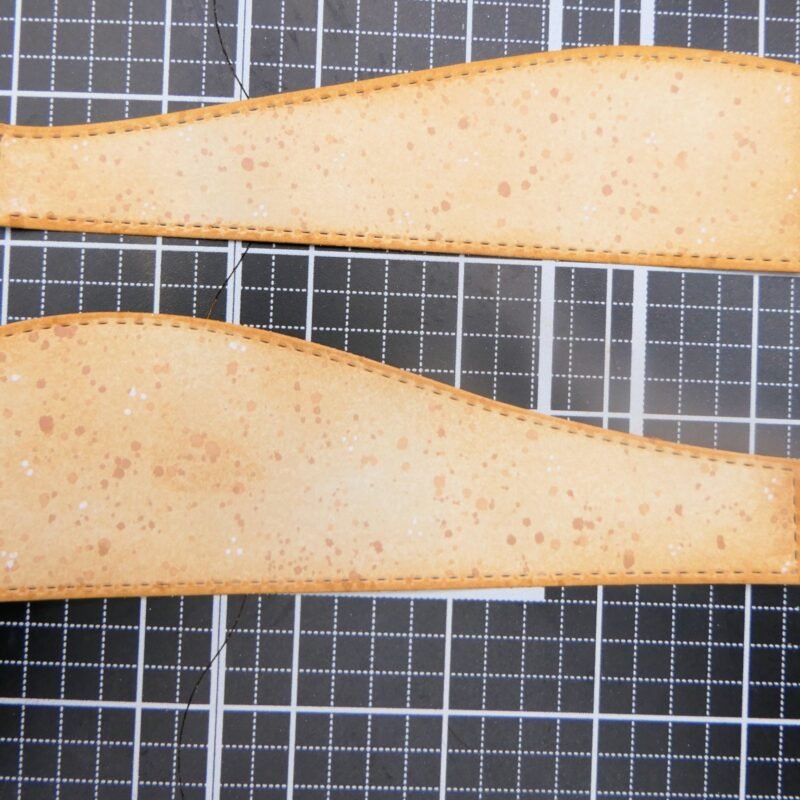
2. Die Cutting the Mountains
Next, I die cut two mountain shapes from the Crafters Essentials – Winter Edition Craft Dies using white cardstock.
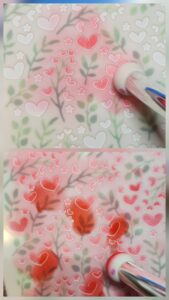
To turn them into sandy beach mountains, I ink blended several light brown tones, mixing them softly for a natural look.
For texture, I added fine splatters with two darker brown inks, and finished them off with small white dots using a Nuvo white gel pen.
This little detail adds so much interest and dimension!
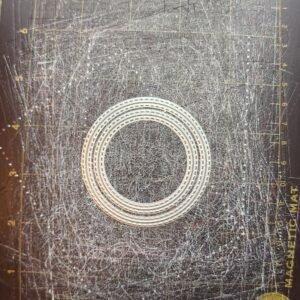
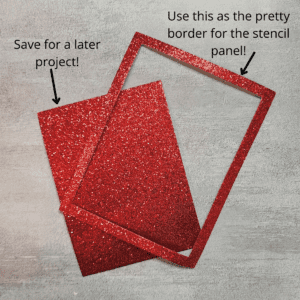
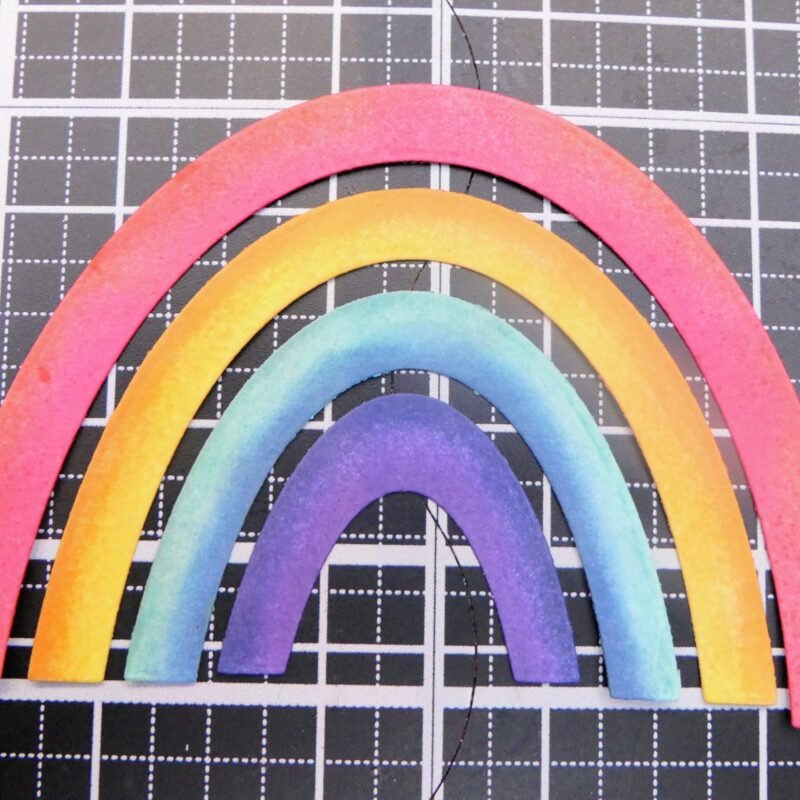
3. Rainbow Die Cuts
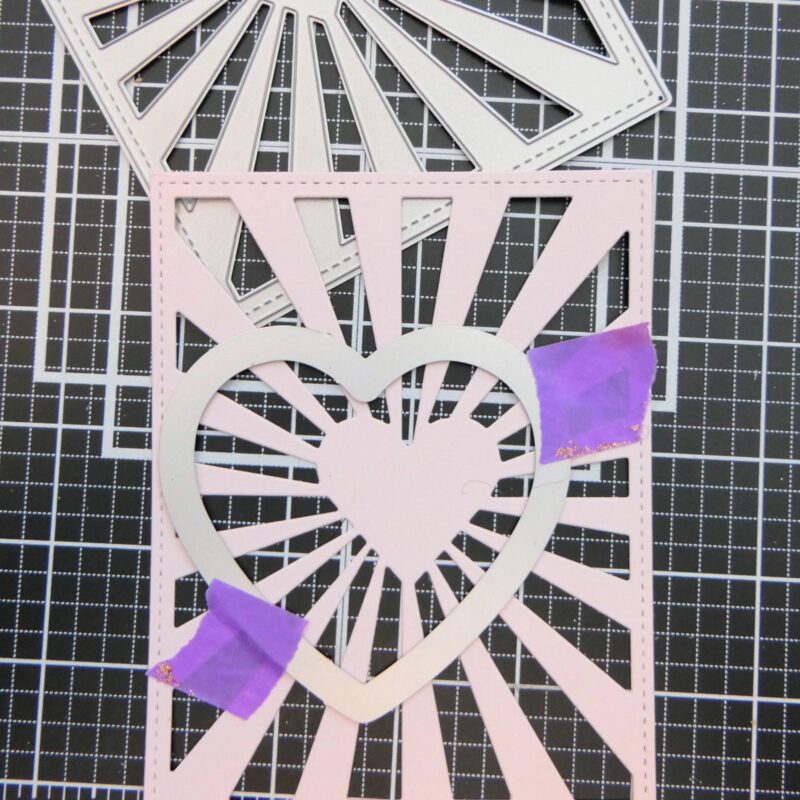
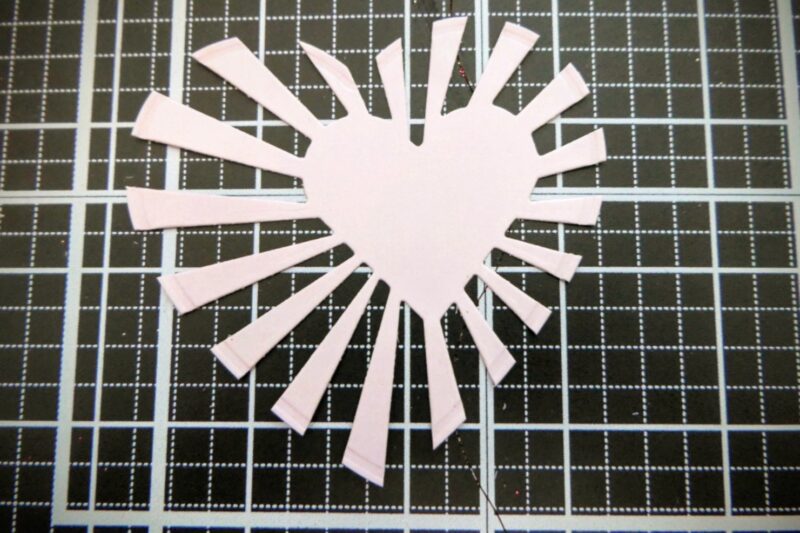
Using the Confetti Party Rainbow Craft Dies, I die cut only the solid (closed) stripes.
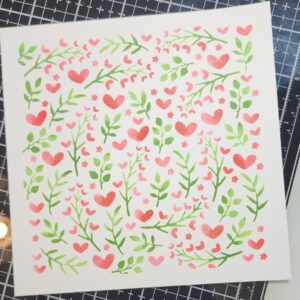
Each stripe was ink blended with two rainbow colors, blending them into each other for a smooth transition.
(You can see the color choices on the photo.)
The rainbow instantly adds a playful and happy feeling to the card.
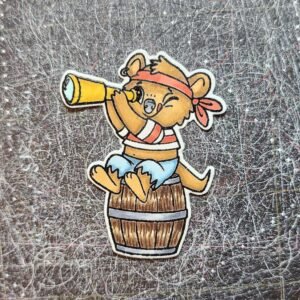
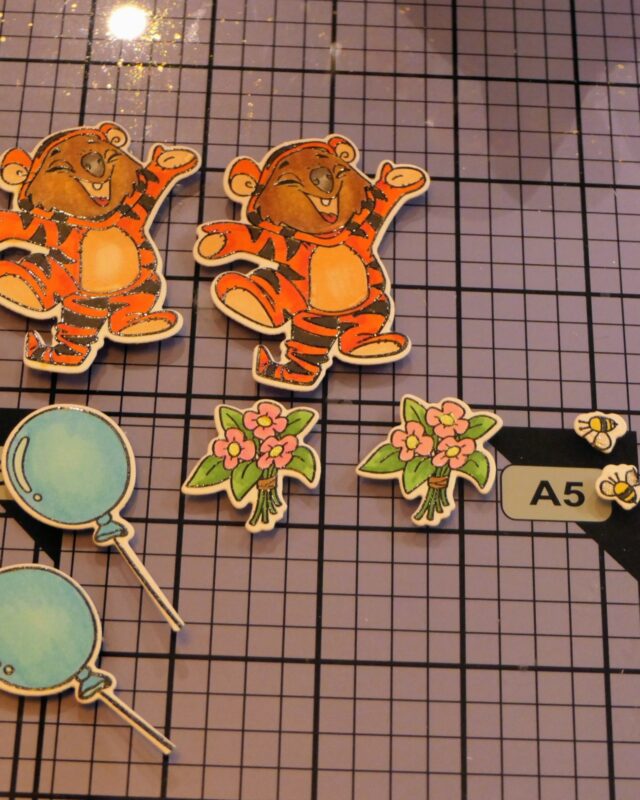
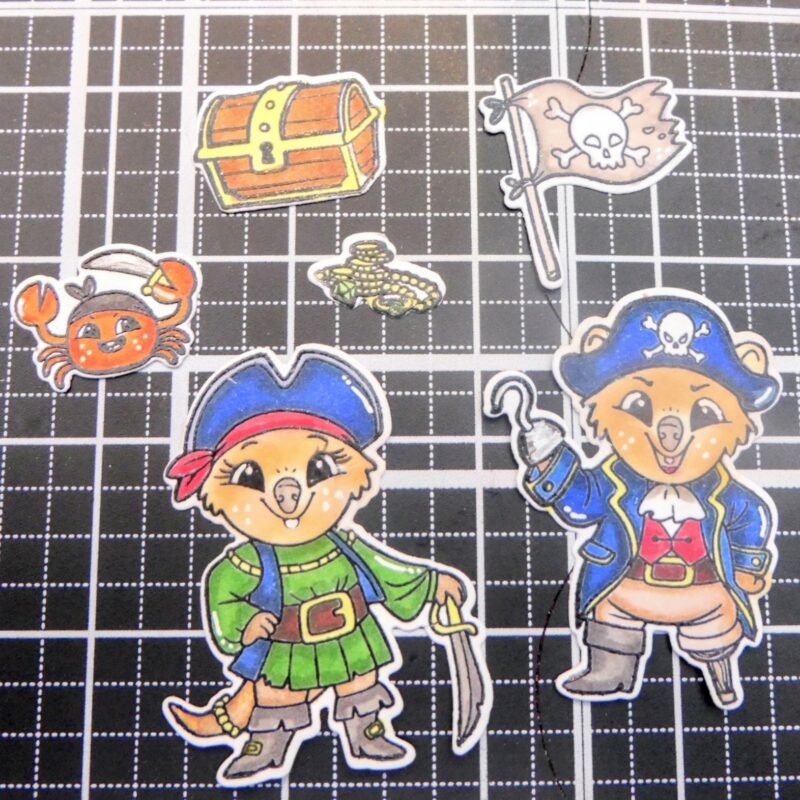
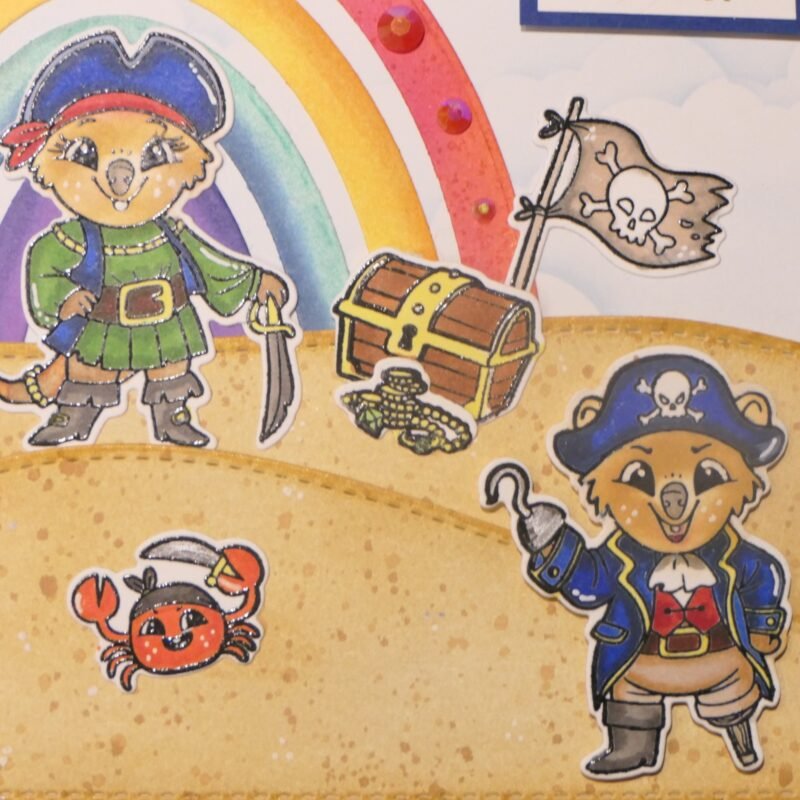
4. Coloring the Pirate Characters
I stamped, heat embossed, die cut, and colored all the pirate elements using alcohol markers:
-
The lady pirate
-
The captain
-
The crab
-
Treasure chest
-
Gold details
-
Pirate flag
These images are full of personality, and coloring them was such a joy.
(See the photo with all the colored pieces.)
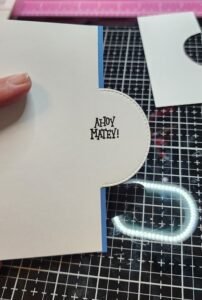
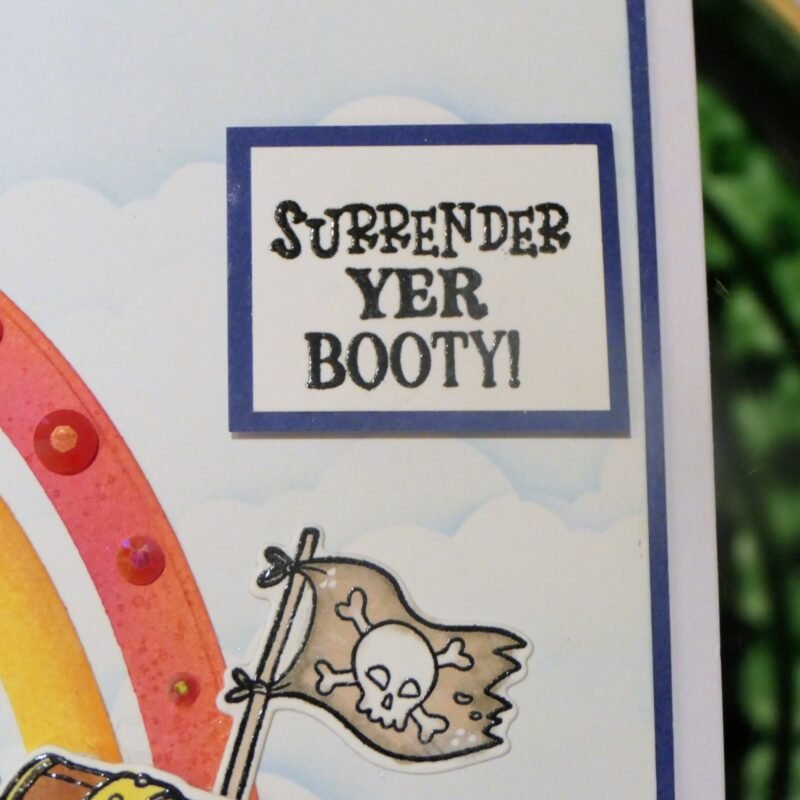
5. Sentiment
For the sentiment, I used the Pirate Quokkas Sentiments Stamp Set and chose:
“Surrender yer booty” — because honestly… how could I not? 😄
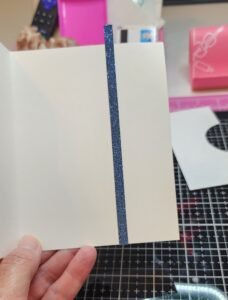
I heat embossed the sentiment, trimmed it into a small rectangle, and matted it on a dark blue cardstock layer for contrast.
Feel free to choose any sentiment that fits your style — this set has so many fun options.
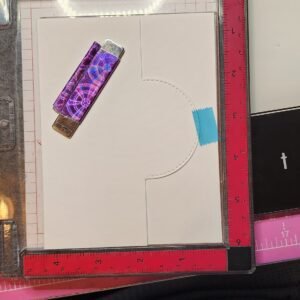
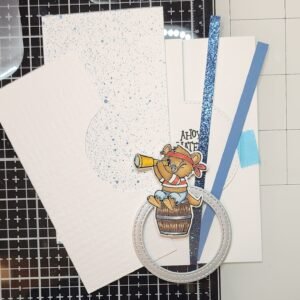
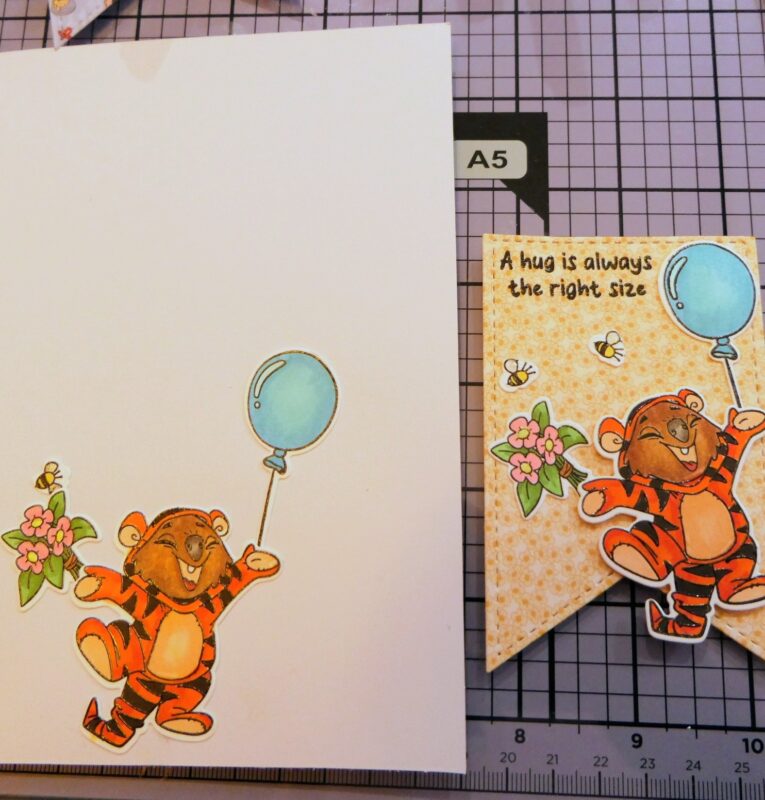
6. Building the Scene
Now comes my favorite part: playing with the layout.
-
I tucked the rainbow behind the top mountain for a clean, layered look
-
Part of the rainbow extends off the edge of the card, which adds movement and visual interest
-
I placed the treasure chest and gold at the beginning (or end) of the rainbow — just for extra fun
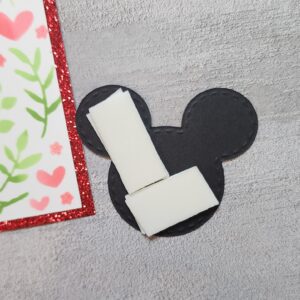
Once I was happy with the composition, I adhered almost everything flat.
Only the lady pirate and the captain were popped up with foam tape for dimension.
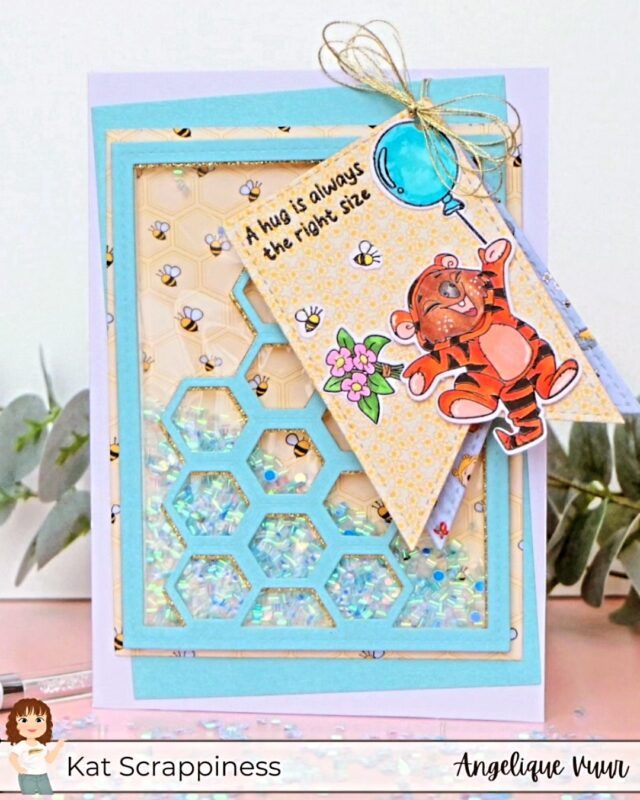
7. Assembly & Finishing Touches
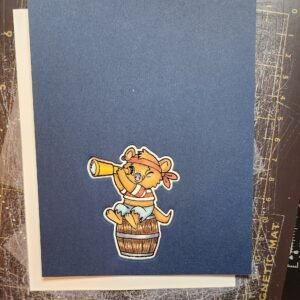
I adhered the finished scene panel onto the dark blue mat, and then onto a white 5×7 card base.
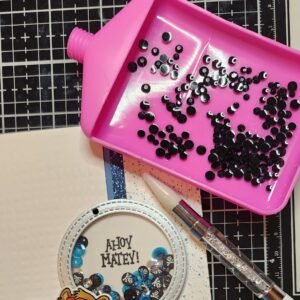
To finish the card, I added a little sparkle.
I used Ruby Red Rhinestones and placed a few on the largest rainbow stripe, which I ink blended in red/pink tones.
And that completes the card!
Final Thoughts
This Pirate Quokkas release is so much fun and incredibly versatile.
My card turned into a cheerful little beach scene, full of color, character, and playful details.
I hope this project inspires you to create your own pirate adventure — whether it’s cute, colorful, or completely over the top.
Thank you so much for stopping by, and don’t forget to check out What’s New at Kat Scrappiness for even more crafty inspiration!
Until next time!
Hugs,
Angelique