Follow:
    Design Team Projects

    Bunny Slimline Card


    Hi there! It’s Lisa from Oh So Cute By Lisa and I’m up on the Kat Scrappiness blog today with an adorable slimline card featuring the
    Slimline Filmstrip Border Die and the adorable Build a Bunny Stamp set with matching dies.

    I started out by blending Squeezed Lemonade, Worn Lipstick, Picked Raspberry and Seedless Preserves Distress Oxides onto a slimline base. I used one of the dies from the Slimline Filmstrip Border Die and cut it out with black card stock. I layered the filmstrip border over some patterned paper and layered them both over the ink blended panel.

    For my adorable bunnies I used the same 4 Distress Inks as mentioned above and after blending them on to card stock I cut out 4 bunnies (1 in each color). Their cute little faces were stamped using the Build a Bunny stamp set. I tucked them into the 4 windows on alternating sides and my cute card was done.

    I just love all of the slimline products over at Kat Scrappiness! My favorites are the mini slimline dies, especially the scalloped edge die!

    You can check out all the amazing stamps, dies and embellishments at Kat Scrappiness and save money while you shop! There is a Spring Sale starting today through March 14th.
    See banner below for all the details and coupon code!


    Thanks so much for stopping by today!

    Have a great day, I already am!

    🐰  Lisa  🐰 

    Design Team Projects, New Releases

    Hippity Hoppity

    Hippity, hoppity Easter is on it’s way – which means Spring is too!!  Kat Scrappiness has so many fresh and festive goodies for Spring and Easter which makes crafting even more fun!

    My first card is a slimline shaker.  After layering a pretty pattern paper to my card base, I created a shaker element using the new Slimline Film Strip Border dies as the frame, lined the back and in between strips with foam tape, then added these sprinkles/sequins before enclosing the opening:  Pastel Sprinkles, Light Pink Confetti, Brown Confetti, Soft Yellow Confetti and Mint Confetti.  Then, I cut colored cardstock with the smaller die in the Stitched Easter Bunny Outline Dies set and gave each a cute white tail using the White Bunny Tails.  To finish, I added the word diecuts using the Brush Script Happy Easter Word Dies.

    My next card was super simple to create!

    I used the new Happy Easter Bunny stamp as my focal point and colored in his ears and feet – so cute!  For the outer frame, I cut a soft pink cardstock with the Mini Slimline Wonky Die and popped it up over the stamped image piece.  I cut clouds from the dies found in the Slimline Rainbow Die set and cut two different colors of green cardstock using the Slimline Grass Border die for the bottom.


    https://linkdeli.com/widget.js?id=f5e8378456858c916708

    Design Team Projects

    Happy Love Day Card

    Hi everyone, it’s Tina here. Today I am sharing a card using the new After The Rain dies with the Double Stitched Rectangles die and the Say It With Words Stamp Set. Below is the steps to create your own card.

    Step 1 – Trim White Cardstock to 8 1/2” x 5 1/2”, score at 4 1/4” and fold in half for a vertical side fold card. (A2)

    Step 2 – Create a DIY background using a Gel Press. Trim White Cardstock to 5 1/2” x 4 1/4”. Apply Distress Oxide Inks in Tumbled Glass, Broken China, Salty Ocean onto a Gel Press. Mix the colors with a brayer. Splash some water and place the Cardstock onto the Gel Press and then a copy paper. Add pressure to make sure the ink transfers onto the Cardstock. Remove Cardstock and let dry.

    Step 3 – Diecut Double Stitched Rectangles using the panel created in Step 2. Adhere to card using Nuvo Deluxe Adhesive.

    Step 4 – Diecut After The Rain (rainbow layers) using White Cardstock. Color in each rainbow layer in the colors of the rainbow using Alcohol Markers. I used Spectrum Noir Classique Markers. Adhere to card front using Nuvo Deluxe Adhesive.

    Step 5 – Diecut After The Rain (clouds 2 times) using White Cardstock. Stamp one cloud with Say It With Hearts using Versafine Onyx Black Ink. I did a little stamp surgery to Happy Valentine’s Day by placing Washi tape over the word Valentine’s. I inked the stamp using Versafine Onyx Black Ink and removed the Washi tape and then stamped. Stamp the Heart using Red Ink. (This replaces the word Valentine’s).

    Step 6 – Diecut or Stamp an image of a small bird and adhere just above the cloud.

    Step 7 – Optional – Randomly adhere Red Heart Sprinkles using a Pick Up Tool and Nuvo Deluxe Adhesive.

    This card can be used for several occasions by changing the sentiment. Below is a link to all the products used. Thank you for stopping by and Happy Crafting!

    Products Used:
    https://linkdeli.com/widget.js?id=f5e8378456858c916708

    Design Team Projects

    Rainbow Easter Egg

    Hello Friends Waleska here, I hope your new month is off to a good start! Today I have a very Easter Card using the beautiful and recently released Rainbow Egg die set, I love this new die because you can create rainbows with it, if you like soft colors or bright colors you can make it your own! You can make very easy super colorful Easter cards.


    CARD DETAILS:

    I started by creating the cloud backcground with a cloud stencil and Oxide Ink Tumbled Glass.  Then I cut the Rainbow Egg Die from white Sparkle Cardstock and I die cut 4 eggs from pastel colors pink, violet, blue and yellow and used only the rainbow parts to fill inside the sparkle egg, you can use this other die cut eggs in other projects.  I inlay the different colors inside the egg to create the rainbow effect and adhere everything together.

    I then cut 2 Slimline Grass borders in the same green tone from the egg and adhere it to the cloud base.  I glue the Rainbow Egg with 3D foam to raise the egg and finally I added the Easter sentiment from the Happy Easter with Shadow die but I only use the Easter word, the sequins I used are one of my all time favorite from Kat Scrappines Shop Pastel Starlights Sequins.

    I hope you like my card today, and feel inspired to start creating some Easter Cards! I hope you have a great new Month and Week remember to stay safe and stay crafty!


    Waleska

    Challenges & Hops

    March Challenge Easter/Spring & February Winners!

    Welcome to the Kat Scrappiness March Card Challenge and the announcement of the February Card Challenge Winners! PLEASE READ THE RULES before ENTERING!

    First we would all like to thank everyone who entered last month’s challenge! The team really enjoyed seeing all of your creations.


    And NOW the WINNERS for February!

    1. The Winner of the Love/Hearts Challenge for February is: Super Stick Chick – (Random.org Pick) and her prize is a $10.00 gift certificate to the Kat Scrappiness Store! Super Stick Chick, please email us at winners@KatScrappiness.com with your address so we can send out your prize!
    2. The Design Team’s Top Pick (shown below using our Word Search Heart Die) and winner $5.00 Gift Certificate is Inkami, please save the badge below to your computer and upload it to your blog or website to show off your accomplishments!  You can link back to our blog here:  http://www.KatScrappinessBlog.com!


    March Card Challenge

    This month’s theme is “Easter/Spring” Kat Scrappiness has just released the most beautiful Easter and spring dies, stamps, and sprinkles. We want to see you use them.

    To enter our March Card Challenge all you need to do is share your Easter or Spring creations. You can join at the bottom of this page and view the RULES, for your chance to win $$ to the  Kat Scrappiness Store! Try to use your Kat Scrappiness supplies we love to see our products in action and you will win a bigger gift card.

    You can also enter our social media challenge which is ALWAYS Anything Goes. Just use Kat Scrappiness products and enter your card on our Facebook Group page and Instagram using the hashtag #katscrappinessfan for your chance at a $5 Prize.

    Here are my favs for Spring and Easter:

    Rules:

    -Your project should be a new Creation. No Back Posting allowed.

    -Please follow the Challenge Theme. Any Entries not following the theme will be deleted.

    -We are a Multi Craft Challenge. As long as you follow the theme you may enter with any craft project.

    -You may use any product you like but Kat Scrappiness Products are encouraged and will get a better prize.

    -You may enter the Challenge 3 times but each must be with a new project.


    What’s Happening Next?

    Stay up to date on everything Kat Scrappiness!

    We want you to be the first to know about giveaways, sales, challenges and so on, and the best way to do that is to subscribe to us!  Here are a few ways you can keep in touch:

    • Subscribe to the Kat Scrappiness Newsletter HERE
    • Join the Kat Scrappiness Facebook Fan Group HERE
    • Subscribe to the Kat Scrappiness Instagram HERE

    Trust us, you don’t want to miss our releases and inspirations!


    March Card Challenge Inspiration

    I have a card full of fun die cuts from Kat Scrappiness to inspire you to join this month’s challenge. The theme is Easter/Spring. I love the Kat Scrappiness NEW Slimline Grass Die and Stitched Outline Bunny Dies.

    Make Crafty Friends Q & A:
    Q: What color Easter Bunny Tail would you like to see at Kat Scrappiness?
    A: Me? Hot Pink

    PLEASE use the affiliate links to get your goodies! I appreciate it!

    Don’t forget to subscribe, follow, and comment on my blog for your chance to win my March Prize (see right panel) and for more giveaways and inspiration follow me on Instagram @MadeByMeghanK 

    Supplies:
    Kat Scrappiness Slimline Rainbow Die
    Kat Scrappiness Pastel Pink Bunny Tails
    Kat Scrappiness Slimline Grass Die
    Kat Scrappiness Stitched Outline Bunny Die
    Kat Scrappiness Easter Blessings Die

    You are invited to the Inlinkz link party!

    Click here to enter


    Design Team Projects

    Trio of Tulips Cards

    Happy Saturday everyone.  It’s Caren here today on the blog with a trio of cards using the new Layered Tulip Bouquet die set.

    I die cut the tulips from white card stock and used various colors of distress ink to ink blend the tulips.  I water colored the backgrounds with coordinating colors and used the Stitched Scalloped Border dies to add some detail to the bottom of each panel.  I added dimensional adhesive to the watercolor panels and tulip bouquets and adhered them to my gray card bases.  I added simple sentiment strips to finish off the cards.


    Thanks for stopping by!

    – – –– – –– – –– – –– – –– – –– – –– – –– – –– – –– – –– – –– – –– – –– – –– – –– – –– – –– – –– – –– – –– –

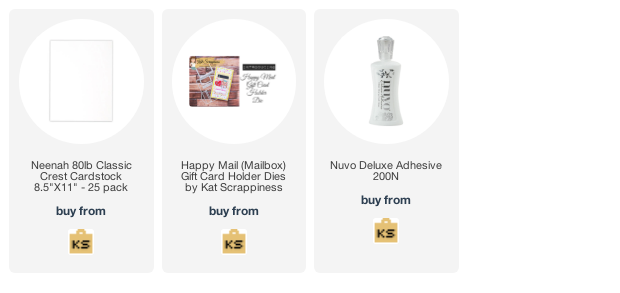
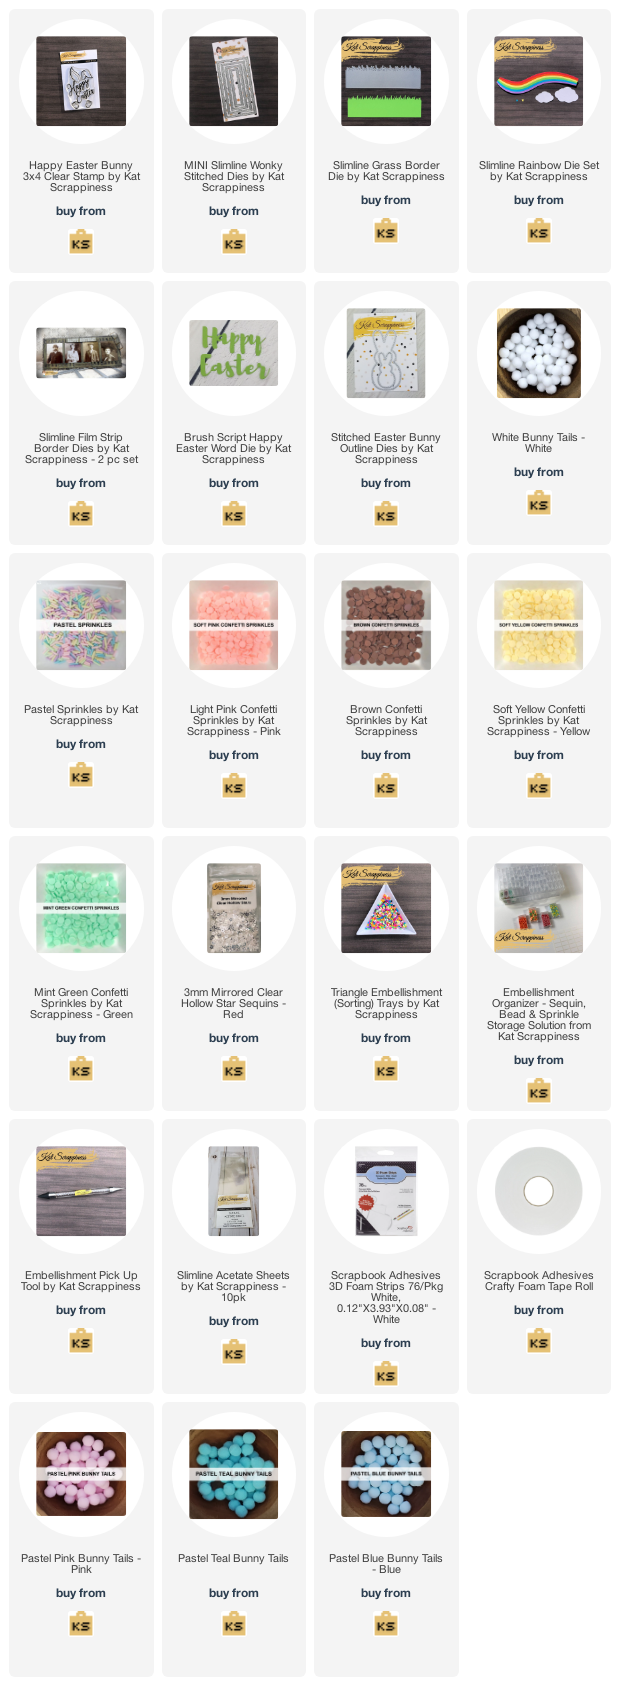
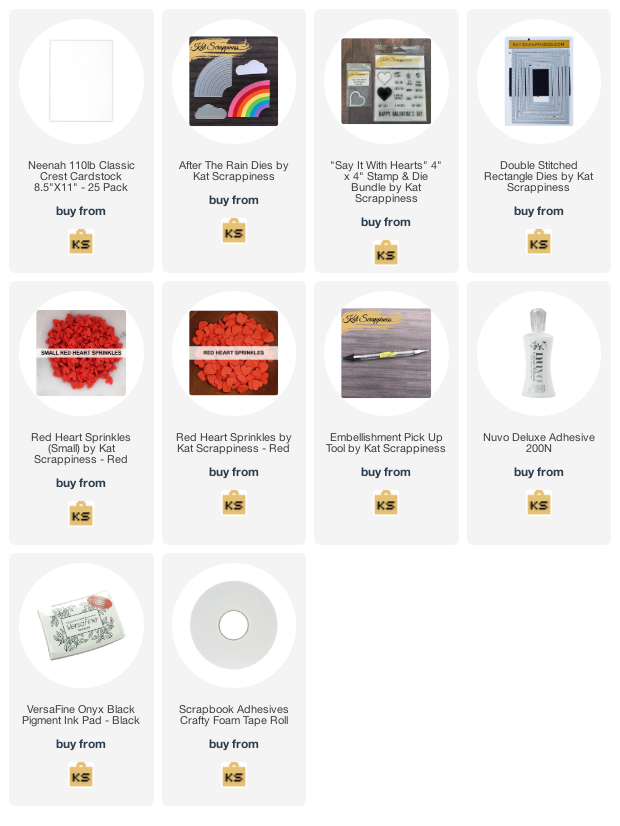
    Here is a link to the Kat Scrappiness shop and direct links for products I used on today’s cards.

    – – – SUPPLIES for today’s project– – – – – – – – – – – – – – – – – – – – – – – – – – – – – – – – – – – – – – –

    Giveaways, New Releases, News

    February Release Winner


    Hello everyone and happy weekend!  The winner of the $20 Gift Card to KS Store was randomly picked through random.org (see below).  Thank you all for taking the time to leave a comment.   We love getting your feedback.


    If you didn’t win this time, come back next month for our New Release and we will have a giveaway again!  The next release will be epic!

    Please claim your prize within 48 hours and send an email indicating what you’ve won to: winners@katscrappiness.com

    Have a wonderful day!