
(affiliate links for all projects provided below at no additional cost to you)
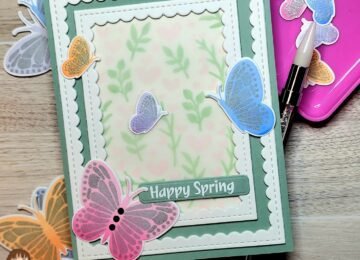
Good morning card friends! The holidays are around the corner and I am up on the Kat Scrappiness blog with some card inspiration for you. What could be more fun than a shaker card? All products will be listed at the end of the post. Let’s make a card!

Card details
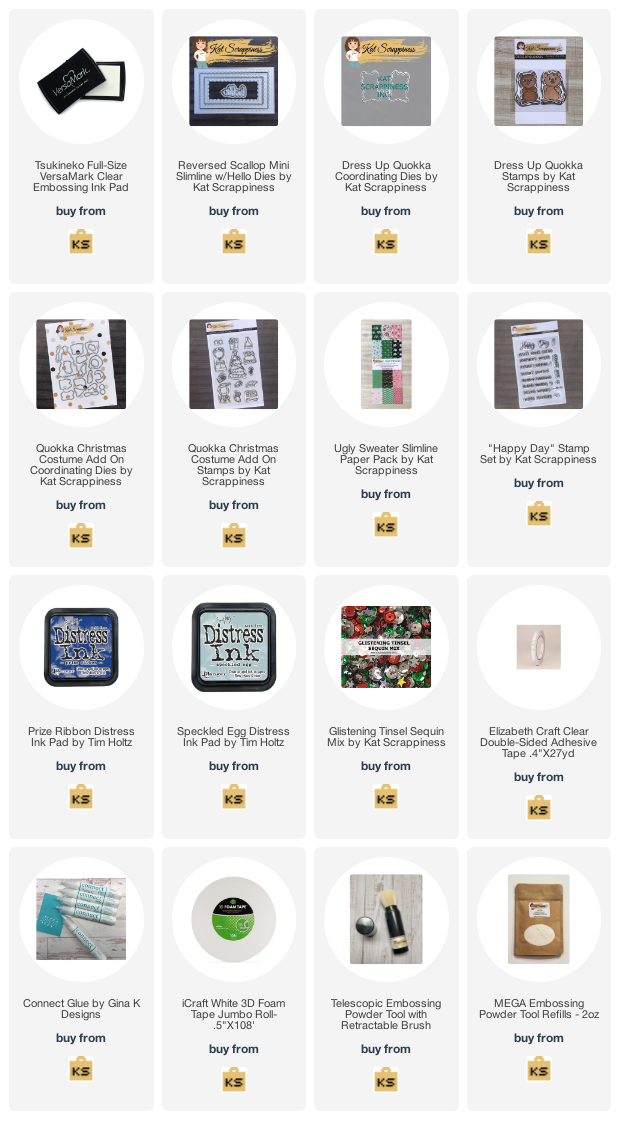
Supplies
- Reversed Scallop Mini Dies with Hello
- Dress Up Quokka Stamps
- Dress Up Quokka Dies
- Quokka Christmas Add On Stamps
- Quokka Christmas Add On Dies
- Ugly Sweater Slimline Paper Pack
- Happy Day Stamp Set
- Glistening Tinsel Christmas Mix (embellishments)
(links to all products will be listed below at no additional cost to you)
Card measurements
- Card base – 4″ x 6.5″
- Patterned Paper – 3.75″ x 6.25″
- Green card stock – 2.5″ x 6.5″

- So when the sequins fall to the bottom of the shaker there are still a few up above.
- Now center your Reversed Scalloped frame and glue it down. Set something heavy on top and allow it to dry.
- Stamp your Quokkas, the Christmas tree, and any of the other stamps you want to use in your scene. I use alcohol markers.
- I added some glitter glue to some areas, like the star on the tree, the Quokka’s cap, the bows.
- I added nylon string to the back of the Christmas tree with washi tape so it jiggles a tiny bit when shaken. Make sure to measure where you want your tree to sit INSIDE the shaker. Then you will add a tiny bit of double-sided tape to the middle of the frame top and bottom. Place your thread down. Make sure you have a little slack and tape down the bottom. I added a bit of the same tape on top but did not remove the backer. You will remove the backer when we add the top frames/acetate.
- Emboss the sentiments of Happy Holidays from the Happy Day stamp set. I used white embossing powder and embossable acetate.
- Sandwich the acetate between the two extra frames with liquid glue or your choice of adhesive.
- Center and lay your card base down. The patterned paper, card stock, ink blended background, and frames should all be glued down and the Christmas tree attached.
- Place the amount of sequins or glitter in the center. Carefully place the two top frames on the card base.
- SHAKE SHAKE SHAKE!
No Comments