
Hi everyone, it’s Tina here. I have an intricate card to share with you but actually very easy to make using the Chevron Slimline Coverplate. Below I will show you how so you can create your own Happy Birthday Wishes Slimline Card.

Step 1 – Trim White Cardstock to 7” x 8 1/2”, score at 3 1/2” and fold in half for a vertical side fold card. (Slimline)
Step 2 – Trim White Cardstock to 3 1/2” x 8 1/2”. Apply ink of your choice to the entire panel. I used Distress Oxide Inks in Spiced Marmalade, Candied Apple, Fired Brick and Aged Mahogany.
Step 3 – Diecut Chevron Slimline Coverplate using the panel created in Step 2. Be careful to keep all the pieces intact. Use Press n Seal to cover the backside. This will keep all the pieces together. Turn around and remove the die. Now place another piece of Press n Seal to the top, turn around and remove the back Press n Seal. If you do not have Press n Seal then Masking Sheets will work as well. Add Foam Tape to all the negative pieces. Remove the release sheets and then carefully turn over the diecut and place on top of the card front. Remove the Press n Seal and carefully remove the positive diecut. See photos below for visual.


Step 4 – Apply ink of your choice on a scrap piece of White Cardstock. I used Distress Oxides Ink in Candied Apple, Spiced Marmalade, and Seedless Preserves. Diecut Never Ending Circles and Ovals to create balloons. Trim out a triangle in each color and adhere to card. Big circle balloon and oval using Nuvo Deluxe Adhesive and small circle using Foam Tape. Add Baker’s Twine to the back of the balloons and tie a bow to the small circle.

Step 5 – Diecut Happy from the Happy Easter with Shadow die (word only) using Gold Metallic Cardstock and another time with Black Cardstock. Adhere the gold on top of the black with Nuvo Deluxe Adhesive by offsetting the black. Adhere to card using Nuvo Deluxe Adhesive.
Step 6 – Stamp sentiment using Versafine Clair Nocturne Ink on White Cardstock. Trim and adhere to card using Nuvo Deluxe Adhesive.
Step 7 – For added interest add some detail to the balloons using a White Gel Pen.


This card can be used for many occasions by changing the colours and/or sentiment. Below is a link to all the products used. Thank you for stopping by and Happy Crafting!
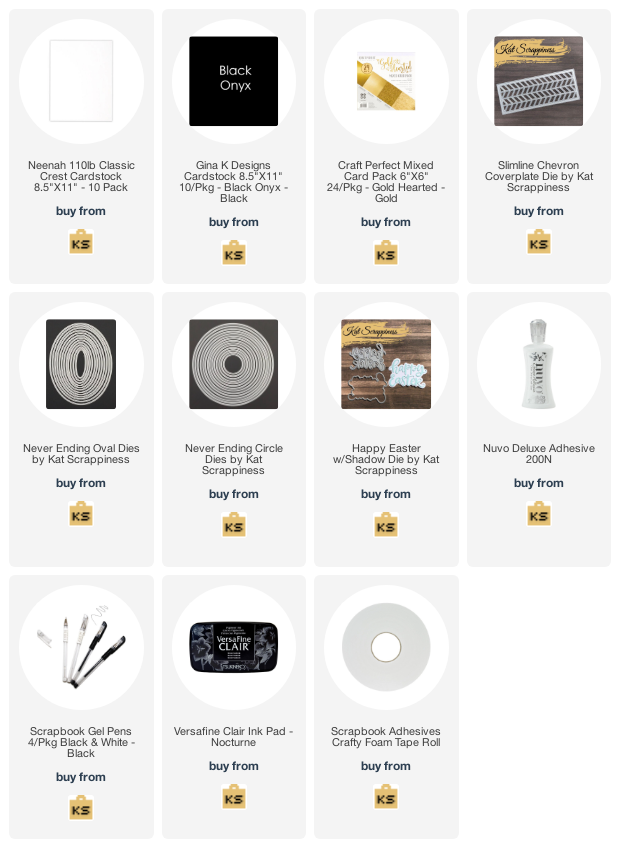
Products Used:

3 Comments
Love the birthday card with the balloons
September 18, 2020 at 9:32 amAdorable! love press and seal for this!
September 18, 2020 at 1:32 pmLove the palette on this gorgeous design!
September 18, 2020 at 4:04 pm