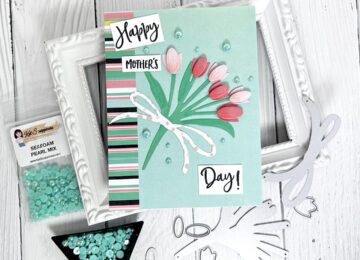
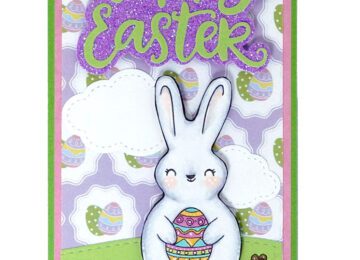
Hello! My name is Sheri Gilson and I’m super excited to be a Guest Designer for the month of April & May!! Thank you so much for having me!!
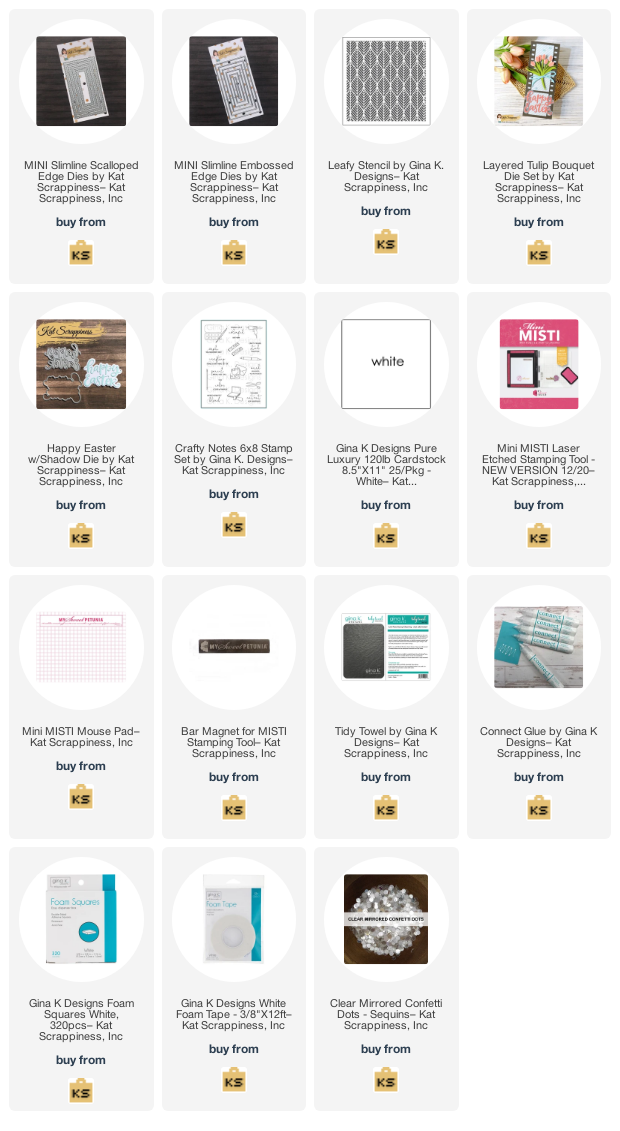
For my first card I created a Birthday card featuring a mix of some of my current favorite dies from the store. I don’t know about you but I’m loving the NEW Mini Slimline card size. So I pulled out the Mini Slimline Scallop Edge and Mini Slimline Embossed Edge die sets.

Steps to create card:
- Cut Card Base: 7″ x 6″, scored at 3 1/2″
- Die Cut largest scallop panel from the Mini Slimline Scallop Edge die set.
- Cut out Pink Mat 2 7/8″ x 5 1/4″.
- Die Cut White Panel from Mini Slimline Embossed Edge die Set.
- Take White Panel and dry emboss it with the Gina K Leafy Stencil. Refer to your die cut machine manual for proper sandwich to dry emboss.
- Die Cut Layered Tulip Bouquet Die using Pink, Green & Dark Green card stock. You will also need to cut the Bow using White card stock.
- To add a little dimension to my tulips I ink blended the center pieces with coordinating pink ink. (Tip: Take a post-It note, flip over and attache the small petals to the sticky strip and you can ink blend holding onto the other end of the Post-It and not have to try holding them in place individually.)
- Attach Tulip to White Panel. I off set the two stem pieces for a shadow. I also attached the center pieces to the flowers with a piece of foam tape for dimension.
- Die Cut three “Happy” from the Happy Easter w/Shadow die three times (One Pink and two in white, stack them for added dimension).
- Heat Emboss the word “Birthday” from the Gina K Crafty Notes stamp set with white embossing powder and cut into a banner using scissors or your paper trimmer.
- Attach the “Happy” die cut to your card and add the “Birthday” embossed banner strip to your card panel.
- For final embellishment I added a little Glitter to the center of the tulips by running a Quickie Glue Pen to the edge and sprinkling a little glitter. I also added a few Clear Mirrored Confetti Dots with Gina K Connect Glue.

I also added a little Gina K Foam Tape when I attached the card to the card base. I love adding dimension to my cards!

Here’s a list of all the supplies I used from the store:

Happy Stamping!!


No Comments